intellij에서 jdbc연동 방법 -Connector/J설치
- 다운 받은 버전 : Connector/J 8.1.0
- 설치환경 : Windows
1.Coonector/j 다운로드
2.jdbc연동하기
3.jdbc연결 확인
1.mysql 사이트 접속
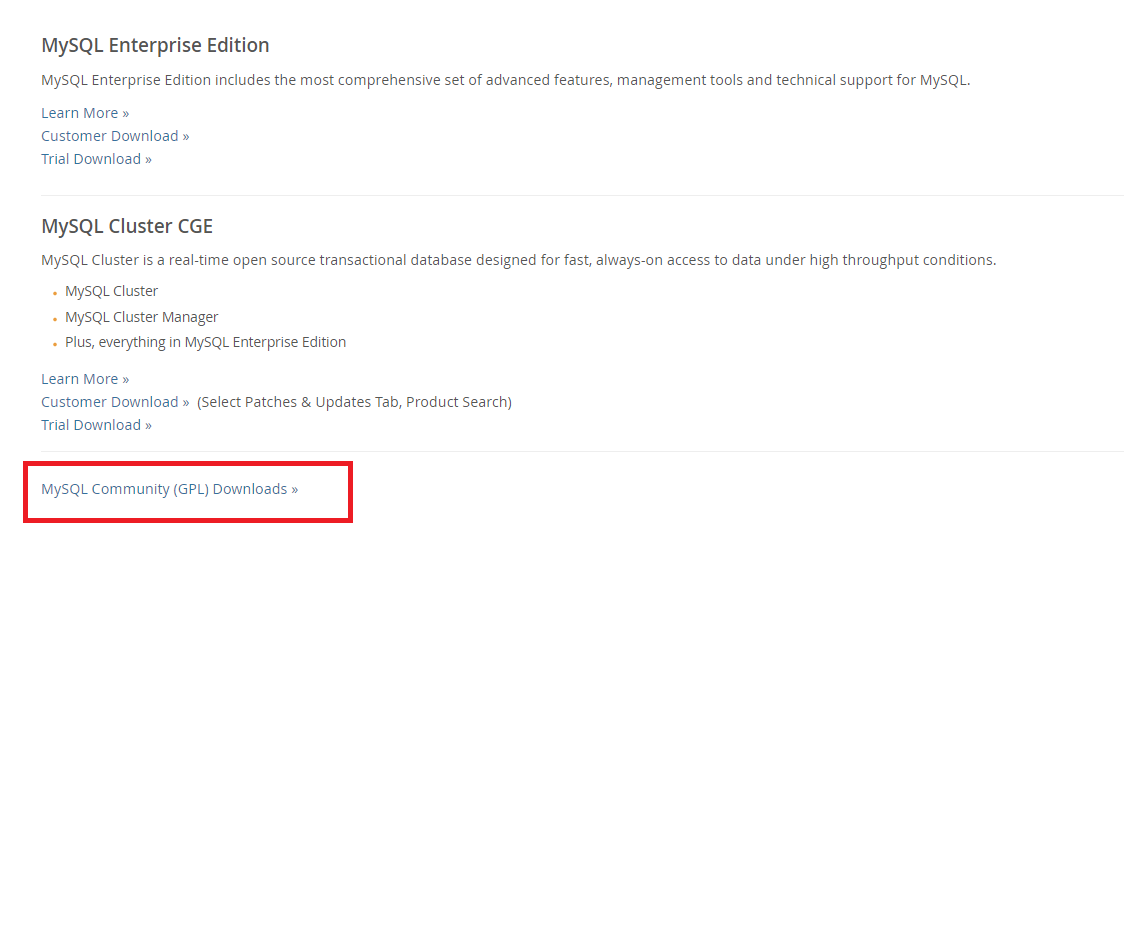
MYSQL공식 홈페이지에 들어가서 DOWNLOADS 클릭한다.

- 쭉 아래로 내려보면 MYSQL Community(GPL) Downloads를 클릭한다.
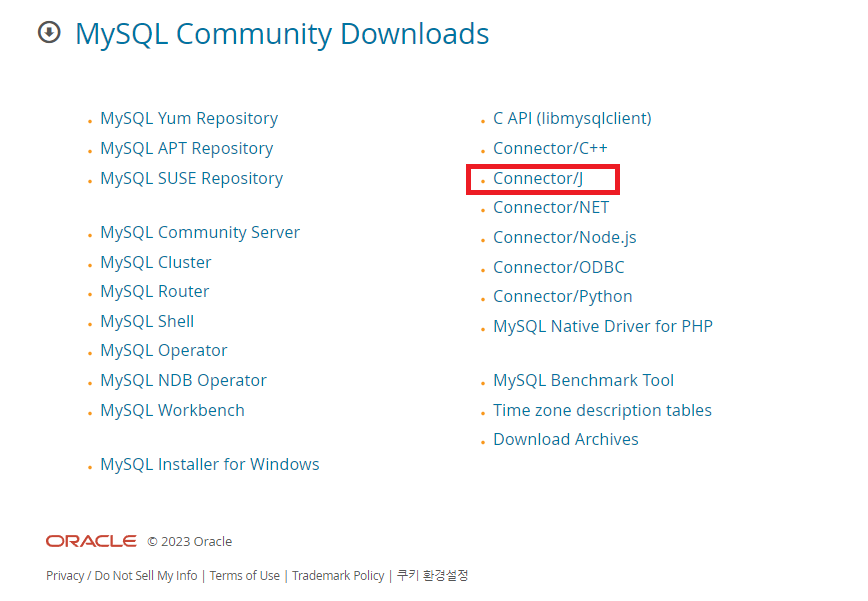
- Connertor/J 클릭
- Platform Independent클릭
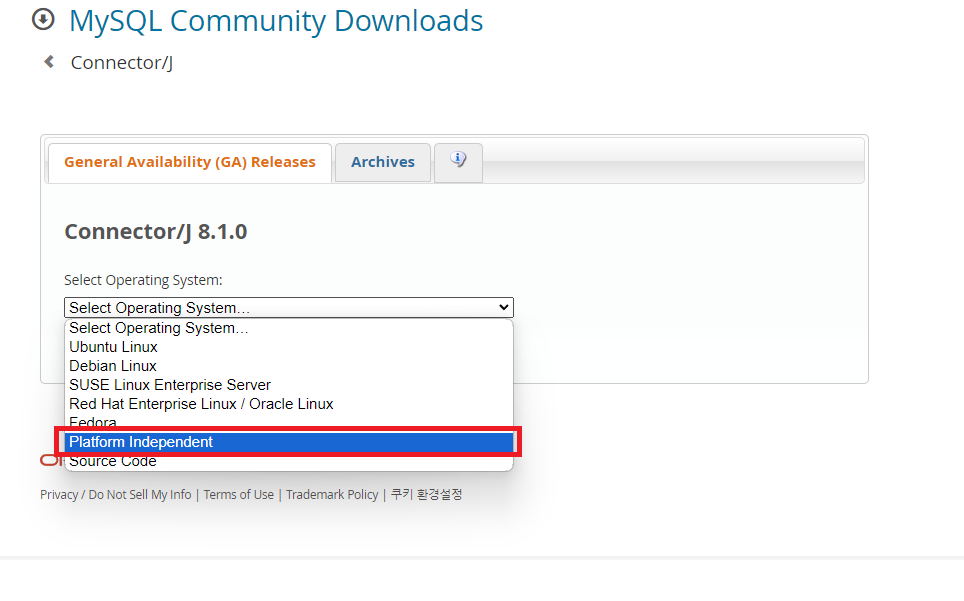
- 아래쪽 Platform Independent 다운로드
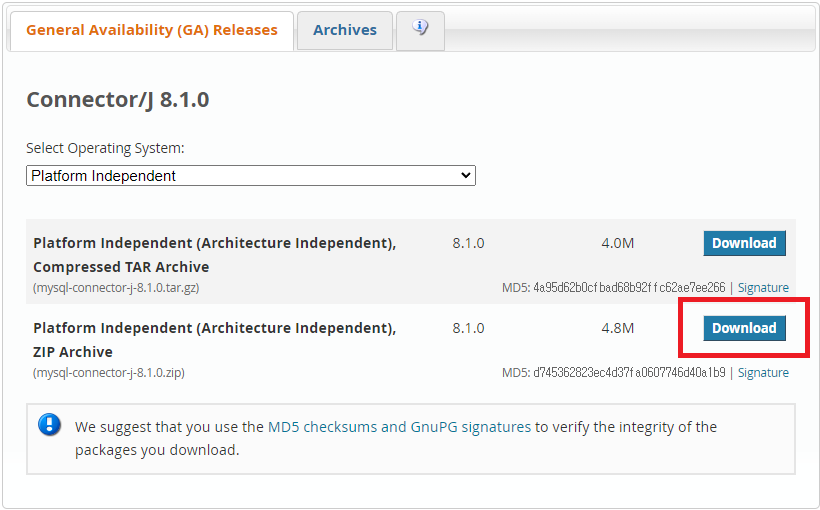
- 로그인을 해서 다운로드 가능하고, 아래쪽을 클릭하여 비회원 다운로드도 가능하다.

2.mysql과 jdbc연동하기
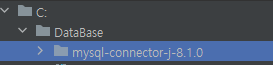
- 내가 아는 경로에 다운받은 디렉터리를 다운받고 압축을 푼다.

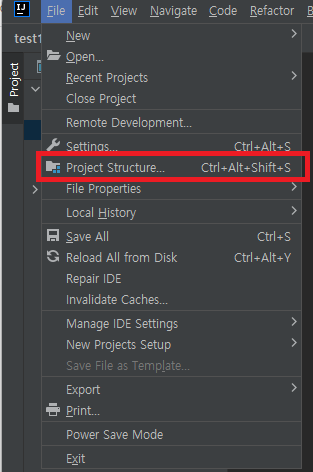
- intellij를 켜고 File을 누르고 Project Structure을 클릭한다.
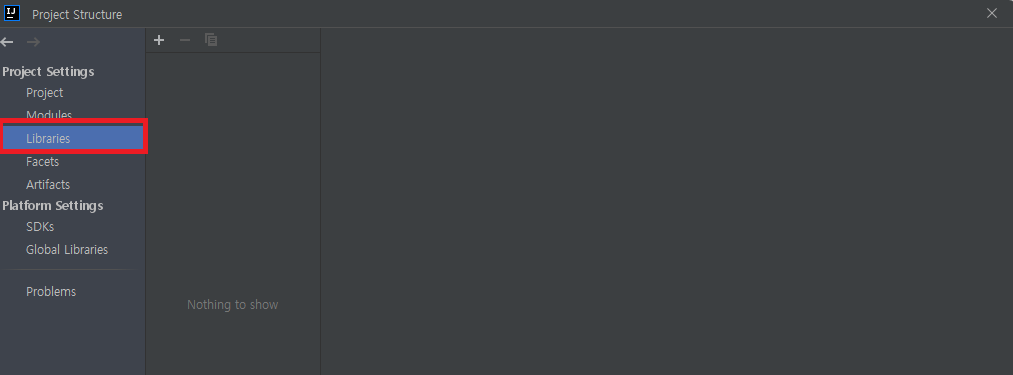
- Libraries를 클릭하면 아직 라이브러리를 추가한게 없기때문에 텅 비어있다. 위에 있는
+를 누르자!
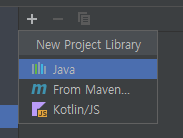
+를 누르면 java가 보인다. java 클릭!
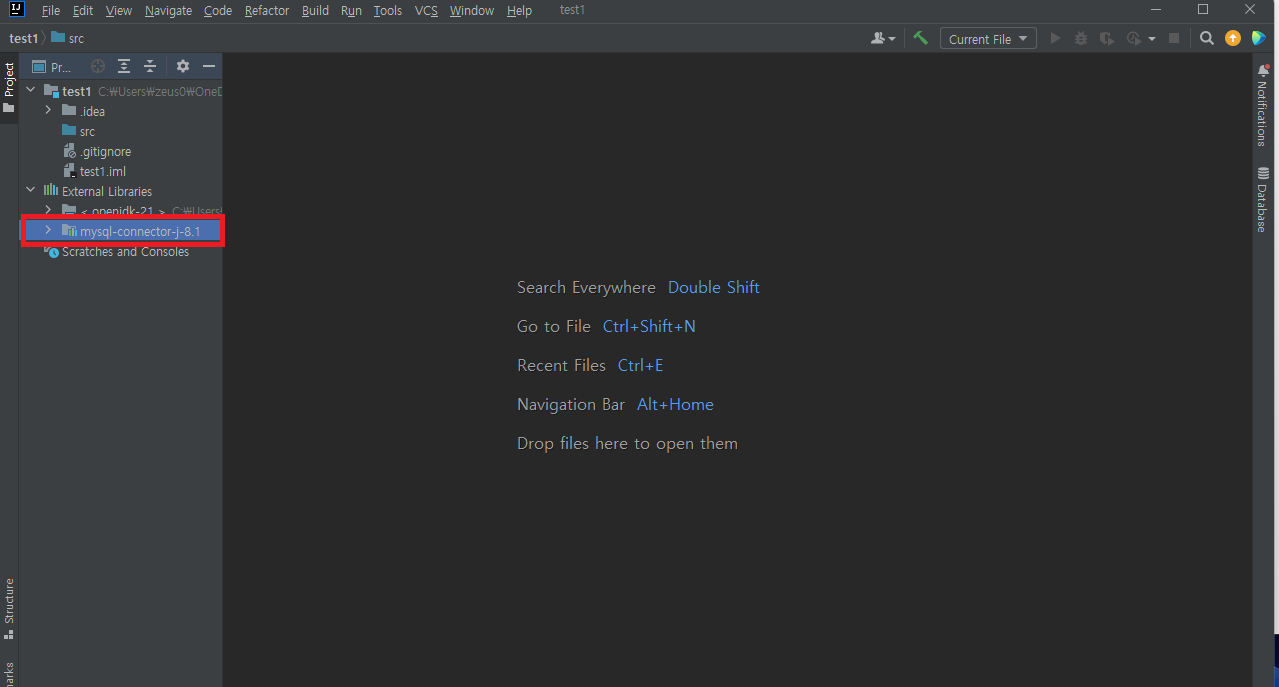
- 아까 저장해놓은 폴더의 mysql-connector-j-8.1.0을 선택하고 ok버튼을 누른다.
- jdbc 연동 완료
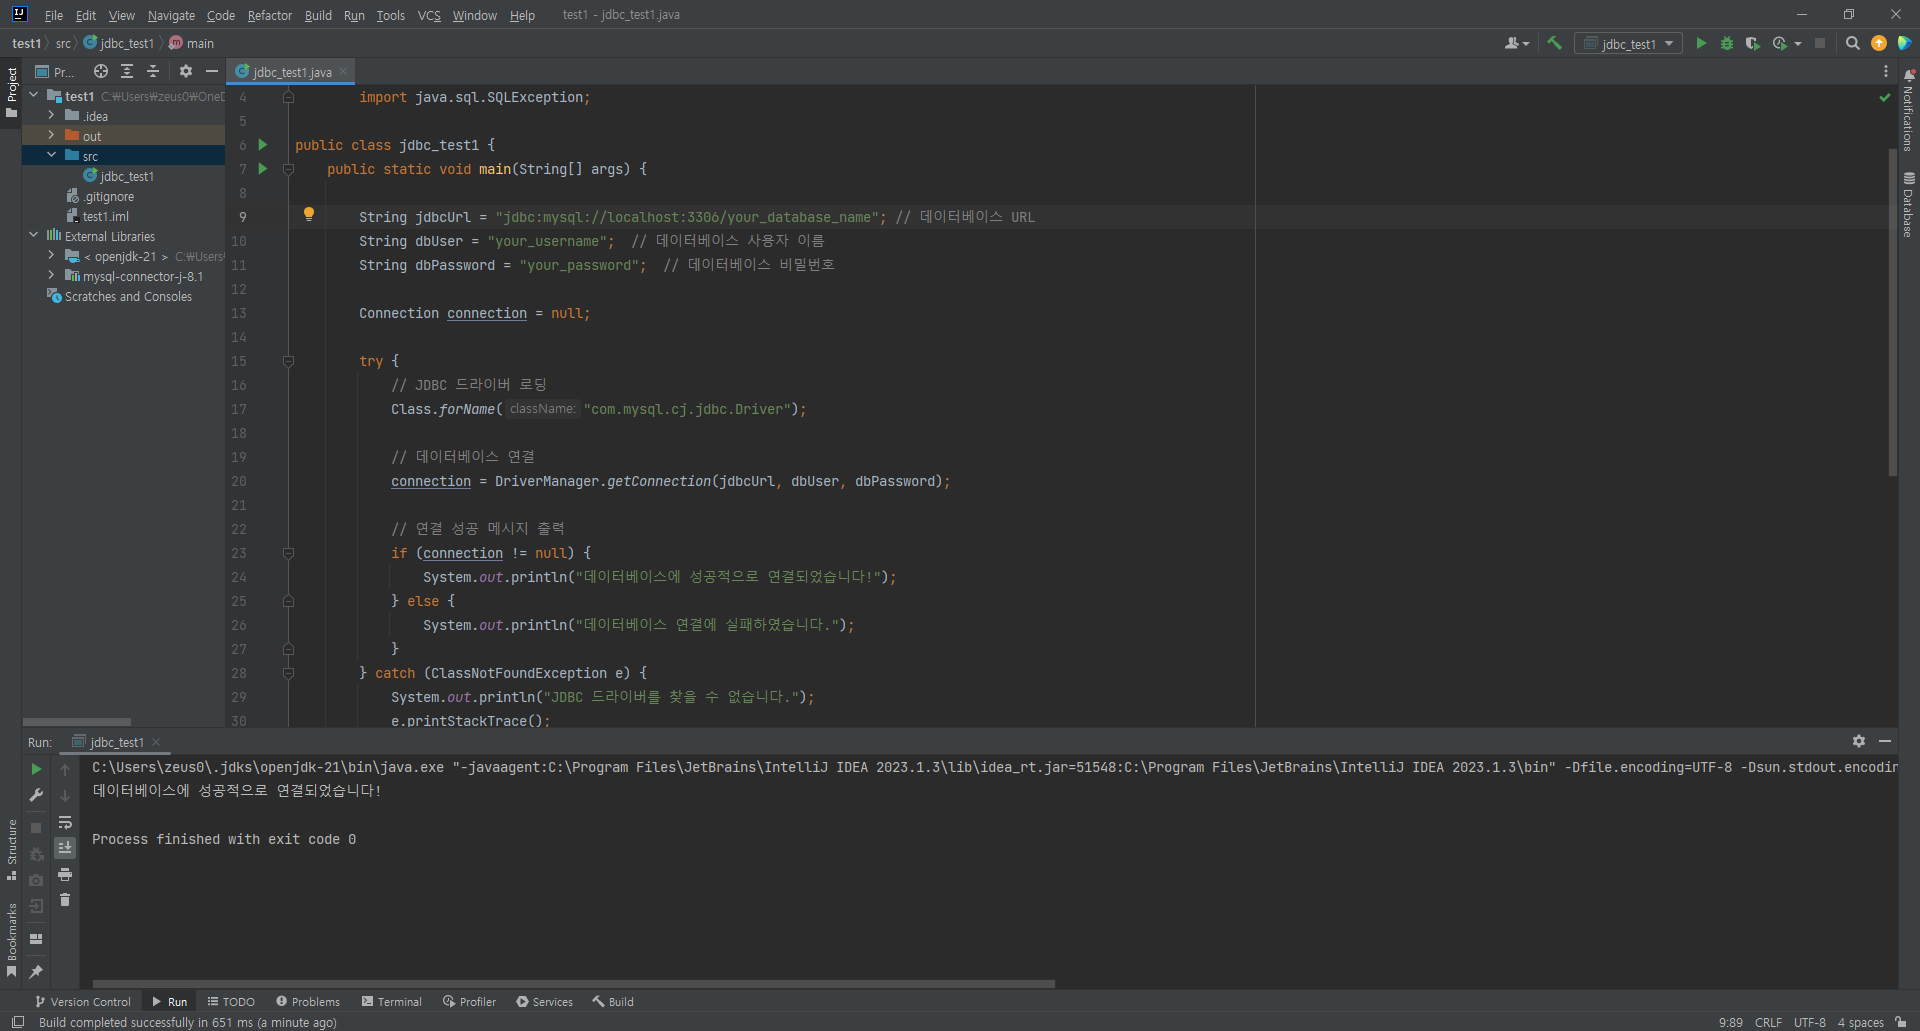
3.database 연결 확인
your_database_name, your_username, your_password
를 자신의 계정 정보로 수정한다
import java.sql.Connection;
import java.sql.DriverManager;
import java.sql.SQLException;

public class DatabaseConnectionTest {
    public static void main(String[] args) {
        String jdbcUrl = "jdbc:mysql://localhost:3306/your_database_name"; // 데이터베이스 URL
        String dbUser = "your_username";  // 데이터베이스 사용자 이름
        String dbPassword = "your_password";  // 데이터베이스 비밀번호

        Connection connection = null;

        try {
            // JDBC 드라이버 로딩
            Class.forName("com.mysql.cj.jdbc.Driver");

            // 데이터베이스 연결
            connection = DriverManager.getConnection(jdbcUrl, dbUser, dbPassword);

            // 연결 성공 메시지 출력
            if (connection != null) {
                System.out.println("데이터베이스에 성공적으로 연결되었습니다!");
            } else {
                System.out.println("데이터베이스 연결에 실패하였습니다.");
            }
        } catch (ClassNotFoundException e) {
            System.out.println("JDBC 드라이버를 찾을 수 없습니다.");
            e.printStackTrace();
        } catch (SQLException e) {
            System.out.println("데이터베이스 연결 중 오류가 발생하였습니다.");
            e.printStackTrace();
        } finally {
            try {
                if (connection != null) {
                    connection.close();  // 데이터베이스 연결 종료
                }
            } catch (SQLException e) {
                e.printStackTrace();
            }
        }
    }
}
- 연결 된 모습