API KEY 얻는 것부터 간단한 cluster까지 공식 문서에 나온 그대로 정리합니다.
위 포스트를 통해 angular와 google map을 이용해 지도에 위치를 표시하거나 여러 표시들을 묶어서 표현할 수 있습니다.
목표
- 구글 맵을 화면에 보이게 만들어보기
google map api 얻기
google map api 얻으려면 프로젝트부터 생성
google map api key로 구글 맵 연동하는데 AGM라이브러리 사용(googlemap을 js에 Wrapping 해둔 라이브러리) - cluster 추가하기
구글 맵을 화면에 보이게 만들어보기
google map api 얻기
https://duopix.co.kr/google-map-key/ 참조했습니다.
https://cloud.google.com/ GCP 콘솔에 들어갑니다. 계정을 생성하고 로그인하면 다음과 같은 화면이 보임.
console 로 이동 클릭

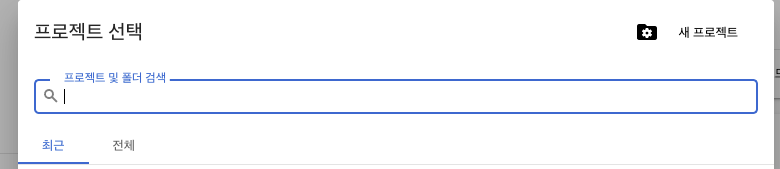
좌측 상단에 새 프로젝트 생성을 누릅니다. 저는 이미 생성한 프로젝트가 있어서 드롭다운이 들어가 있습니다.

드랍다운 누른후 새 프로젝트 생성을 눌러줍니다.
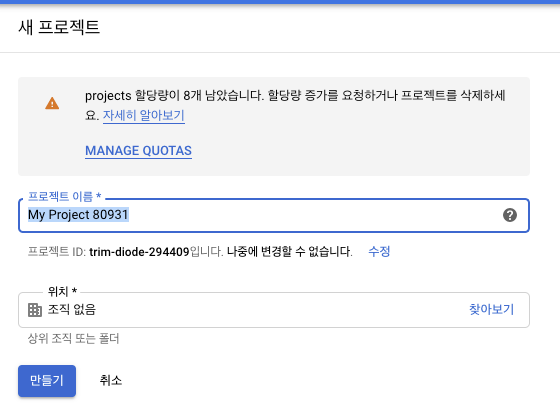
프로젝트 만들어 줍니다.
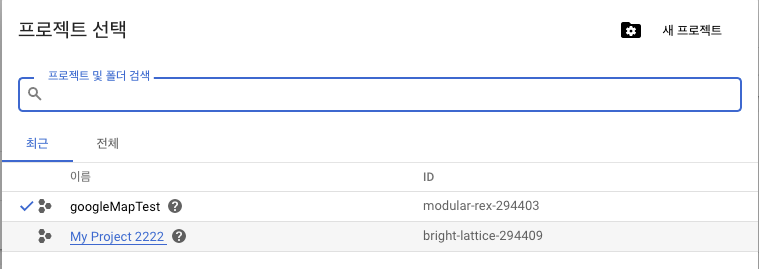
다시 https://console.cloud.google.com/ 콘솔 대시보드로 돌아와서 방금 생성한 프로젝트를 찾아갑니다.

드롭다운에서 방금생성한 프로젝트를 클릭합니다.
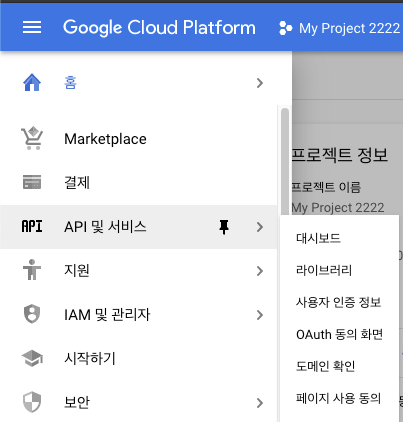
좌측 네비게이션 메뉴에서 API 및 서비스 > 라이브러리 선택
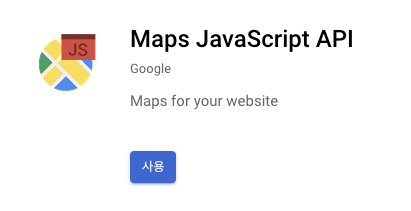
Maps Javascript API 검색해서 사용으로 해줍니다.
사용버튼이 관리로 바뀌면 클릭해주고
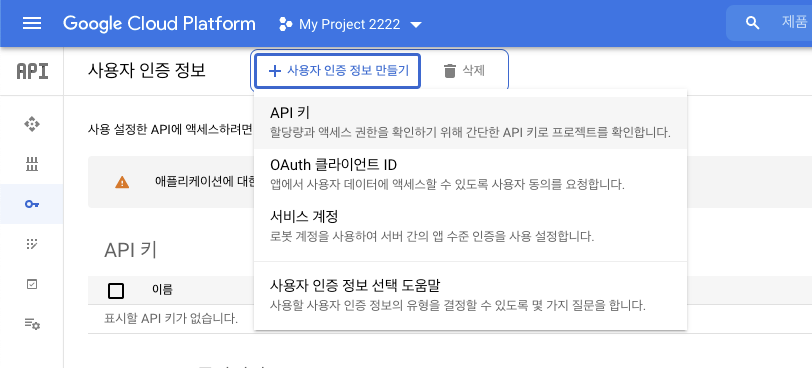
다음 화면으로 이동하면 사용자 인증 정보
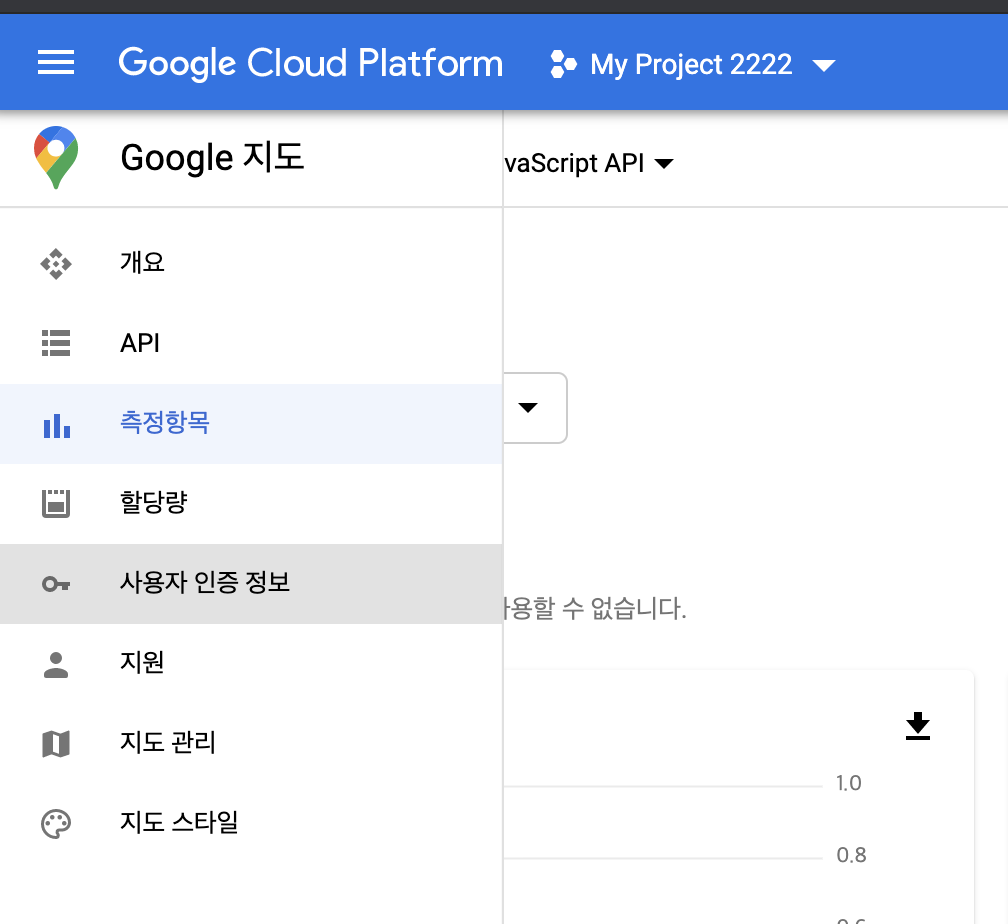
API 및 서비스 의 사용자 인증정보 클릭
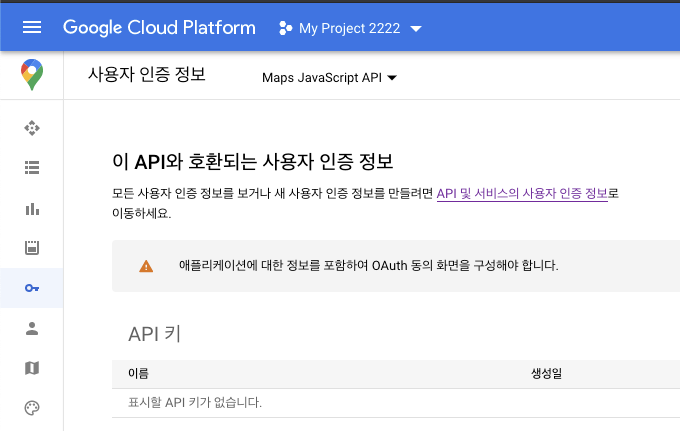
사용자 인증 정보 만들기 클릭
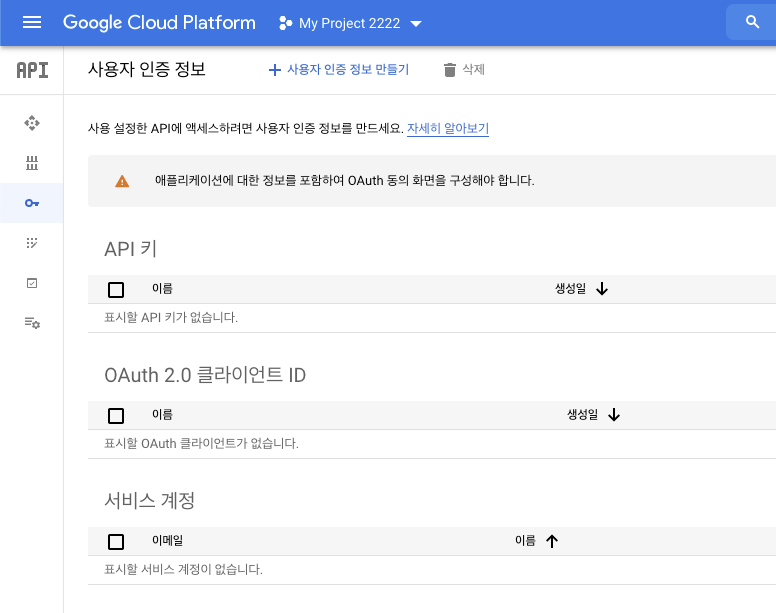
API 키 클릭
키를 생성후 클릭합니다.

리퍼러에 사용할 웹앱 URL입력해주세요.
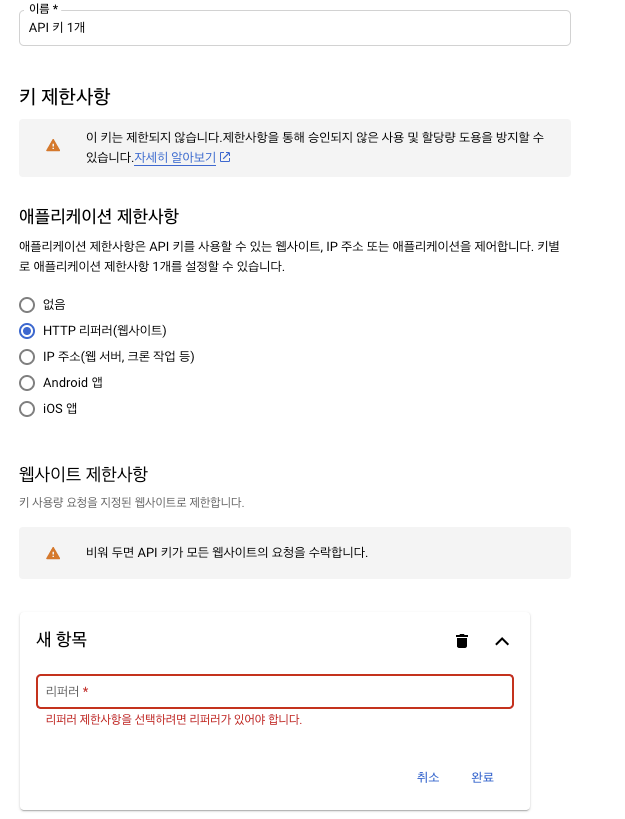
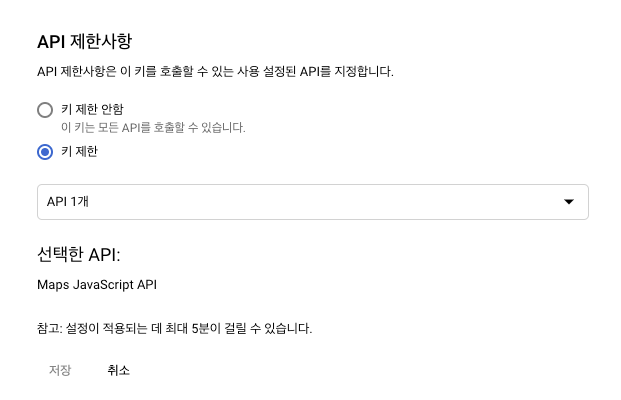
그리고 API 제한 사항에 google map만 쓴다는 가정하에 선택 후 저장
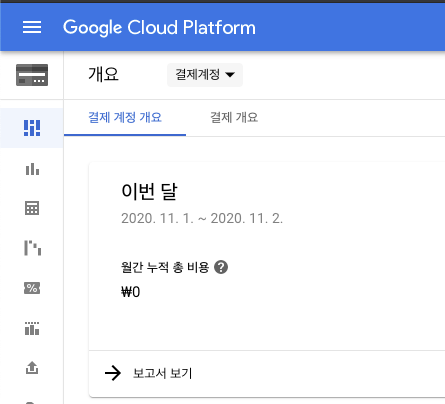
API를 사용하려면 결제정보를 입력해야되요. ( 카드 있어야함 )
https://cloud.google.com/maps-platform/ > 결제정보
구글 콘솔로 돌아와서 다시 결제 탭 클릭
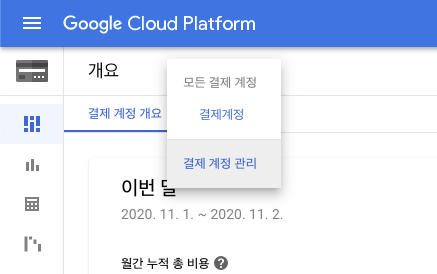
결제계정 클릭 > 결제계좌 관리 클릭
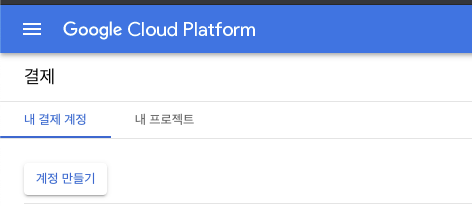
계정 만들기 > 계정 이어서 만들어주세요.
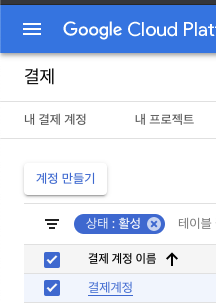
이렇게 상태: 활성 나오면 결제계정이 생성된 것이고 프로젝트에서 사용한 비용은 이 결제계정에서 결제됩니다.
google map api key로 구글 맵 연동하는데 AGM 라이브러리 사용할 겁니다.
추가할 라이브러리
꽤 많음. 클러스터는 또 다른 패키지라 그렇게 되었음.
npm install @agm/core @agm/js-marker-clusterer @agm/markerclusterer "@google/markerclustererplus @googlemaps/markerclustererplus @types/googlemaps js-marker-clusterercluster 추가하기
클러스터까지 한번에 추가할게요.
app-module
import { BrowserModule } from "@angular/platform-browser";
import { NgModule } from "@angular/core";
import { AppRoutingModule } from "./app-routing.module";
import { AppComponent } from "./app.component";
import { AgmCoreModule } from "@agm/core";
import { AgmJsMarkerClustererModule } from "@agm/js-marker-clusterer";

@NgModule({
  declarations: [AppComponent],
  imports: [
    BrowserModule,
    AppRoutingModule,
    AgmCoreModule.forRoot({
      apiKey: "API-KEY 넣어주세요.",
    }),
    AgmJsMarkerClustererModule,
  ],
  providers: [],
  bootstrap: [AppComponent],
})
export class AppModule {}
appComponent 공식문서 있는 위도 경도를 가져와서 클러스터 예제를 수행해요.
import { Component } from "@angular/core";

const locations = [
  { lat: -31.56391, lng: 147.154312 },
  { lat: -33.718234, lng: 150.363181 },
  { lat: -33.727111, lng: 150.371124 },
  { lat: -33.848588, lng: 151.209834 },
  { lat: -33.851702, lng: 151.216968 },
  { lat: -34.671264, lng: 150.863657 },
  { lat: -35.304724, lng: 148.662905 },
  { lat: -36.817685, lng: 175.699196 },
  { lat: -36.828611, lng: 175.790222 },
  { lat: -37.75, lng: 145.116667 },
  { lat: -37.759859, lng: 145.128708 },
  { lat: -37.765015, lng: 145.133858 },
  { lat: -37.770104, lng: 145.143299 },
  { lat: -37.7737, lng: 145.145187 },
  { lat: -37.774785, lng: 145.137978 },
  { lat: -37.819616, lng: 144.968119 },
  { lat: -38.330766, lng: 144.695692 },
  { lat: -39.927193, lng: 175.053218 },
  { lat: -41.330162, lng: 174.865694 },
  { lat: -42.734358, lng: 147.439506 },
  { lat: -42.734358, lng: 147.501315 },
  { lat: -42.735258, lng: 147.438 },
  { lat: -43.999792, lng: 170.463352 },
];

// Create an array of alphabetical characters used to label the markers.
const labels = "ABCDEFGHIJKLMNOPQRSTUVWXYZ";

@Component({
  selector: "app-root",
  styles: [
    `
      agm-map {
        height: 300px;
      }
    `,
  ],
  template: `
    <h1>{{ title }}</h1>

    <!-- this creates a google map on the page with the given lat/lng from -->
    <!-- the component as the initial center of the map: -->
    <agm-map
      [zoom]="zoom"
      [latitude]="lat"
      [longitude]="lng"
      (mapClick)="onChoseLocation($event)"
    >
      <agm-marker-cluster
        imagePath="https://developers.google.com/maps/documentation/javascript/examples/markerclusterer/m"
      >
        <ng-container *ngFor="let marker of markers">
          <agm-marker
            [latitude]="marker?.position?.lat"
            [longitude]="marker.position?.lng"
            >{{ marker?.label }}</agm-marker
          >
        </ng-container>
      </agm-marker-cluster>
      <!-- <agm-marker [latitude]="lat" [longitude]="lng"></agm-marker> -->
    </agm-map>
  `,
})
export class AppComponent {
  title = "my-map-project";

  lat = -35.963679232775924;
  lng = 149.8819452165296;
  zoom = 3;

  // Add some markers to the map.
  // Note: The code uses the JavaScript Array.prototype.map() method to
  // create an array of markers based on a given "locations" array.
  // The map() method here has nothing to do with the Google Maps API.
  markers = locations.map((location, i) => {
    return {
      position: location,
      label: labels[i % labels.length],
    };
  });

  onChoseLocation(e) {
    console.log(e);
  }
}
package.json
{
  "name": "my-map-project",
  "version": "0.0.0",
  "scripts": {
    "ng": "ng",
    "start": "ng serve",
    "build": "ng build",
    "test": "ng test",
    "lint": "ng lint",
    "e2e": "ng e2e"
  },
  "private": true,
  "dependencies": {
    "@agm/core": "^3.0.0-beta.0",
    "@agm/js-marker-clusterer": "^1.1.0",
    "@agm/markerclusterer": "^3.0.0-beta.0",
    "@angular/animations": "~8.2.0",
    "@angular/common": "~8.2.0",
    "@angular/compiler": "~8.2.0",
    "@angular/core": "~8.2.0",
    "@angular/forms": "~8.2.0",
    "@angular/platform-browser": "~8.2.0",
    "@angular/platform-browser-dynamic": "~8.2.0",
    "@angular/router": "~8.2.0",
    "@google/markerclustererplus": "^5.1.3",
    "@googlemaps/markerclustererplus": "^1.0.3",
    "@types/googlemaps": "^3.39.12",
    "js-marker-clusterer": "^1.0.0",
    "rxjs": "~6.4.0",
    "tslib": "^1.10.0",
    "zone.js": "~0.9.1"
  },
  "devDependencies": {
    "@angular-devkit/build-angular": "^0.803.24",
    "@angular/cli": "~8.2.1",
    "@angular/compiler-cli": "~8.2.0",
    "@angular/language-service": "~8.2.0",
    "@types/jasmine": "~3.3.8",
    "@types/jasminewd2": "~2.0.3",
    "@types/node": "~8.9.4",
    "codelyzer": "^5.0.0",
    "jasmine-core": "~3.4.0",
    "jasmine-spec-reporter": "~4.2.1",
    "karma": "~4.1.0",
    "karma-chrome-launcher": "~2.2.0",
    "karma-coverage-istanbul-reporter": "~2.0.1",
    "karma-jasmine": "~2.0.1",
    "karma-jasmine-html-reporter": "^1.4.0",
    "protractor": "~5.4.0",
    "ts-node": "~7.0.0",
    "tslint": "~5.15.0",
    "typescript": "~3.5.3"
  }
}
다음 포스트는 그냥 마커가 아닌 마커를 클릭시 상세정보를 보여주거나 클러스터 커스텀 이미지를 입히는 작업을 이어갈 계획입니다.