스토리북 - interaction Test

Storybook 도입
기존 Javascript로 진행했던 Hello world 프로젝트를 Next.js로 마이그레이션하는 프로젝트를 진행하는 중이다.
이번 프로젝트에서 테스트 경험을 쌓자는 팀원들의 공통된 의견이 있었고 UI 테스트를 위해 storybook을 도입하게 되었다.
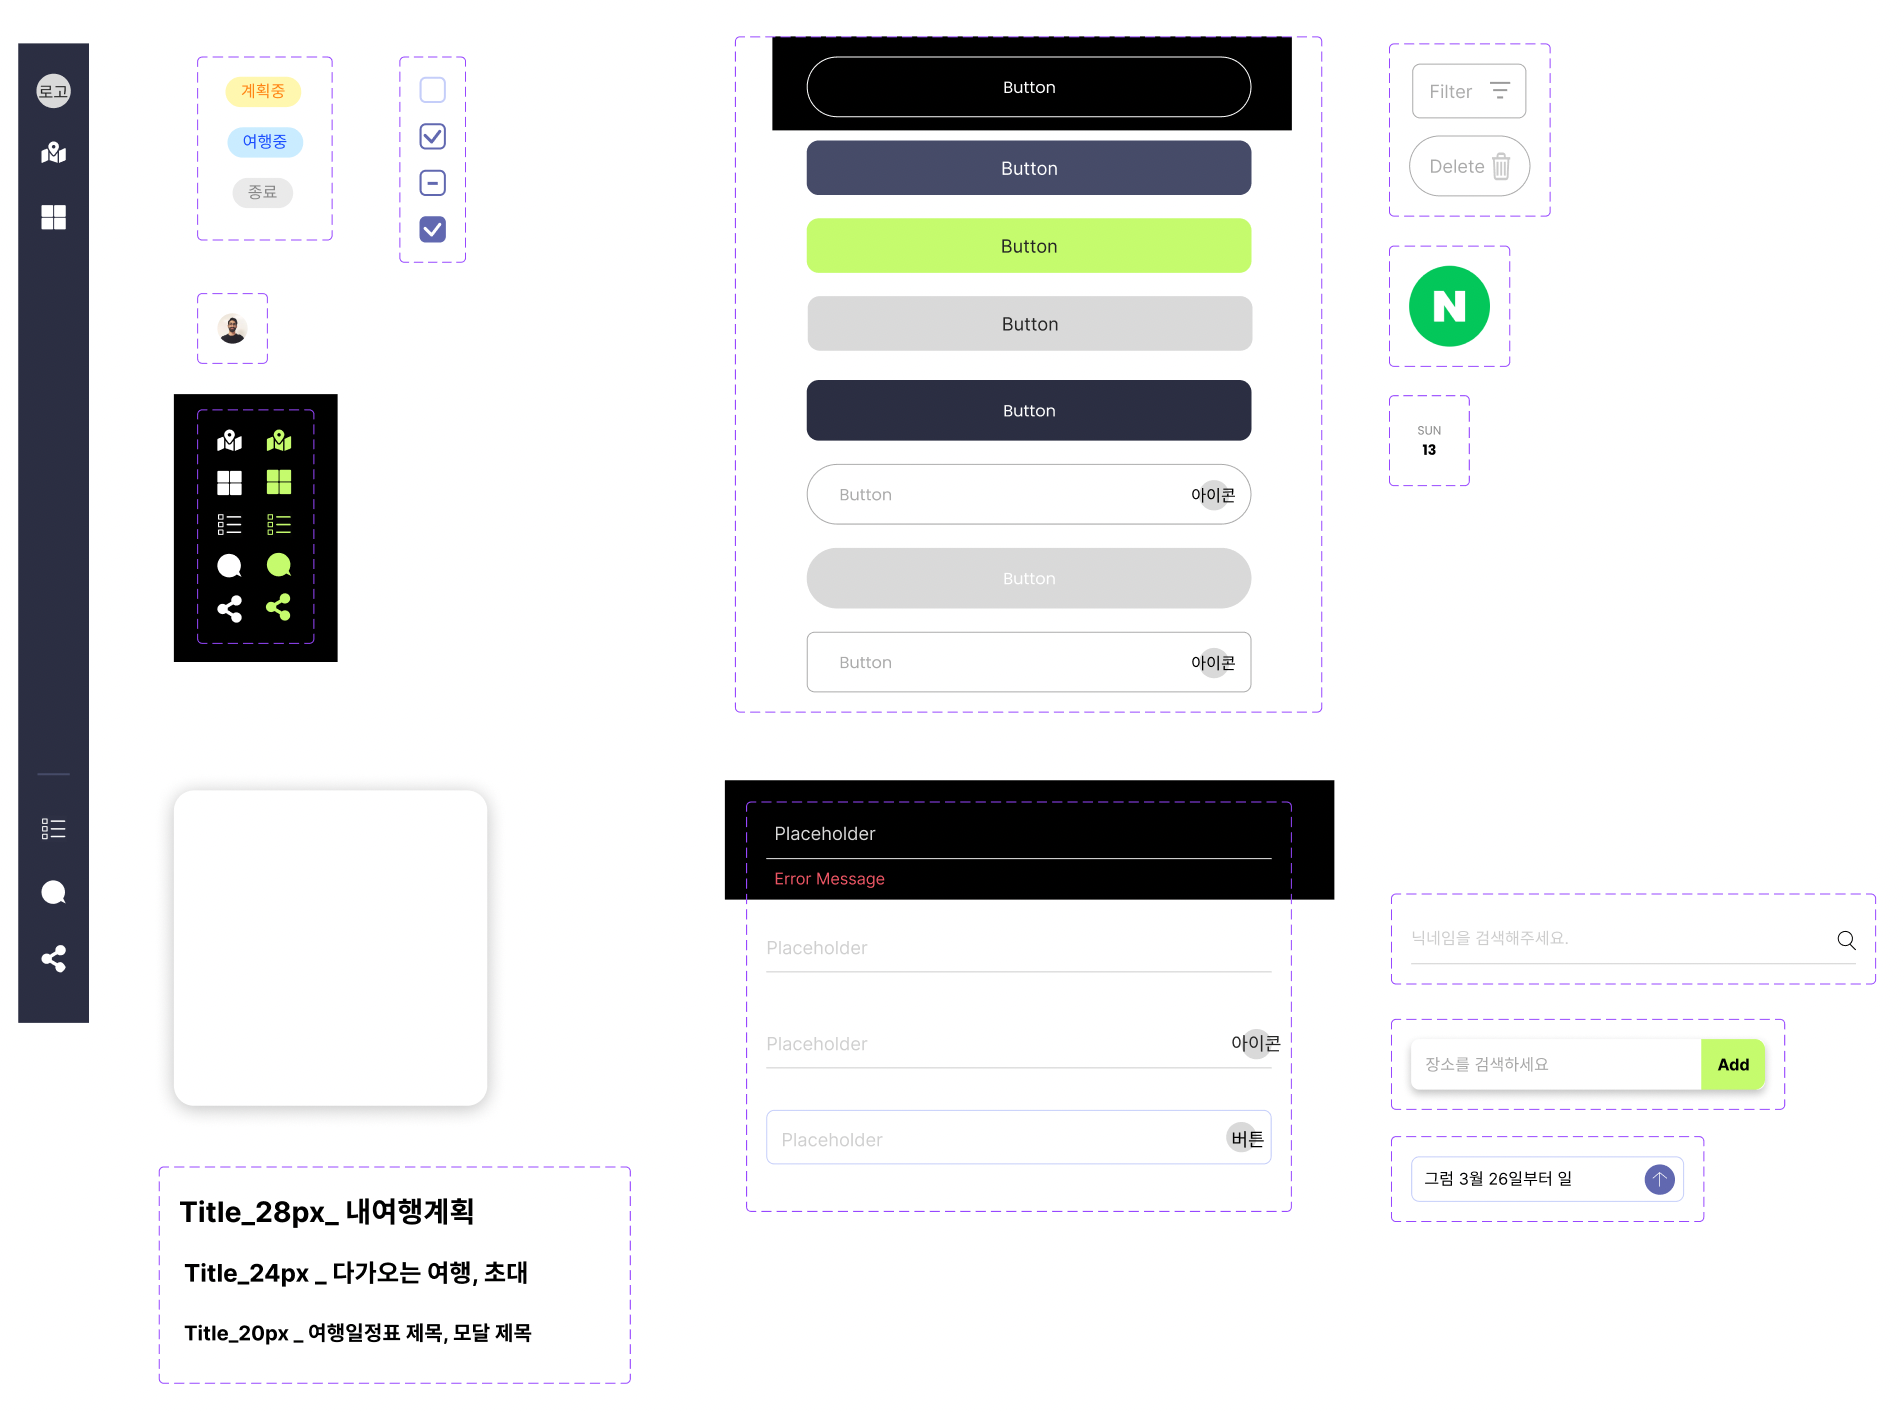
우선 피그마로 작업한 공통 컴포넌트들 중 Button, Input, Wrapper, Title 이렇게 분리하여 storybook 코드를 작성했다.
공식 Docs에서 알려주는 대로 npx storybook init으로 설치 시 기본 템플릿을 제공해 줘 코드 작성이 어렵진 않았다.
// Button.stories.tsx

import { ComponentStory, ComponentMeta } from '@storybook/react';
import { within, userEvent } from '@storybook/testing-library';
import Button from './Button';

export default {
  title: 'Common/Button',
  component: Button,
  argTypes: {},
} as ComponentMeta<typeof Button>;

const Template: ComponentStory<typeof Button> = args => <Button {...args} />;

export const Base = Template.bind({});

Base.args = {
  color: '#ffffff',
  background: '#464B68',
  children: 'test',
  onClick: () => {
    alert('test');
  },
};

Base.play = async ({ canvasElement }) => {
  const canvas = within(canvasElement);

  await userEvent.click(canvas.getByRole('button', { name: 'test' }));
};

export const Neon = Template.bind({});

Neon.args = {
  color: '#252525',
  background: '#C5FB6D',
  children: <div>123</div>,
};

export const Disabled = Template.bind({});

Disabled.args = {
  color: '#252525',
  background: '#D9D9D9',
  children: <input />,
};

Storybook Test
예상한 대로 UI가 잘 보이는 것을 알 수 있었다. UI가 잘 보이는 것은 알겠으나 테스트는 어떻게 연결이 되는 것인지가 궁금했다.
다양한 테스트 방법이 있는듯하지만 우선 두 가지 테스트를 진행했다.
- test파일에서 story를 불러와 테스트
일반적인 *.test.tsx 파일에서 render에 컴포넌트를 가상으로 렌더링하는 대신 @storybook/testing-react의 composeStories를 통해 스토리?를 가상으로 렌더링하여 테스트 - stories파일에서 jest관련 메서드를 불러와 테스트
*.stories.tsx 파일에서 @storybook/jest에서 jest관련 메서드들을 사용하여 테스트
첫 번째 테스트 방법의 경우 test파일을 따로 만들어야 하기에 굳이 스토리를 가져와서 테스트할 때의 이점이 무엇인지를 아직 모르겠다.
전달해야 하는 props가 있는 경우 스토리에 원하는 props로 입력된 컴포넌트를 render 하기에 간결한 코드의 느낌이 나는 정도 (적고 보니 큰 메리트 같기도?)두 번째 테스트의 경우는 공식 Docs에서 로그인 과정을 테스트하는 영상이 있는데 사용자가 직접 동작하는 것처럼 보여줘 시각적 효과가 좋았다.
이 글에서는 stories파일에서 interaction 테스트를 진행한 경험을 말하고자 한다.
처음 storybook으로 구현한 Button, Input, Wrapper, Title을 통해 SignIn 컴포넌트를 임시로 만들었다.
import { ComponentStory, ComponentMeta } from '@storybook/react';
import { within, userEvent } from '@storybook/testing-library';
import { expect } from '@storybook/jest';
import SignIn from './index';

export default {
  title: 'Page/SignIn',
  component: SignIn,
  argTypes: {},
} as ComponentMeta<typeof SignIn>;

const Template: ComponentStory<typeof SignIn> = () => <SignIn />;

export const SignInBox = Template.bind({});

// 스토리에 인터랙션 스토리를 재생하는 속성을 추가한다.
SignInBox.play = async ({ canvasElement }) => {

// 직접 screen API를 쓸 수도 있지만 스토리북에서는 within(canvasElement) 로 캔버스를 가져올 것을 권장한다.
  const canvas = within(canvasElement);

  await userEvent.type(canvas.getByLabelText('이메일'), 'abcemail.com', { delay: 100 });
  await userEvent.type(canvas.getByLabelText('비밀번호'), '12ㅣㅑ더ㅣㅑㅁ너이ㅑㅁㄴ', { delay: 100 });

  expect(canvas.getByText('아이디 형식에 맞게 입력해주세요.')).toBeInTheDocument();

  await userEvent.clear(canvas.getByLabelText('이메일'));
  await userEvent.type(canvas.getByLabelText('이메일'), 'abc@email.com', { delay: 100 });

  expect(canvas.queryByText('아이디 형식에 맞게 입력해주세요.')).toBeNull();
};
이메일, 비밀번호를 유효성 검사 실패로 입력 시킨 후 이메일만 유효성 검사 통과하도록 Event 추가 후 유효성 실패 문구가 화면에서 사라지는지 테스트를 했다.
보여지는 것처럼 입력에 맞게 화면이 변하고 아래에 테스트가 제대로 동작하는지 알 수 있었다.
스토리북을 사용해보니 확실히 기획자나 디자이너와 협업을 하게 되면 큰 도움이 되겠다는 생각이 들었다.
처음에는 굳이 공수가 더 들어가는 것이 아닌가 했지만 인터렉션 테스트를 해보니 시각적으로 느껴지는 부분이 확실히 좋았다.마이그레이션을 하며 UI테스트는 스토리북, 로직테스트는 jest, E2E는 cypress 이렇게 진행하려한다.
아직까진 테스트를 진행해보며 어디까지가 UI로 봐야하고 어디까지가 로직으로 봐야하는지의 경계가 명확히 보이진 않는 것 같다.
그래도 테스트의 중요성은 점점 느끼고 있고 재밌다. 정답은 없어보이지만 경험이 확실히 중요해보인다.
참고
https://storybook.js.org/docs/react/writing-tests/interaction-testing
https://ui.toast.com/posts/ko_20220111