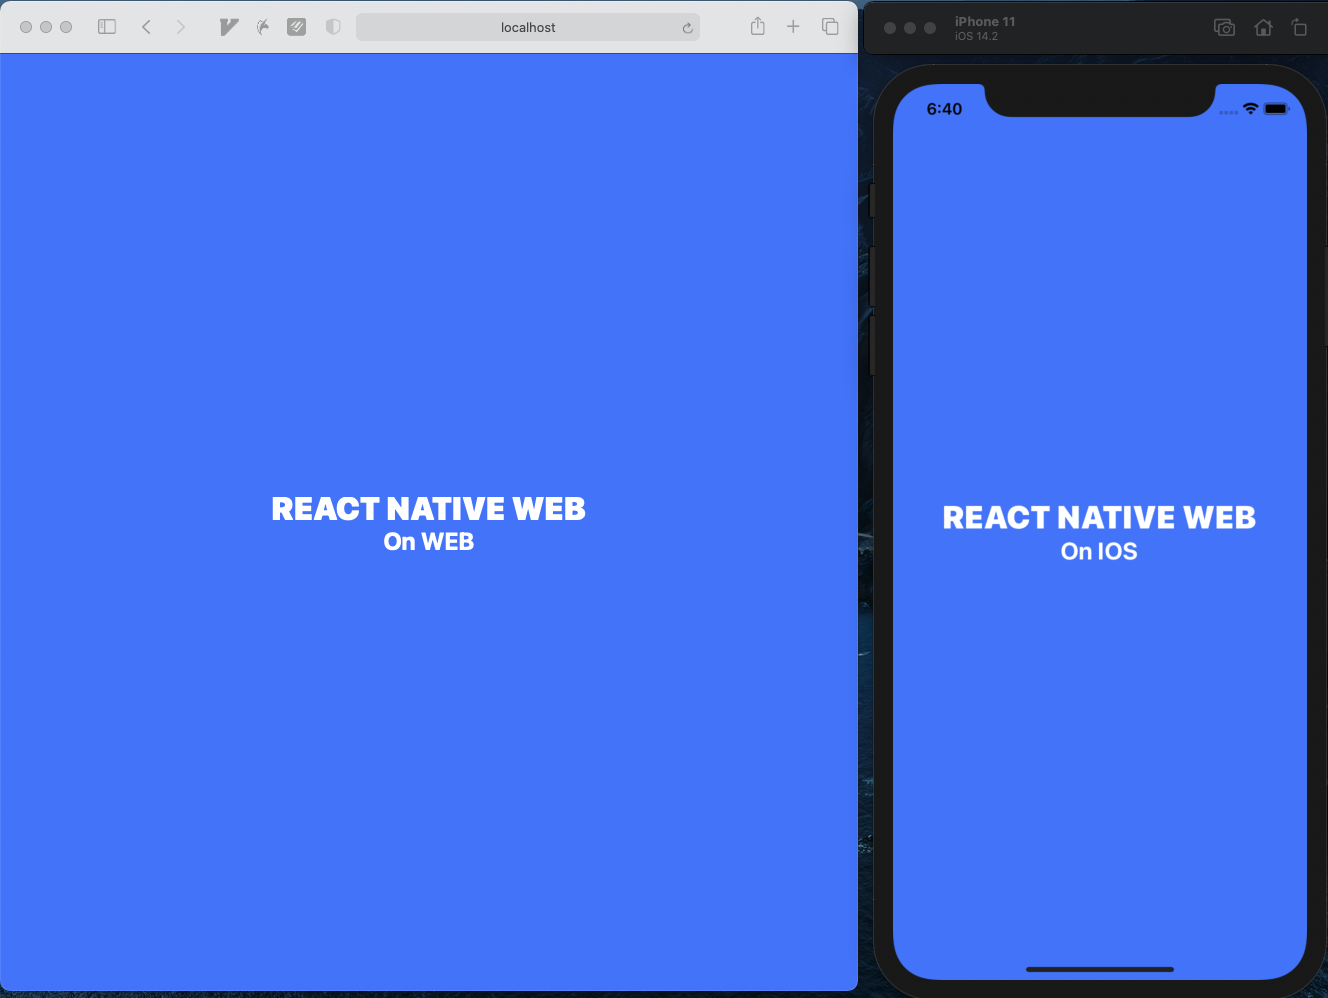
웹과 모바일에서 동일한 사용자 경험을 제공하기 위해 단일 React-Native 앱을 작성하고 모바일과 웹 모두 빌드할 수 있는 모노 레포지토리를 구성해보자.
주요 패키지 버전
- react : 16.13.1
- react-native : 0.63.3
- react-native-web : 0.14.8
- styled-components : 5.2.1
- nextjs : 10.0.3
- typescript : 4.1.2
- @babel/core : 7.12.1
- yarn : 1.22.10
이전 포스트에서 공통 앱과 mobile 빌드 환경 구성하였다. 남은 web(nextjs) 빌드 환경을 구성해보자.
@nextjs-rn-monrepo/web 패키지 생성
cd ~/nextjs-rn-monorepo/packages
npx create-next-app web --example with-typescript

cd web
rm -rf components interfaces pages utils
mkdir pages
의존성 패키지 설치
cd ~/nextjs-rn-monorepo/packages/web

yarn add
    react-dom \
    react-is \
    react-native \
    react-native-web \
    styled-components

yarn add --dev \
    @babel/core \
    @babel/plugin-transform-runtime \
    @babel/preset-env \
    @babel/runtime-corejs3 \
    babel-plugin-react-native-web \
    next-compose-plugins \
    next-transpile-modules

yarn workspace @nextjs-rn-monorepo/web add @nextjs-rn-monorepo/app@0.0.1
babel 설정
// ~/nextjs-rn-monorepo/packages/web/babel.config.js

module.exports = api => {
  api.cache(true);

  return {
    presets: [
      "next/babel",
      [
        "@babel/preset-env",
        {
          targets: {
            browsers: ["> 1%", "last 2 versions", "not ie <= 10"]
          },
        }
      ]
    ],
    plugins: [
      [
        "@babel/plugin-transform-runtime",
        { corejs: 3 }
      ],
      [
        "styled-components",
        {
          ssr: true,
          displayName: true,
          preprocess: false
        }
      ],
    ],
  }
};
Next.js 설정
// ~/nextjs-rn-monorepo/packages/web/next.config.js

const withPlugins = require('next-compose-plugins');
const withTM = require('next-transpile-modules')(
  [
    // 참조할 다른 로컬 패키지와 해당 패키지가 사용하는 의존성 패키지들을 명시
    '@nextjs-rn-monorepo/app',
    'react-native',
    'styled-components',
  ],
);

module.exports = withPlugins([withTM], {
  webpack(config) {
    config.resolve.alias = {
      ...(config.resolve.alias || {}),
      'react-native$': 'react-native-web',
    }
    config.resolve.extensions = [
      '.web.ts',
      '.web.tsx',
      '.ts',
      '.tsx',
      '.web.js',
      '.web.jsx',
      '.js',
      '.jsx',
      ...config.resolve.extensions,
    ]
    return config;
  }
});
인덱스 웹 페이지 작성
react-native 앱을 서버 사이드 렌더링 할 수 있게 커스텀 도큐먼트 파일을 작성한다.
// ~/nextjs-rn-monorepo/packages/web/pages/_document.tsx

import React, { Children } from 'react'
import Document, {
  Html,
  Head,
  Main,
  NextScript,
  DocumentContext,
} from 'next/document'
import { AppRegistry } from 'react-native'

import { name as appName } from '../package.json'

// Force Next-generated DOM elements to fill their parent's height
const normalizeNextElements = `
  #__next {
    display: flex;
    flex-direction: column;
    height: 100%;
  }

  html {
    height: 100%;
  }

  body {
    height: 100%;
    overflow: hidden;
  }
`

export default class MyDocument extends Document {
  static async getInitialProps({ renderPage }: DocumentContext) {
    AppRegistry.registerComponent(appName, () => Main)
    const { getStyleElement } = AppRegistry.getApplication(appName)
    const page = await renderPage()
    const styles = [
      // eslint-disable-next-line react/no-danger
      <style dangerouslySetInnerHTML={{ __html: normalizeNextElements }} />,
      getStyleElement(),
    ]
    return { ...page, styles: Children.toArray(styles) }
  }

  render() {
    return (
      <Html>
        <Head />
        <body>
          <Main />
          <NextScript />
        </body>
      </Html>
    )
  }
}
getApplication 함수를 찾지 못해서 에러가 발생하는 데 이것을 우회하기 위해 react-native의 AppRegistry를 재정의한다. (서버 사이드 렌더링을 위한 웹 전용 함수로 등록된 앱의 element를 반환하는 함수)
// ~/nextjs-rn-monorepo/packages/web/pages/@types/react-native.d.ts

// 아래 import 구문이 없는 경우 react-native의 다른 함수나 타입들을 사용할 수가 없어서 임의로 추가
import * as RN from 'react-native';

declare module 'react-native' {
  namespace AppRegistry {
    function registerComponent(
      appKey: string,
      componentProvider: () => React.ComponentType,
    ): void

    function getApplication(appKey: string): { getStyleElement: () => string }
  }
}
// ~/nextjs-rn-monorepo/packages/web/pages/index.tsx
import { App } from '@nextjs-rn-monorepo/app';
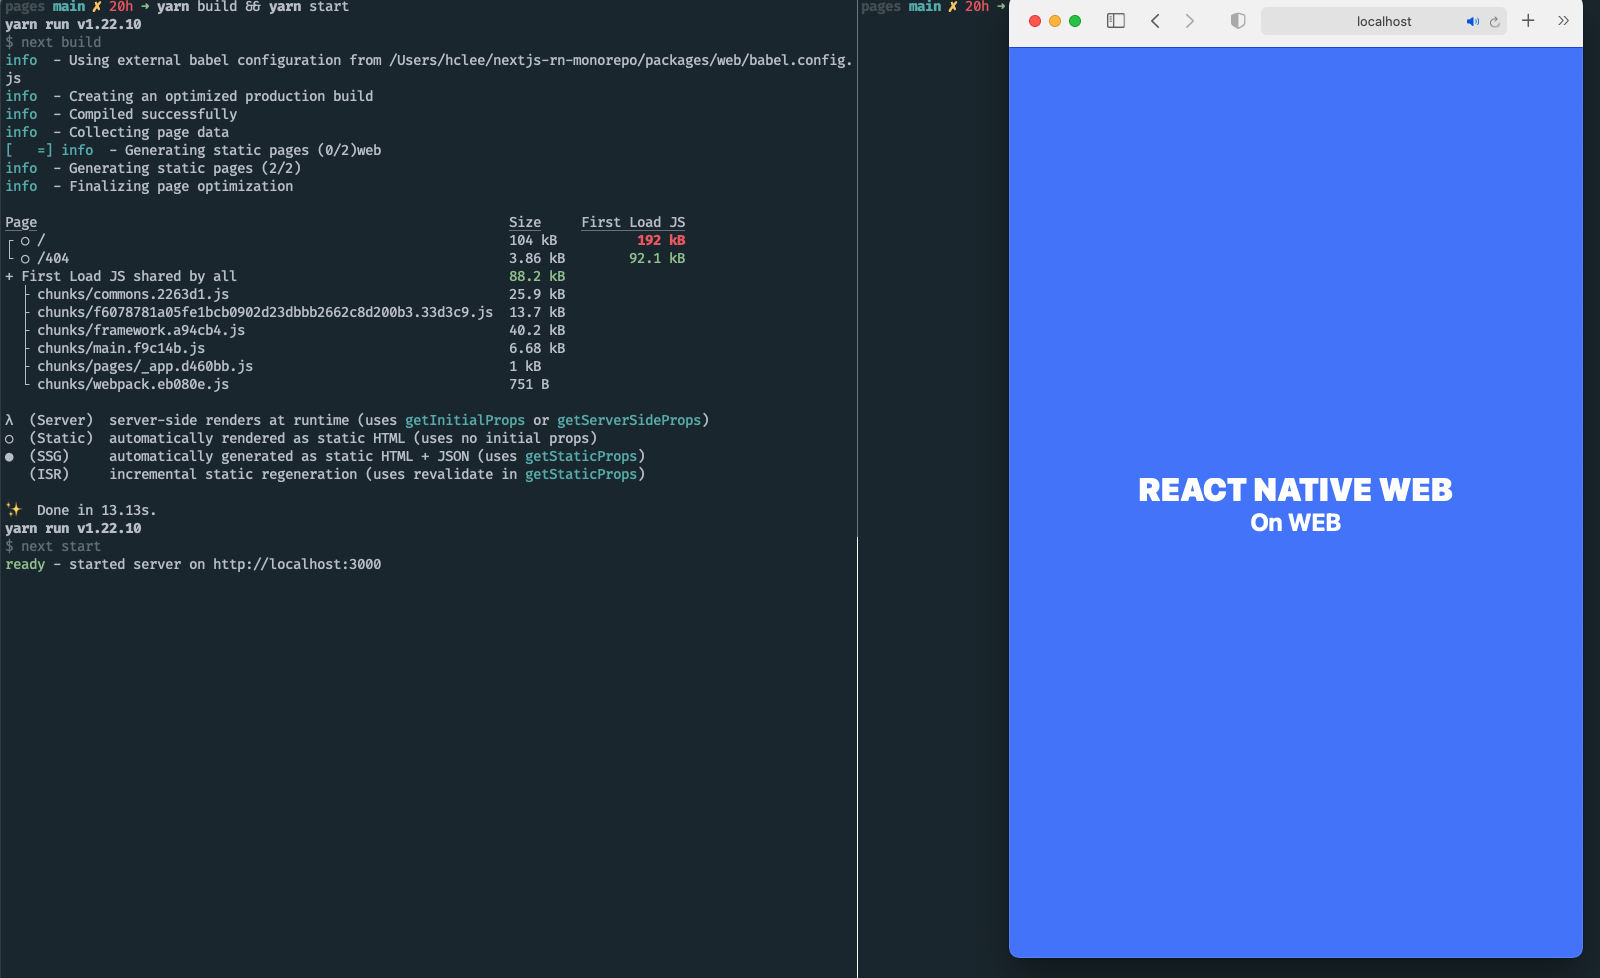
export default App;yarn build && yarn start

도움이 많이됬습니다. 감사합니다 ㅎㅎ
역시 고퍼프로필은 훌륭하신분!