앞으로 해야할 일들은 일단 이렇다!
목차
- lint 설정
- 폴더구조 설계하기
- redux-saga 입히기 (오늘은 여기까지)
- 라우팅 설정하기
- tailwind 및 daisy ui 도입하기
1. lint 설정
코드를 일단 정리하는데,, 린트 설정이 안되어있어서 매우 불편 ^^ 역시 이것부터 하는게 국룰이지
.eslintrc.js
const fs = require('fs');
const path = require('path');

const prettierOptions = JSON.parse(
  fs.readFileSync(path.resolve(__dirname, '.prettierrc'), 'utf8'),
);

module.exports = {
  parser: 'babel-eslint',
  extends: ['airbnb', 'prettier'],
  plugins: [
    'prettier',
    'redux-saga',
    'react',
    'react-hooks',
    'jsx-a11y',
    'react-native',
  ],
  env: {
    jest: true,
    browser: true,
    node: true,
    es6: true,
  },
  parserOptions: {
    ecmaVersion: 6,
    sourceType: 'module',
    ecmaFeatures: {
      jsx: true,
    },
  },
  settings: {
    'import/resolver': {
      'babel-plugin-root-import': {
        rootPathPrefix: '~',
        rootPathSuffix: 'src',
      },
    },
  },
  rules: {
    'prettier/prettier': ['error', prettierOptions],
    'arrow-body-style': [2, 'as-needed'],
    'class-methods-use-this': 0,
    'import/imports-first': 0,
    'import/newline-after-import': 0,
    'import/no-dynamic-require': 0,
    'import/no-extraneous-dependencies': 0,
    'import/no-named-as-default': 0,
    'import/no-unresolved': 2,
    'import/no-webpack-loader-syntax': 0,
    'import/prefer-default-export': 0,
    indent: [
      2,
      2,
      {
        SwitchCase: 1,
      },
    ],
    'jsx-a11y/aria-props': 2,
    'jsx-a11y/heading-has-content': 0,
    'jsx-a11y/label-has-associated-control': [
      2,
      {
        // NOTE: If this error triggers, either disable it or add
        // your custom components, labels and attributes via these options
        // See https://github.com/evcohen/eslint-plugin-jsx-a11y/blob/master/docs/rules/label-has-associated-control.md
        controlComponents: ['Input'],
      },
    ],
    'jsx-a11y/label-has-for': 0,
    'jsx-a11y/mouse-events-have-key-events': 2,
    'jsx-a11y/role-has-required-aria-props': 2,
    'jsx-a11y/role-supports-aria-props': 2,
    'max-len': 0,
    'newline-per-chained-call': 0,
    'no-confusing-arrow': 0,
    'no-console': 1,
    'no-unused-vars': 2,
    'no-use-before-define': 0,
    'prefer-template': 2,
    'react/destructuring-assignment': 0,
    'react-hooks/rules-of-hooks': 'error',
    'react/jsx-closing-tag-location': 0,
    'react/forbid-prop-types': 0,
    'react/jsx-first-prop-new-line': [2, 'multiline'],
    'react/jsx-filename-extension': 0,
    'react/jsx-no-target-blank': 0,
    'react/jsx-uses-vars': 2,
    'react/require-default-props': 0,
    'react/require-extension': 0,
    'react/self-closing-comp': 0,
    'react/sort-comp': 0,
    'redux-saga/no-yield-in-race': 2,
    'redux-saga/yield-effects': 2,
    'require-yield': 0,
    'react/prop-types': 0,
    'react/jsx-props-no-spreading': 0,
  },
};
.prettierrc
const fs = require('fs');
const path = require('path');

const prettierOptions = JSON.parse(
  fs.readFileSync(path.resolve(__dirname, '.prettierrc'), 'utf8'),
);

module.exports = {
  parser: 'babel-eslint',
  extends: ['airbnb', 'prettier'],
  plugins: [
    'prettier',
    'redux-saga',
    'react',
    'react-hooks',
    'jsx-a11y',
    'react-native',
  ],
  env: {
    jest: true,
    browser: true,
    node: true,
    es6: true,
  },
  parserOptions: {
    ecmaVersion: 6,
    sourceType: 'module',
    ecmaFeatures: {
      jsx: true,
    },
  },
  settings: {
    'import/resolver': {
      'babel-plugin-root-import': {
        rootPathPrefix: '~',
        rootPathSuffix: 'src',
      },
    },
  },
  rules: {
    'prettier/prettier': ['error', prettierOptions],
    'arrow-body-style': [2, 'as-needed'],
    'class-methods-use-this': 0,
    'import/imports-first': 0,
    'import/newline-after-import': 0,
    'import/no-dynamic-require': 0,
    'import/no-extraneous-dependencies': 0,
    'import/no-named-as-default': 0,
    'import/no-unresolved': 2,
    'import/no-webpack-loader-syntax': 0,
    'import/prefer-default-export': 0,
    indent: [
      2,
      2,
      {
        SwitchCase: 1,
      },
    ],
    'jsx-a11y/aria-props': 2,
    'jsx-a11y/heading-has-content': 0,
    'jsx-a11y/label-has-associated-control': [
      2,
      {
        // NOTE: If this error triggers, either disable it or add
        // your custom components, labels and attributes via these options
        // See https://github.com/evcohen/eslint-plugin-jsx-a11y/blob/master/docs/rules/label-has-associated-control.md
        controlComponents: ['Input'],
      },
    ],
    'jsx-a11y/label-has-for': 0,
    'jsx-a11y/mouse-events-have-key-events': 2,
    'jsx-a11y/role-has-required-aria-props': 2,
    'jsx-a11y/role-supports-aria-props': 2,
    'max-len': 0,
    'newline-per-chained-call': 0,
    'no-confusing-arrow': 0,
    'no-console': 1,
    'no-unused-vars': 2,
    'no-use-before-define': 0,
    'prefer-template': 2,
    'react/destructuring-assignment': 0,
    'react-hooks/rules-of-hooks': 'error',
    'react/jsx-closing-tag-location': 0,
    'react/forbid-prop-types': 0,
    'react/jsx-first-prop-new-line': [2, 'multiline'],
    'react/jsx-filename-extension': 0,
    'react/jsx-no-target-blank': 0,
    'react/jsx-uses-vars': 2,
    'react/require-default-props': 0,
    'react/require-extension': 0,
    'react/self-closing-comp': 0,
    'react/sort-comp': 0,
    'redux-saga/no-yield-in-race': 2,
    'redux-saga/yield-effects': 2,
    'require-yield': 0,
    'react/prop-types': 0,
    'react/jsx-props-no-spreading': 0,
  },
};
저장하고 브스코를 껐다 키자~!
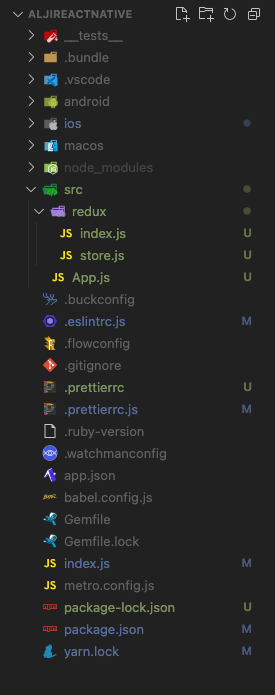
2. 폴더 구조 잡기
소스파일이 위치한 src라는 폴더를 생성해 안에 App.js 를 넣어주었다.
src 안에 앞으로 redux, store, components, utils, screens 등의 폴더를 생성할 예정!

index.js 에서 다음과 같이 App이 심어져있는것을 확인!
/**
 * @format
 */

import { AppRegistry } from 'react-native';
import App from './src/App';
import { name as appName } from './app.json';

AppRegistry.registerComponent(appName, () => App);
3. redux - saga 입히기
많은 상태관리 툴 중 리덕스를 선택한 이유는 아주 많고 복잡한 데이터를 처리해야하기 때문,, 아무래도 디버깅도 리덕스가 쉬우니! redux-saga 형태를 가져가기로 했다.
1. react-redux 설치하기
일단 docs에서 하라는대로~
An Existing React App
# If you use npm:
npm install react-redux

# Or if you use Yarn:
yarn add react-redux
설치 후 Provider로 최상단을 감싸준당.
import React from 'react';
import {
  SafeAreaView,
  ScrollView,
  StatusBar,
  Text,
  useColorScheme,
  View,
} from 'react-native';
import { Provider } from 'react-redux';


const App = () => {
  const isDarkMode = useColorScheme() === 'dark';


  return (
    <Provider>
      <SafeAreaView>
        <StatusBar barStyle={isDarkMode ? 'light-content' : 'dark-content'} />
        <ScrollView
          contentInsetAdjustmentBehavior="automatic">
        </ScrollView>
      </SafeAreaView>
    </Provider>
  );
};

export default App;
Provider에 store를 넣어주어야한다!
2. store.js, index.js 만들기 (with Saga)
폴더구조를 다음과 같이 잡아주고 redux 폴더 안에 다음과 같은 파일들을 생성해준다.
store.js
import { compose, createStore, applyMiddleware } from 'redux';
import createSagaMiddleware from 'redux-saga';
import { reduxBatch } from '@manaflair/redux-batch';
import { composeWithDevTools } from 'redux-devtools-extension';
import { createLogger } from 'redux-logger';
import { rootReducer, rootSaga } from '.';

const logger = createLogger();
const sagaMiddleware = createSagaMiddleware();
const middlewares = [sagaMiddleware];

const enhancer = compose(
  composeWithDevTools(reduxBatch, applyMiddleware(...middlewares)),
);

const store = createStore(rootReducer, enhancer);
sagaMiddleware.run(rootSaga);
export default store;
index.js
/* eslint-disable no-param-reassign */
import { all } from 'redux-saga/effects';
import { combineReducers } from 'redux';

const appReducer = combineReducers({
});

export const rootReducer = (state, action) => {
  if (action.type === RESET_STORE) {
    state = undefined;
  }
  return appReducer(state, action);
};

export function* rootSaga() {
  yield all([
  ]);
}
다음과 같이 생성해준다.
당연히 필요한 package는 다 설치해야함!
npm i redux
npm i redux-saga
npm i @manaflair/redux-batch
npm i redux-devtools-extension
npm i redux-logger
2. Provider에 store 심기
요렇게 store 넣어주면 끝!
import React from 'react';
import {
  SafeAreaView,
  ScrollView,
  StatusBar,
  Text,
  View,
} from 'react-native';
import { Provider } from 'react-redux';
import store from './redux/store';


const App = () => {
  return (
    <Provider store={store}>
      <SafeAreaView>
        <StatusBar />
        <ScrollView
          contentInsetAdjustmentBehavior="automatic">
          <View>
            <Text>hi</Text>
          </View>
        </ScrollView>
      </SafeAreaView>
    </Provider>
  );
};

export default App;
렌더링을 해보고~ 잘 심어졌는지 확인해보려면,, 어떻게해야하지? 헉
+) React Native 디버깅
디버깅을 어떻게 해야하지 했는데 아래 포스트를 발견!
위 글에 있는대로 했지만, 리마인드 차원에서 한번 정리해보면!
1) React-native-debugger 설치
brew update && brew cask install react-native-debugger 요게 아니고 brew 가 업데이트 되면서 형식이 조금 바뀌었당
brew update && brew install react-native-debugger --cask 이렇게 써야함 ㅎ 여튼 여기서는 이동도 시켜주시네,,? 실행하려고 하신듯!
열어보면 이런 화면이 빠암~!
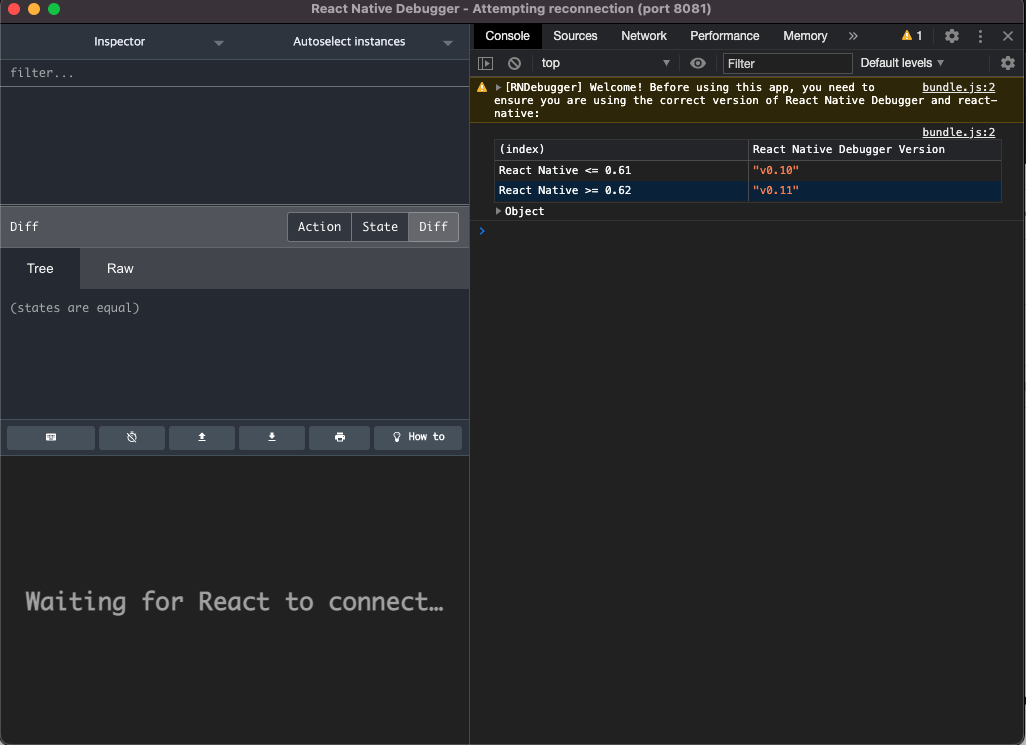
많이 익숙하네요 ㅎ 햅삐 >_<
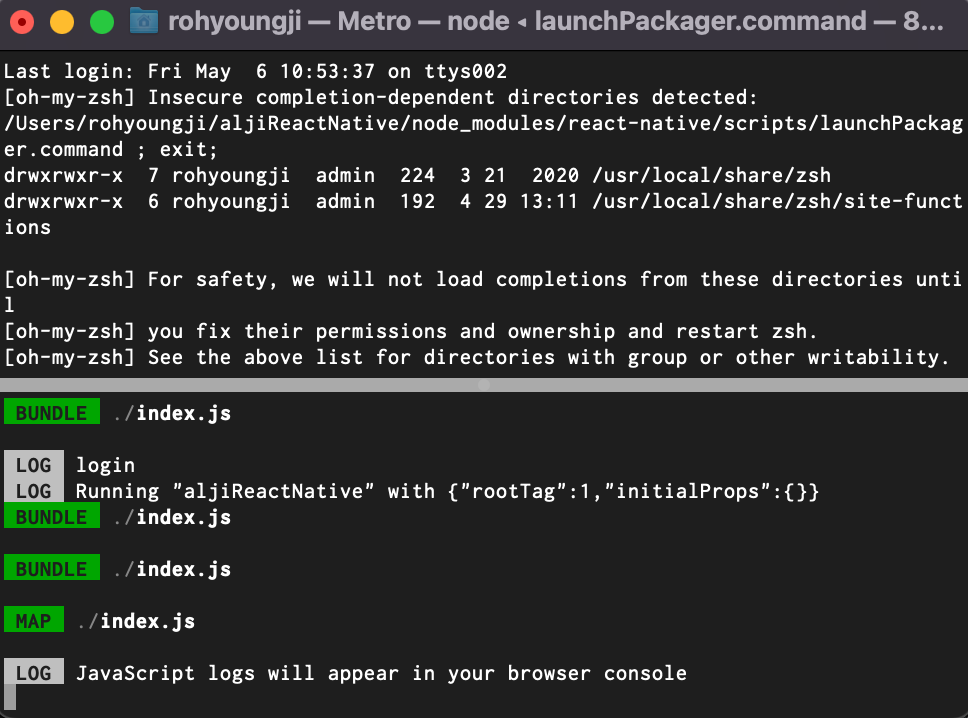
2. 앱 프로젝트 reload 하기
이렇게 react-native-debugger가 성공적으로 실행이 되었다면, 앱 프로젝트를 reload해주시고 command+D 를 눌러서 개발자도구에서 Debug JS remotely 버튼을 클릭해주세요. 그러면 자동으로 아래와 같이 왼쪽 하단 elements 섹션과 오른쪽 console 섹션이 활성화됩니다!
여기서 reload.. 그거 어떻게 하는건데...

vscode 에서 많이 바뀐 내용이 xCode에 적용이 안 된 것 같다!
브스코에서 다음 명령어를 쳐서,, 런&빌드를 돌려서 아이폰에서 확인해야하는듯,,
xed -b ios이거 또는
npx react-native run-macos 요거를 해주면 된다!
지금 빌드된 것을 끄려면 Xcode 에서 정지버튼을 누를수도 있고,
요렇게 켜져있는 터미널을 꺼도 되는듯하다!
난 이 블로그 글도 참조했다,, Command + D가 어디서도 안먹었기에,,^^
https://velog.io/@dody_/RN-Library-%EB%A6%AC%EC%95%A1%ED%8A%B8%EB%84%A4%EC%9D%B4%ED%8B%B0%EB%B8%8C-%EB%94%94%EB%B2%84%EA%B1%B0-%EB%8F%84%EA%B5%AC-react-native-debugger-redux-devtools-react-native-debugger-open
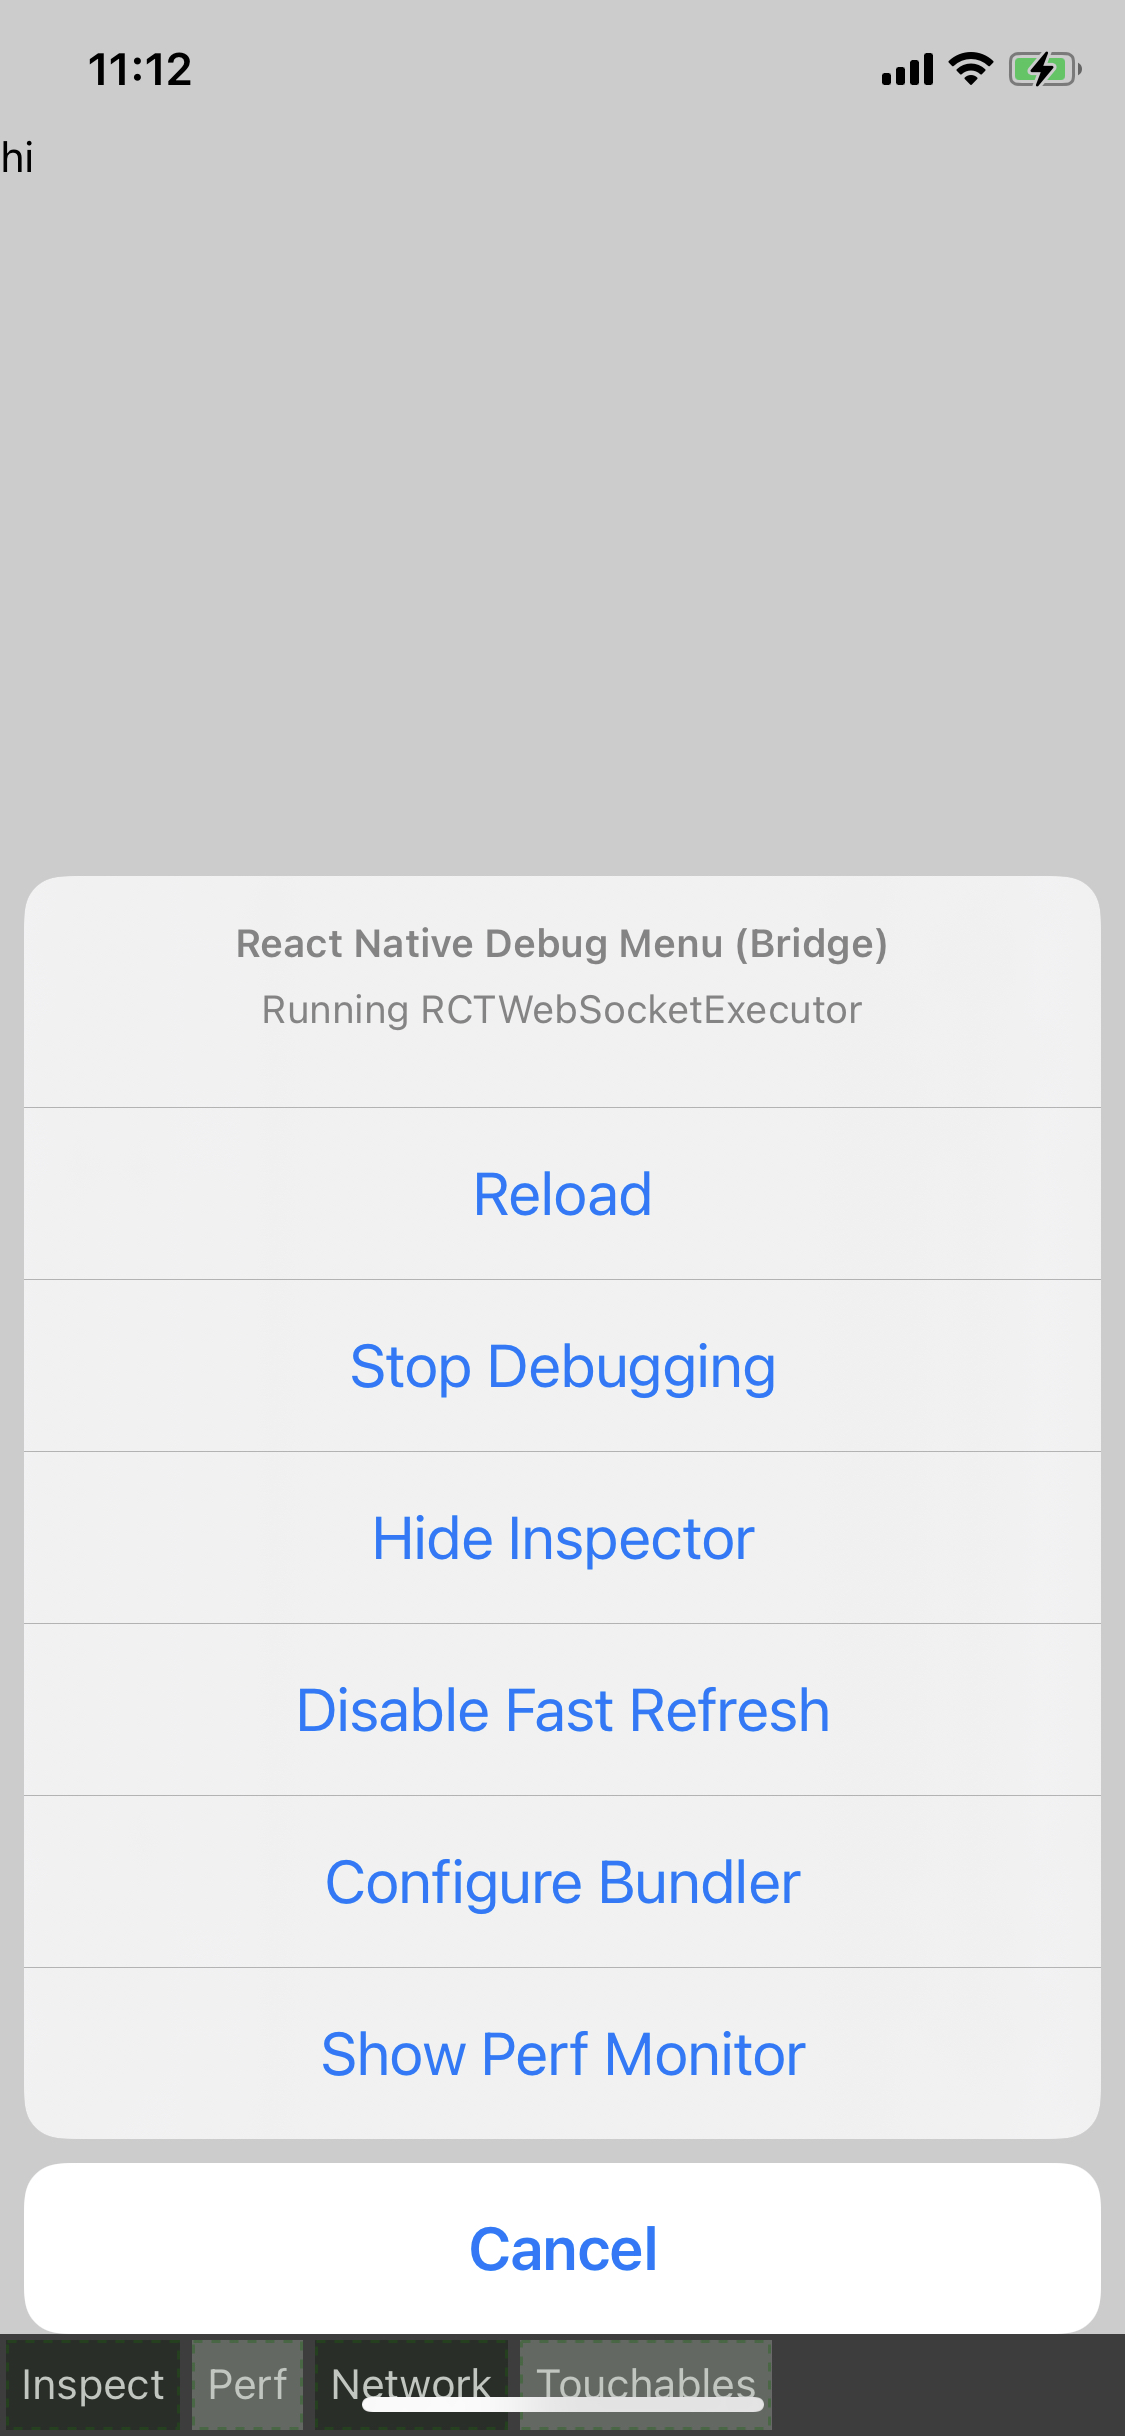
실제 기기에서 돌릴때는 기기를 흔들어서 아래와 같은 화면이 나오면 debug with chrome 어쩌고가 있는데 그걸 누르면 자동으로 디버거랑 연결된다!
3. redux-devtools 적용하기
아까 위에서 설명하긴 했지만, 데브툴을 설치해준다
npm install --save-dev redux-devtools-extension store.js에도 관련 내용을 추가해준다!
난 위에서 이미 다 썼기 때무네~ 위 store.js 파일을 참고해주세용~
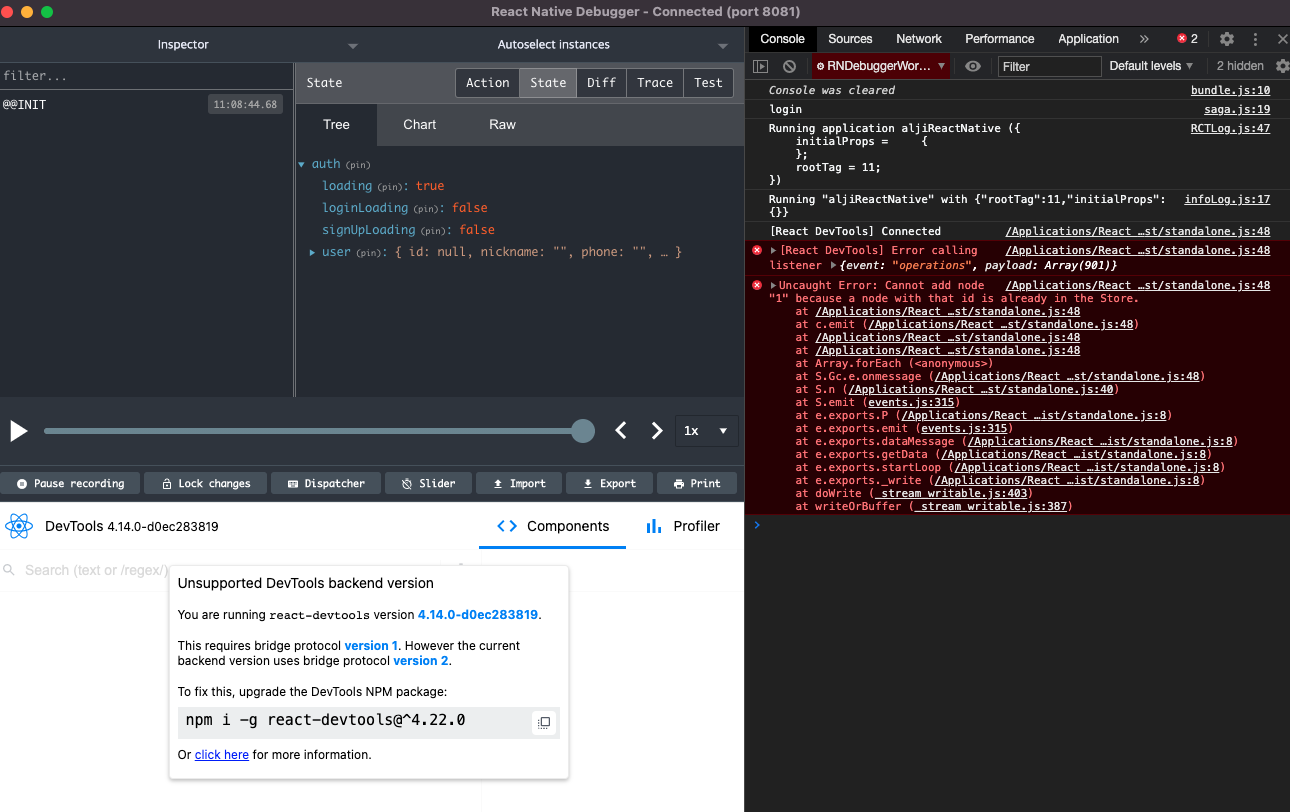
쨔쟌~ 에러가 방방 뜨지만 이렇게 나오긴 한다,,, 저기서 하라는대로 데브툴 버전 명령어를 입력해주고 다시 빌드하면,,
잘 적용된 것을 확인할 수 있다!
험난한 가시밭길 ^~^