Headal-Health 프로젝트에서 백엔드가 얼추 마무리가 되면 프론트 단을 작업하려 했는데 같이 하기로 한 프론트 친구가 못하게 되었다.
새로 프론트를 구하기에는 시간이 더 걸려서 차라리 간단하게 서버 내에서 view를 띄울 방법을 선택하는게 낫겠다 싶어 직접 구현해보고자 한다.
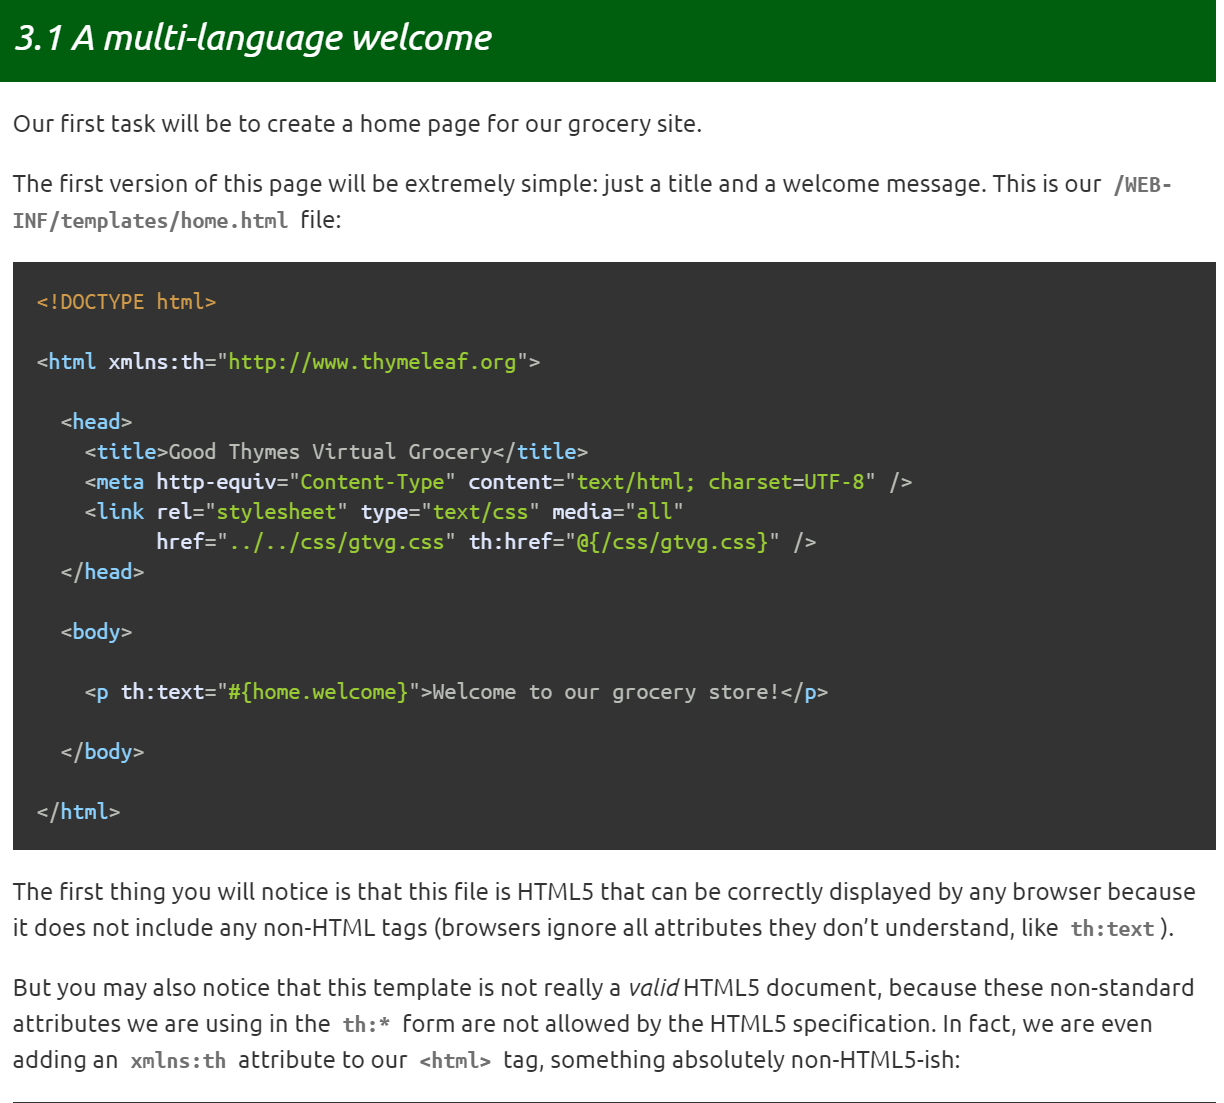
[타임리프 공식문서]
https://www.thymeleaf.org/doc/tutorials/3.1/usingthymeleaf.html
1. 의존성 추가해주기
build.gradle에 타임리프 라이브러리 추가
implementation 'org.springframework.boot:spring-boot-starter-thymeleaf'2. 보여줄 html 파일 작성하기
기본적으로 html 파일은 resource/template 폴더 내에서 작성되어야 한다.

hello.html
<!DOCTYPE html>

<html xmlns:th="http://www.thymeleaf.org">

<head>
    <title>Good Thymes Virtual Grocery</title>
    <meta http-equiv="Content-Type" content="text/html; charset=UTF-8" />
    <link rel="stylesheet" type="text/css" media="all"
          href="../../css/gtvg.css" th:href="@{/css/gtvg.css}" />
</head>

<body>


<p th:text="${hello}"></p>

</body>

</html>
<p th:text="${hello}"></p>
에서 hello라는 변수를 세팅해주면 해당 값을 읽어와 보여주겠다는 의미이다.
3. API 수정하기
타임리프를 넣기 위해 수정해주어야 하는 부분은 주로
controller의 return 부분이다.
@RestController
@RequestMapping("/hello")
public class HelloController {

    @Autowired
    private PassRepository passRepository;

    @GetMapping("/hello")
    public Pass hello() {
        Pass pass = new Pass();
         ...
        Pass savedPass = passRepository.save(pass);

        return savedPass;
    }
}
import org.springframework.web.servlet.ModelAndView;
@RestController
@RequestMapping("/")
public class HelloController {
@Autowired
private PassRepository passRepository;
@GetMapping("/hello")
public ModelAndView hello(ModelAndView model) {
Pass pass = new Pass();
...
Pass savedPass = passRepository.save(pass);
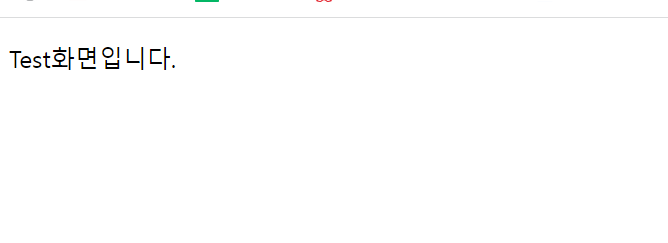
model.addObject("hello", "Test화면입니다.");
model.setViewName("hello");
return model;
}
}
컴트롤러에서 String으로 반환을 하게 되면 String의 경로값에 기본 path경로가 붙게 된다.
즉, /..html파일 위치../hello.html
으로 인식되어 사용자에게 html파일을 보여주게 된다.
hello 함수에서는 ModelansView 을 파라미터로 받고 있다.
이는 ModelandView 객체를 이용해 스프링에서 모델(데이터객체)+View(타임리프)를 한번에 넘기기 위함이다.
model.addObject('key', 'value')로 해당 변수 hello 의 값을 "Test..."로 설정하고,
model.serViewName("html 파일이름")으로 설정하여 view페이지를 지정한다.
이렇게 서버를 시작해
localhost:8080/hello 로 들어간다면
다음과 같은 화면이 뜬다.
다음편에서는 실제로 개발할 이미지를 보고 구현해보도록 하자