VM 생성
-
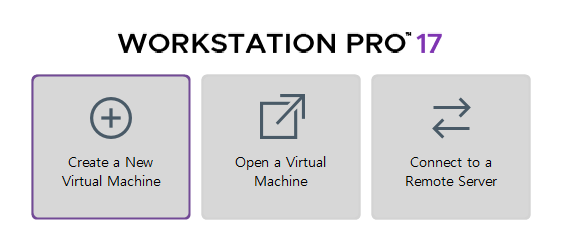
Create a New Virtual Machine
-
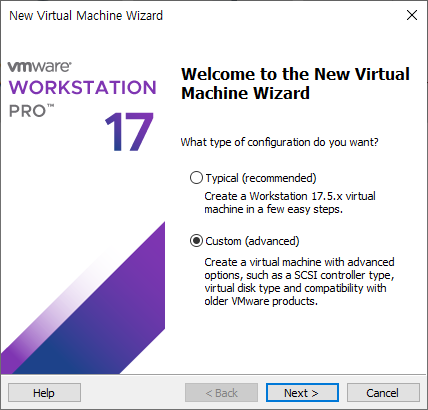
Custom (advanced) 선택
-
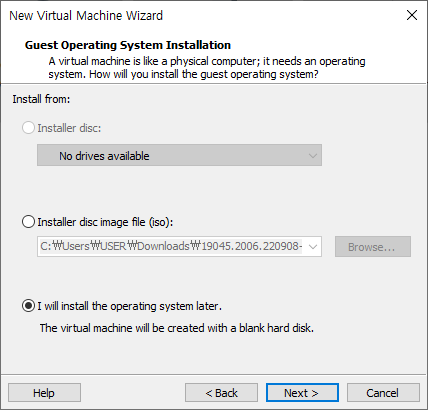
운영체제는 나중에 설치할 예정으로
I will install the operating system later.선택
-
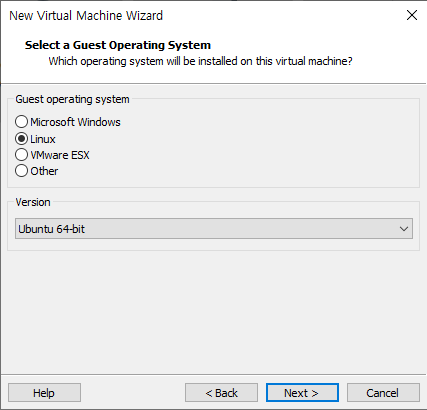
Guest operating system : Linux
Version : Ubuntu 64-bit
-
VM이름과 위치설정
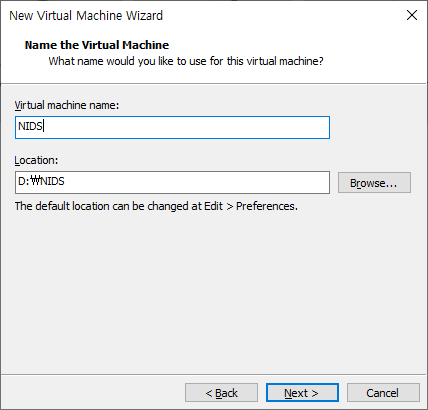
-
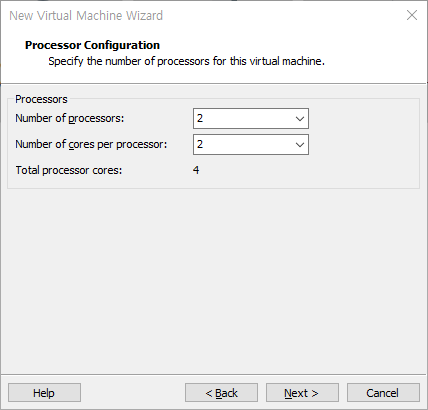
Number of processors : 2
Number of cores per processor : 2
-
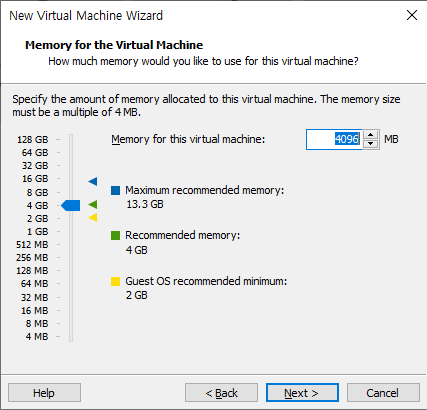
Memory for this virtual machine : 4096MB
-
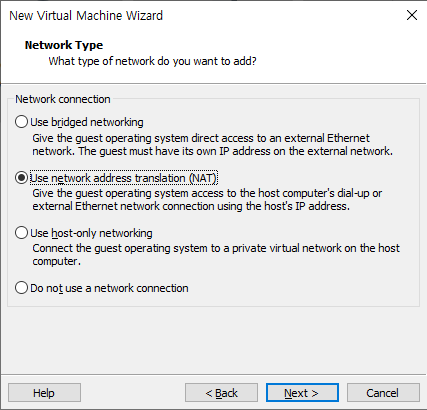
Use network address translation (NAT)
-
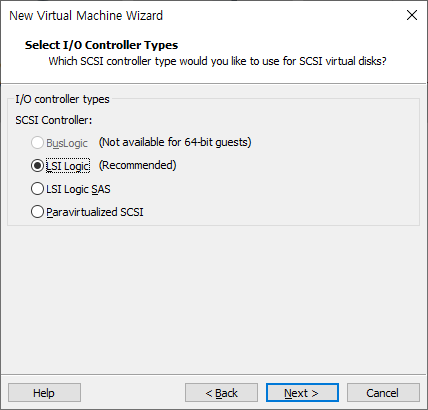
LSI Logic (Recommended)
-
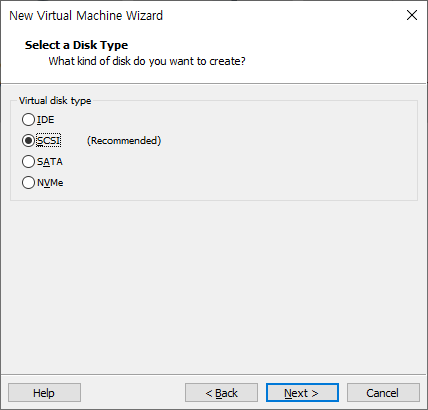
SCSI (Recommended)
-
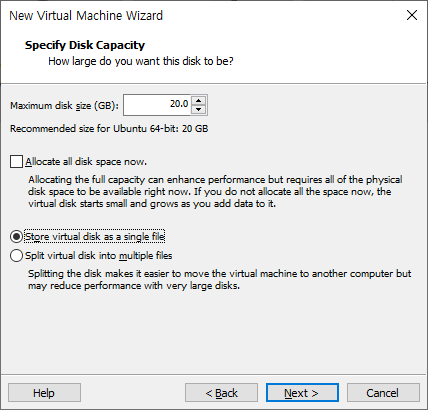
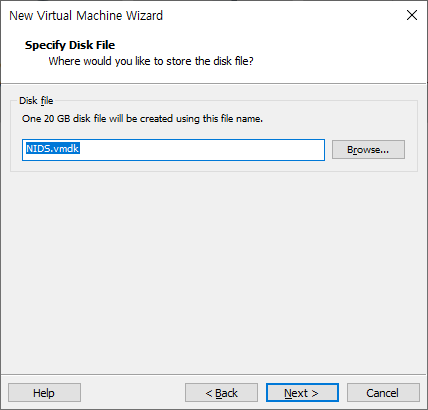
가볍게 테스트할 예정이라 20G로 충분
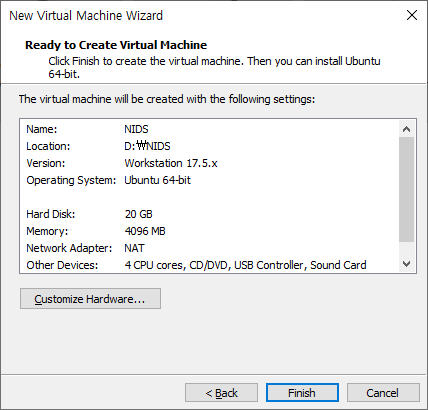
-
생성확인
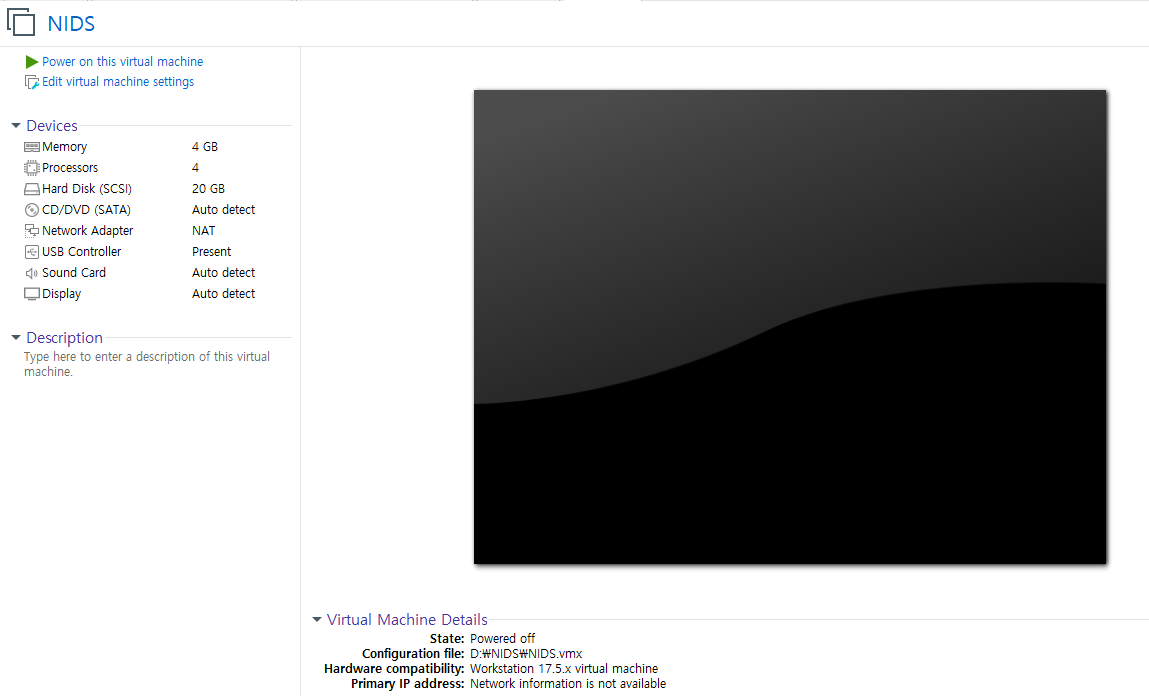
-
Network Adaptor - VMnet8(NAT)로 변경
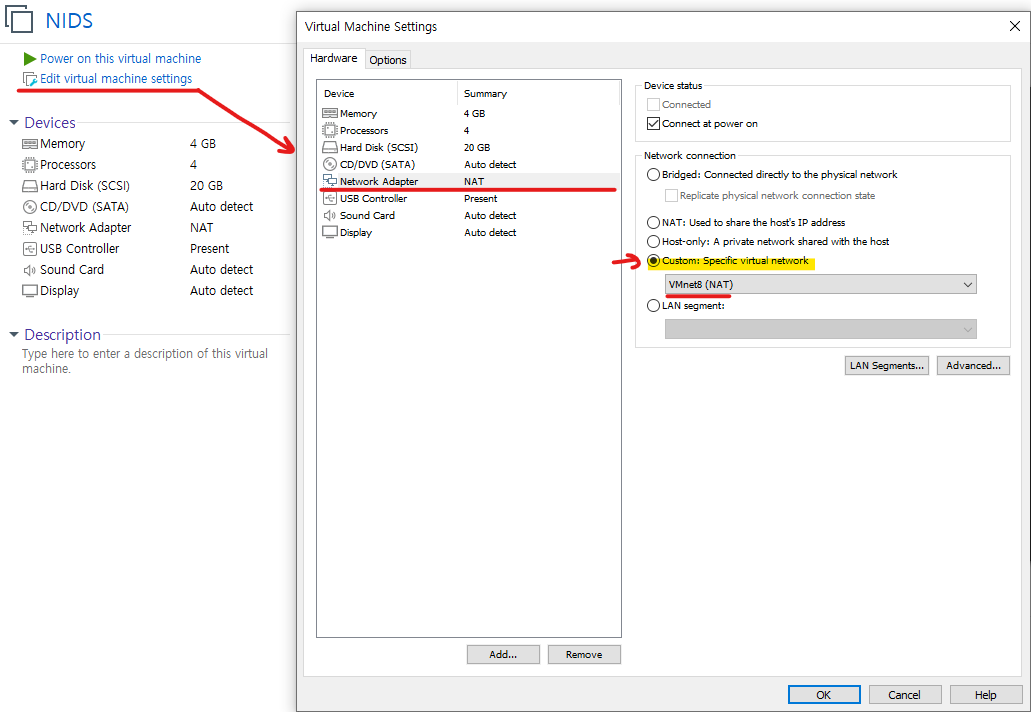
-
CD/DVD(SATA) - ISO이미지 파일로 securityonion 14.0 선택
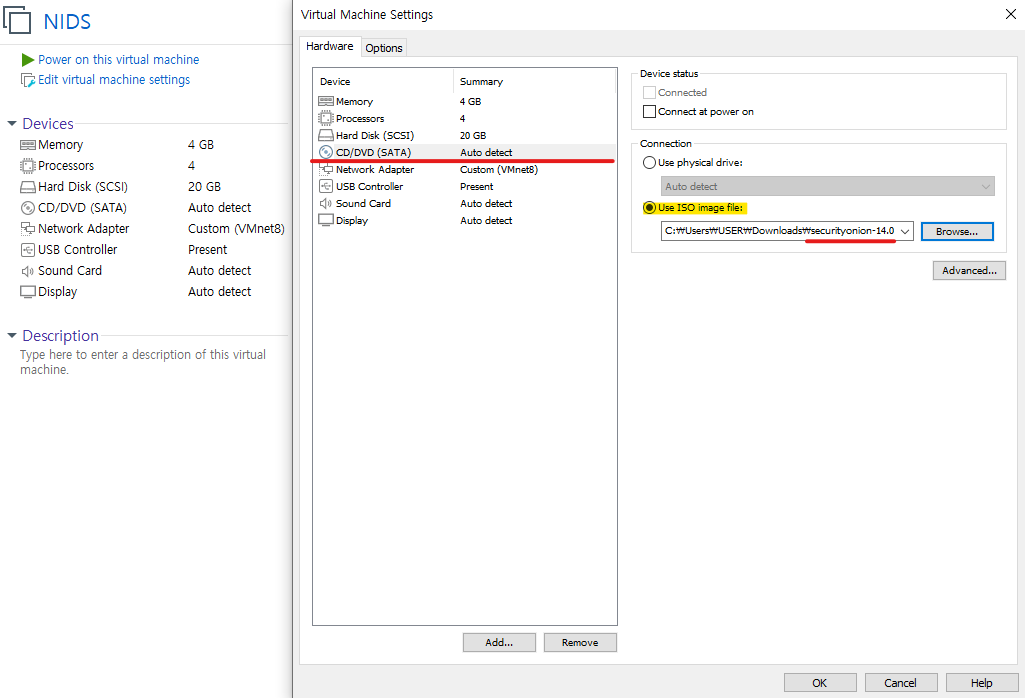
-
Power on this virtual machine
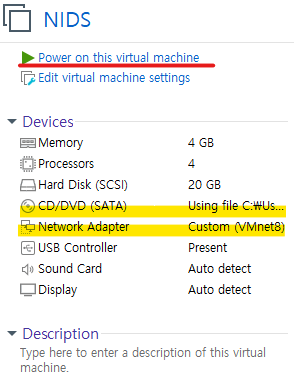
운영체제 설치
-
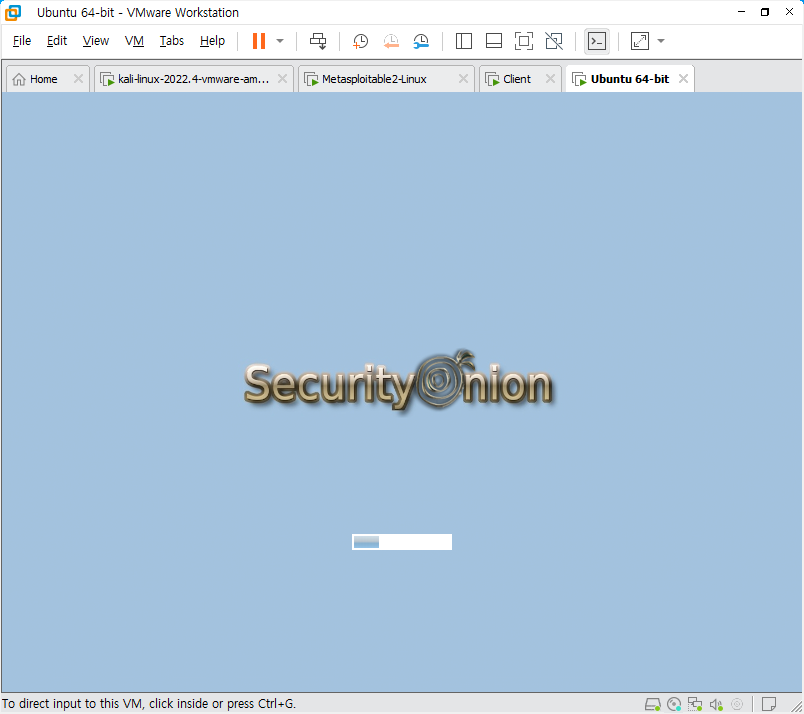
Install - install Security Onion-Enter누르기
-
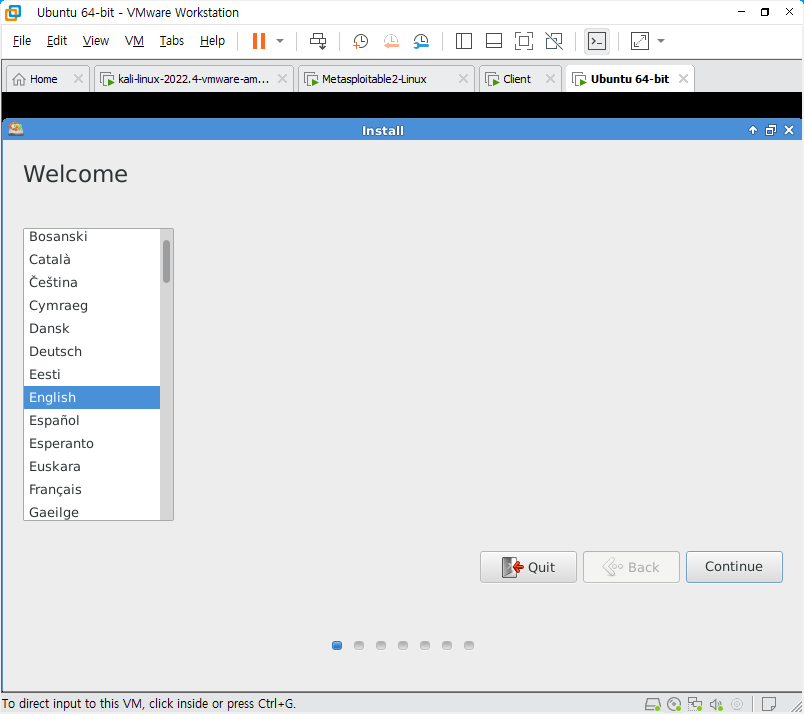
English
-
-
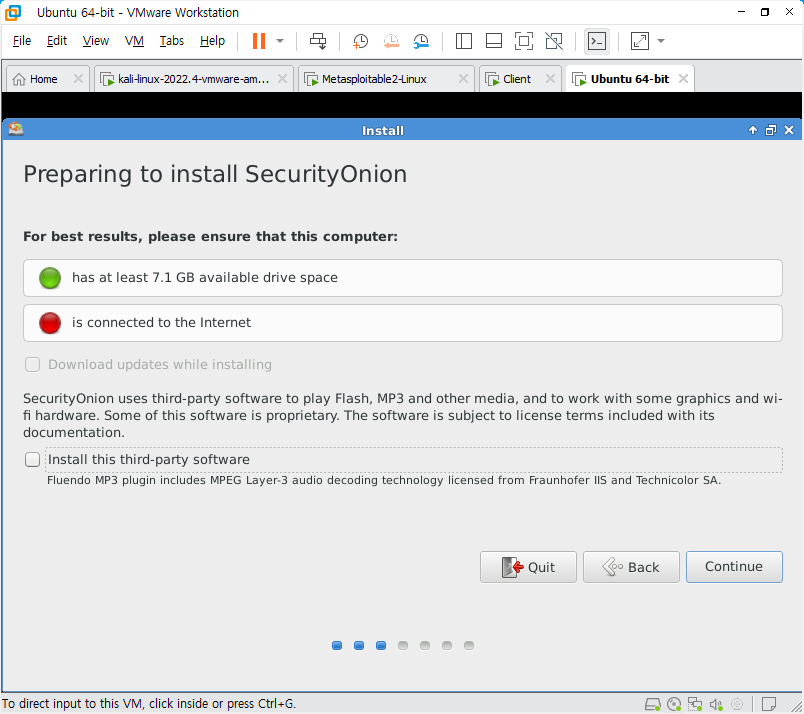
Erase disk and install SecurityOnion
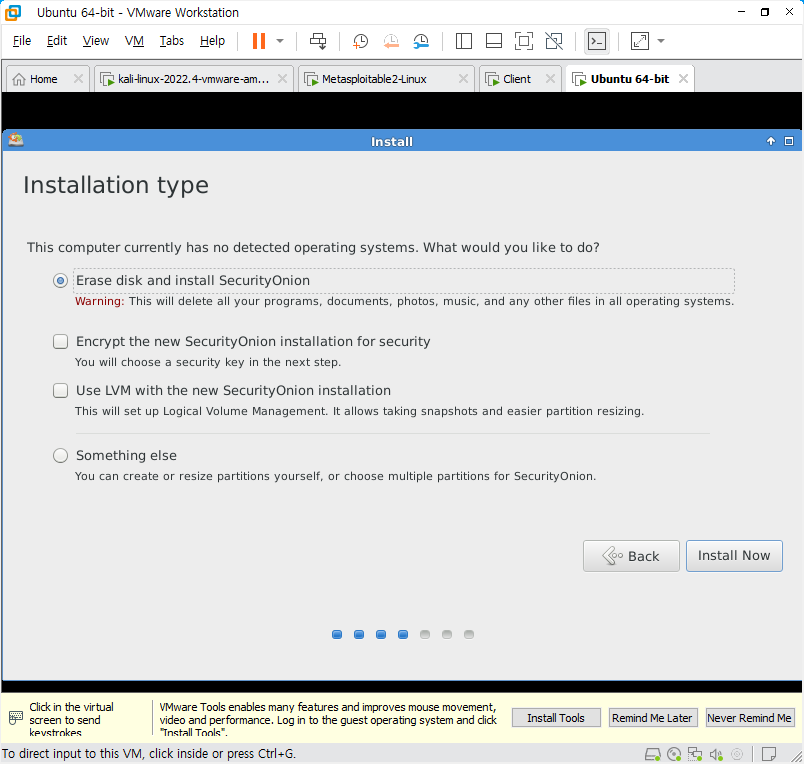
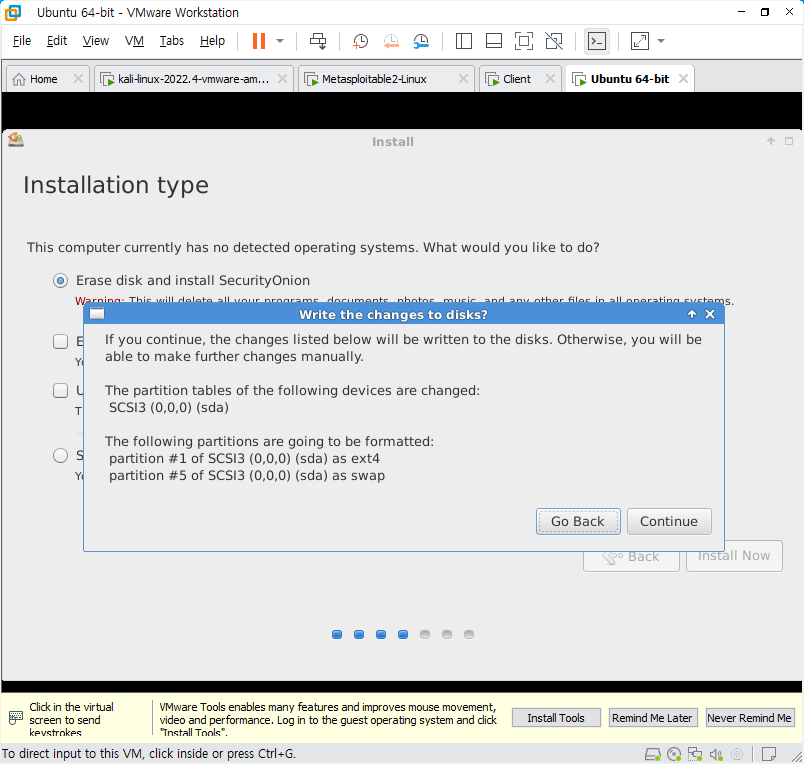
-
위치 선택
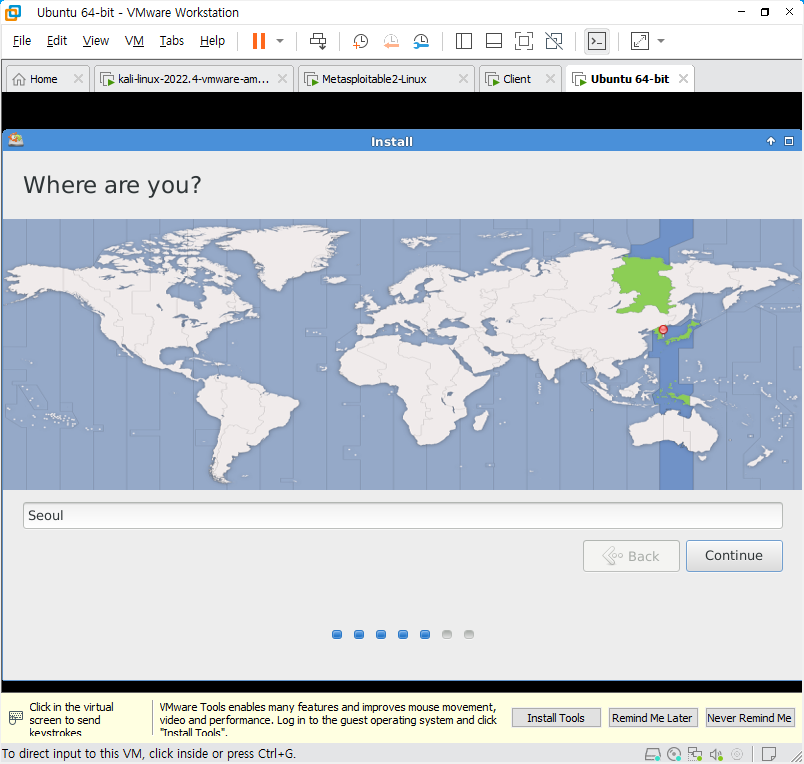
-
English(US) - English(US)
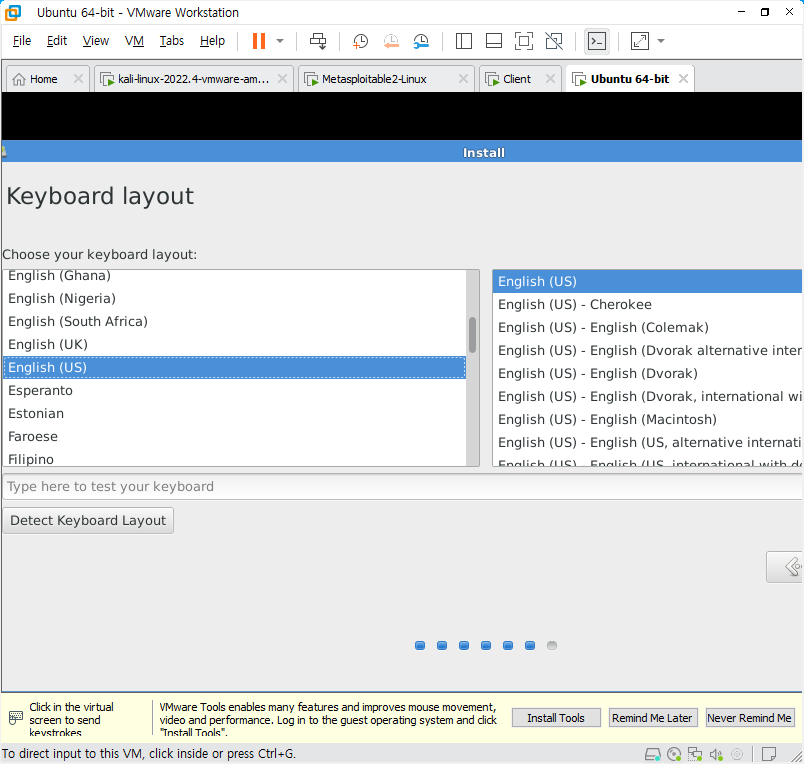
-
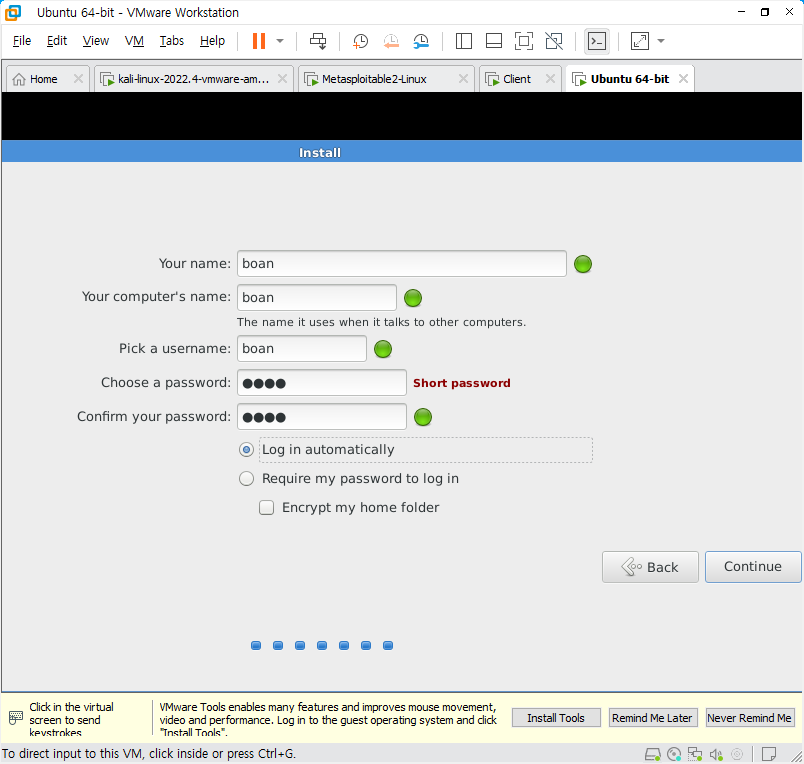
Your name: boan
Your computer's name: boan
pick a username: boan
password: 1234
-
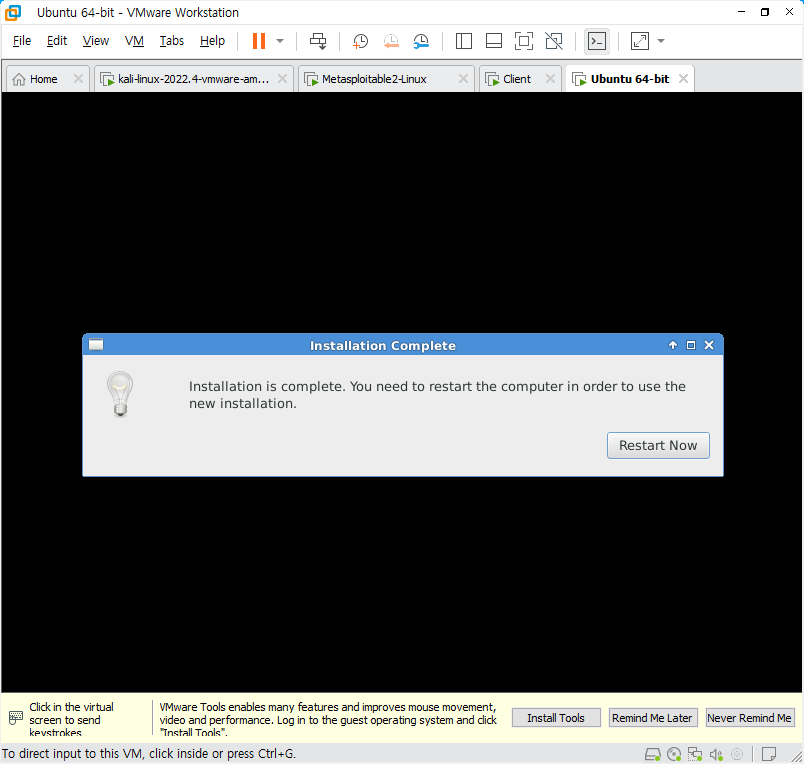
Restart
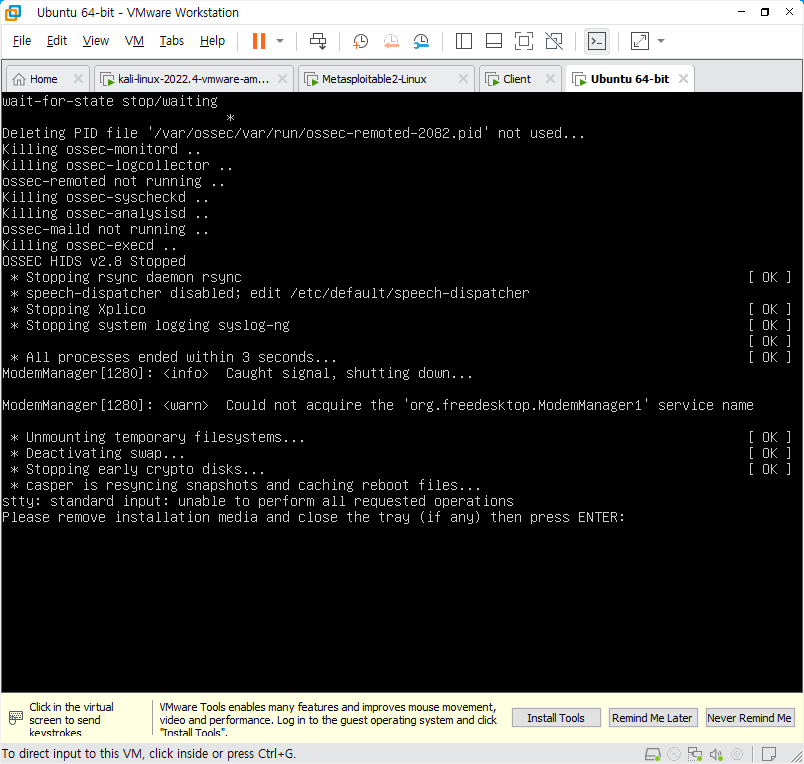
Enter누르기
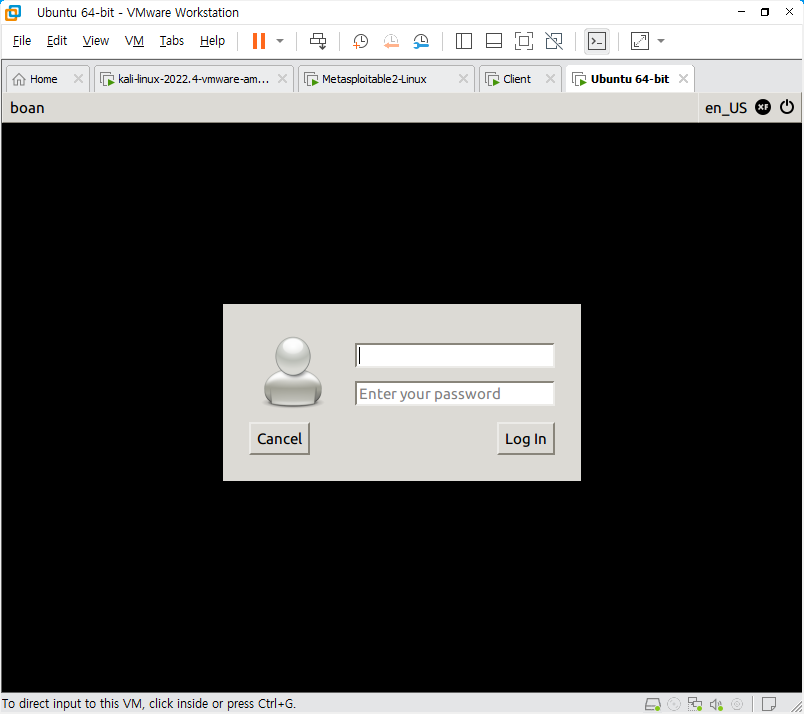
로그인
ID : boan / PW : 1234
해상도 설정
-
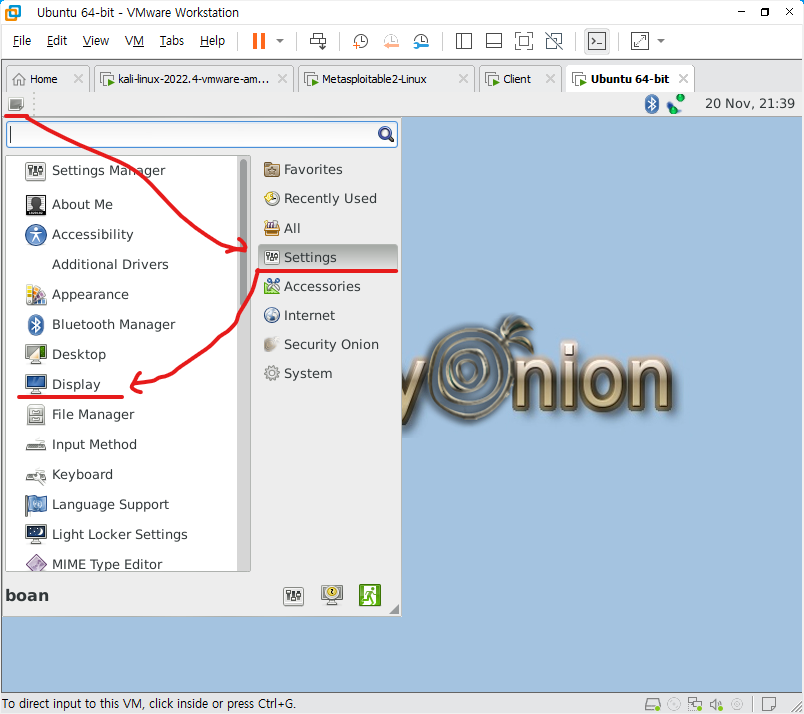
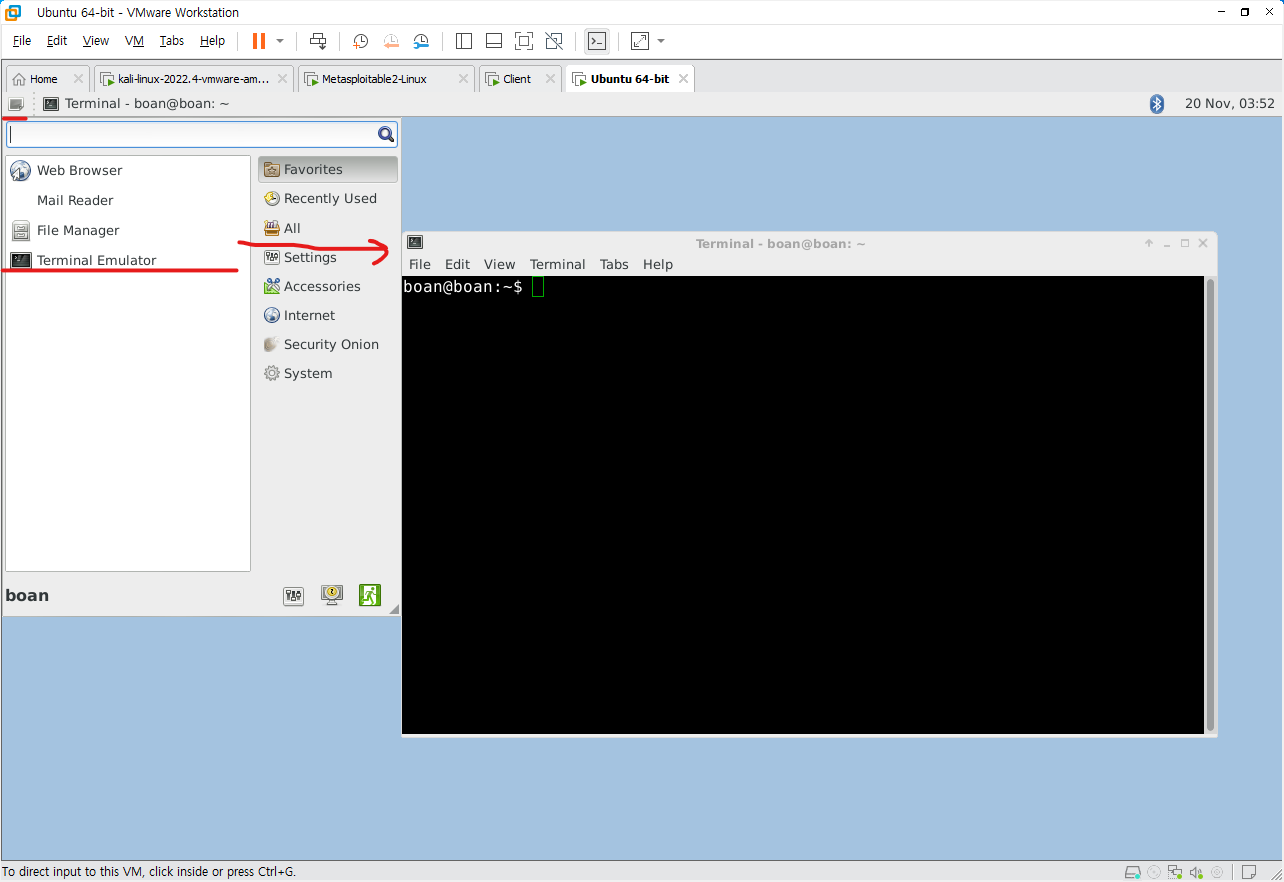
좌측 상단에 아이콘 선택 - Settings - Display
-
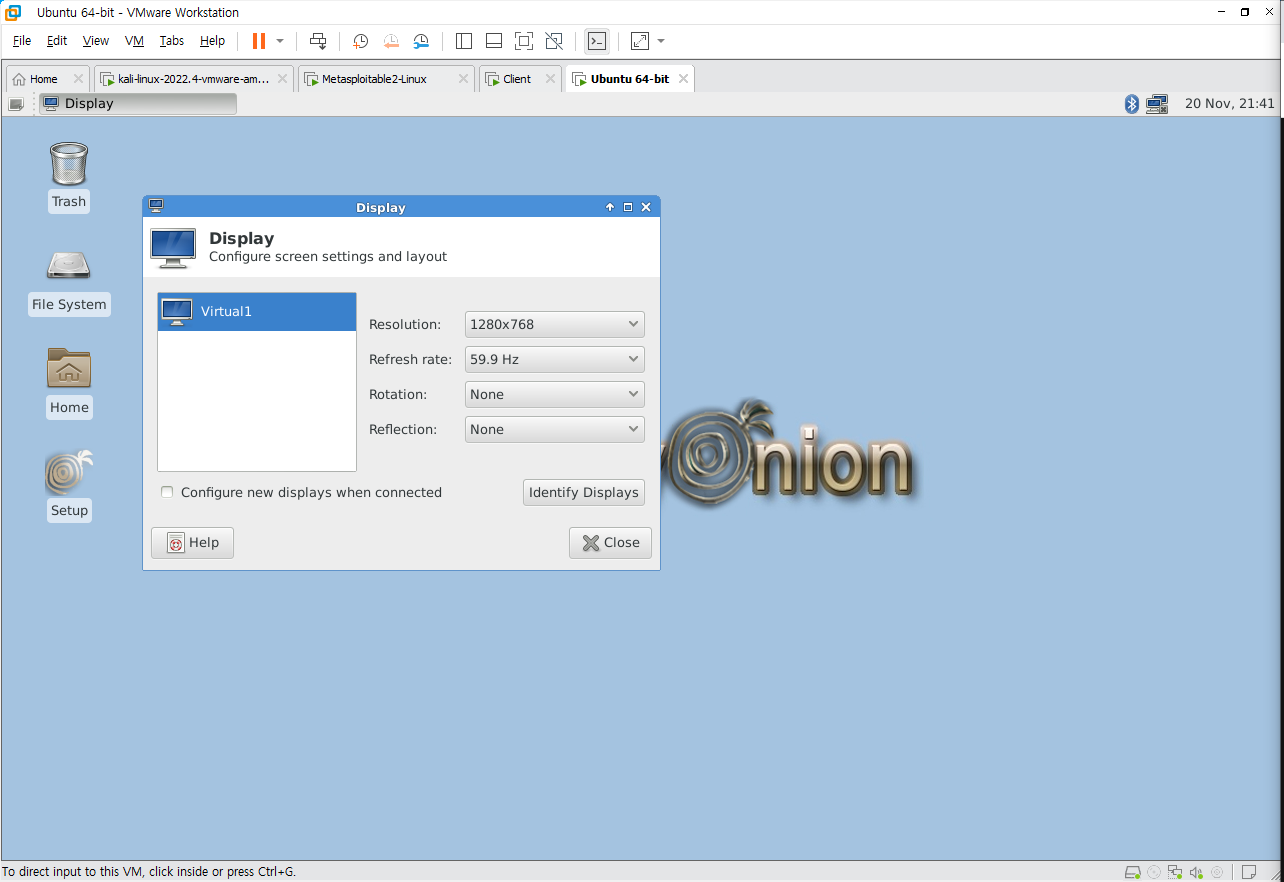
Display - Resolution
네트워크 설정
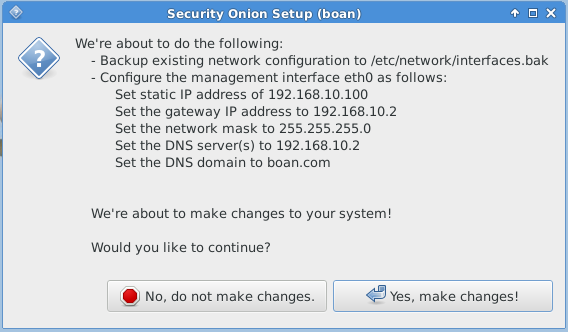
IP : 192.168.10.100
Subnetmask : 255.255.255.0
GW : 192.168.10.2
DNS : 192.168.10.2
-
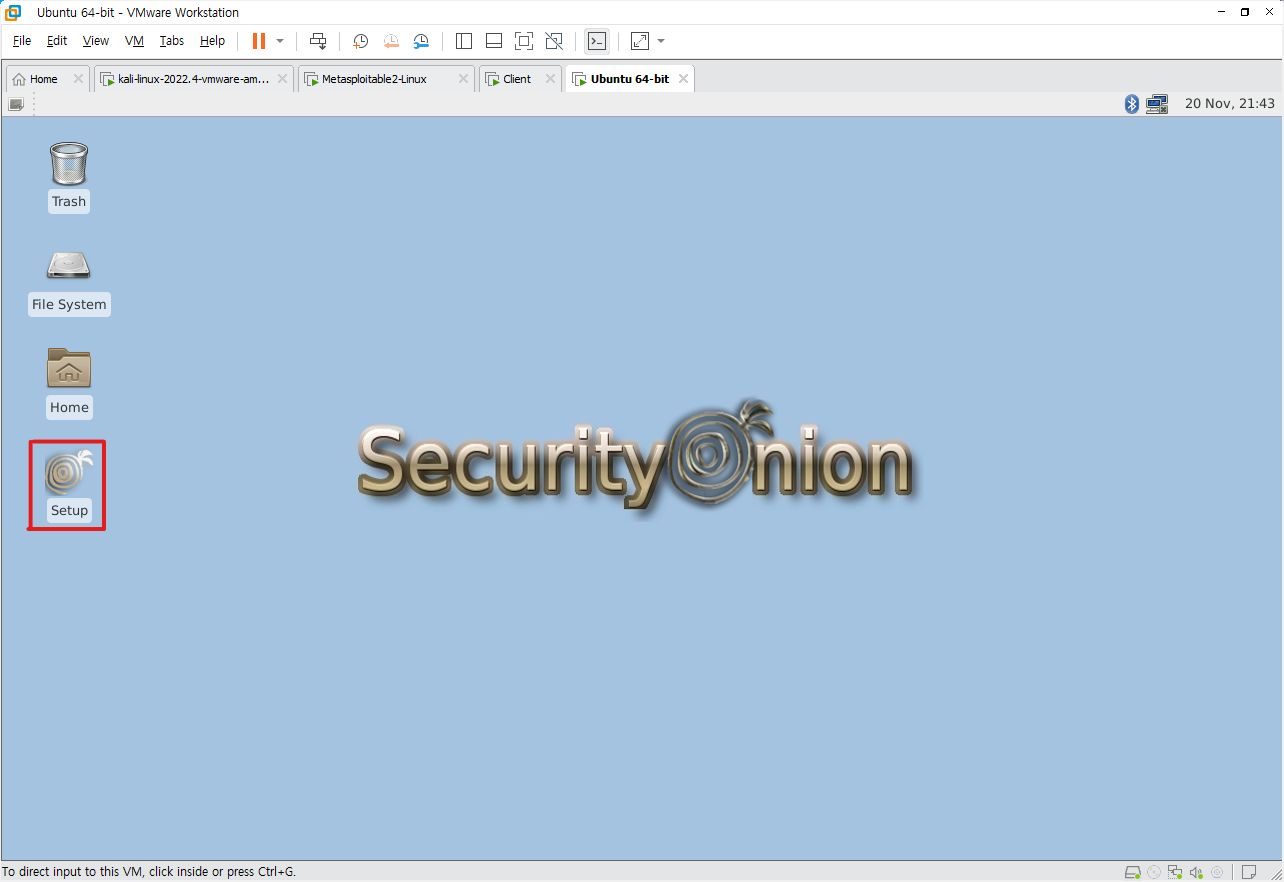
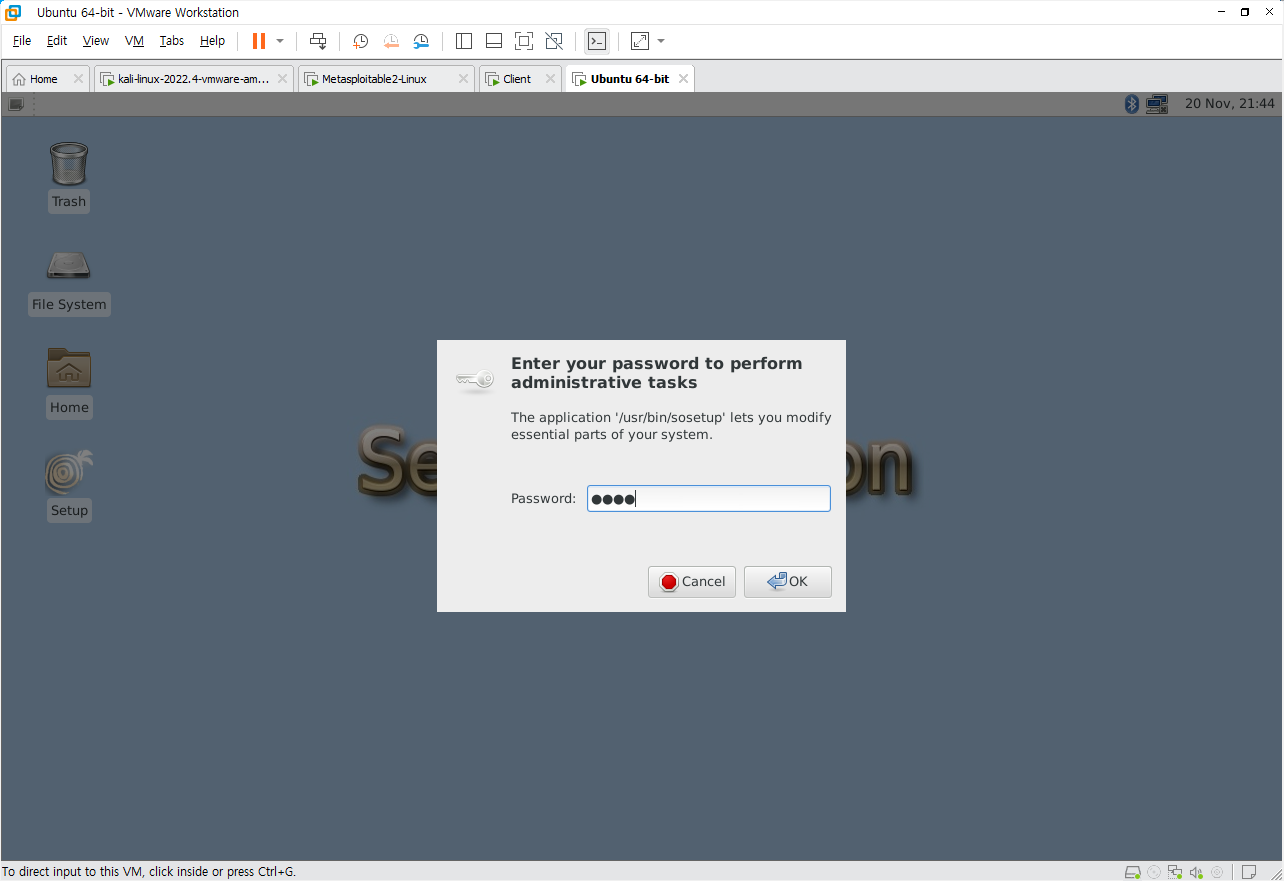
Setup - 마우스 더블클릭
-
Password: 1234
-
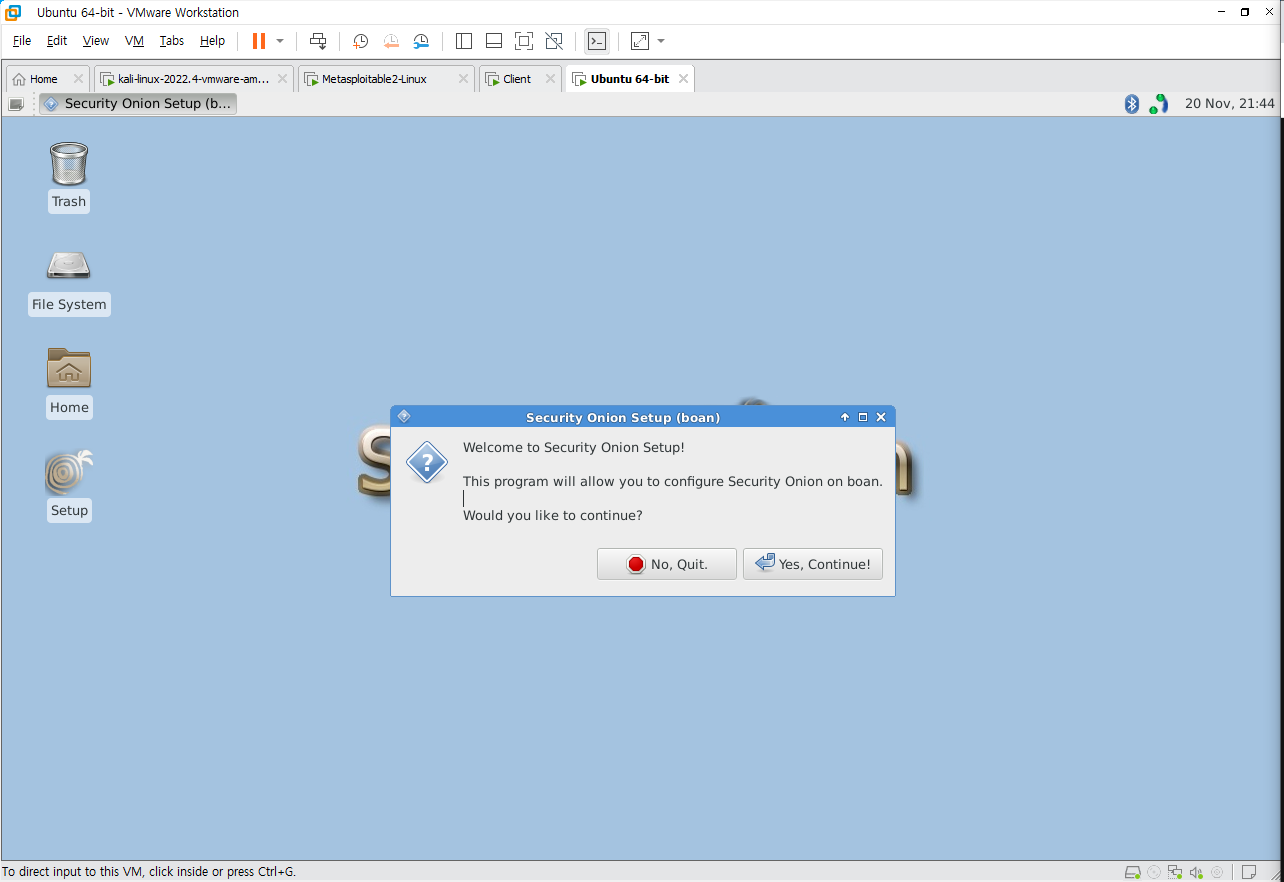
Yes, Continue!
-
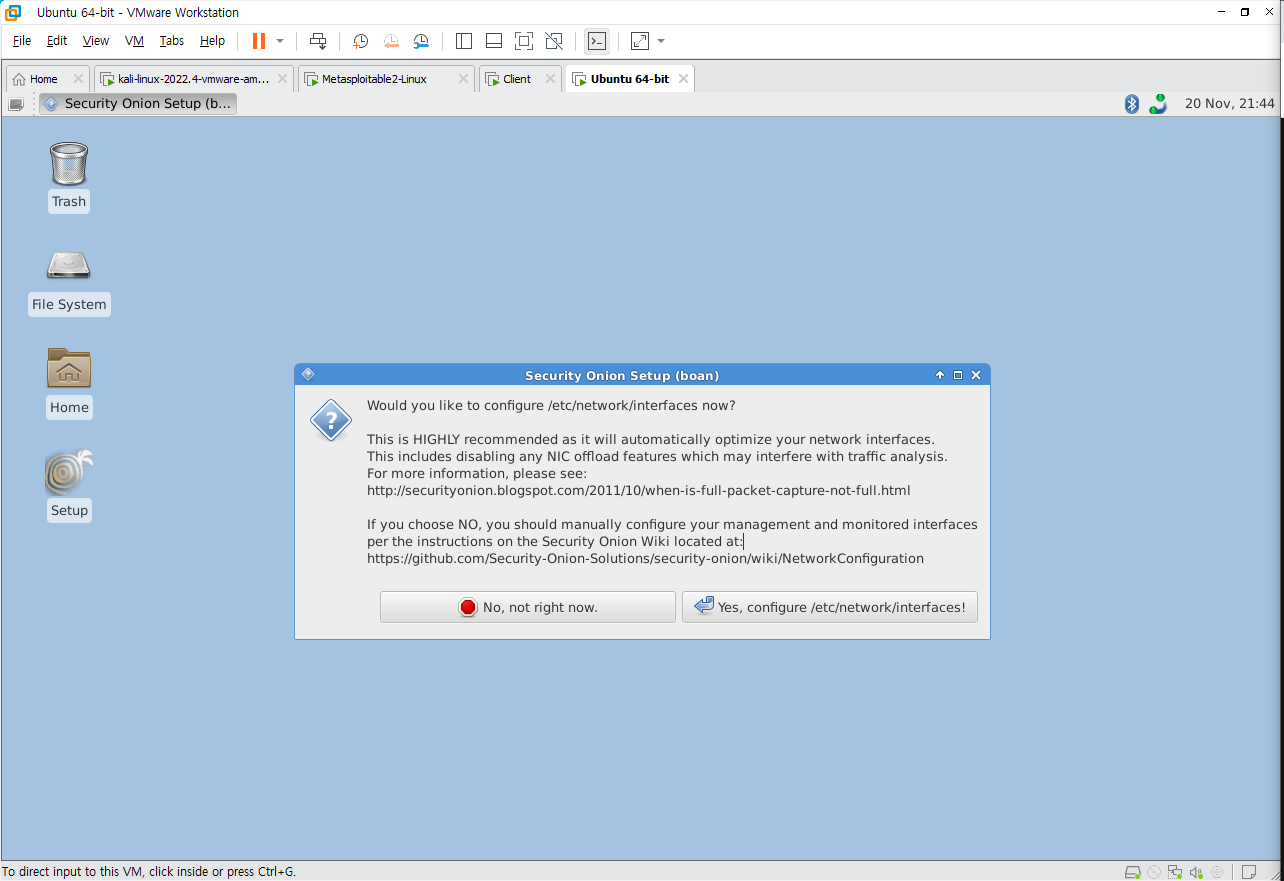
Yes, configure /etc/network/interfaces!
-
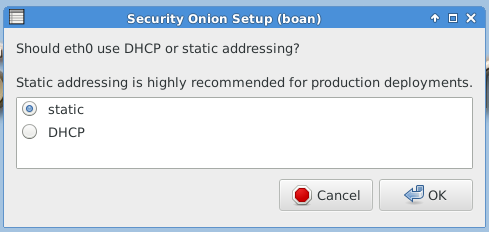
static
-
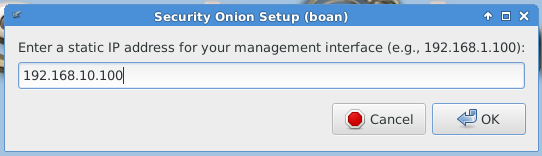
ip : 192.168.10.100
-
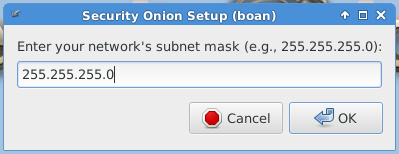
subnet mask : 255.255.255.0
-
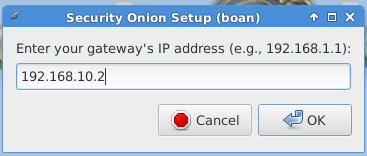
gateway : 192.168.10.2
-
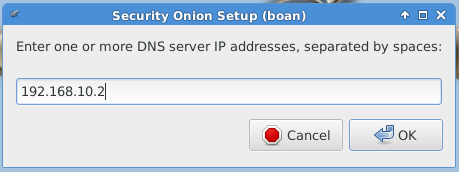
DNS : 192.168.10.2
-
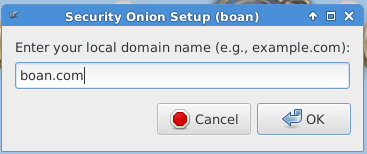
Domain name : boan.com
-
Yes, make changes!
-
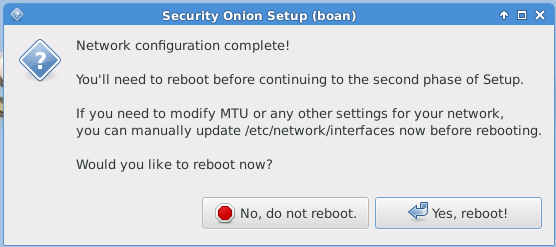
Yes, reboot!
-
Terminal Emulator
-
현재 IP 확인
ifconfig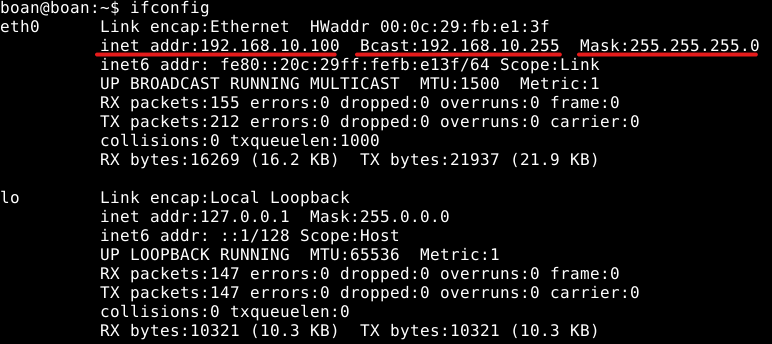
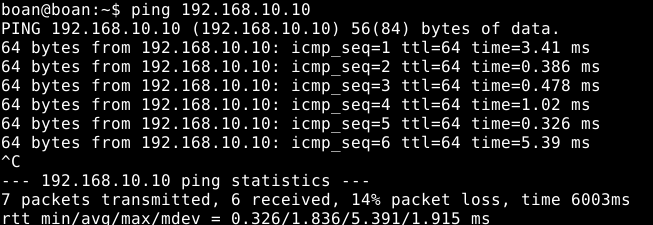
- Kali와 통신되는지 Ping 확인
NSM Tool 설치
-
Setup 실행
-
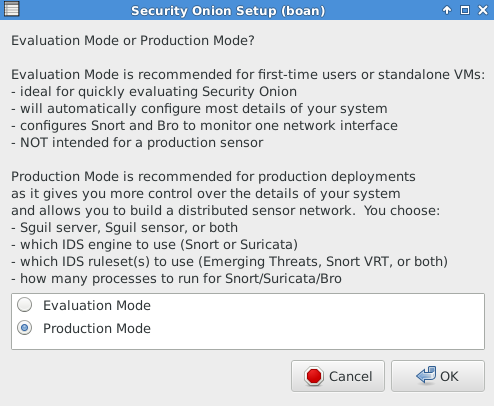
Evaluation Mode - 처음 설치 시
Production Mode - 사용자 정의 설치
-
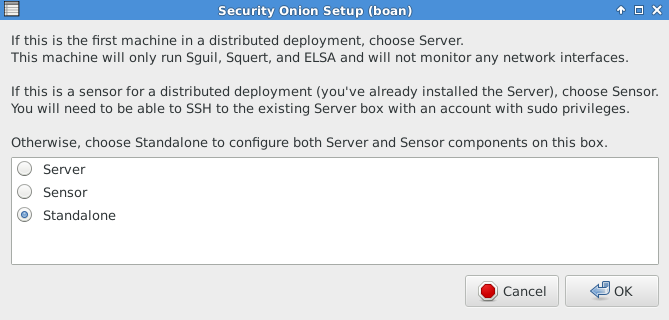
Sensor ==> 수집 + 탐지
Server ==> 분석
Standalone ==> 수집 침입탐입, 분석을 모두 한 시스템에서 처리하는 것
-
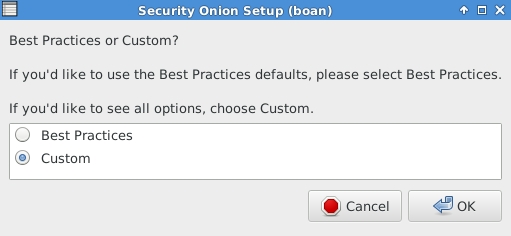
Custom
-
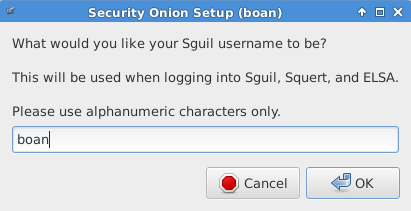
boan
-
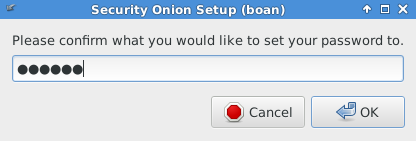
Elsa Password - 123456
-
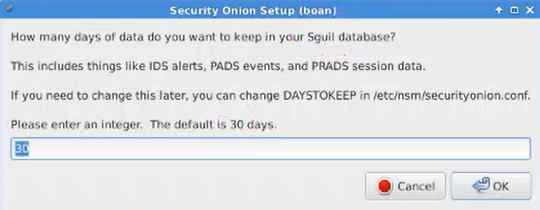
로그 저장 일자 설정 - 30
-
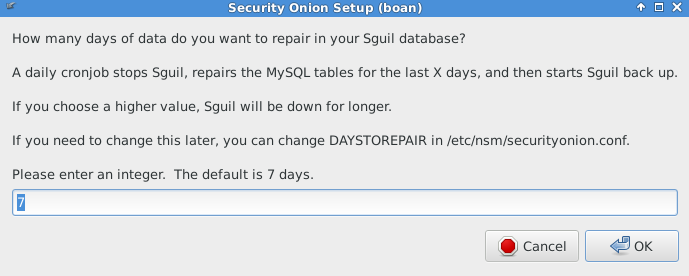
Sugul DB수정 일자- 7일이내 수정가능
-
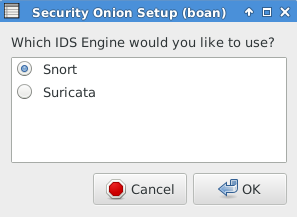
Snort
-
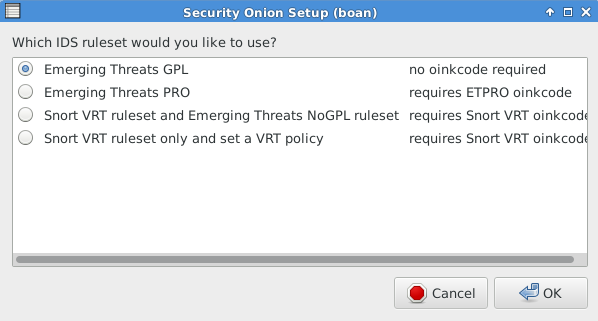
IDS rulesset
- 이전에 만들어진 IDS rules의 집합
- 무료제공 : Emerging Threats GPL
- 유료판매 : 무료 제외 전부
- 자체룰 생성
-
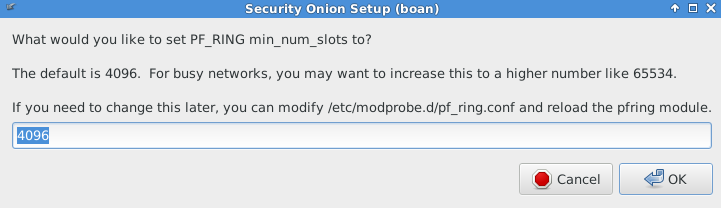
패킷수집 소켓 - 수집량 설정
-
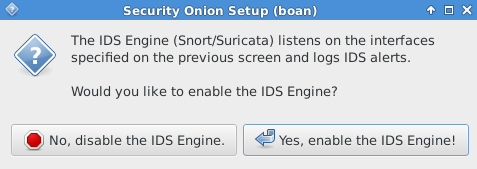
Yes
-
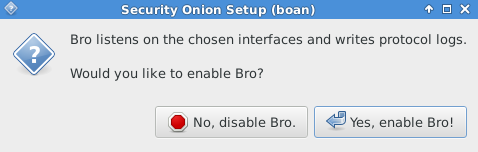
Yes
-
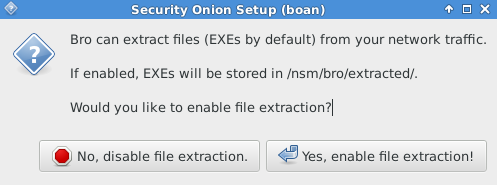
No
-
http Agent No
-
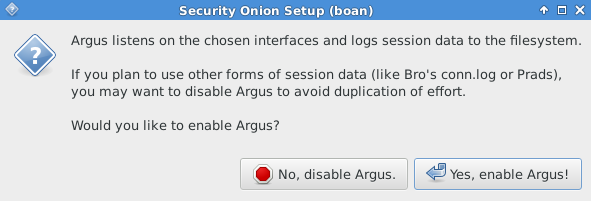
No
-
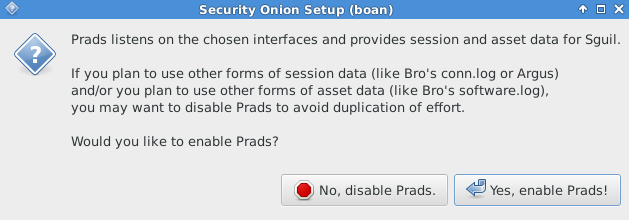
No
-
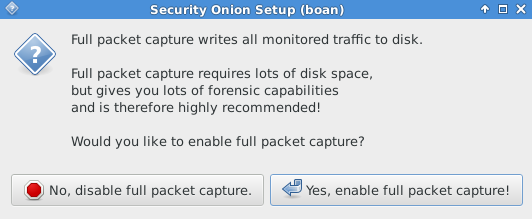
No
-
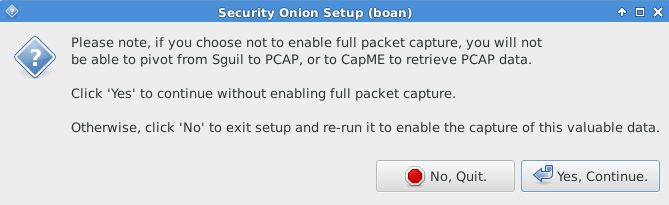
Yes
-
-
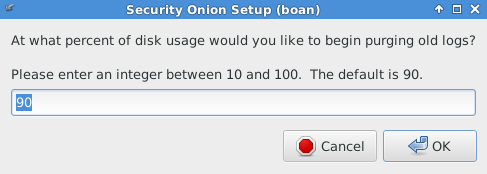
Yes
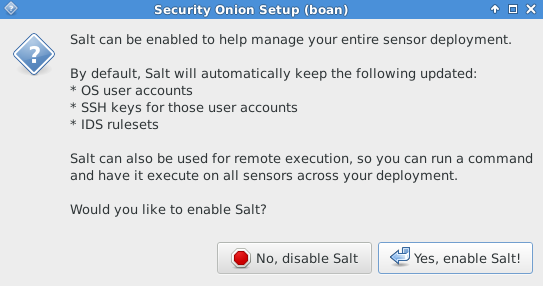
-
Yes - 설정값 Default
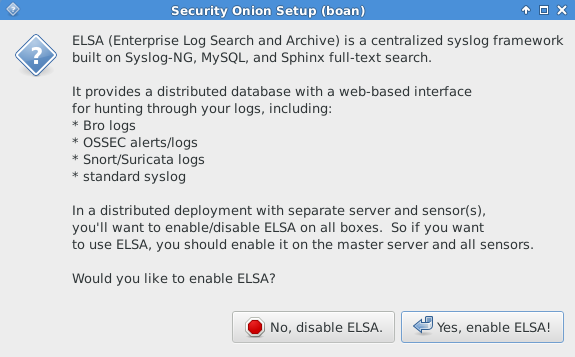
-
Yes
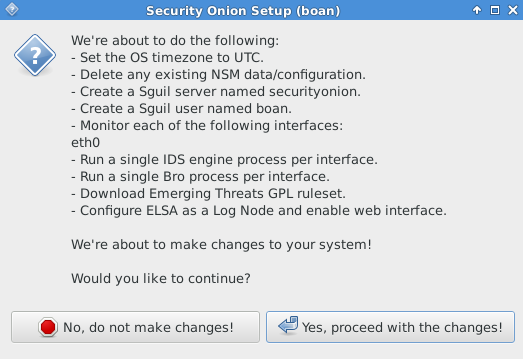
-
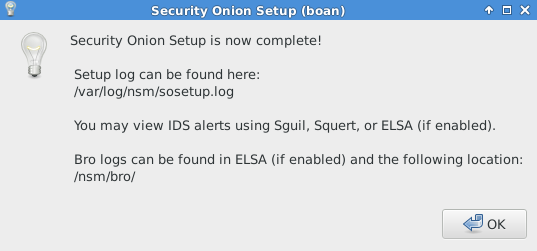
완료
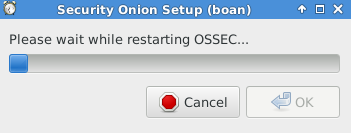
Sguil
실행
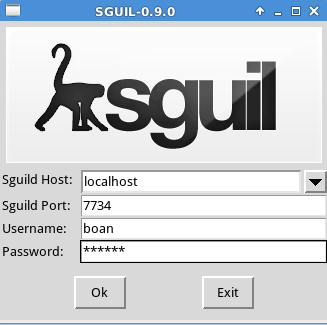
- 배경화면에 Sguil 더블클릭
- 로그인
Username: boan
Password: 123456
- Select All
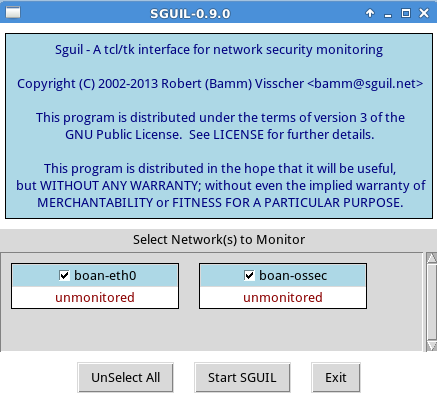
- Start SGUIL
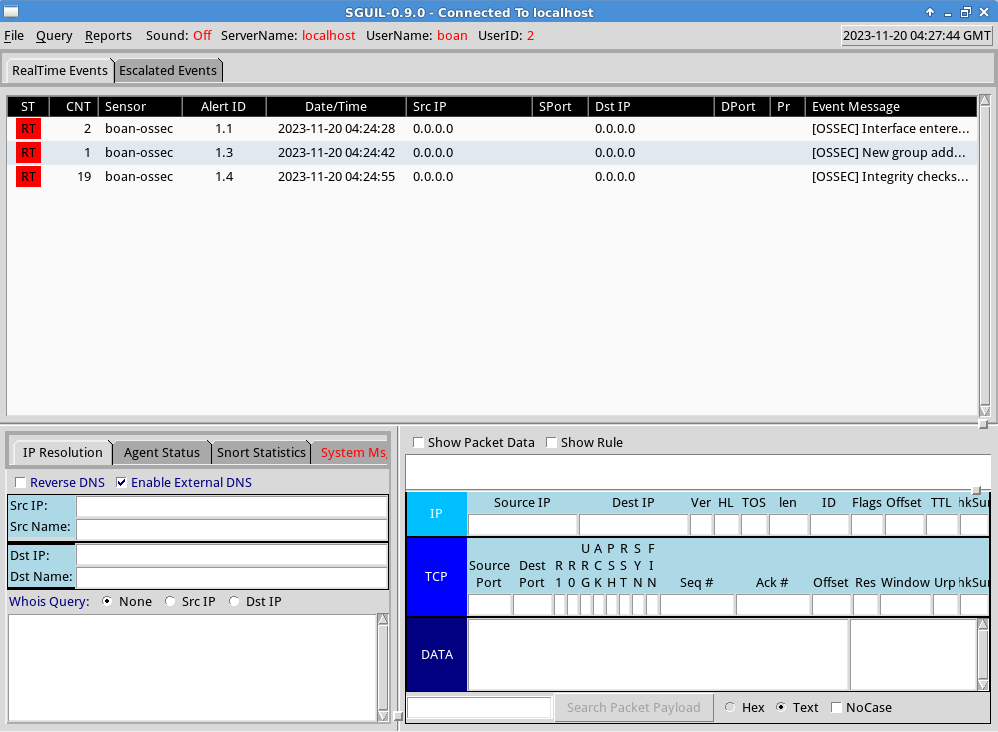
Snort
Snort 란?
오픈소스로 시그니처 기반 네트워크 침입탐지 시스템(NIDS)
snort.conf 체크
# 관리자모드
$ sudo su

$ cd /etc/nsm/templates/snort
$ nano snort.conf
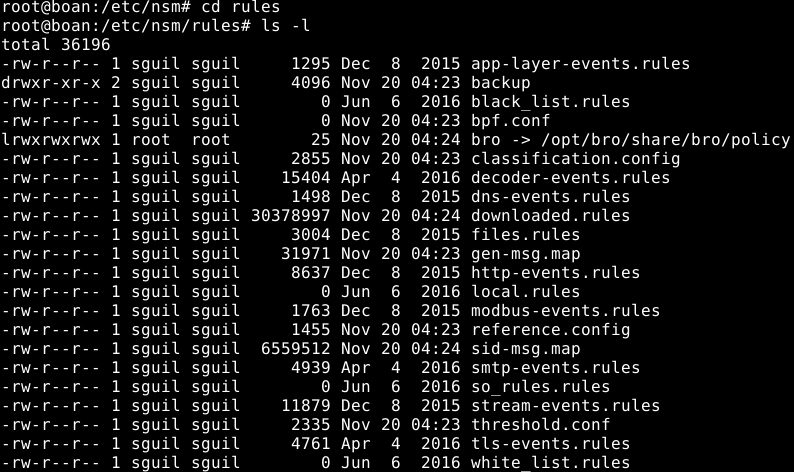
침입 탐지 룰이 저장되어 있는 디렉토리
cd /etc/nsm
cd rules
ls -l
여기서 downloaded.rules 가 내가 다운받은 룰들 확인 가능
cat downloaded.rules | less