
프로젝트 세팅
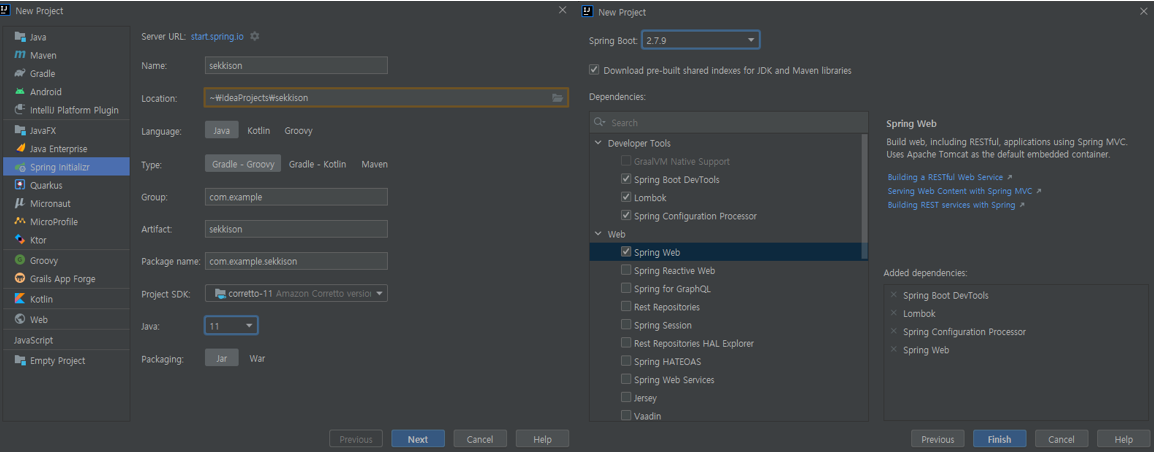
프로젝트를 생성해준다.
여기서 기본적인 dependency와 java버전, gradle 설정 등을 할 수 있다.
프로젝트가 만들어 졌다면,
build.gradle을 열어 dependency를 설정하자. 우리 프로젝트에서는 문자인증,passwordEncoder,MySql등등 여러 기능을 포함하고 있기 때문에 몇 가지 dependency를 더 추가하였다.dependencies { //문자인증 implementation group: 'net.nurigo', name: 'javaSDK', version: '2.2' //SpringBoot Starter implementation 'org.springframework.boot:spring-boot-starter-data-jpa' implementation 'org.springframework.boot:spring-boot-starter-web' implementation 'org.springframework.boot:spring-boot-starter' //MySql 연결 implementation group: 'mysql', name: 'mysql-connector-java', version: '8.0.32' //SpringSecurity(PasswordEncoder) implementation 'org.springframework.boot:spring-boot-starter-security' //파일 확장자를 가져오기 위한 guava implementation group: 'com.google.guava', name: 'guava', version: '31.1-jre' //lombok compileOnly 'org.projectlombok:lombok' //mysql runtimeOnly 'mysql:mysql-connector-java' annotationProcessor 'org.springframework.boot:spring-boot-configuration-processor' annotationProcessor 'org.projectlombok:lombok' //test testImplementation 'org.springframework.boot:spring-boot-starter-test' }
다음은
application.properties설정이다. 여기서는 SQL을 사용하기 위한 기본 설정과 파일 관련, 서버 포트 관련 설정들을 작성하였다.# localhost server.port=8088 # MySQL spring.datasource.driver-class-name=com.mysql.cj.jdbc.Driver spring.datasource.url=jdbc:mysql://localhost:3306/sekkison?useSSL=false&serverTimezone=Asia/Seoul&allowPublicKeyRetrieval=true spring.datasource.username=sekkison spring.datasource.password=******* # SQL spring.jpa.show-sql=true spring.jpa.properties.hibernate.format_sql=true spring.jpa.hibernate.ddl-auto=update # web view(API 프로젝트는 필요 없음) spring.mvc.view.prefix=/WEB-INF/views/ spring.mvc.view.suffix=.html # FILE spring.servlet.multipart.max-file-size=5MB spring.servlet.multipart.max-request-size=20MB file.upload-dir=upload app.upload.path=upload
ddl-auto부분을create로 하면 데이터베이스를 초기화할 수 있고,update로 하면 초기화 없이 데이터를 추가/삭제/수정할 수 있다.
프로젝트 생성과 설정하는 방법에 대해 알아보았다. 다음 게시글에서는 MySql 데이터베이스를 만들고 프로젝트와 연결 후 테이블을 생성해 보자.

만재 개발자