추가 구현할 것
- Redux-Toolkit
- useAxios 훅 만들기
- 캘린더 (React-calendar, moment)
- uuid?
- React Hook Form
2차 추가구현
- Redux-Persist (새로고침 해도 유지되는 상태 데이터)
https://tooo1.tistory.com/572
json-server 이용해서 서버로 데이터(상태) 관리하기
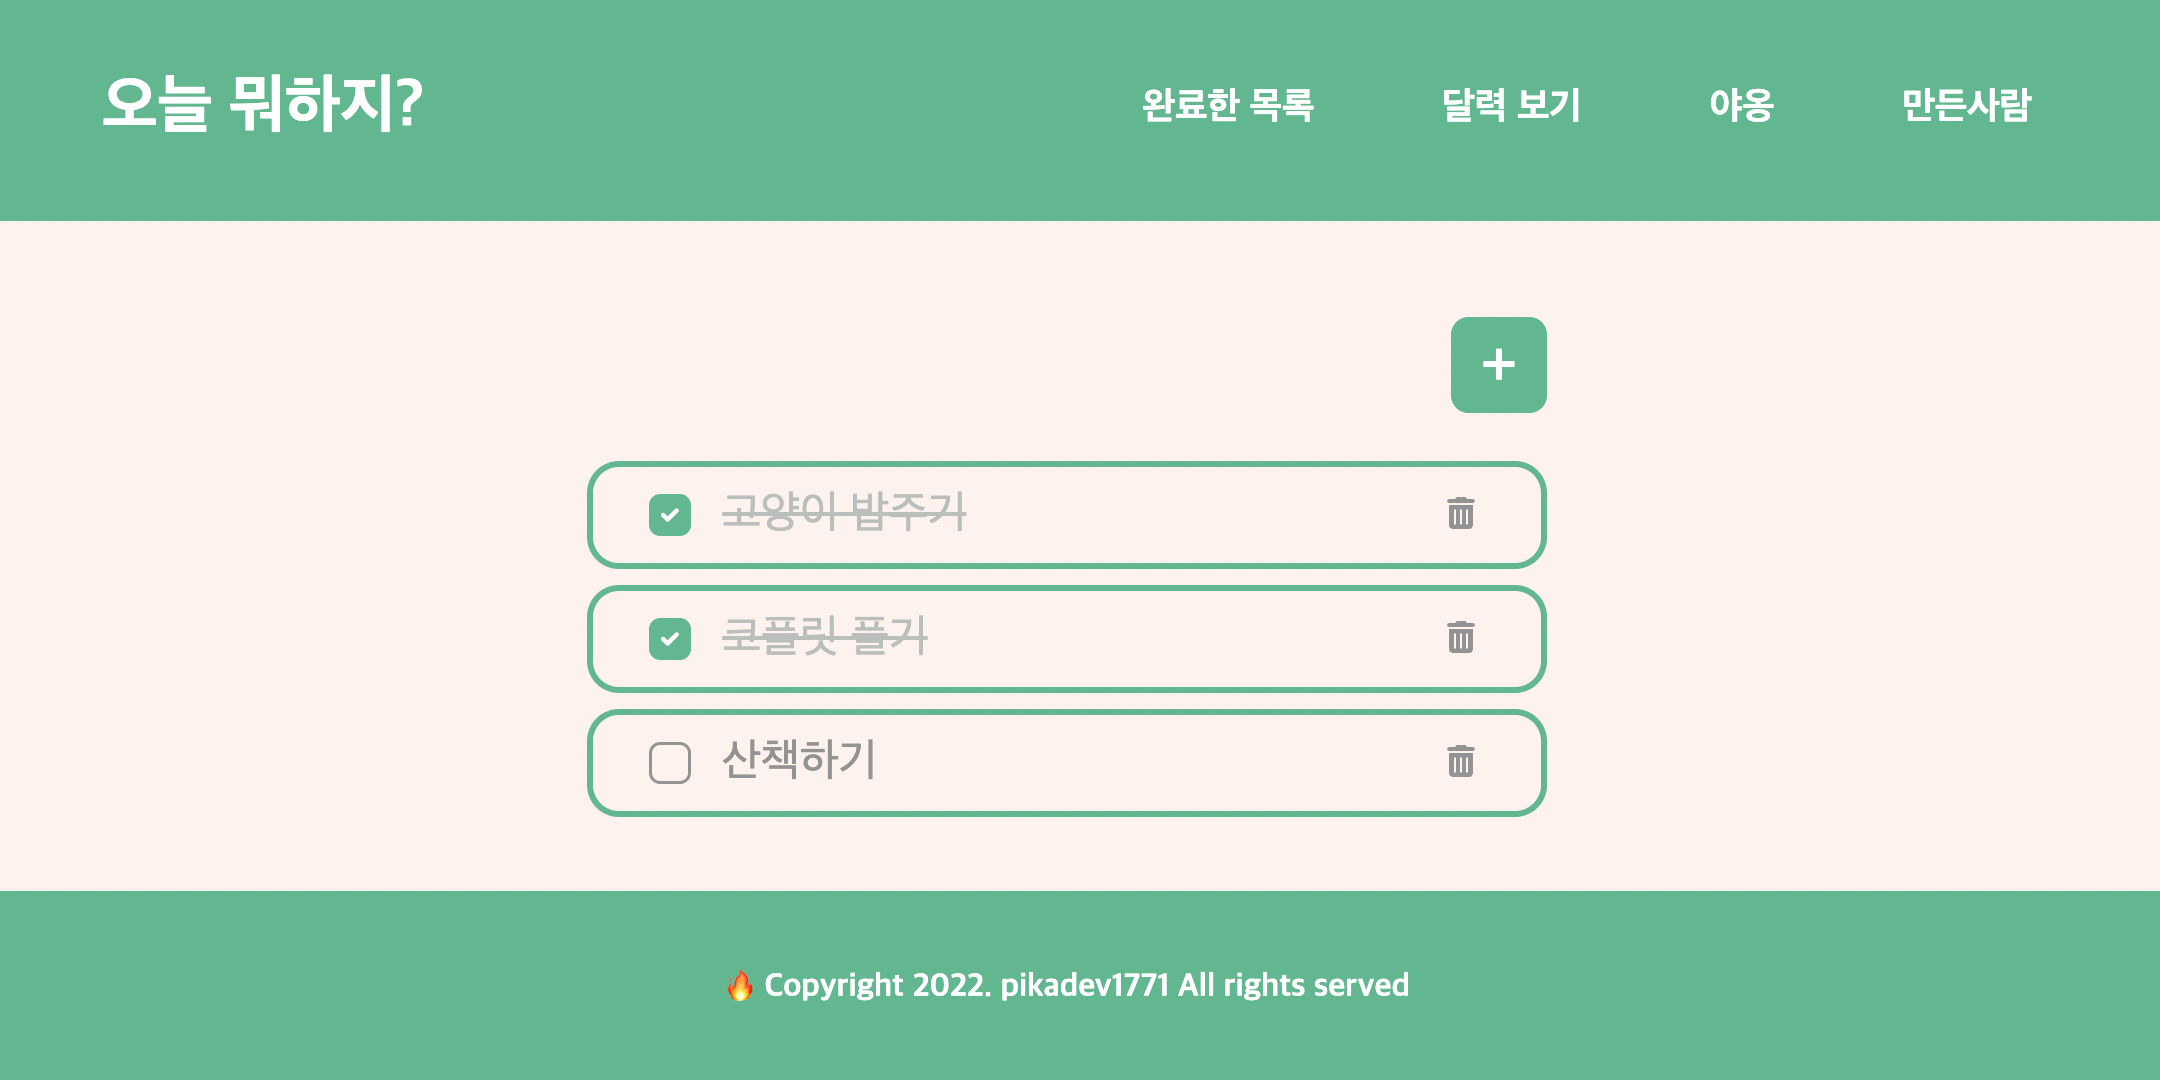
✅ Read (GET 요청)
- To Do 데이터 받아오기
- useFetch 훅 사용
src > Hooks > useFetch.js
import { useState, useEffect } from 'react';

const useFetch = (url) => {
  const [data, setData] = useState([]);
  const [isLoading, setIsLoading] = useState(true);
  const [error, setError] = useState(null);

  useEffect(() => {
    fetch(url)
      .then((res) => {
        if (!res.ok) {
          throw Error('could not fetch the data for that resource');
        }
        return res.json();
      })
      .then((data) => {
        setIsLoading(false);
        setData(data); // 응답으로 들어오는 데이터를 data에 넣어줌
        setError(null);
      })
      .catch((err) => {
        setIsLoading(false);
        setError(err.message);
      });
  }, []);

  return { data, isLoading, error };
};

export default useFetch;
src > components > TodoList.js
import React from 'react';
import styled from 'styled-components';
import { useNavigate } from 'react-router-dom';
import useFetch from '../Hooks/useFetch';
...

export default function TodoList() {
...
  // useFetch 훅 사용해서 데이터 받아오기
  const { data: todoData, isLoading } = useFetch('http://localhost:3001/todos'); // 받아온 data를 이 컴포넌트에스는 todoData라고 하겠다는 의미

...

  return (
    <TodoListContainer>
      {isLoading // 받아온 데이터(isLoading) 쓰기
        ? '로딩 중...'
        : todoData.map((item) => ( //  받아온 데이터(todoData) 쓰기
            <Item key={item.id}>
              <CheckBoxAndTitleContainer>
                <CheckBox
                  type="checkbox"
                  checked={item.checked}
                  onChange={(e) => {
                    handleCheckChange(e.target.checked, item.id);
                  }}></CheckBox>
                <Title isChecked={item.checked}>{item.title}</Title>
              </CheckBoxAndTitleContainer>
              <DeleteBtn onClick={() => handleDelete(item.id)}>
                <FontAwesomeIcon icon={faTrashCan} />
              </DeleteBtn>
            </Item>
          ))}
    </TodoListContainer>
  );
}
참고 : useFetch 훅 사용 안 한 버전
- axios 사용
src > Pages > Main.js
import React from 'react';
import { useState, useEffect } from 'react';
import axios from 'axios';
import styled from 'styled-components';

export default function Main() {
  const [todoData, setTodoData] = useState([]); //  todo 데이터 state 만들기

  useEffect(() => {
    async function request() { // 데이터 받아오는 함수 `request`
      const response = await axios.get('http://localhost:3001/todos');
      const { data } = response;
      setTodoData(data); // `todoData` 값(상태)을 받아온 데이터로 바꾸기
    }
    request(); // 데이터 받아오는 함수 꼭 실행시켜 줘야 함
  }, []);

  return (
    <MainContainer>
      <h1>오늘 할 일</h1>
      <TodoList>
        {todoData.map((item) => (
          <li key={item.id}>
            <Title>{item.title}</Title>
            <DeleteBtn>❌</DeleteBtn>
          </li>
        ))}
      </TodoList>
    </MainContainer>
  );
}
✅ Delete (DELETE 요청)
1) 삭제 버튼을 클릭하면 실행되는 handleDelete 함수의 인자로 클릭한 아이템의 id를 전달하도록 설정
2) 삭제 버튼 클릭 시 fetch 이용해 삭제 요청 전달
3) 삭제 요청이 정상적으로 처리되면 Home 페이지로 이동
src > components > TodoList.js
import React from 'react';
import styled from 'styled-components';
import { useNavigate } from 'react-router-dom';
import useFetch from '../Hooks/useFetch';
...
export default function TodoList() {
  const navigate = useNavigate();
...
  const handleDelete = (id) => { // 2) 버튼 클릭 시 DELETE 요청
    fetch(`http://localhost:3001/todos/${id}`, { // 각 아이템을 가리키는 엔드포인트
      method: 'DELETE',
    })
      .then((res) => {
        if (!res.ok) {
          throw Error('could not fetch the data for that resource');
        }
        return res.json();
      })
      .then(() => {
        navigate('/'); // 3) 정상적으로 처리되면 Home 페이지로 이동
        window.location.reload(); // 새로고침 (json-server 라이브러리가 동기화 문제가 있기 때문에 사용. 실제 백엔드와 작업 시에는 필요 X)
      })
      .catch((err) => {
        console.error('Error', err);
      });

    console.log('delete!');
  };
 return (
    <TodoListContainer>
      {isLoading
        ? '로딩 중...'
        : todoData.map((item) => (
            <Item key={item.id}>
              <CheckBoxAndTitleContainer>
                <CheckBox
                  type="checkbox"
                  checked={item.checked}
                  onChange={(e) => {
                    handleCheckChange(e.target.checked, item.id);
                  }}></CheckBox>
                <Title isChecked={item.checked}>{item.title}</Title>
              </CheckBoxAndTitleContainer>
              <DeleteBtn onClick={() => handleDelete(item.id)}> // 1) 클릭한 아이템의 id를 인자로 전달
                <FontAwesomeIcon icon={faTrashCan} />
              </DeleteBtn>
            </Item>
          ))}
    </TodoListContainer>
  );
}
✅ Create (POST 요청)
- useInput 훅 사용
src > Hooks > useInput.js
import { useState } from 'react';

const useInput = () => {
  const [inputValue, setInputValue] = useState('');

  const bind = {
    value: inputValue,
    onChange: (e) => setInputValue(e.target.value),
  };

  return [inputValue, bind];
};

export default useInput;
src > components > CreateItem.js
import { useNavigate } from 'react-router-dom';
import useInput from '../Hooks/useInput';
import styled from 'styled-components';

export const CreateItem = () => {
  const [title, titleBind] = useInput(); // 1) useInput 훅 이용해서 input 창 입력값 등 정보 가져오기

  const navigate = useNavigate();

  const newItem = { // 2) 요청 보낼때 사용할 새 아이템 객체 만들기
    title, // useInput 훅 이용해서 받아온 title 사용
    checked: false,
  };

  const handleSubmit = (e) => {
    e.preventDefault();
    fetch('http://localhost:3001/todos/', {
      method: 'POST',
      headers: {
        'Content-Type': 'application/json',
      },
      body: JSON.stringify(newItem), // 3) body에 newItem  담아서 POST 요청 보내기
    })
      .then((res) => {
        if (!res.ok) {
          throw Error('could not fetch the data for that resource');
        }
        return res.json();
      })
      .then((data) => {
        console.log(data);
        navigate('/'); // 4) 정상적으로 처리되면 Home 페이지로 이동
        window.location.reload(); // 새로고침 (json-server 라이브러리가 동기화 문제가 있기 때문에 사용. 실제 백엔드와 작업 시에는 필요 X)
      })
      .catch((err) => {
        console.error('Error', err);
      });

    console.log(e.type);
  };

  return (
    <CreateItemContainer>
      <NewItemForm onSubmit={handleSubmit}>
        <NewItemInput
          type="text"
          required
          {...titleBind} // useInput 훅으로 가져온 titleBind 사용
          placeholder="무엇을 할까요?"
        />
        <SubmitBtn>등록</SubmitBtn>
      </NewItemForm>
    </CreateItemContainer>
  );
};
✅ Update (PATCH 또는 PUT 요청)
1) 체크 박스 클릭하면 실행되는 handleCheckChange 함수의 인자로 e.target.checked와 아이템 id를 넣어준다.
2) 아이템 id를 활용한 엔드포인트로 PATCH 요청
3) checked 속성만 PATCH로 업데이트
src > components > TodoList.js
import React from 'react';
import styled from 'styled-components';
import { useNavigate } from 'react-router-dom';
import useFetch from '../Hooks/useFetch';
...
export default function TodoList() {
  const navigate = useNavigate();
...
...
// PATCH 완료(체크) 상태 변경
  const handleCheckChange = (checked, id) => { // checked가 현재의 체크 박스 상태의 반대로 들어온다...! (why..??)
    fetch(`http://localhost:3001/todos/${id}`, { // 2) 아이템 id를 활용한 엔드포인트로 PATCH 요청
      method: 'PATCH',
      headers: {
        'Content-Type': 'application/json',
      },
      body: JSON.stringify({ 3) checked 속성만 PATCH로 업데이트
        checked: checked, // 이렇게 넣어주면 현재의 체크 상태와 반대로 들어감
      }),
    })
      .then((res) => {
        if (!res.ok) {
          throw Error('could not fetch the data for that resource');
        }
        return res.json();
      })
      .then(() => {
        // navigate('/');
        window.location.reload();
      })
      .catch((err) => {
        console.error('Error', err);
      });
    console.log(checked, id);
    console.log('check!');
  };

  return (
    <TodoListContainer>
      {isLoading
        ? '로딩 중...'
        : todoData.map((item) => (
            <Item key={item.id}>
              <CheckBoxAndTitleContainer>
                <CheckBox
                  type="checkbox"
                  checked={item.checked}
                  onChange={(e) => {
                    handleCheckChange(e.target.checked, item.id); // 1) 체크 박스 클릭 시 실행
                  }}
</CheckBox>
                <Title isChecked={item.checked}>{item.title}</Title>
              </CheckBoxAndTitleContainer>
              <DeleteBtn onClick={() => handleDelete(item.id)}>
                <FontAwesomeIcon icon={faTrashCan} />
              </DeleteBtn>
            </Item>
          ))}
    </TodoListContainer>
  );
}