🚀 Start
이제 두가지 기능을 더 추가해보자. 게시글에 사진을 업로드하는 기능과 메인페이지의 검색창을 이용하여 게시글 검색 기능을 추가해보자!!
⚙️ Image
⭐️ upload
기존의 게시글을 작성하는 페이지인 Post Create Page에서 사진을 업로드하는 기능을 추가할 것이다.
👉 api 요청 (client)
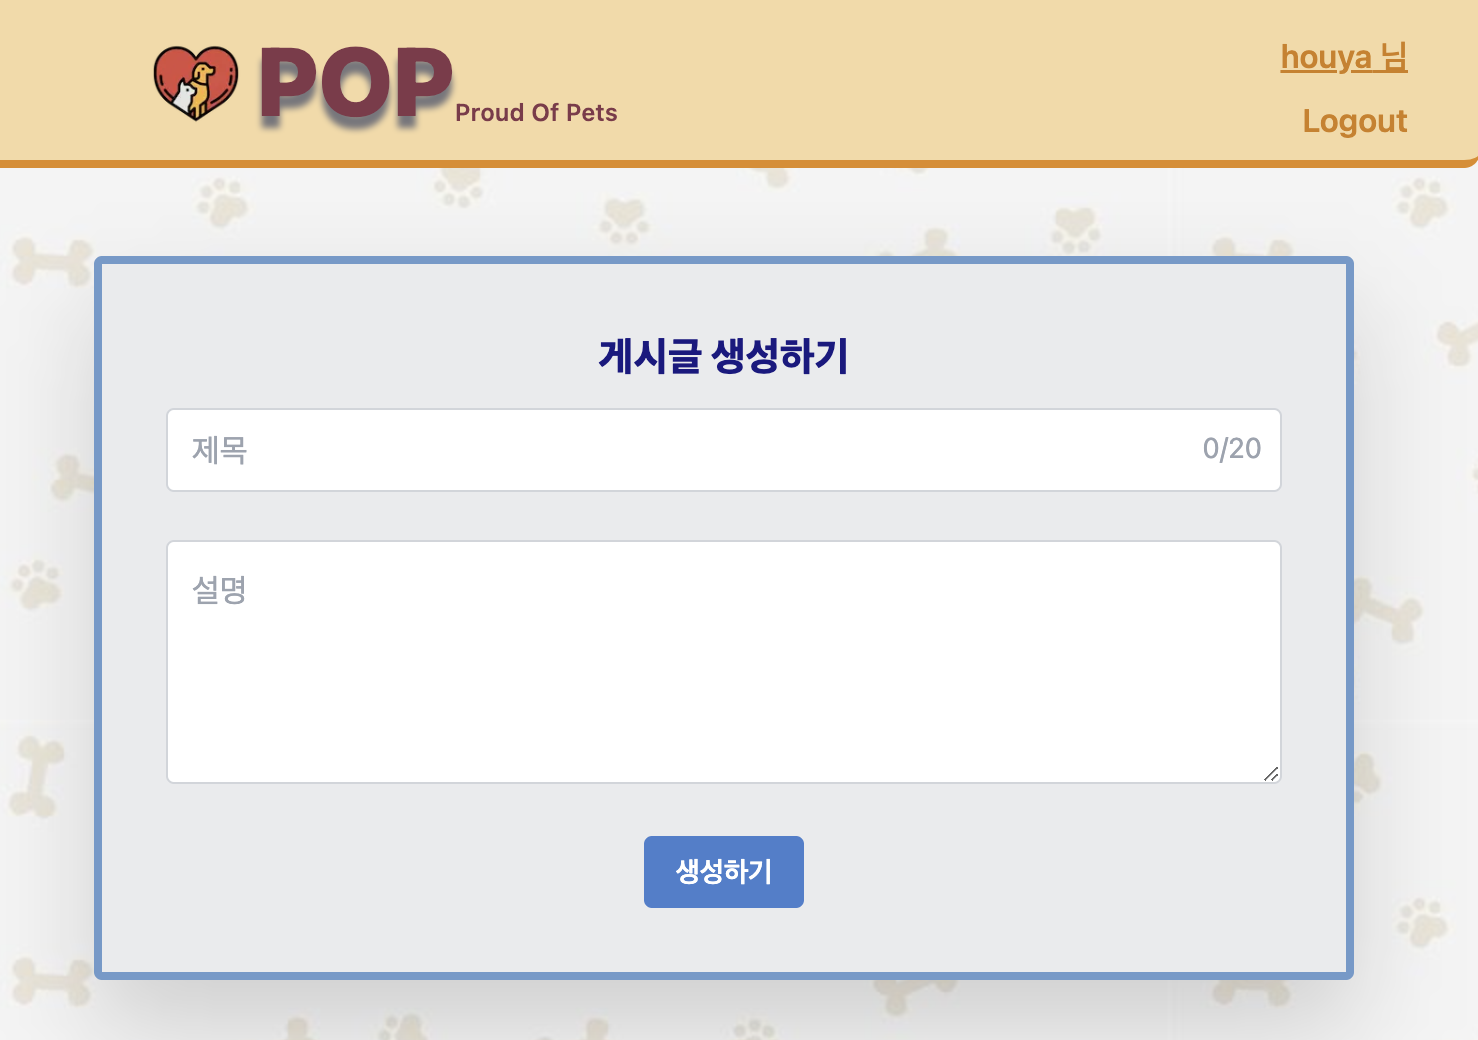
✅ 게시글 작성 페이지
1️⃣ done이 true일 때는 createForm컴포넌트가 보이게, done이 false일 때는 createImage컴포넌트가 보이게 한다.
createForm: 게시글 주제와 내용을 작성하는 컴포넌트createImage: 게시글의 사진을 업로드하는 컴포넌트
2️⃣ setDone: createForm컴포넌트의 submit button을 클릭시 done이 false가 되게 설정.
3️⃣ setPostId, setPostSlug: 이미지를 업로드하기 위해서는 해당 게시글의 Identifier와 slug를 알아야 정확히 알아야하고 일치해야한다.
// client/src/pages/r/[sub]/create.tsx
const PostCreate = () => {
const [done, setDone] = useState(true);
const [postId, setPostId] = useState('');
const [postSlug, setPostSlug] = useState('');
return (
...
<h1>게시글 생성하기</h1>
{done ? ( // 1️⃣ 번
<CreateForm
setDone={setDone} // 2️⃣ 번
setPostId={setPostId} // 3️⃣ 번
setPostSlug={setPostSlug} // 3️⃣ 번
/>
) : (
<CreateImage postId={postId} postSlug={postSlug} />
)}
...
);
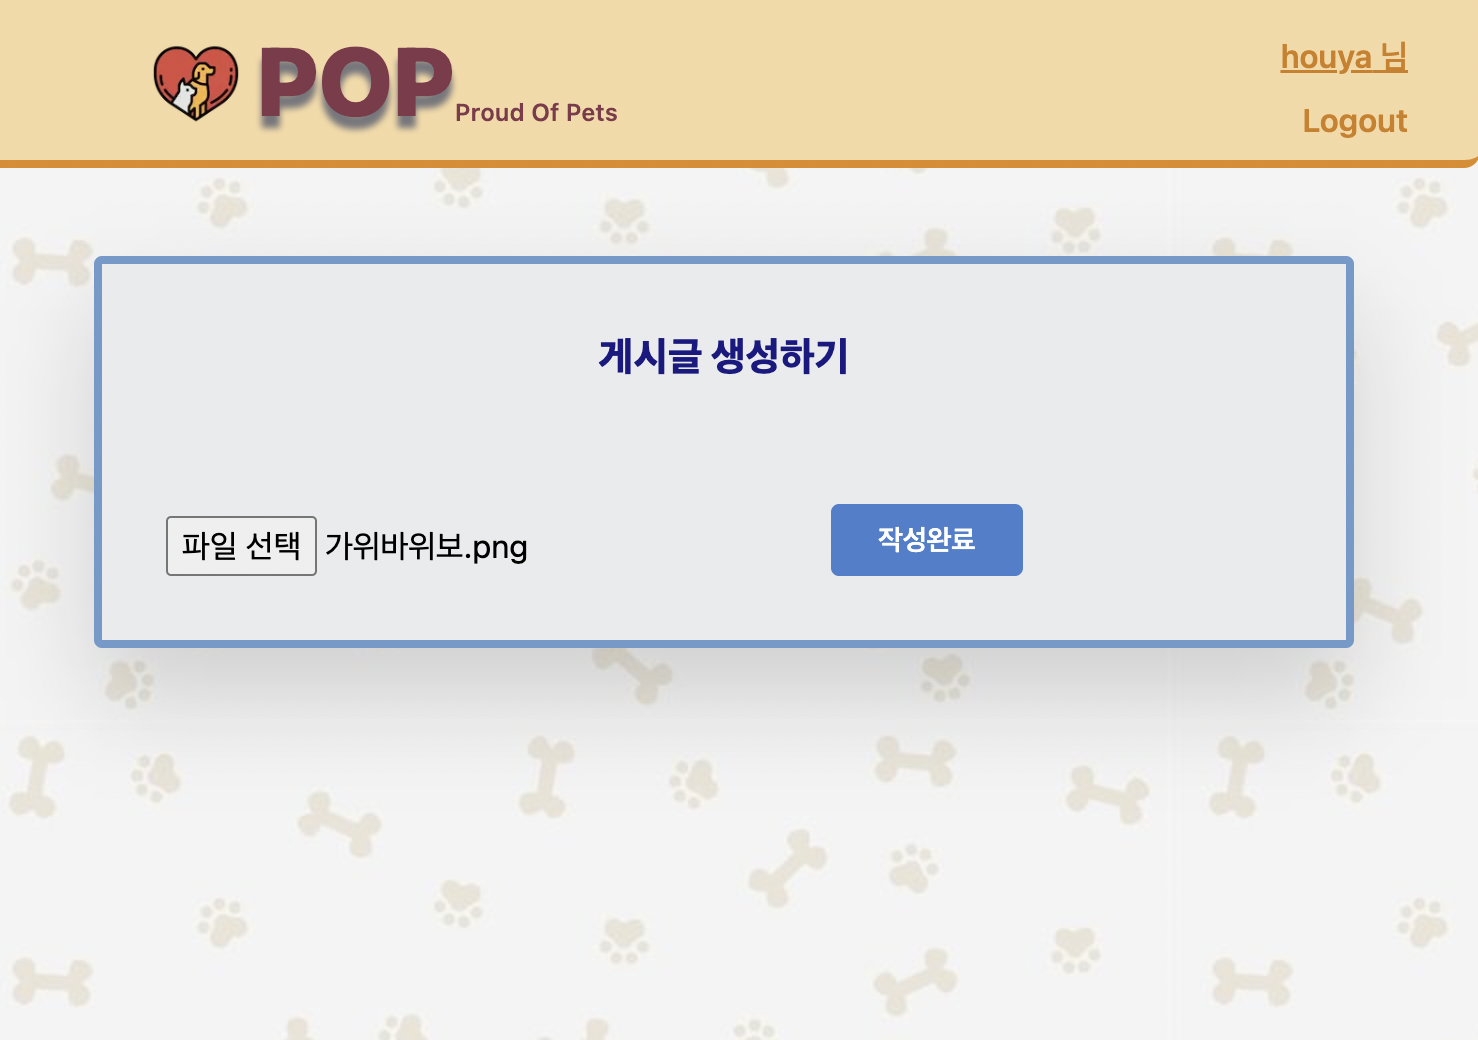
};✅ 게시글 사진 업로드 페이지
1️⃣ 파일선택 시 api url, formData, header을 post
2️⃣ uploadImage 실행시 해당 파일 선택 및 파일 타입 설정.
3️⃣ 이미지 업로드가 완료되면 해당 게시글 페이지로 이동.
- 이때, 해당 게시글에 대한 고유한
identifier,slug을 통해 게시글을 찾아 이동.
// client/src/components/postPage/CreateImage.tsx
interface CreateImageProps {
postId: string;
postSlug: string;
}
const CreateImage = ({ postId, postSlug }: CreateImageProps) => {
const fileInputRef = React.useRef<HTMLInputElement>(null);
const router = useRouter();
const { sub: subName } = router.query;
const uploadImage = async (e: React.ChangeEvent<HTMLInputElement>) => { // 1️⃣ 번
if (e.target.files === null) return;
openFileInput('image');
const file = e.target.files[0];
const formData = new FormData();
formData.append('file', file);
formData.append('type', fileInputRef.current!.name);
try {
await Axios.post(`/posts/${postId}/upload`, formData, {
headers: { 'context-Type': 'multipart/form-data' },
});
} catch (error: unknown) {
console.log(error);
}
};
const openFileInput = (type: string) => { // 2️⃣ 번
const fileInput = fileInputRef.current;
if (fileInput) {
fileInput.name = type;
fileInput.click();
}
};
const gotoPost = () => { // 3️⃣ 번
router.push(`/r/${subName}/${postId}/${postSlug}`);
};
return (
<>
<div>
<input type="file" ref={fileInputRef} onChange={uploadImage} />
<button onClick={gotoPost}> 작성완료</button>
</div>
</>
);
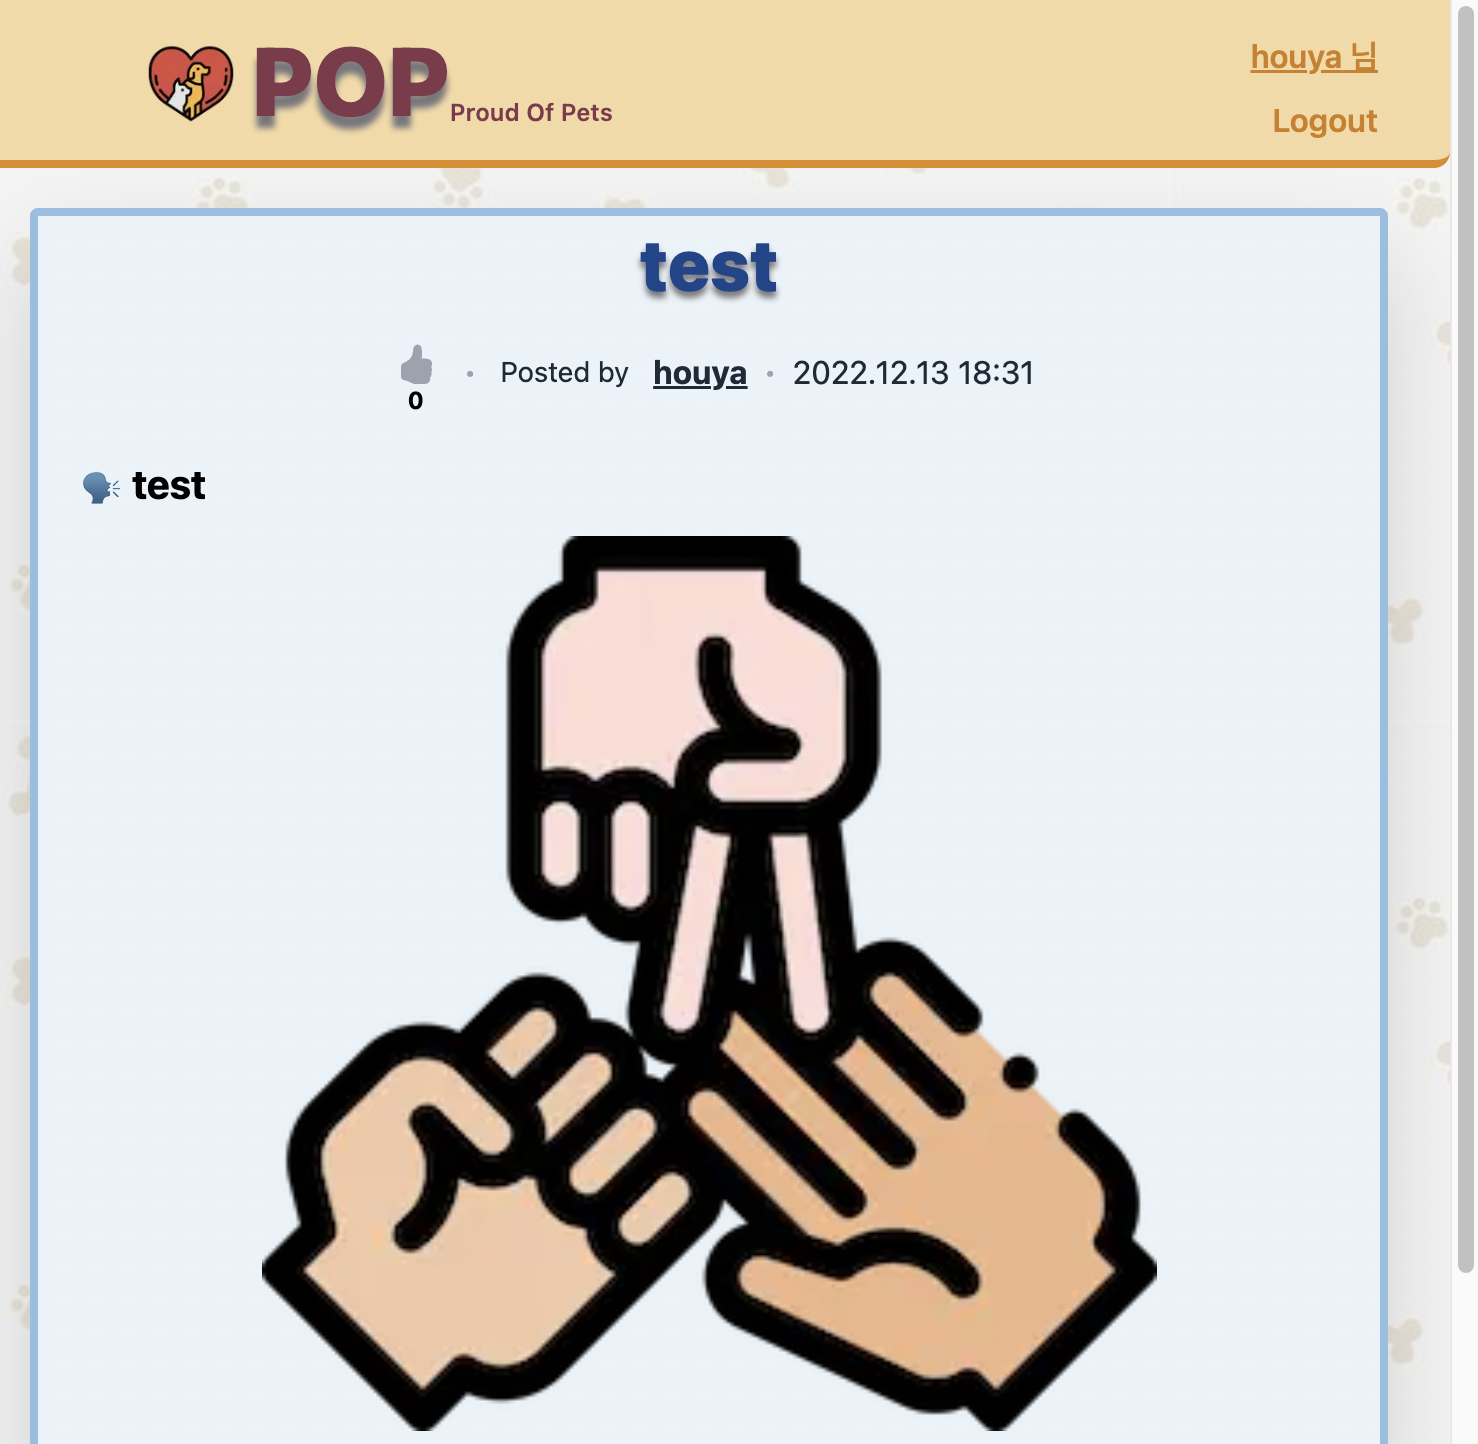
};✅ 게시글 페이지
Contents컴포넌트는[slug].tsx(게시글페이지)의 게시글 내용과 게시글 댓글 중 게시글 내용에 대한 분리된 컴포넌트.
const Contents = ({post}: ContentsProps) => {
  return (
    <div>
    	// post(게시글 데이터)에 image데이터가 존재할시 이미지 출력
        {post.imageUrl && (
          <Image
            src={post.imageUrl}
            alt="커뮤니티 이미지"
            width={100}
            height={100}
          />
        )}
    </div>
  );
};
👉 api 생성 (server)
✅ api 경로 설정
// server/src/routes/post.ts
router.post(
  '/:postId/upload',
  userMiddleware,
  authMiddleware,
  ownPost,
  upload.single('file'),
  uploadPostImage
);
✅ ownSub 함수 생성
1️⃣ res.locals를 활용하여 user을 전역에서 사용 가능한 변수로 설정
2️⃣ findOneOrFail: 일부 ID와 일치하는 첫 번째 엔터티를 찾거나 옵션을 찾는다. 일치하는 것이 없으면 반환된 약속을 거부한다.
- client에서 전달한
postId와 일치하는post데이터를 찾는다.
3️⃣ 만약 커뮤니티에 등록된 usename과 유저정보의 username이 같지 않다면 error 반환
4️⃣ res.locals를 활용하여 post`을 전역에서 사용 가능한 변수로 설정
5️⃣ ownSub 다음인 upload.single(file)로 이동
const ownPost = async (req: Request, res: Response, next: NextFunction) => {
  const user: User = res.locals.user; // 1️⃣ 번
  const { postId } = req.params;
  console.log(req.params.postId);

  try {
    const post = await Post.findOneOrFail({ // 2️⃣ 번
      where: { identifier: postId },
    });
    if (post.username !== user.username) { // 3️⃣ 번
      return res
        .status(403)
        .json({ error: '사용자님의 소유 게시글이 아닙니다.' });
    }

    res.locals.post = post; // 4️⃣ 번

    return next(); // 5️⃣ 번
  } catch (error) {
    console.log(error);
    return res.status(500).json({ error: '문제가 발생하였습니다' });
  }
};
✅ upload 함수 생성
1️⃣ storage: 파일을 저장할 위치 설정
- originalname: 사용자 컴퓨터의 파일이름
- destination: 파일이 저장된 폴더
- filename: 안에 있는 파일의 이름 destination
2️⃣ makeId(10): 파일마다 고유한 값 설정
3️⃣ path.extname() : 파일확장자 추출후 출력. 경로의 마지막 부분의 문자열에서 마지막 '.'에서부터 경로의 확장자를 반환한다.
4️⃣ fileFilter 함수를 만들어 png, jpeg 이미지 타입만 받겠다는 필터링 (허용되는 파일을 제어하는 기능) (MIME 타입)
const upload = multer({
  storage: multer.diskStorage({ // 1️⃣ 번
    destination: 'public/images',
    filename: (_, file, callback) => {
      const name = makeId(10); // 2️⃣ 번
      callback(null, name + path.extname(file.originalname)); // 3️⃣ 번
    },
  }),
  fileFilter: (_, file: any, callback: FileFilterCallback) => { // 4️⃣ 번
    if (file.mimetype === 'image/jpeg' || file.mimetype === 'image/png') {
      callback(null, true);
    } else {
      callback(new Error('이미지가 아닙니다.'));
    }
  },
});
✅ uploadPostImage 함수 생성
1️⃣ res.locals를 활용하여 post을 전역에서 사용 가능한 변수로 설정
2️⃣ client에서 요청한 데이터값을 type변수에 저장.
//client
formData.append("type", fileInputRef.current!.name);
3️⃣ 만약 type이 image가 아닐시에는 유효하지 않는 파일이라고 판별 후 파일 삭제
- 파일 path가 존재하지 않을경우 즉시 return
- 파일 path가 존재할 경우
unlinkSync를 통해 파일 삭제 (참고)
4️⃣ 이전파일을 삭제하기 위하여 사용중인 Urn을 저장한다.
5️⃣ 새로운 파일 이름을 Urn으로 넣어준다.
6️⃣ 만약 새로운 이미지를 업로드할 경우 이전의 이미지파일은 local에 계속 남아서 쌓이게 됨으로 사용하지 않는 이미지파일은 삭제시켜준다.
path.resolve: 여러 인자를 넣으면 하나의 경로로 합쳐준다. (참고)process.cwd(): 현재 작업 디렉토리를 반환 (참고)- ex)
현재작업디렉토리/public/images/업로드했던이미지파일경로
const uploadPostImage = async (req: Request, res: Response) => {
  const post: Post = res.locals.post; // 1️⃣ 번

  try {
    const type = req.body.type; // 2️⃣ 번

    if (type !== 'image') { // 3️⃣ 번
      if (!req.file?.path) {
        return res.status(400).json({ error: '유효하지 않는 파일입니다.' });
      }
      unlinkSync(req.file.path);
      return res.status(400).json({ error: '잘못된 유형입니다.' });
    }

    let oldImageUrn = '';

    if (type === 'image') {
      oldImageUrn = post.imageUrn || ''; // 4️⃣ 번
      post.imageUrn = req.file?.filename || ''; //  5️⃣ 번
    }
    await post.save();

    if (oldImageUrn !== '') {
      const fullFilename = path.resolve( // 6️⃣ 번
        process.cwd(),
        'public',
        'images',
        oldImageUrn
      );
      unlinkSync(fullFilename);
    }

    return res.json(post);
  } catch (error) {
    console.log(error);
    return res.status(500).json({ error: '문제가 발생하였습니다' });
  }
};
⭐️ delete
사진을 업로드하면 해당 프로젝트의 public에는 사진의 파일이 저장된다. 따라서, 커뮤니티 또는 게시글을 삭제할 경우 이에 속하는 이미지파일 또한 함께 삭제되야할 것이다.
👉 Community
path.resolve()와process.cwd()을 이용하여 커뮤니티에 등록된
BannerImage와 Image를 삭제한다.
// server/src/routes/subs.ts
const deleteSub = async (req: Request, res: Response) => {
	...
  try {
    const community = await Sub.findOneByOrFail({ name });
    ...
    const deleteImage = path.resolve(
      process.cwd(),
      'public',
      'images',
      community.imageUrn
    );
    const deleteBanner = path.resolve(
      process.cwd(),
      'public',
      'images',
      community.bannerUrn
    );
    unlinkSync(deleteImage);
    unlinkSync(deleteBanner);

    ...

};
👉 Post
path.resolve()와process.cwd()을 이용하여 커뮤니티에 등록된
Image를 삭제한다.
// server/src/routes/posts.ts
const deletePost = async (req: Request, res: Response) => {
	...
  try {
    const post = await Post.findOneByOrFail({ identifier, slug });
    ...
    const deleteImage = path.resolve(
      process.cwd(),
      'public',
      'images',
      post.imageUrn
    );
    unlinkSync(deleteImage);


    ...

};
⚙️ Search
Search기능을 구현하는 것을 두가지 방법으로 고민했다.
첫번째로, 클라이언트에서 filter, includes, 정규식 등을 통해서 게시글데이터를 필터링해서 출력해주는 것이다.
두번째로, 클라이언트에서 검색창에 입력한 text를 서버에 요청하여 text와 동일한 게시글데이터를 찾아서 반환해주는 것이다.
아마 대용량의 데이터를 처리할 것이라면, 서버에서 데이터를 반환받는 것이 좋아보인다. 내가 제작한 이 프로젝트는 커뮤니티 사이트로 대량의 게시글 데이터가 존재하는 서비스이다.
방식은 알겠지만, typeorm을 통해 데이터베이스의 Entity를 찾는 것에서 난관에 봉착했다.
따라서, 우선 클라이언트에서 필터링해주는 방식을 선택하여 구현하고, 배포후에 다시 구현해보도록 하자!
⭐️ Filtering
이제 메인페이지의 검색창을 이용하여 전체 게시글 데이터를 필터링해보자.
✅ MainPage
- 검색한 text가 담길
search state를PosList,setState을Search에 props로 전달한다.
const Home: NextPage = () => {
  const [search, setSearch] = useState('');

  return (
    <>
     ...
        <PostList search={search} />
        <Search setSearch={setSearch} />
        </div>
      </div>
    </>
  );
};
✅ Search
input에 입력하는 글이search에 담긴다.
interface SearchProps {
  setSearch: Dispatch<SetStateAction<string>>;
}

const Search = ({ setSearch }: SearchProps) => {

    const searchPost = async (e: ChangeEvent<HTMLInputElement>) => {
    	e.preventDefault();
    	setSearch(e.target.value);
  };

  return(
 	  <input
       type="text"
       placeholder="Search..."
       onChange={searchPost}
          />

  )

}
✅ PostList
- 서버로부터 받아온 post data는 전체 게시글이다. 이 data를 filter를 통해 다음과 같은 데이터들이 필터링된다.
subName: 게시글이 담긴 커뮤니티username: 게시글을 작성한 유저title: 게시글 주제body: 게시글 내용
interface PostListProps {
  search: string;
}

const PostList = ({ search }: PostListProps) => {

  const { data } = useSWRInfinite<Post[]>(getKey);
  let posts: Post[] = data ? ([] as Post[]).concat(...data) : [];


  posts = posts.filter(val => {
    if (
      val.title
        .replace(/ /g, '')
        .toLowerCase()
        .includes(search.toLowerCase().replace(/ /g, ''))
    ) {
      return val;
    }
    if (
      val.body
        .replace(/ /g, '')
        .toLowerCase()
        .includes(search.toLowerCase().replace(/ /g, ''))
    ) {
      return val;
    }
    if (
      val.username
        .replace(/ /g, '')
        .toLowerCase()
        .includes(search.toLowerCase().replace(/ /g, ''))
    ) {
      return val;
    }
    if (
      val.subName
        .replace(/ /g, '')
        .toLowerCase()
        .includes(search.toLowerCase().replace(/ /g, ''))
    ) {
      return val;
    }
  });
⭐️ Text HighLight
이제 잘 필터링되어 해당 검색어에 알맞는 게시글이 출력된다. 그럼 이제 해당 검색어에 일치하는 텍스트에 하이라이트를 입혀보자.
이 것은 react-hightlight-words라는 모듈 패키지를 다운받아서 구현해보았다.
설치
npm install --save react-highlight-words
npm install --save @types/react-highlight-words
✅ PostCard
searchWords: 검색할 단어를 설정autoEscape: searchWords정규 표현식에서 의미가 있는 이스케이프 문자textToHighlight: 하이라이트를 표시할 부분.
import Highlighter from 'react-highlight-words';

const PostCard = ({search}: PostCardProps) {

  return (
  	{sub?.title && (
                  <Highlighter
                    searchWords={[search]}
                    autoEscape={true}
                    textToHighlight={sub.title}
                  />
                )}

     ...

    {sub?.username && (
                <Highlighter
                  searchWords={[search]}
                  autoEscape={true}
                  textToHighlight={`${username}님`}
                />
              )}
	...
    {title && (
                <Highlighter
                  searchWords={[search]}
                  autoEscape={true}
                  textToHighlight={title}
                />
              )}
    ...
    {body && (
                    <Highlighter
                      searchWords={[search]}
                      autoEscape={true}
                      textToHighlight={body}
                    />
                  )}


  )

}
📷 Photos