리액트에서 기본 중 기본 개념인 state를 익히기 위한 매우 간단한 프로젝트를 해봤다. 일단 완성된 코드는 아래와 같다.
import { useState } from "react";
import "./style.css"

function ToggleButtonColor() {
  const [backgroundColor, setBackgroundColor] = useState("white");
  const [textColor, setTextColor] = useState("#1b1b1b");
  const [buttonStyle, setButtonStyle] = useState("white");

  function handleClick(){
    setBackgroundColor(backgroundColor === "white" ? "#1b1b1b" : "white")
    setTextColor(textColor === "#1b1b1b" ? "#ffa31a" : "#1b1b1b")
    setButtonStyle(backgroundColor ==="white"? "#1b1b1b":"white")
  }

  return (
    <>
      <section style={{ backgroundColor, color: textColor }}>
        <button
          onClick={handleClick}
          style={{
            buttonStyle,
            color: textColor,
            border: `2px solid ${textColor}`,
          }}
        >
          {backgroundColor === "#1b1b1b" ? "Black Theme": "White Theme"}
        </button>

        <section className="content">
        <h1>
          Hello <br />
          Lingling
        </h1>
      </section>
      </section>


    </>
  );
}

export default ToggleButtonColor;
useState를 사용하여 backgroundColor와 textColor 상태를 정의했다. 초기값으로 각각 "white"와 "#1b1b1b"을 설정해준다. 그리고 아래와 같이 아래와 같이 클릭하면 색상 상태를 업데이트 한다. 현재 배경 색상이 "white"일 경우 "#1b1b1b"로 변경하고, 그렇지 않으면 "white"로 변경하고 글자 색깔도 똑같은 로직으로 바꿔준다.
  function handleClick(){
    setBackgroundColor(backgroundColor === "white" ? "#1b1b1b" : "white")
    setTextColor(textColor === "#1b1b1b" ? "#ffa31a" : "#1b1b1b")
    setButtonStyle(backgroundColor ==="white"? "#1b1b1b":"white")
  }
저 함수가 실행될 수 있도록 버튼에 onClick 해주고 버튼 글자도 배경색깔에 따라 바꿔준다.
<button
  onClick={handleClick}
  style={{
    backgroundColor: backgroundColor,
    color: textColor,
    border: `2px solid ${textColor}`,
  }}
>
  {backgroundColor === "#1b1b1b" ? "Black Theme" : "White Theme"}
</button>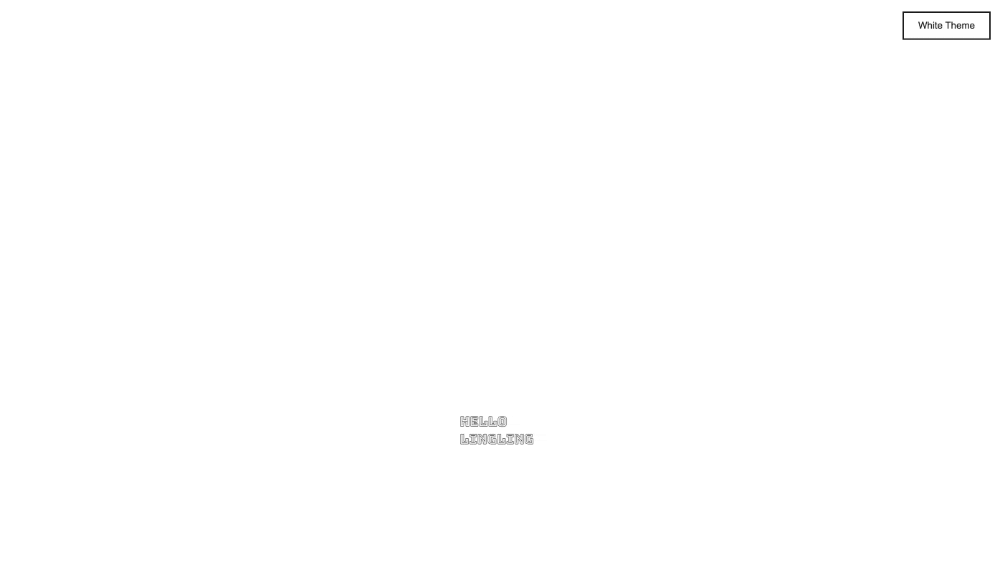
엄청 간단하고 쉽지만 리액트 state 개념이 쉽게 들어오게 도와준 미니 프로젝트였다.
