
들어가며
유명한 SNS어플을 사용하면 하단에 페이지를 이동할 수 있는 메뉴들이 있습니다.
| 인스타그램 | 페이스북 | 카카오톡 |
 |
 |
|
이건 제 폰에서 스크린샷찍은 것들인데요. 저렇게 하단에 멋진 페이지 메뉴들을 만들기 위해서 Flutter에서는 bottomNavigationBar라는 위젯을 제공해주고 있습니다. 그렇다면 어떻게 만들어야 되는지 함께 해보죠.
BottomNavigationBar
예제를 생성하기 위한 프로젝트를 생성해줍시다. cmd라던지, VSC에서 간단하게 초기 프로젝트를 생성할 수 있습니다. 처음에는 카운터앱이 자동으로 생성됩니다. 없애주기 위해서 main메소드와 MyApp클래스를 제외하고 모두 지워줍니다. 에러가 뜨면 lib디렉터리 하위에 src디렉터리를 생성해주시고, 다음과 같은 App클래스를 하나 생성해주세요.
import 'package:flutter/material.dart';
class App extends StatefulWidget {
const App({super.key});
State<App> createState() => _AppState();
}
class _AppState extends State<App> {
Widget build(BuildContext context) {
return Container();
}
}이렇게 생성된 클래스를 그대로 MyApp클래스의 MaterialApp의 body로 전달해줍니다. 초기에는 꺼무잡잡한 화면이 보일거에요.
이제 App클래스 하위에 Scaffold를 생성해주시고, 앱바를 먼저 깔끔하게 만들어놓겠습니다.
import 'package:flutter/material.dart';

class App extends StatefulWidget {
	...
}

class _AppState extends State<App> {
	...
    return Scaffold(
      appBar: AppBar(
        title: Text('bottomNavigation'),
      ),
    );
  }
}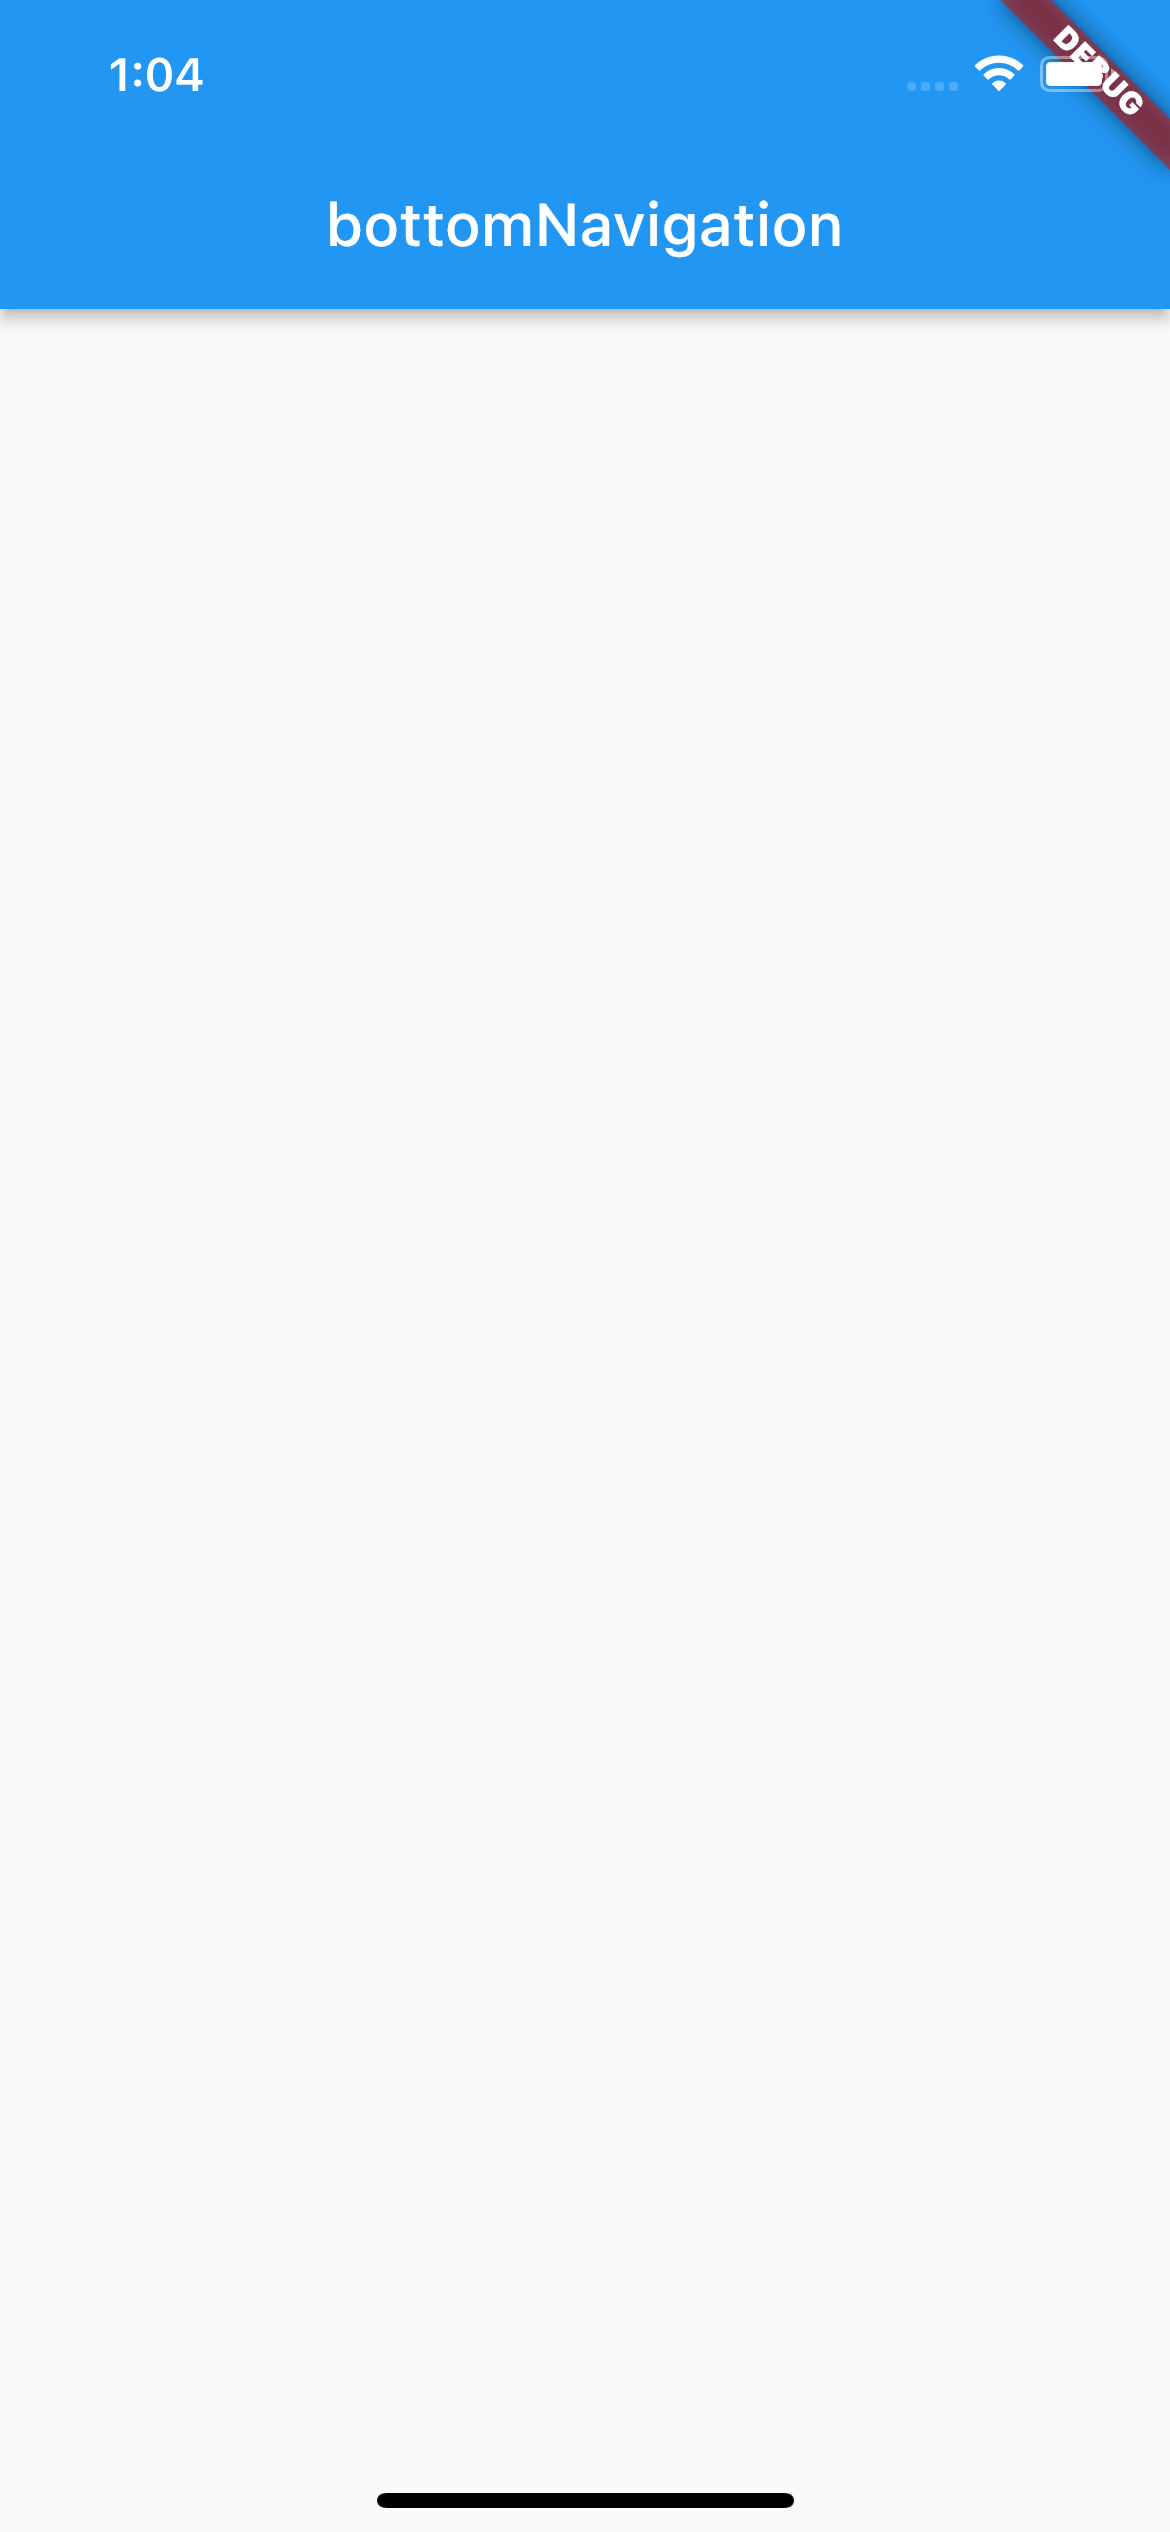
이제 본격적으로 BottomNavigationBar를 정의하고 랜더해보겠습니다.
import 'package:flutter/material.dart';

class App extends StatefulWidget {
	...
}

class _AppState extends State<App> {
	...
    return Scaffold(
		...
      bottomNavigationBar: BottomNavigationBar(
        items: [
          BottomNavigationBarItem(icon: Icon(Icons.home), label: 'home'),
          BottomNavigationBarItem(icon: Icon(Icons.account_circle_rounded), label: 'mypage'),
          BottomNavigationBarItem(icon: Icon(Icons.menu), label: 'menu'),
      ],),
    );
  }
}
우리가 선언한 Scaffold안에는 bottomNavigationBar라는 BottomNavigationBar를 정의할 수 있는 프로퍼티가 존재합니다. 이 파라미터는 기본적으로 BottomNavigationBar를 전달해야하지만, 커스텀으로 bottomAppBar로 만든 것도 전달 가능합니다. 참고해주세요.
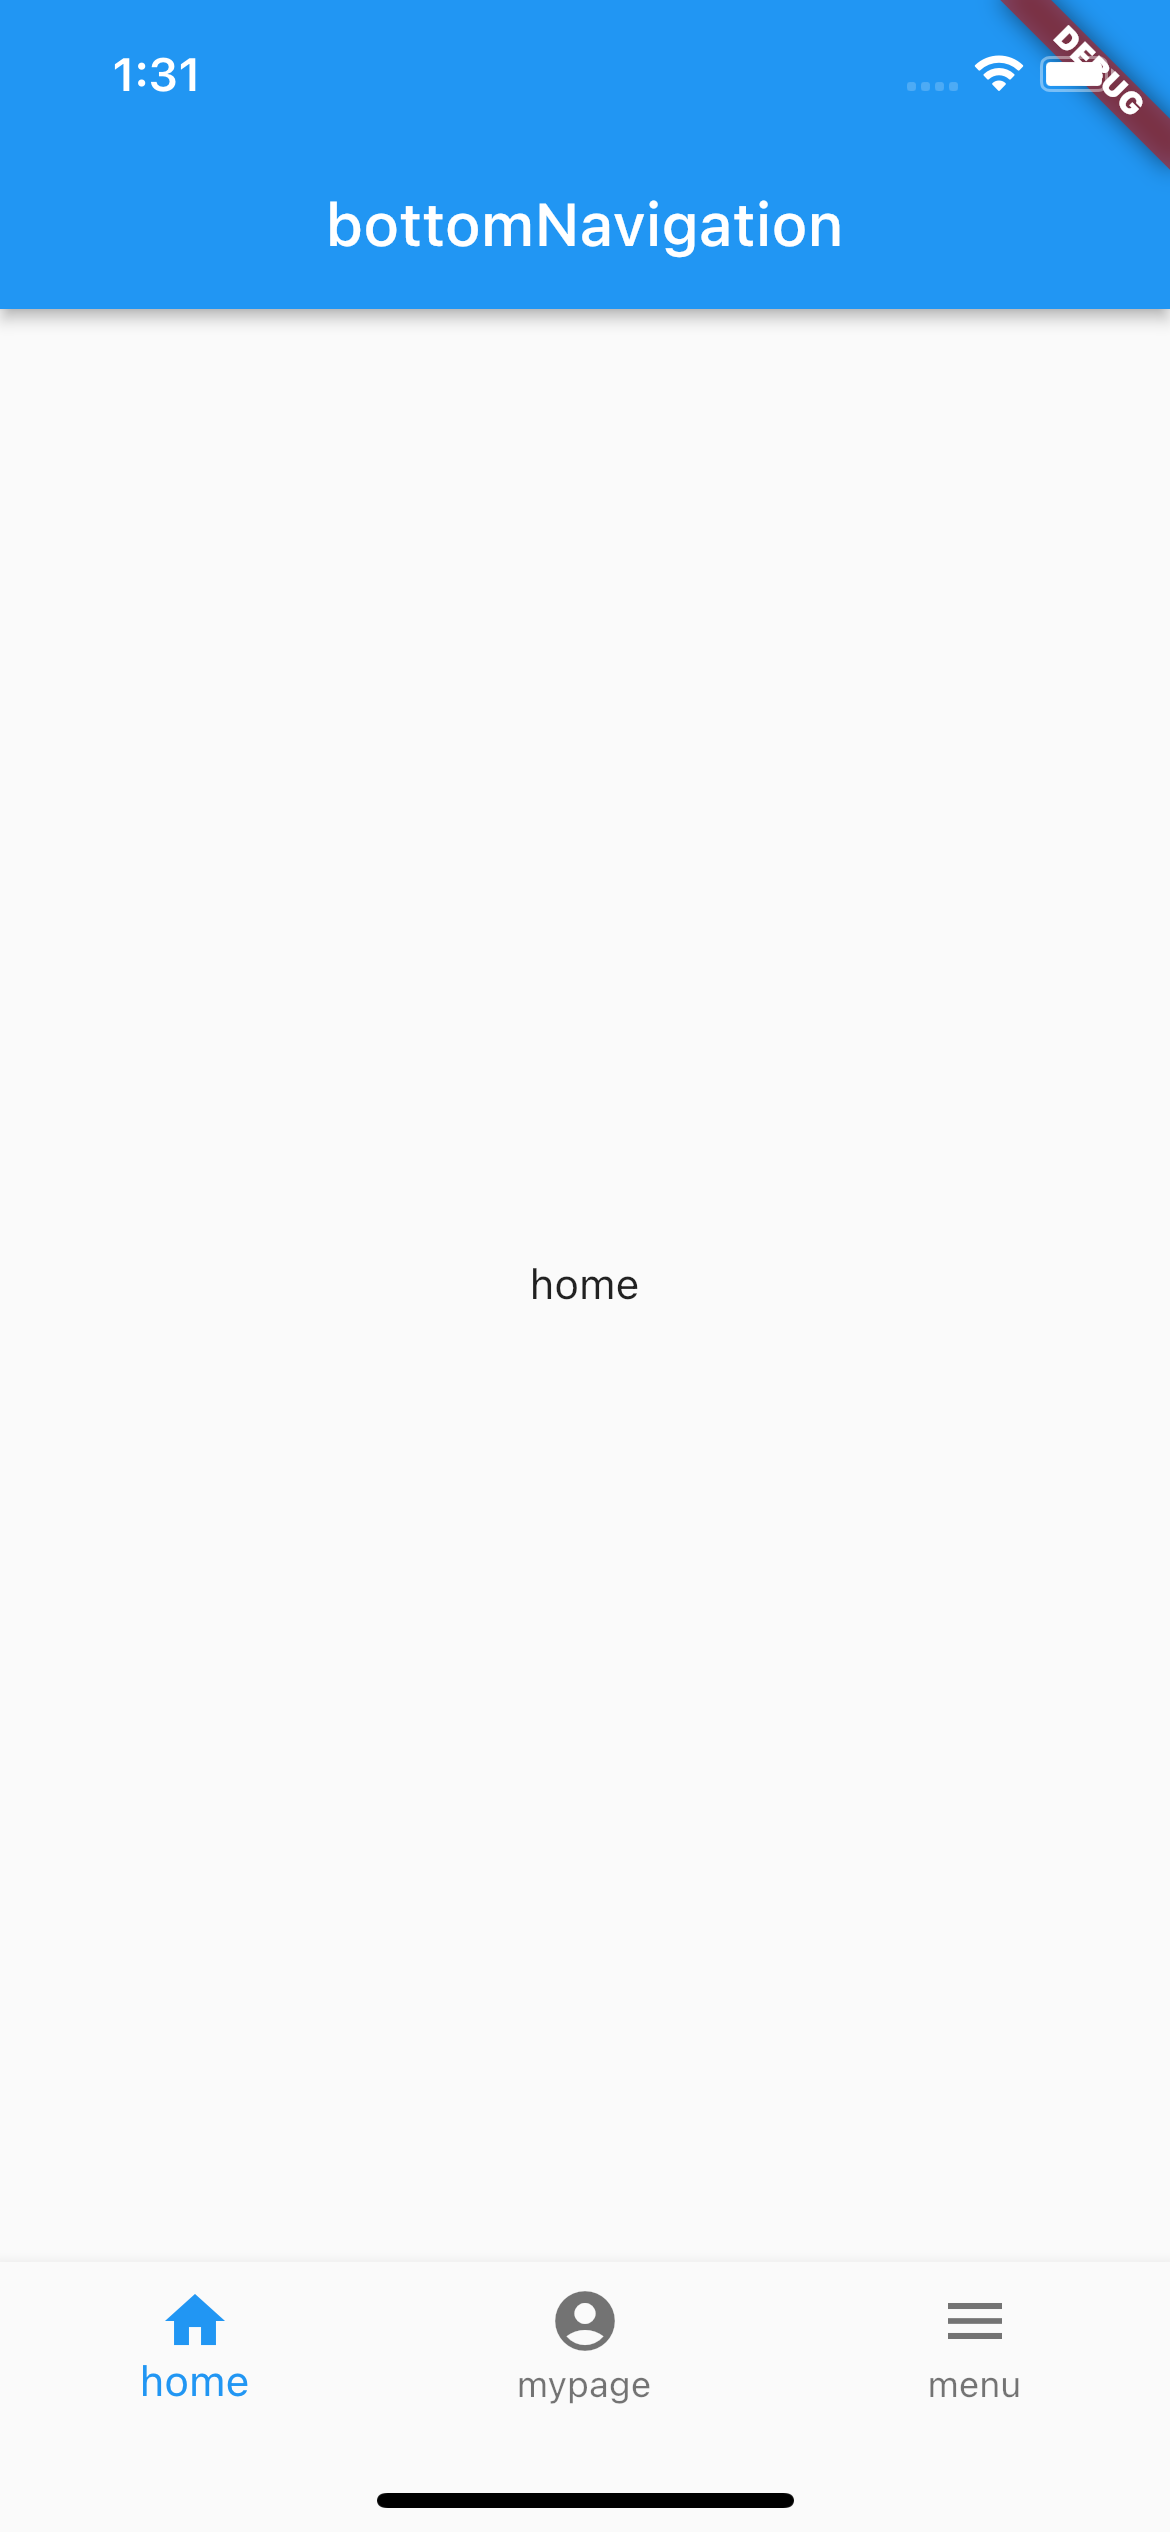
BottomNavigationBar에는 items프로퍼티를 무조건 정의해야 랜더 오류가 발생하지 않습니다. 추가로, items는 기본적으로 List타입을 전달 받으며, 제너릭으로 BottomNavigationBarItem이 정의되어있으니까 전달합시다. 여기까지 완성되었으면 UI가 다음과 같습니다.

bottomNavigationBar는 현제 페이지를 리다이렉트할때, items의 인덱스를 통해서 관리할 수 있습니다. 그러기 위한 프로퍼티가 바로 currentIndex입니다. 클래스 내부에서 _index라는 private 변수를 선언하고, 기본값으로 0을 주겠습니다. 그리고 나서 currentIndex에 전달하겠습니다.
...
class _AppState extends State<App> {
var _index = 0;
Widget build(BuildContext context) {
return Scaffold(
...,
bottomNavigationBar: BottomNavigationBar(
currentIndex: _index,
items: [
BottomNavigationBarItem(icon: Icon(Icons.home), label: 'home'),
BottomNavigationBarItem(icon: Icon(Icons.account_circle_rounded), label: 'mypage'),
BottomNavigationBarItem(icon: Icon(Icons.menu), label: 'menu'),
],),
);
}
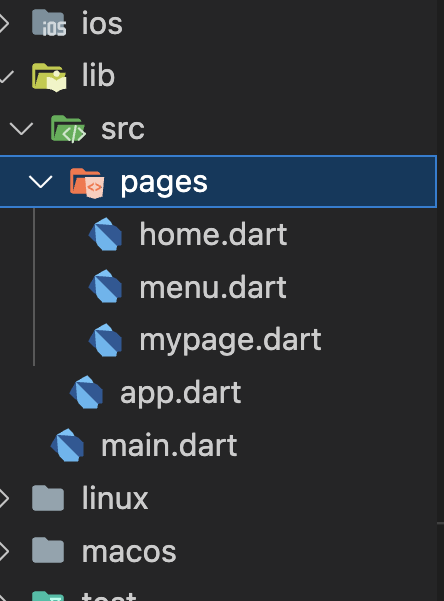
}이제 본격적인 페이지를 나누어서 페이지 이동까지 구현해보겠습니다. 그러기 위한 stateless 위젯 3개를 만들어서, 각각 Home(), MyPage(), Menu()라고 하겠습니다. 구분을 위해서 중앙에 각 페이지의 이름을 랜더하겠습니다. 다시 lib디렉터리 하단에 src 하위에 pages라는 디렉터리를 생성해서, 페이지 파일들을 만들겠습니다.
각 파일들의 내용을 모두 보여드리면 양이 많으니까 하나만 보여드리고, 클래스명과 내부에 표시하는 글자만 다르니까 참고해주세요. 아래 코드는 Home클래스입니다.
import 'package:flutter/material.dart';
class Home extends StatelessWidget {
const Home({super.key});
Widget build(BuildContext context) {
return Container(
child: Center(child: Text('home'),),
);
}
}이제 다시 App클래스로 돌아와서 _index와 마찬가지로 _page를 정의해서 각 페이지를 List로 전달하겠습니다. 그리고 Scaffold내부의 body에 _pages[_index]라고 전달하면, 현재 _index에 따른 페이지를 보여줄겁니다.
import 'package:blog_example/src/pages/home.dart';
import 'package:blog_example/src/pages/menu.dart';
import 'package:blog_example/src/pages/mypage.dart';
import 'package:flutter/material.dart';
class App extends StatefulWidget {
...
}
class _AppState extends State<App> {
var _index = 0;
List<Widget> _pages = [
Home(),
MyPage(),
Menu(),
];
Widget build(BuildContext context) {
return Scaffold(
appBar: AppBar(
title: Text('bottomNavigation'),
),
body: _pages[_index],
bottomNavigationBar: BottomNavigationBar(
currentIndex: _index,
items: [
BottomNavigationBarItem(icon: Icon(Icons.home), label: 'home'),
BottomNavigationBarItem(icon: Icon(Icons.account_circle_rounded), label: 'mypage'),
BottomNavigationBarItem(icon: Icon(Icons.menu), label: 'menu'),
],),
);
}
}여기서 이제 bottomNavigationBar에 onTap프로퍼티에 클릭에 따른 인덱스 변경을 하는 코드를 전달하면 완성입니다. 이 프로퍼티는 기본적으로 인덱스 값을 value로 전달하는 코드를 작성할 수 있습니다. stateful 위젯이므로, setState메소드를 이용해서 클릭이 되면 value를 _index로 전달하겠습니다. 완성이군요. 아래는 전체소스코드입니다.
import 'package:blog_example/src/pages/home.dart';
import 'package:blog_example/src/pages/menu.dart';
import 'package:blog_example/src/pages/mypage.dart';
import 'package:flutter/material.dart';
class App extends StatefulWidget {
const App({super.key});
State<App> createState() => _AppState();
}
class _AppState extends State<App> {
var _index = 0;
List _pages = [
Home(),
MyPage(),
Menu(),
];
Widget build(BuildContext context) {
return Scaffold(
appBar: AppBar(
title: Text('bottomNavigation'),
),
body: _pages[_index],
bottomNavigationBar: BottomNavigationBar(
currentIndex: _index,
onTap: (value) {
setState(() {
_index = value;
print(_index);
});
},
items: [
BottomNavigationBarItem(icon: Icon(Icons.home), label: 'home'),
BottomNavigationBarItem(icon: Icon(Icons.account_circle_rounded), label: 'mypage'),
BottomNavigationBarItem(icon: Icon(Icons.menu), label: 'menu'),
],),
);
}
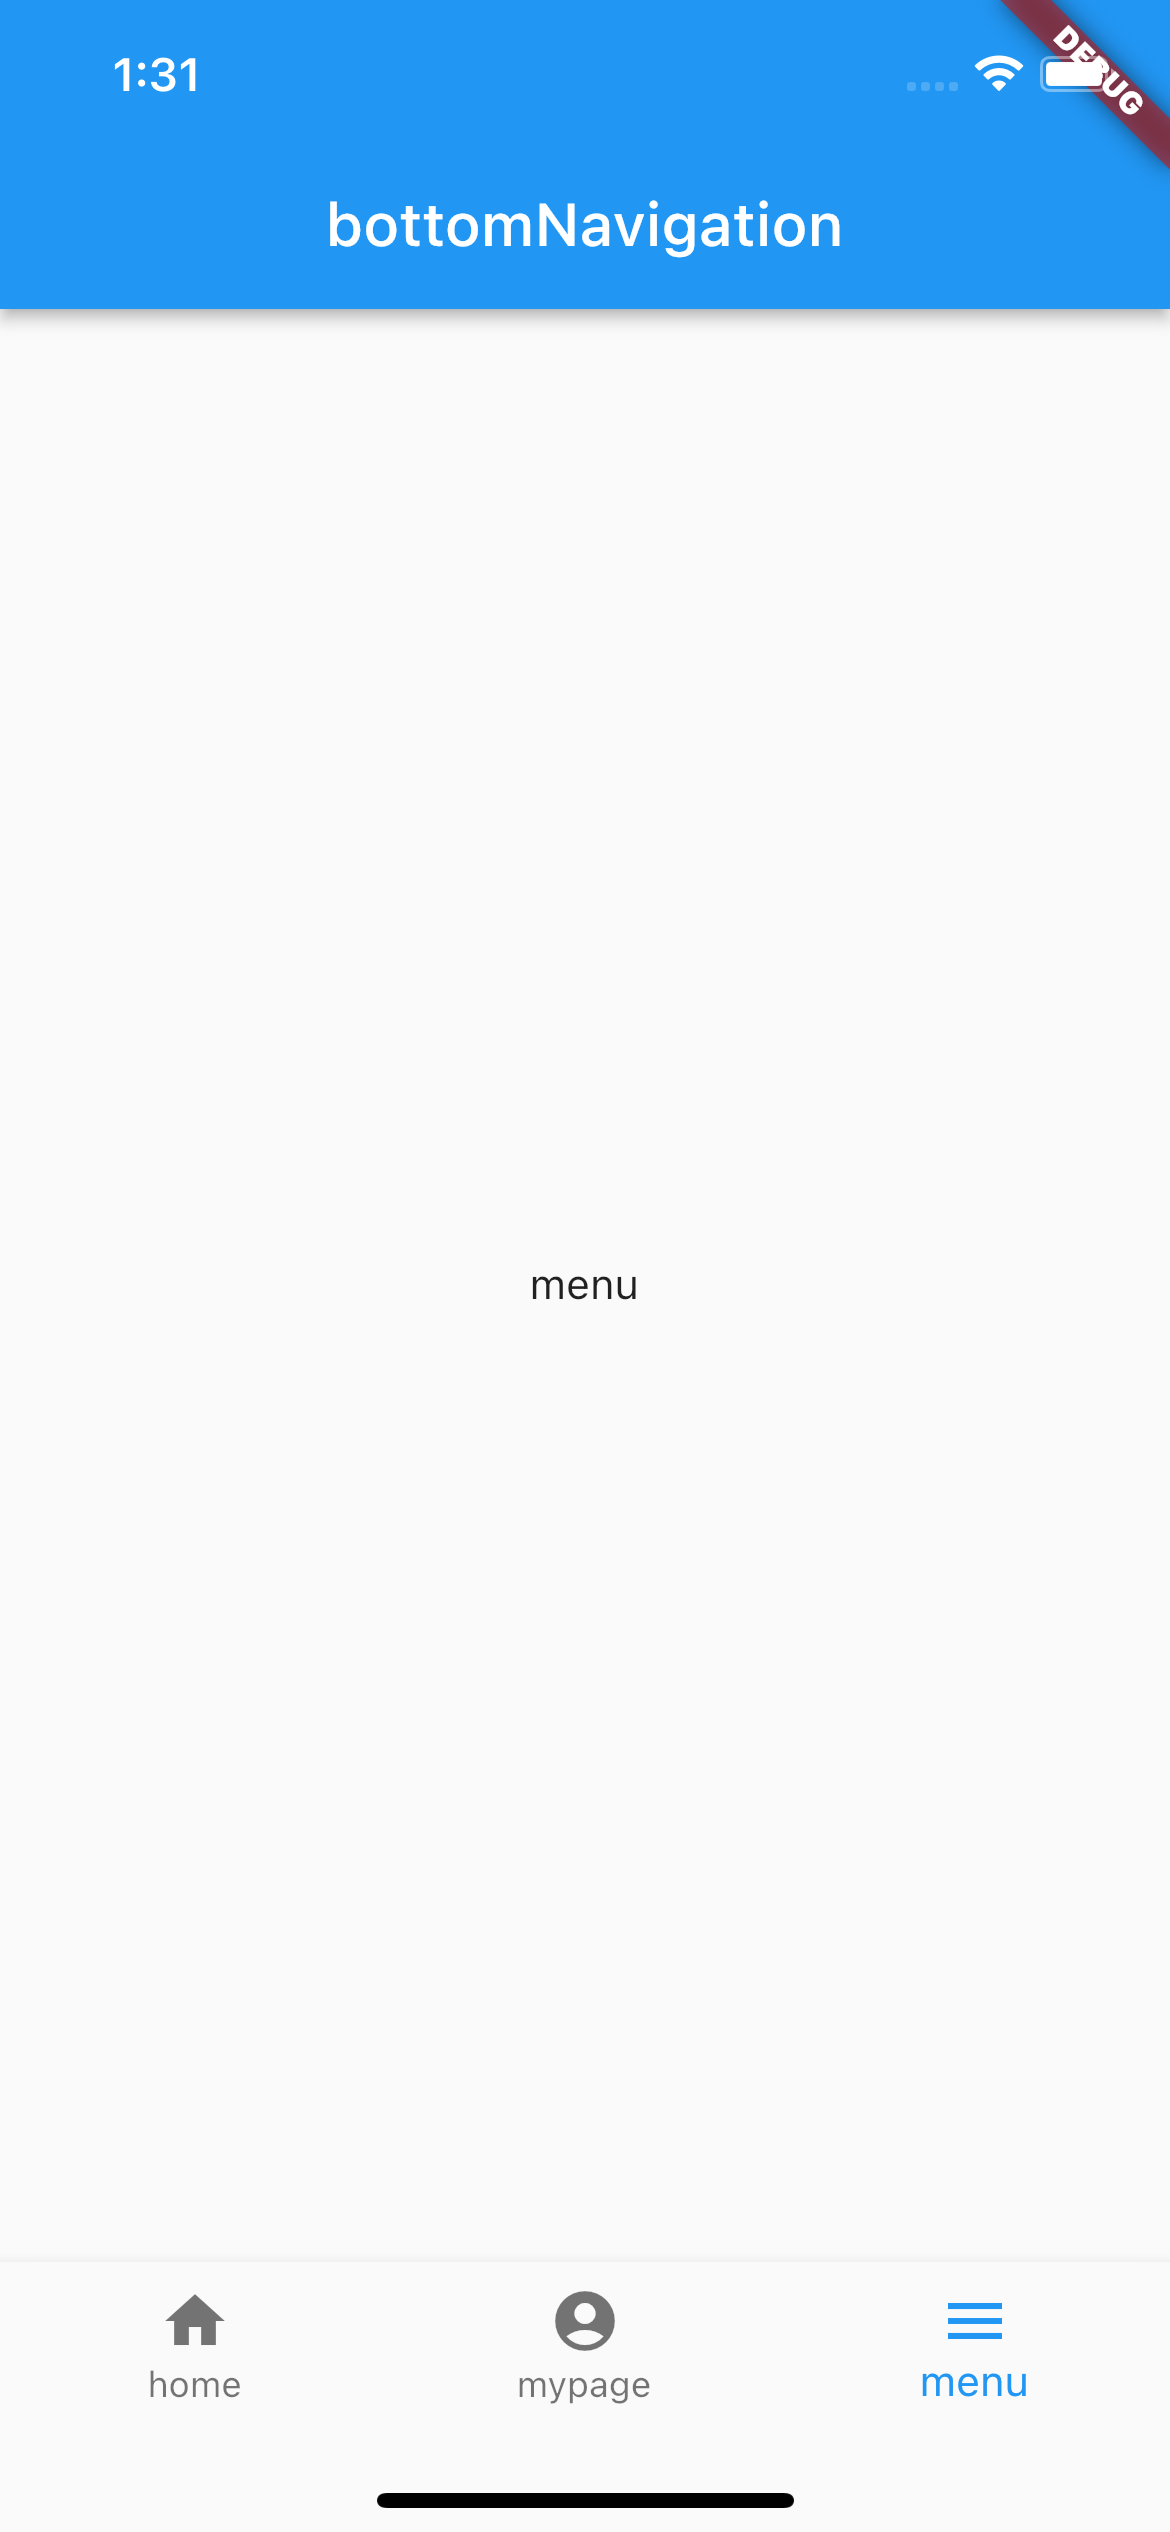
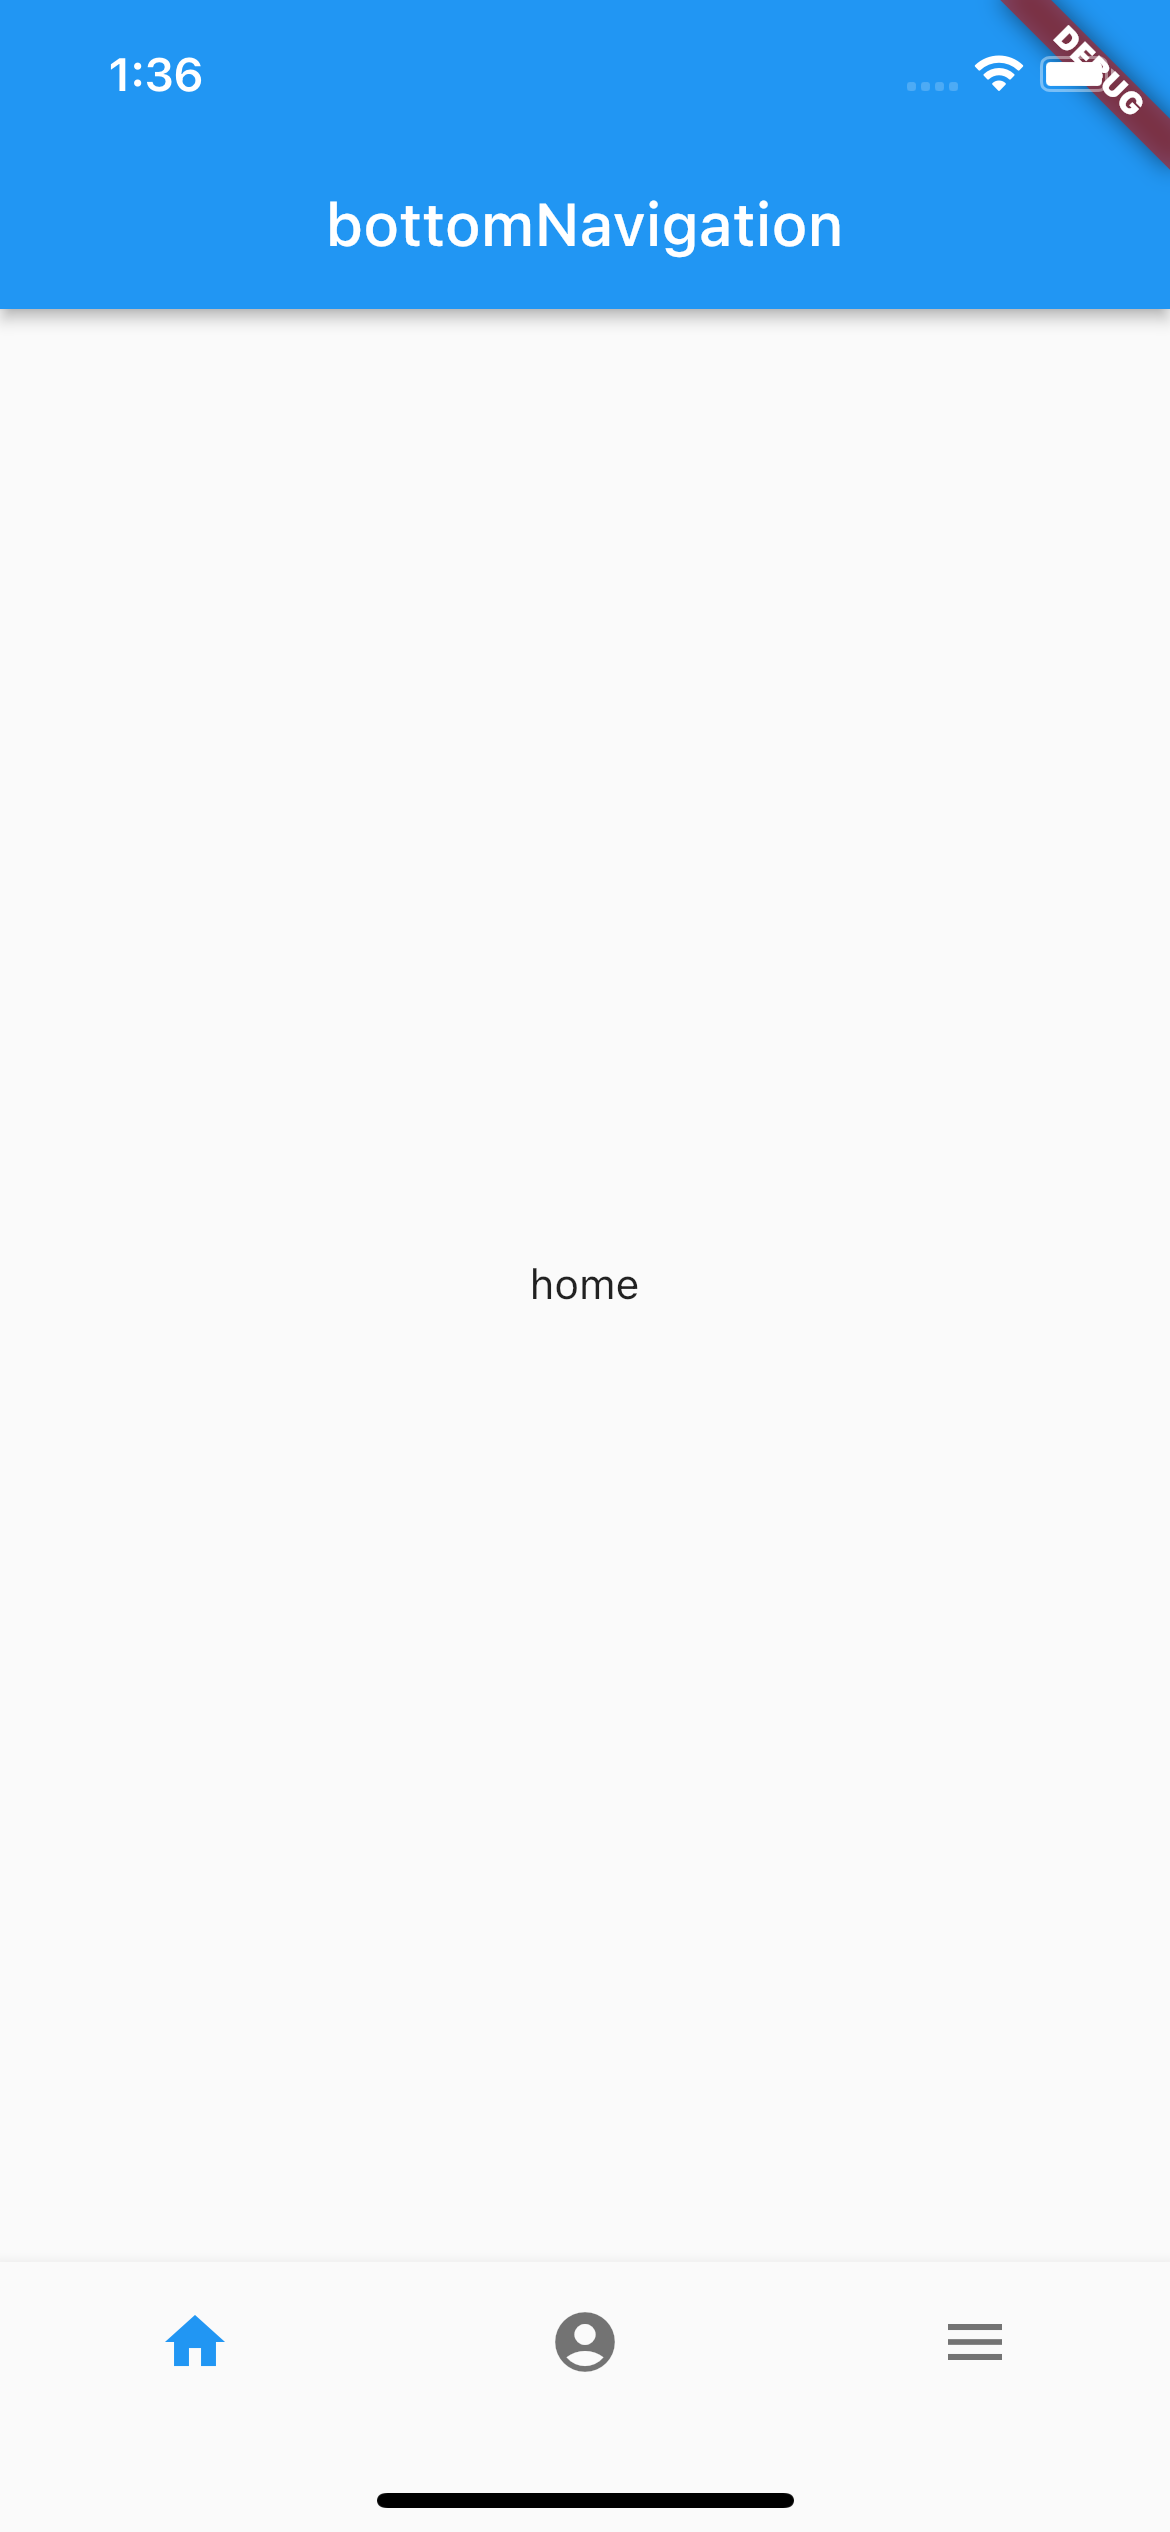
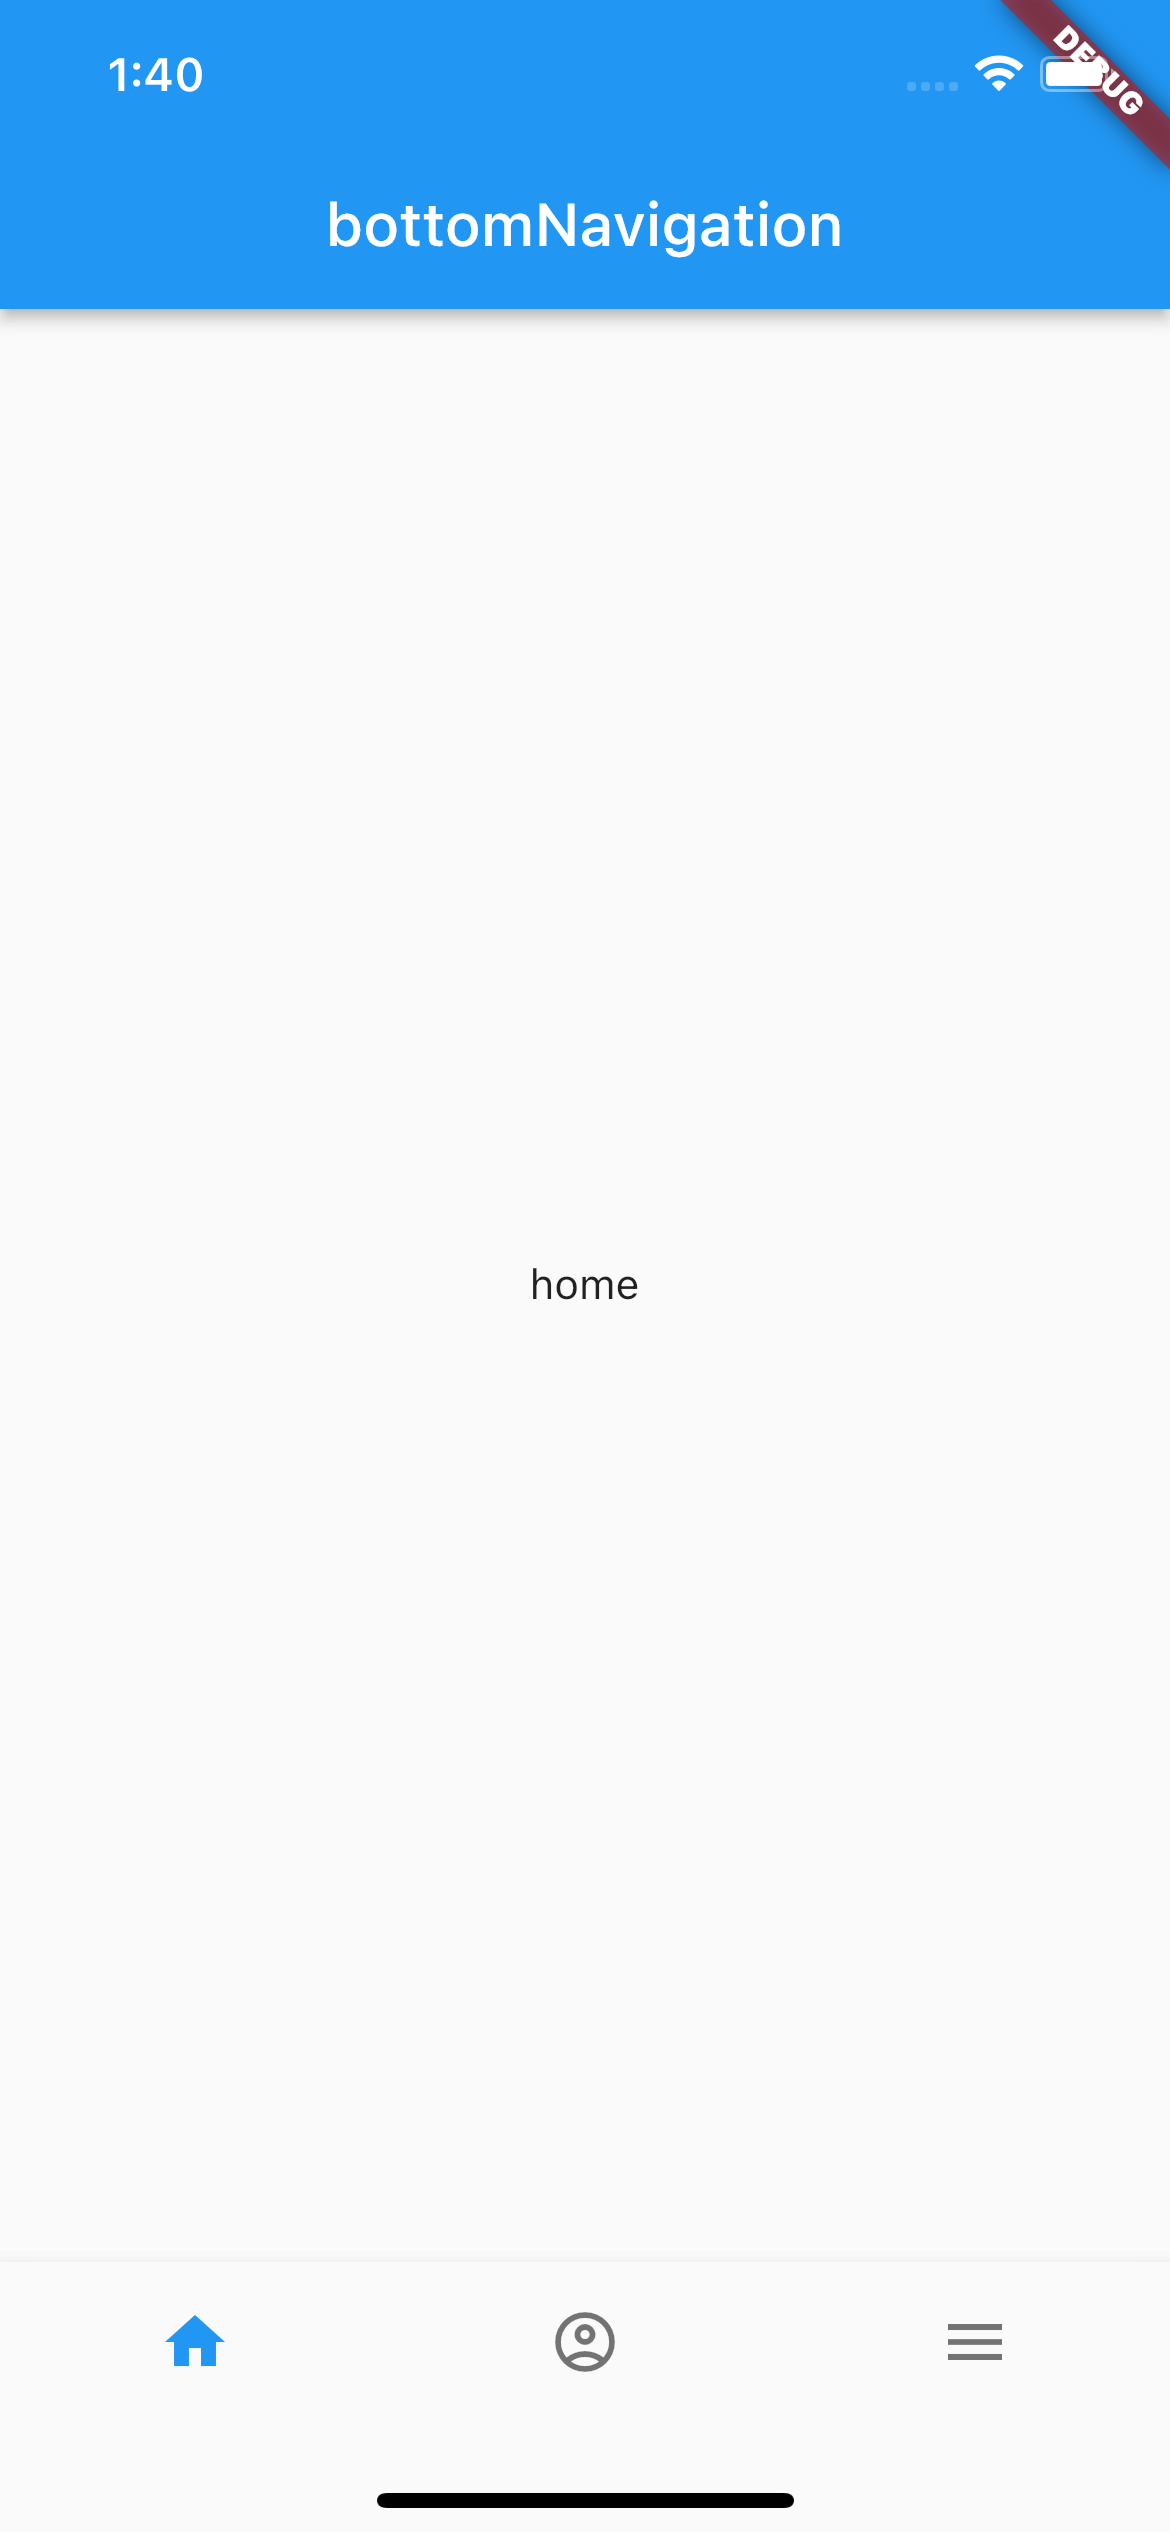
}각 버튼을 클릭할 때마다 화면전환이 잘 되고 있습니다.
| home클릭 | mypage클릭 | menu클릭 |
 |
 |
|
그 외 옵션
그 외에 bottomNavigationBar에는 여러가지 커스마이징을 위한 프로퍼티가 존재합니다.
      bottomNavigationBar: BottomNavigationBar(
        showSelectedLabels: false,
        showUnselectedLabels: false,
		...
        items: [
          BottomNavigationBarItem(icon: Icon(Icons.home), label: 'home'),
          BottomNavigationBarItem(icon: Icon(Icons.account_circle_rounded), label: 'mypage'),
          BottomNavigationBarItem(icon: Icon(Icons.menu), label: 'menu'),
      ],),
이처럼 showSelectedLabels, showUnselectedLabels 프로퍼티의 불리언값을 false로 주게 되면, 인스타그램처럼 label텍스트를 없앨 수 있습니다.
bottomNavigationItem의 일반 icon프로퍼티를 빼고, activeIcon프로퍼티를 이용해서 현재페이지일 때의 아이콘 효과를 줄 수 있습니다.
      bottomNavigationBar: BottomNavigationBar(
        showSelectedLabels: false,
        showUnselectedLabels: false,
        currentIndex: _index,
        onTap: (value) {
          setState(() {
            _index = value;
            print(_index);
          });
        },
        items: [
          BottomNavigationBarItem(icon: Icon(Icons.home_outlined), label: 'home', activeIcon: Icon(Icons.home)),
          BottomNavigationBarItem(icon: Icon(Icons.account_circle_outlined), label: 'mypage', activeIcon: Icon(Icons.account_circle_rounded)),
          BottomNavigationBarItem(icon: Icon(Icons.menu), label: 'menu'),
|
 |