NaverCloud - STT(Speech-To-Text)
NaverCloud 접속 후 CLOVA Speech Recongition 사용 찾아서
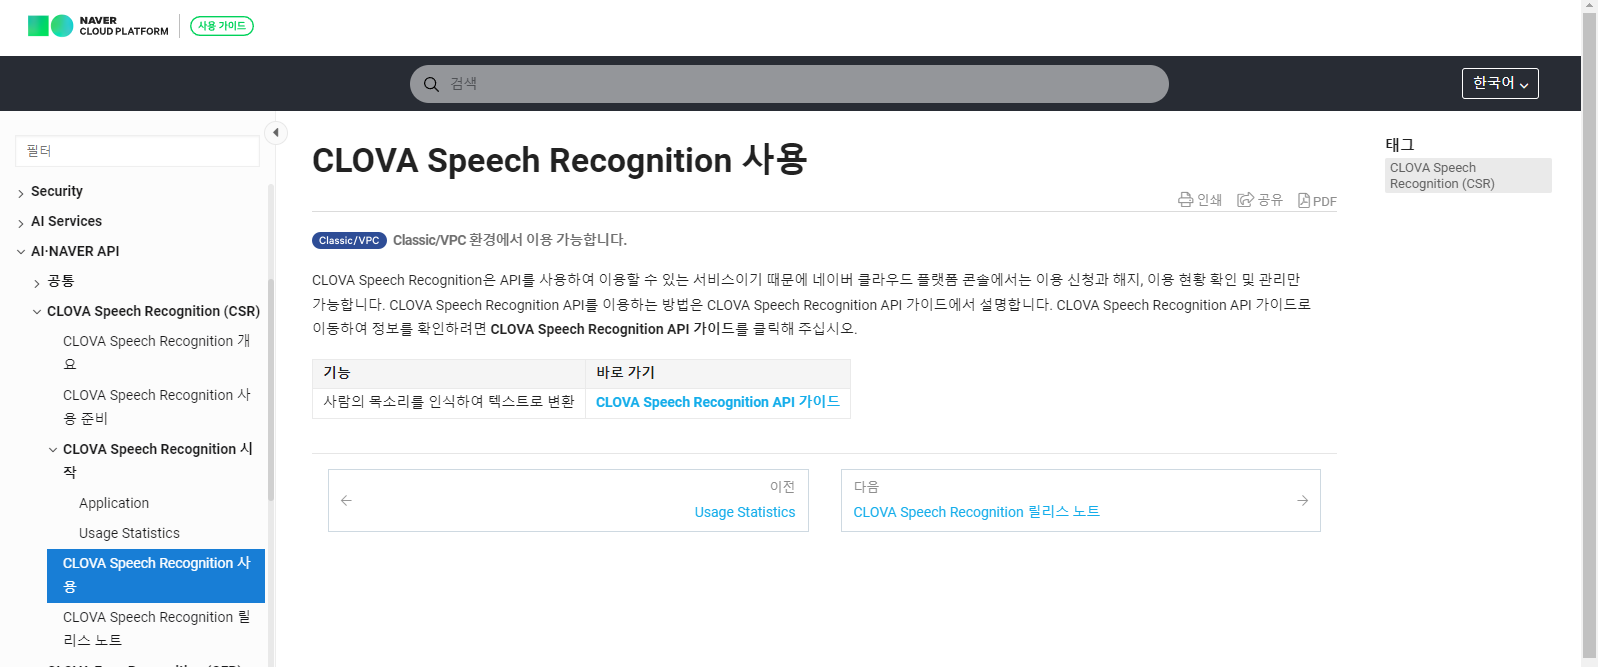
바로가기 밑에 링크 클릭
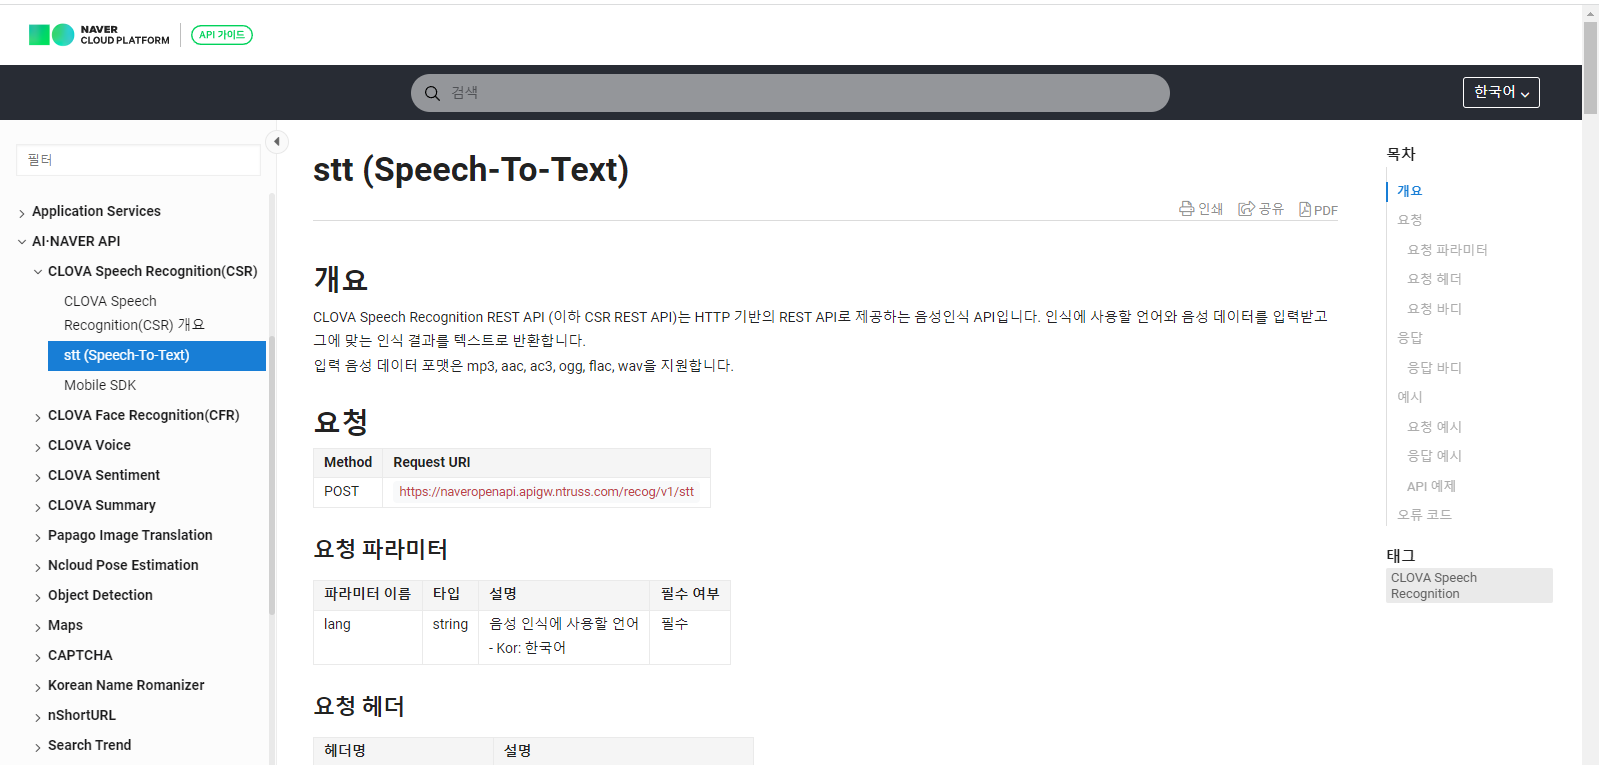
위 페이지에서 밑으로 스크롤을 내리면
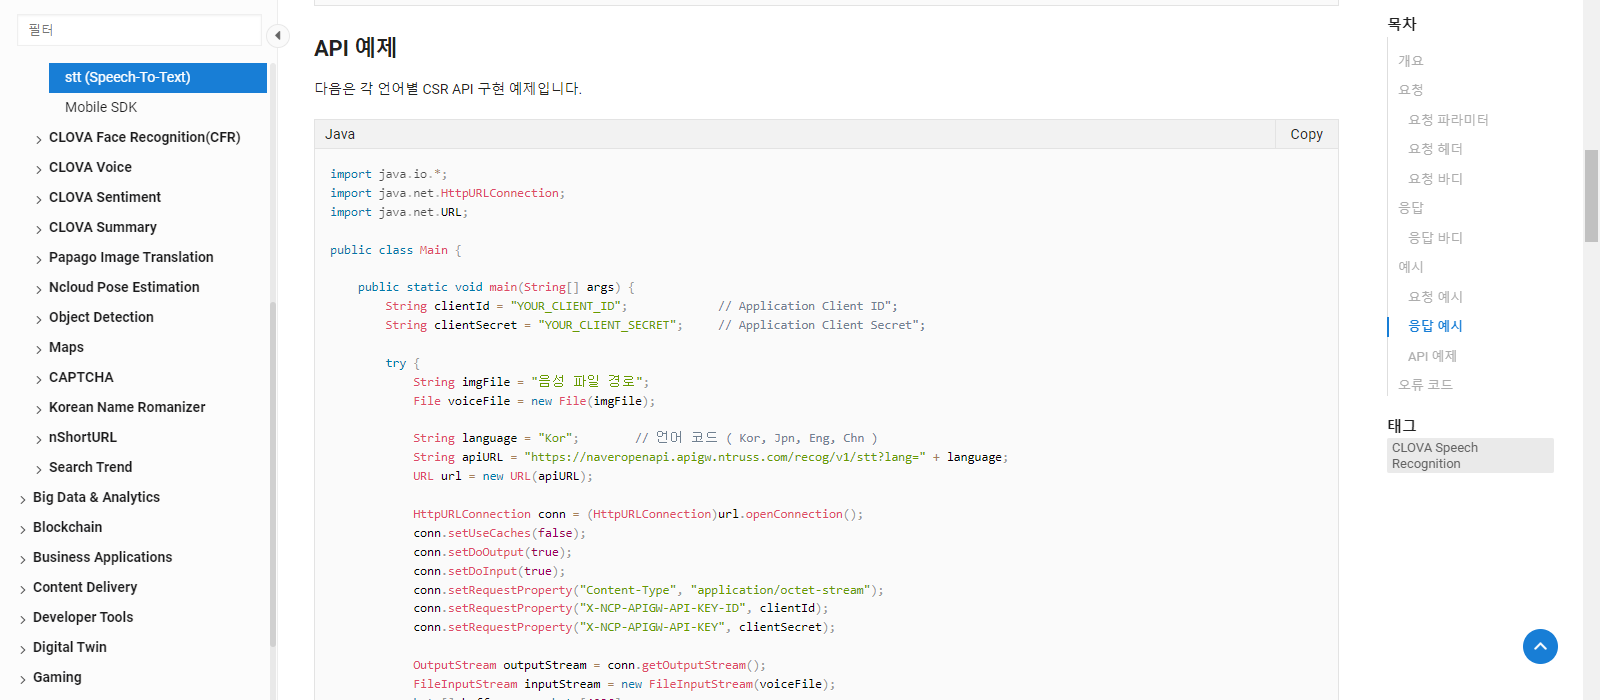
API 예제들이 보임. Java뿐만 아니라 PHP, Python 등이 있음.
나는 Java api를 사용하여 간단한 음성인식 예제를 구현해봄.
Backend

pom.xml에 필요한 dependency추가하고 application.properties server port 3000으로 설정
pom.xml
<dependency>
		    <groupId>org.springframework.boot</groupId>
		    <artifactId>spring-boot-starter-web</artifactId>
		</dependency>

		<dependency>
		    <groupId>org.springframework.boot</groupId>
		    <artifactId>spring-boot-starter-tomcat</artifactId>
		</dependency>

		<dependency>
		    <groupId>com.fasterxml.jackson.core</groupId>
		    <artifactId>jackson-core</artifactId>
		    <version>2.14.1</version>
		</dependency>

		<dependency>
		    <groupId>com.fasterxml.jackson.core</groupId>
		    <artifactId>jackson-databind</artifactId>
		    <version>2.14.1</version>
		</dependency>
NaverCloud.java
String clientId, String clientSecret은 자신의 id와 secret으로 해야 함.
import java.io.*;
import java.net.HttpURLConnection;
import java.net.URL;

public class NaverCloud {
	public static String stt(String filepath) {
		String clientId = "";             // Application Client ID";
        String clientSecret = "";     // Application Client Secret";

        StringBuffer response = null;

        try {
            String imgFile = filepath;
            File voiceFile = new File(imgFile);

            String language = "Kor";        // 언어 코드 ( Kor, Jpn, Eng, Chn )
            String apiURL = "https://naveropenapi.apigw.ntruss.com/recog/v1/stt?lang=" + language;
            URL url = new URL(apiURL);

            HttpURLConnection conn = (HttpURLConnection)url.openConnection();
            conn.setUseCaches(false);
            conn.setDoOutput(true);
            conn.setDoInput(true);
            conn.setRequestProperty("Content-Type", "application/octet-stream");
            conn.setRequestProperty("X-NCP-APIGW-API-KEY-ID", clientId);
            conn.setRequestProperty("X-NCP-APIGW-API-KEY", clientSecret);

            OutputStream outputStream = conn.getOutputStream();
            FileInputStream inputStream = new FileInputStream(voiceFile);
            byte[] buffer = new byte[4096];
            int bytesRead = -1;
            while ((bytesRead = inputStream.read(buffer)) != -1) {
                outputStream.write(buffer, 0, bytesRead);
            }
            outputStream.flush();
            inputStream.close();
            BufferedReader br = null;

            int responseCode = conn.getResponseCode();
            if(responseCode == 200) { // 정상 호출
                br = new BufferedReader(new InputStreamReader(conn.getInputStream()));
            } else {  // 오류 발생
                System.out.println("error!!!!!!! responseCode= " + responseCode);
                br = new BufferedReader(new InputStreamReader(conn.getInputStream()));
            }
            String inputLine;

            if(br != null) {
                response = new StringBuffer();
                while ((inputLine = br.readLine()) != null) {
                    response.append(inputLine);
                }
                br.close();

                // 결과출력
                System.out.println(response.toString());
            }

        } catch (Exception e) {
            System.out.println(e);
        }

        return response.toString();
	}
}
NaverCloudController.java
import java.io.BufferedOutputStream;
import java.io.File;
import java.io.FileNotFoundException;
import java.io.FileOutputStream;
import java.util.Date;

import org.springframework.web.bind.annotation.PostMapping;
import org.springframework.web.bind.annotation.RequestParam;
import org.springframework.web.bind.annotation.RestController;
import org.springframework.web.multipart.MultipartFile;

import jakarta.servlet.http.HttpServletRequest;
import mul.cam.a.naver.NaverCloud;

@RestController
public class NaverCloudController {

	//STT : 음성인식 wav -> string
	@PostMapping(value = "fileUpload")
	public String fileUpload(@RequestParam("uploadFile")MultipartFile uploadFile,
							 HttpServletRequest req) {
		System.out.println("NaverCloudController STT " + new Date());

		//경로 얻어오기
		String uploadpath = req.getServletContext().getRealPath("/upload");

		//취득
		String filename = uploadFile.getOriginalFilename();
		String filepath = uploadpath + "/" + filename;

		//경로 확인용
		System.out.println(filepath);

		try {
			BufferedOutputStream os = new BufferedOutputStream(new FileOutputStream(new File(filepath)));

			//실제 파일 올리기
			os.write(uploadFile.getBytes());
			os.close();

		} catch (Exception e) {
			e.printStackTrace();
			return "fail";
		}

		//Naver Cloud AI
		String resp = NaverCloud.stt(filepath);

		//실행
		return resp;
	}
}
Frontend
App.js
import React, {useState} from 'react';
import axios from "axios";
import { ReactMediaRecorder } from "react-media-recorder";

function App() {
  const [resp, setResp] = useState('');

  const fileupload = (e) => {
    e.preventDefault();

    let formData = new FormData();
    formData.append("uploadFile", document.frm.uploadFile.files[0]);

    axios.post("http://localhost:3000/fileUpload", formData)
    .then(function(resp){
      alert('success');
      setResp(resp.data.text);
    })
    .catch(function(err){
      alert(err);
    })


  }

  return (
    <div>
      <ReactMediaRecorder
        audio
        render={({ status, startRecording, stopRecording, mediaBlobUrl }) =>(
          <div>
            <p>{status}</p>
            <button onClick={startRecording}>start recording</button>
            <button onClick={stopRecording}>stop recording</button><br/><br/>
            <audio src={mediaBlobUrl} controls></audio><br/>

            <a href={mediaBlobUrl} download="mysound.wav">download</a>
          </div>
        )}
      />

      <hr/>

      <h2>음성 파일 upload</h2>
      <form name='frm' onSubmit={fileupload} encType="multipart/form-data">
        <input type="file" name='uploadFile' accept='*' />
        <input type="submit" value="file upload" />
      </form>

      <h3>결과: {resp}</h3>

    </div>
  );
}

export default App;
실행화면
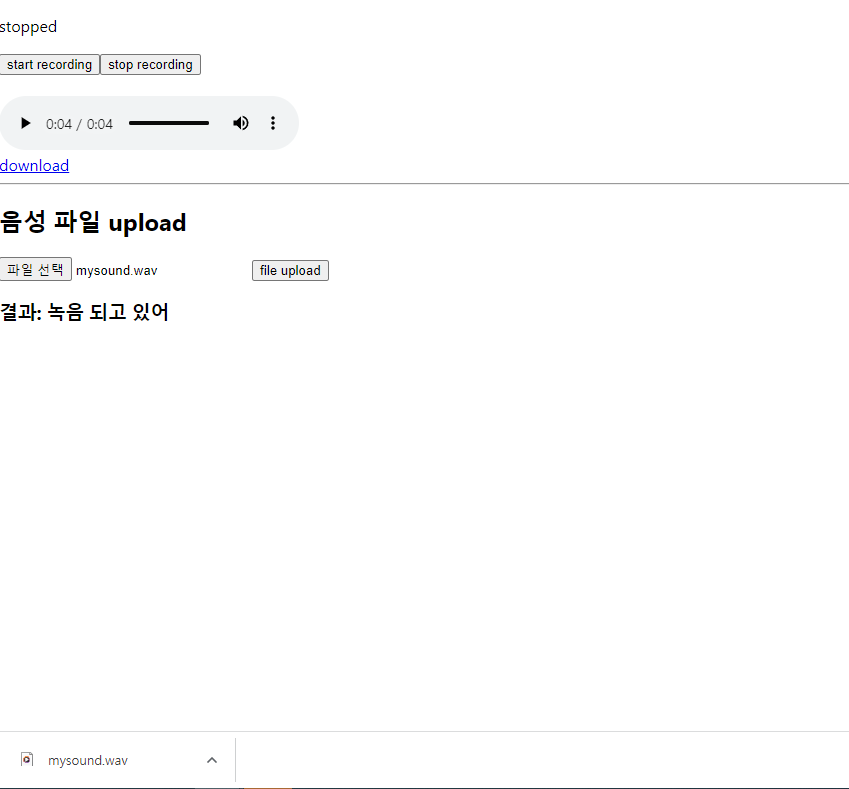
start recording을 누르고 녹음 후 stop recording을 누름.
재생 버튼으로 자신의 음성을 들을 수 있음.
download를 누르면 mysound.wav파일이 저장이 됨.
파일 선택을 눌러 녹음한 파일을 선택하고 file upload를 누르면 파일 업로드가 잘 되었을 시에는 alert으로 success문구가 보여짐.
결과에 음성인식 결과가 보여짐!
파이널 프로젝트 때 이 음성인식 기능을 어떻게 변형하여 구현하면 좋을지 생각해보자

개발자를 꿈꾸는 귀여운 나