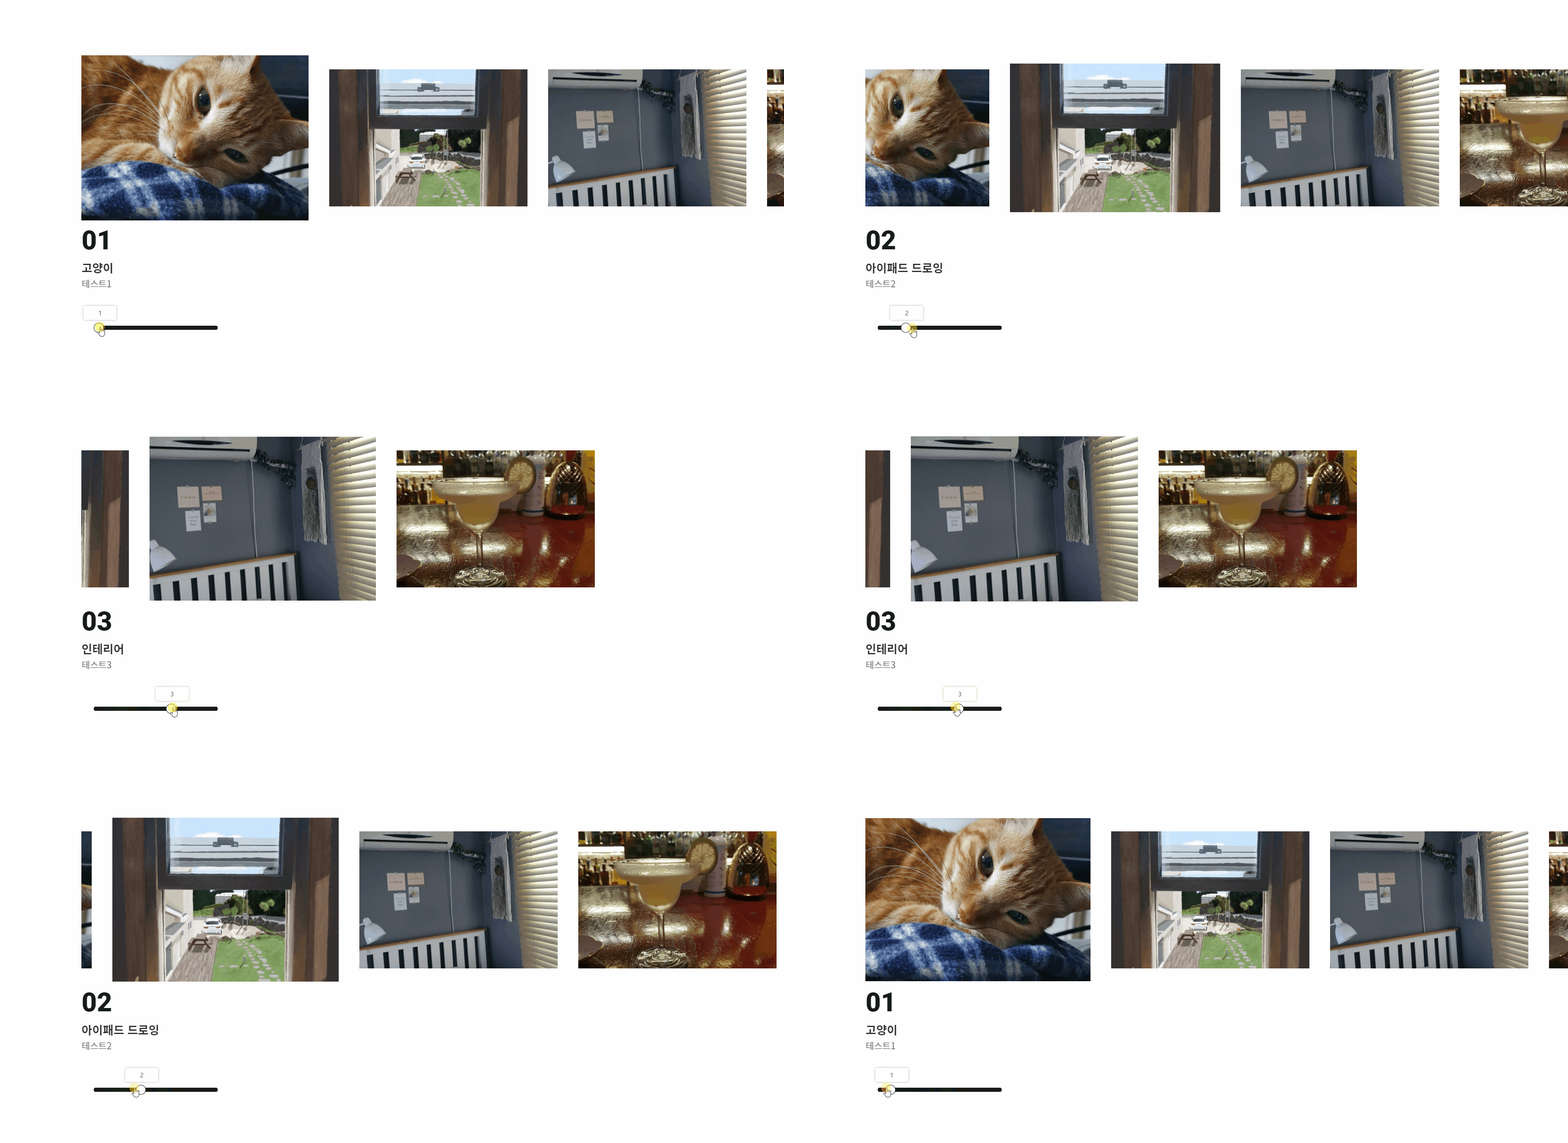
순수 자바스크립트를 이용해서 슬라이더를 만들어봤다 이번에는 input태그를 이용해서 value값을 받아 이미지 슬라이드를 만들어봤다.
HTML
<div class="progress_bar">
            <input type="range" id="range" min="1" max="4" step="0.1" value="0">
            <label for="range">1</label>
        </div>
input 태그를 사용하여 이미지 슬라이드를 조정한다. label은 스크롤된 움직이는 숫자를 나타낸다.
input 태그를 조금더 부드럽게 움직이기 위해 간격을 0.1로 좁혀준다.
JS
const range = document.querySelector('#range');

range.addEventListener('input', (event) => {
    const value = event.target.value;
    const label = event.target.nextElementSibling;
[type='range']의 value와 label요소를 가져온다.
    const range_width = getComputedStyle(event.target).getPropertyValue('width');
    const label_width = getComputedStyle(label).getPropertyValue('width');
input[type='range']의 width값과 label의 width값을 가져온다.
    const third_boxes = document.querySelector('.third_boxes');

    const num_width = range_width.substring(0, range_width.length - 2);
    const num_label_width = label_width.substring(0, label_width.length - 2);
label_width,range_width의 문자열을 자른상태로 가져온다.
label_width,range_width의 값을 그대로 가져온다면 뒤에 px이 붙기 때문에 문자열을 2개 빼준다.
    const max = +event.target.max;
    const min = +event.target.min;

    const left = value * (num_width / max) - num_label_width / 2 +
    scale(value, min, max, -60, -10);

    label.style.left = `${left}px`
최대값과 최소값을 가져와서 value 의 맞게 left값이 이동된다.
scale 함수를 이용해서 섬세하게 left값을 조정해준다.
scale함수는 입출력값을 편하게 사용하기 위해 쓰인 함수다.
    if (left < 0) {
        third_boxes.style.transform = 'translateX(' + 0 + 'px)';
    } else third_boxes.style.transform = 'translateX(' + -left * 6 + 'px)';
위에 조정을 했을시 left의 범위는 -25~250px이 된다 여기서 최소값인 -25px이 되었을때 흰색 빈공간이 생기기 때문에 left값이 음수가 된다면 0으로 초기화 시켜준다.
만약 left가 음수가 되어버리면
label이 1로 위치해 있지만 이렇게 여백의 흰공간이 생긴다.
   label.innerHTML = Math.round(value);

   resizeImage(value);
})
label의 값이 value의 맞게 바꿔주는데 HTML input의 간격을 0.1로 좁혔기 때문에 소수점이 나올수 밖에 없다. 그래서 정수로 바꿔주기 위해 Math.round을 사용해 value를 가져온다.
그리고 resizeImage라는 함수를 value의 맞춰서 불러온다.
function resizeImage(value) {
    const boxes = document.querySelector(".third_boxes");
    if (Math.round(value) === 1) {
        removeActiveClass();
        boxes.childNodes[1].classList.add('active');
        addText(Math.round(value));
    } else if (Math.round(value) === 2) {
        removeActiveClass();
        boxes.childNodes[3].classList.add('active');
        addText(Math.round(value));
    } else if (Math.round(value) === 3) {
        removeActiveClass();
        boxes.childNodes[5].classList.add('active');
        addText(Math.round(value));
    } else if (Math.round(value) === 4) {
        removeActiveClass();
        boxes.childNodes[7].classList.add('active');
        addText(Math.round(value));
    }
}
value의 맞춰 사진의 사이즈를 크게 바꾸고 나머지 사이즈를 크기를 원상복구한다.
active클래스를 준다면 사진의 사이즈를 크게 변경시켜준다.
function removeActiveClass() {
    const box = document.querySelectorAll(".box");
    box.forEach(box => {
        box.classList.remove('active');
    })
}
이동하게 되면 나머지 박스들의 active클래스를 삭제한다.
function addText(value) {
    const num = document.querySelector('.third.texts strong');
    const hobby = document.querySelector('.third.texts h2');
    const hobbyText = document.querySelector('.third.texts h3');
    num.innerHTML = `0${value}`;

    if (value === 1) {
        hobby.innerHTML = `고양이`
        hobbyText.innerHTML = `테스트1`
    } else if (value === 2) {
        hobby.innerHTML = `아이패드 드로잉`
        hobbyText.innerHTML = `테스트2`
    } else if (value === 3) {
        hobby.innerHTML = `인테리어`
        hobbyText.innerHTML = `테스트3`
    } else if (value === 4) {
        hobby.innerHTML = `칵테일`
        hobbyText.innerHTML = `테스트4`
    }
}
value값의 맞춰 텍스트를 변경 시킨다

.png)
