React는 jsx를 사용하며, DOM을 직접 조작한다. 따라서 일반적인 Jest를 통한 테스트를 정확하게 할 수 없다. 이런 문제를 해결하고자 @testing-library가 등장했다. UI 컴포넌트를 다루는 최신 라이브러리(React, Angular, Vue, Sevelte 등)를 지원한다.
install
create-react-app을 설치하면 함께 설치된다. 따로 설치할 시 npm install -d @testing-library/react 명령어를 사용한다.
usage
CRA를 설치하면 기본적으로 App.test.js가 생성되어 있다.
// App.test.js
import { render, screen } from '@testing-library/react';
import App from './App';

test('renders learn react link', () => {
  render(<App />);
  const linkElement = screen.getByText(/learn react/i);
  expect(linkElement).toBeInTheDocument();
});
test는 테스트 명세를 작성하는 함수이다.
render는 메모리상에 만든 돔을 획득하고, screen은 해당 돔에 접근한다.
getByText를 통해 learn react라는 문자를 지닌 돔을 찾고, exprect와 toBeInTheDocument를 사용하여 돔에 표시되어 있는지 확인한다.
describe(`<App />`, () => {
  it("renders component correctly", () => {
    const { container } = render(<App />);
    expect(container.getElementsByClassName("App-logo")).toHaveLength(1);
    expect(container.getElementsByClassName("App-logo")[0]).toHaveAttribute(
      "src",
      "logo.svg"
    );
  });
});Jest의 describe와 it을 사용한 예제로, 이미지가 잘 표시되는지 확인하는 테스트 코드다.
경고가 계속 뜨는데, testing-library에서는 노드에 직접 접근하는 것을 지양해 getByRole이나 getByTestId 등의 새로운 문법을 권장한다. 다음 p 태그에 텍스트가 맞는지 확인하는 코드는 data-testid를 활용해 검사했다.
// App.js
<p data-testid="p-tag">
  Edit <code>src/App.js</code> and save to reload.
</p>

// App.test.js
describe(`<App />`, () => {
  it("renders component correctly", () => {
    render(<App />);
    expect(screen.getAllByTestId("p-tag")).toHaveLength(1);
    expect(screen.getAllByTestId("p-tag")[0]).toHaveTextContent(
      "Edit src/App.js and save to reload"
    );
  });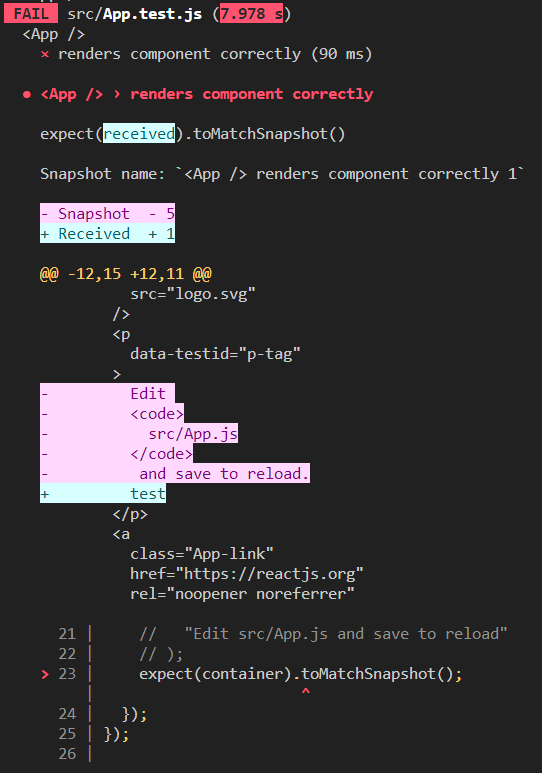
});toMatchSnapshot을 사용하면 테스트한 컴포넌트의 HTML 구조가 __snapshot__/App.test.js.snap에 저장된다. 이후, 컴포넌트 코드가 변경되면 에러가 발생하고 어디가 변경되었는지 쉽게 확인할 수 있다.