1. Router
Router를 이용하면 쉽게 페이지들을 연결할 수 있다.
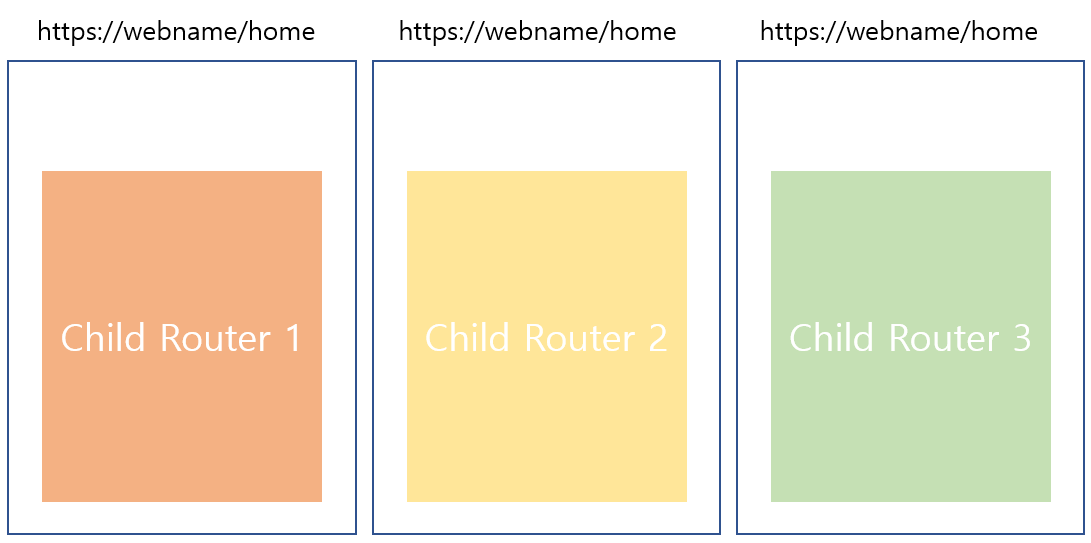
Root가 되는 페이지에 삽입될 위치를 설정하고, 그 자리에 들어갈 Child들을 설정한다. 그럼 url주소에 키워드들을 추가함으로써, Root 부분에 들어가는 내용을 바꿀 수 있다.
예를들면

위와 같이 Root라우터 한개와 여러개의 child router가 있을 때, 주소에 따라서 아래와 같이 나타나게 된다.

1) Root 만들기
_rootapp.module.ts
import {RouterModule, Routes} from '@angular/router';
@NgModule({
imports: [
    RouterModule.forRoot(appRoutes, { relativeLinkResolution: 'legacy' })
]})
_rootapp.component.html
<router-outlet></router-outlet>이 위치에 child가 삽입된다.
2) Child 만들기
module.ts
import { RouterModule, Routes } from '@angular/router';
const routes: Routes = [
  {path: '_url/:_parameter', component: _componentname},
];
@NgModule({
imports: [
    RouterModule.forChild(routes)
]})
- 사이트주소(혹은 localhost주소)뒤에 path부분을 입력할 시, 해당 컴포넌트가 나타나게 된다.
- :parameter의 경우, 변수 넘겨받기에 사용할 수 있다.
3) 이동 버튼 만들기
html
<div routerLink="/_path"></div>
- 앞서 child부분에 만든 path 부분을
위와 같이 routerLink로 입력한다.- 만든 요소를(div가 아닌 button, section 등 아무 요소나 상관없다.)을 누르면, 해당 페이지로 이동한다.
+ url 변수 사용
_child.module.ts에서 주소를 지정할 때,
아래와 같이 :_parametername을 통해 변수를 지정할 수 있다.
const routes: Routes = [
  {path: '_url/:_parameter', component: _componentname},
];
이런 변수를 읽어노는 방법은 아래와 같다.
_child.component.ts
import {ActivatedRoute} from '@angular/router';
constructor(
    private route: ActivatedRoute
  ) {}
_function():{
    _저장할변수 = this.route.snapshot.paramMap.get('_parametername');
}
예를들면
path:'home/:keyword'라고 지정해둘 수 있다.
이때 '/home/book'으로 이동하면
_저장할변수 = 'book'으로 저장된다.
2. 이전 페이지로
특정 상황에 이전 페이지로 가게 하는 함수를 만들 수 있다.
component.ts
import {Location} from '@angular/common';
constructor(private location: Location) { }
_functionName(){
	this.location.back();
}
