1편에서 html의 틀을 만든 뒤 이를 CSS를 통해 실제 사용하는 웹사이트처럼 꾸미기!
html 틀을 CSS로 꾸미기
CSS파일 만들기
head
- 상단
타이틀부분과Username,Message폰트 크기와 색 조절을 하고 공백을 설정한 뒤 배경색을 변경했다.
#greeting {
  font-size: 4em;
  font-family: sans-serif;
  font-weight: bold;
  border-radius: 1em;
  color: white;
  background-color: white;
  text-shadow: 0 0 5px #333;
  text-align: center;
  margin: 0.5em;
  padding: 0.5em;
}

#userInput {
  display: flex;
  flex-direction: column;
  margin : 0.4rem;
  padding : 0.8rem;
  background-color: #18BFE6;
}

.Input {
  margin : 0.2rem;
  color:white;
  font-size: 1.2rem;
}

.nameText {
  width: 12rem;
  height: 2rem;
  margin: 0.2rem;
}

#userInput > textarea {
  width: 60rem;
  height: 4rem;
  margin: 0.2rem;
middle
- 그 다음에 간단하게 중간 새로고침 버튼이 차지하고 있는 부분의 배경색과 공백들을 설정했다.
.listtop {
  background-color: #1B539D;
  display: flex;
  align-items: center;
  margin : 0.4rem;
  margin-bottom: 0rem;
  padding : 0.8rem;
}

.listtop > button {
  margin: 0.2rem;
  width: 12rem;
  height: 3rem;
  background-color: white;
}

.listtop span {
  font-size: 0.8rem;
}

button > img {
  width: 1.2rem;
}
tail
- 마지막으로 tweets를 올린 것을 확인 할 수 있는 부분을 tweet하나 당 실선으로 나누어 구분 지어 표현했다.
#twitListContents {
  background-color: #EEEEEE;
  margin : 0.4rem;
  margin-top: 0rem;
  padding : 0.8rem;
}

.twitListData {
  display: flex;
  justify-content: space-between;
  border-bottom: 1px gray solid;
  padding: 0.8rem 1rem 0.4rem 1rem;
}

.twitName {
  font-size: 1.3rem;
  font-weight: 500;
}

.twitData {
  opacity: 0.6;
}

.twitdate {
  opacity: 0.6;
}

.twitName:hover {
  color:#18BFE6;
}
CSS로 꾸민 웹사이트 목업
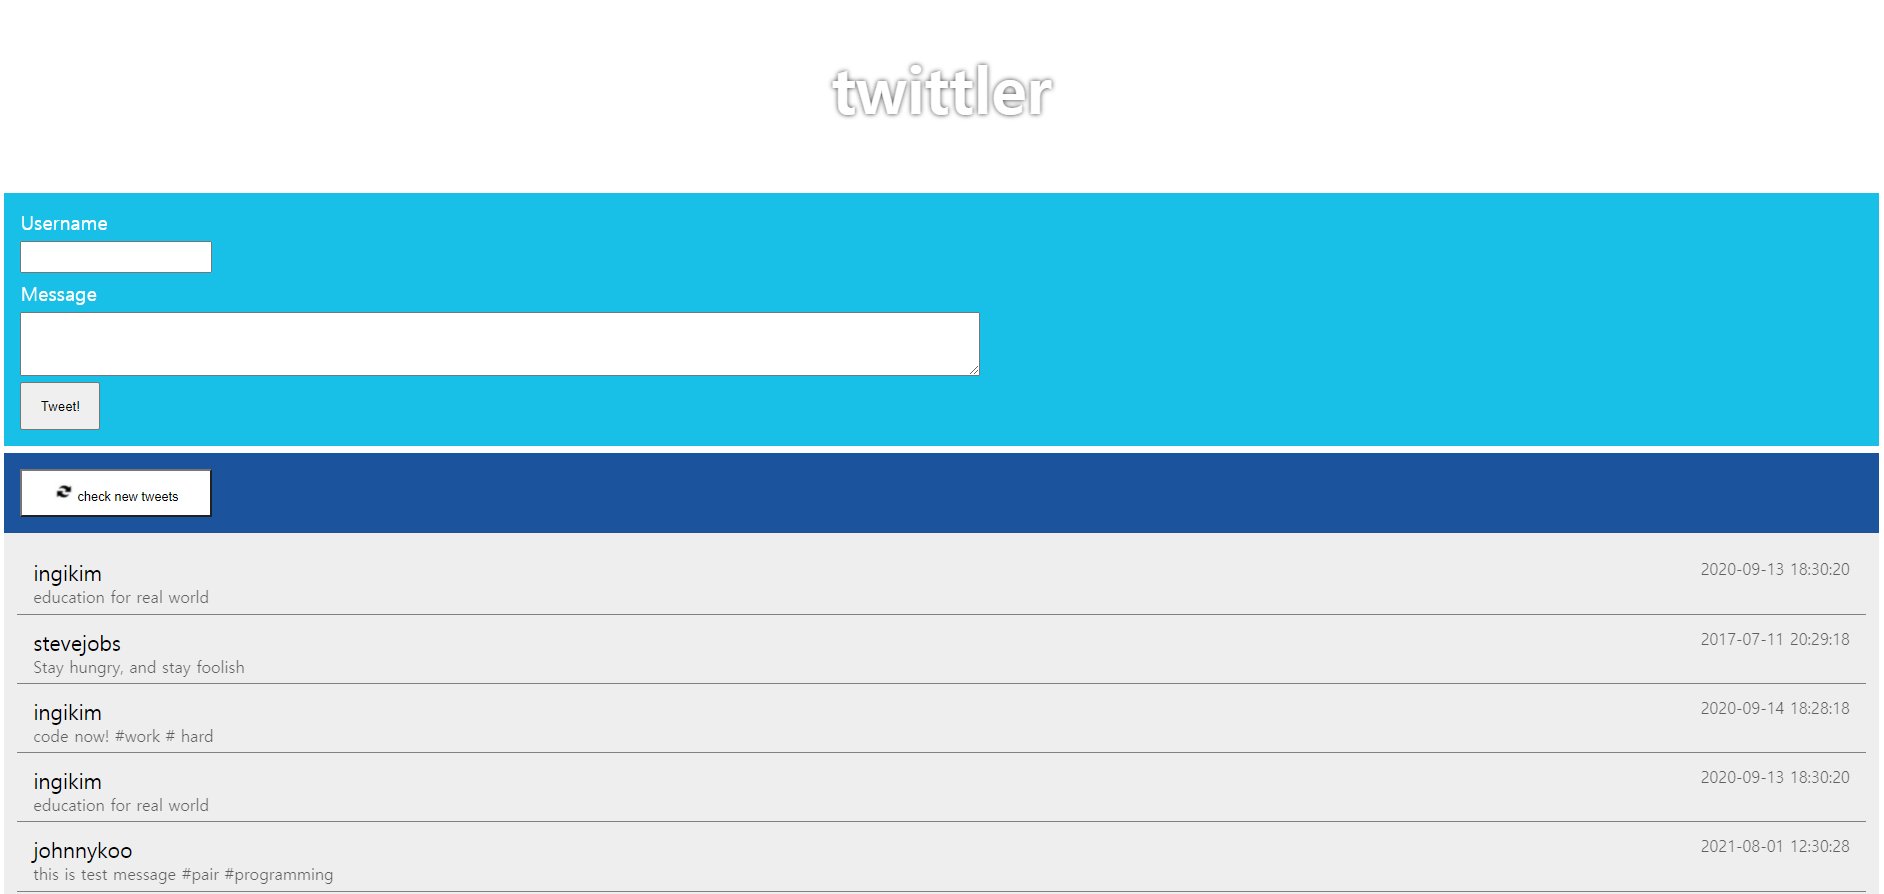
- 처음엔 뭔가 렉걸린 사이트처럼 웹사이트라고 보기 어려운 모양같았는데 CSS를 추가하니 실제 동작은 하지 않지만 육안으로 봤을 때 이질감이 느껴지지 않는 웹사이트를 만들 수 있었다.
- 다음에는 자바스크립트를 추가해서 동적인 움직임을 할 수 있는 웹사이트로 탈바꿈 시켜야겠다.
노션 저장소는 🏠홈버튼 눌러주세요 !