Create
새 Board를 생성하는 API를 작성해보자. 우선 boards.service에 Board를 생성하는 로직을 작성한다.
createBoard(title:string, description:string){
     const board : Board = {
        id: uuid(),
        title,
        description,
        status: BoardStatus.PUBLIC
     }
     this.boards.push(board);
     return board;
}
Board 타입은 인터페이스로 미리 정의해주었다. 아직 DB 연결이 안 되었으므로 json 형식으로 만들어서 리턴해준다.
boards.controller에도 createBoard 메서드를 정의한다.
@Post()
createBoard(@Body('title') title : string, @Body('description') description : string) : Board{
        return this.boardService.createBoard(title,description);
}
title과 description을 받는 post 요청이다. nest.js에서는 @Body 데코레이터로 요청의 Body 부분을 받아올 수 있다. 위 코드처럼 key값을 인수로 하여 특정 값만 따로 가져오는 것도 가능하다. Body로 넘어온 값들을 서비스의 createBoard 함수에 인자로 넘겨준다.
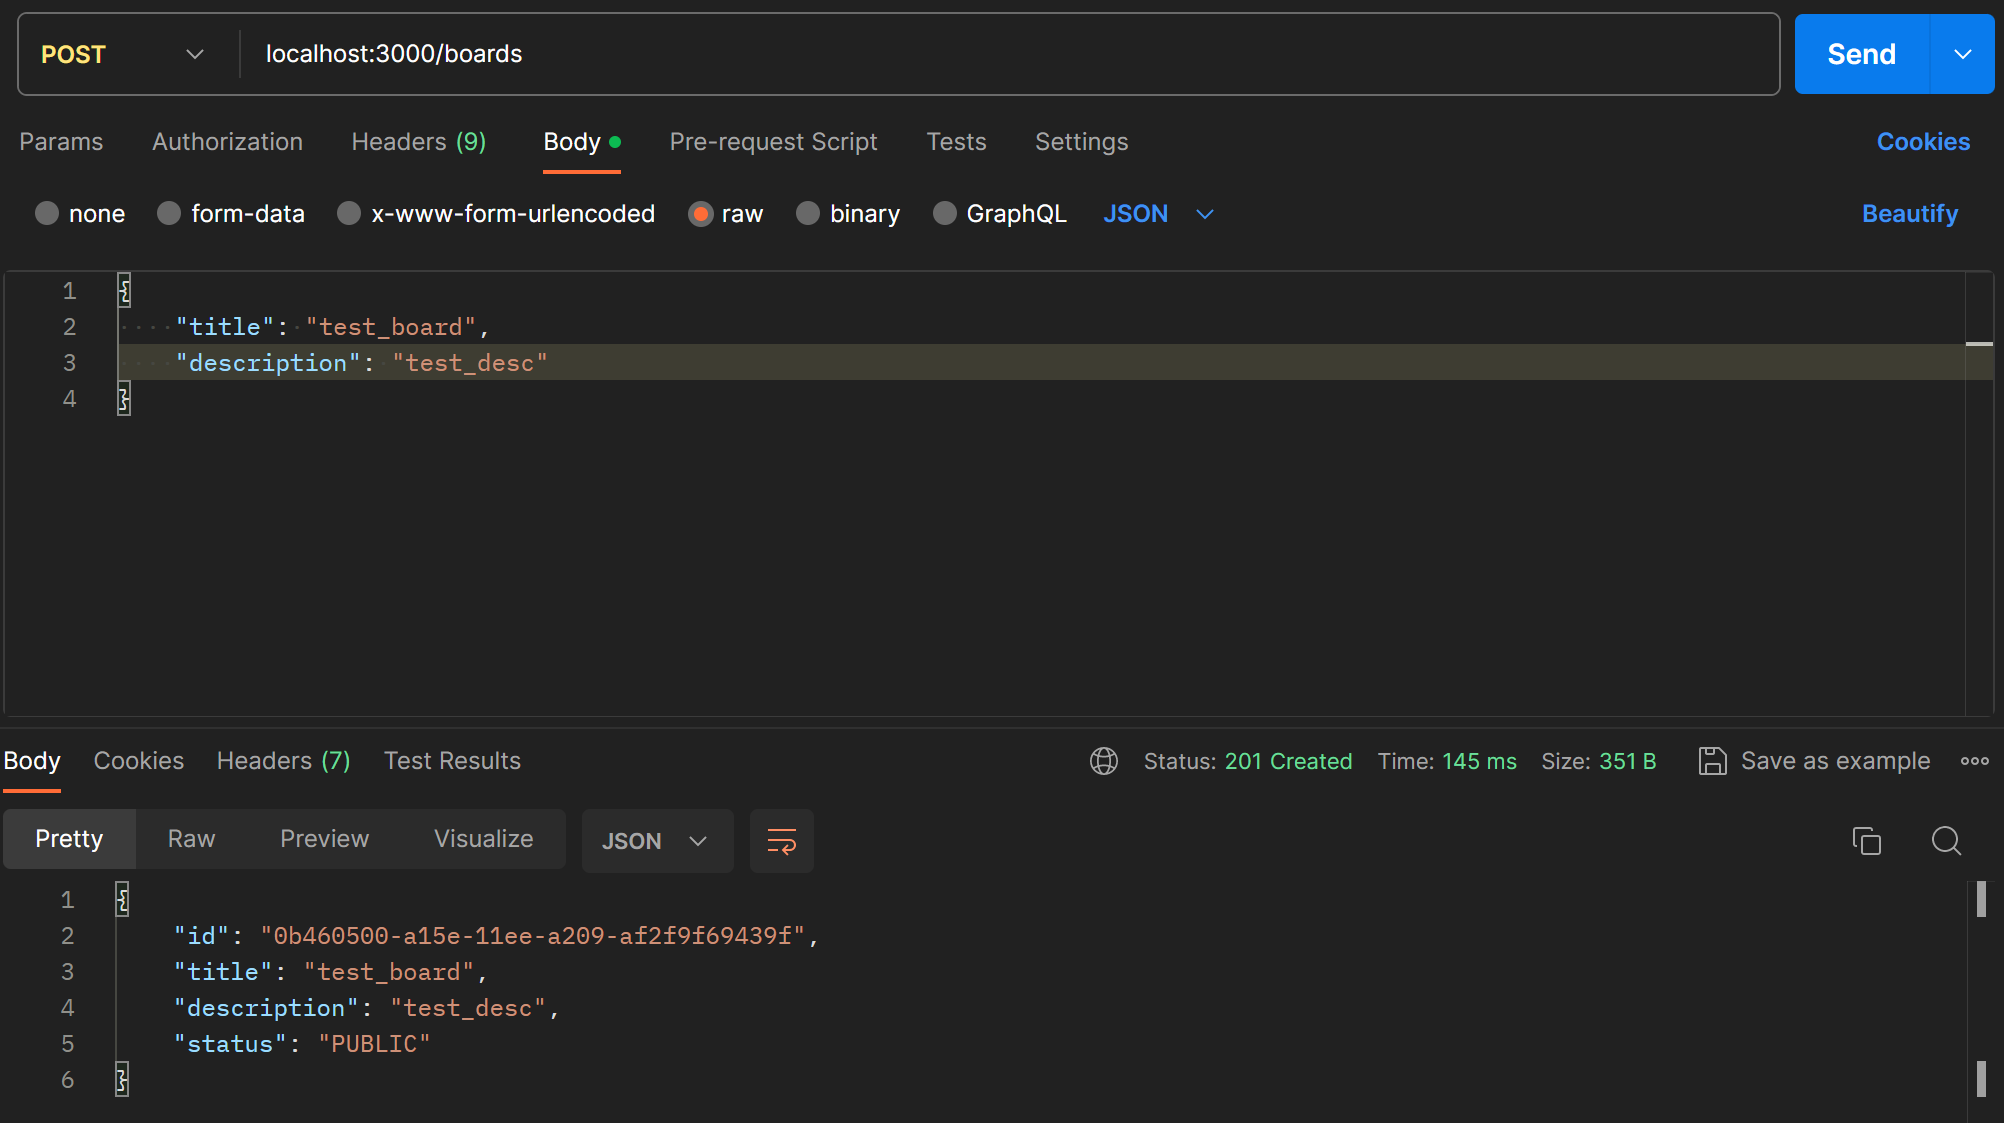
Postman으로 확인하니 생성된 Board가 잘 넘어온다.
DTO (Data Transfet Object)
계층간 데이터 교환을 위한 객체 즉, DB에서 받은 데이터를 서비스나 컨트롤러에게 보낼 때 사용하는 객체이다. nest.js에서는 보통 클래스로 정의한다. DTO를 사용하면 데이터 유효성을 검증하기 쉽고 특히 typescript의 type으로 사용하기 편하다.
앞서 만든 createBoard를 DTO를 사용해서 refactoring 해보자. 우선 dto를 만들어준다. boards/dto/create-board.dto.ts 안에 dto 클래스를 정의한다.
export class CreateBoardDto {
    title: string;
    description: string;
}
컨트롤러와 서비스에 dto를 적용한다.
//boards.controller.ts
    @Post() //Create new Board
    createBoard(@Body() createBoardDto: CreateBoardDto) : Board{
        return this.boardService.createBoard(createBoardDto);
    }

//boards.service.ts
    createBoard(createBoardDto: CreateBoardDto){
        const {title, description} = createBoardDto
        const board : Board = {
            id: uuid(),
            title,
            description,
            status: BoardStatus.PUBLIC
        }
        this.boards.push(board);
        return board;
    }
Read
전체 Board 리스트를 가져오는 API를 만든다. 아직 DB 연결이 없으니 배열로 테스트만 해보자.
private boards: Board[] = [];

//Get all board list
getAllBoards() : Board[] {
    return this.boards;
}
서비스의 private property로 boards라는 board 배열을 선언하고 getter 함수를 만들어준다. 이것을 컨트롤러에 연결시켜준다. Read는 단순한 Get 메서드로 정의된다.
@Get()
getAllBoard() : Board[] {
return this.boardService.getAllBoards();
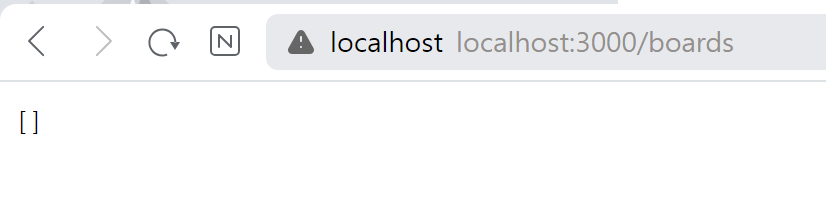
}/boards에 접속해서 확인해도 되고, postman을 사용해도 된다.
이번에는 전체 board 중 특정 board만 가져오는 API를 만들어보자. Id를 사용하여 특정한다. 서비스는 간단하다. Board 목록이 배열로 저장되므로 find()를 사용하여 해당 id 값을 가진 보드를 찾아 반환한다.
getBoardById(id:string): Board{
    return this.boards.find((board) => board.id === id);
}
파라미터로 id를 보낼 때는 @Param 데코레이터로 받을 수 있다.
@Get('/:id')
getBoardById(@Param('id') id :string): Board {
return this.boardService.getBoardById(id)
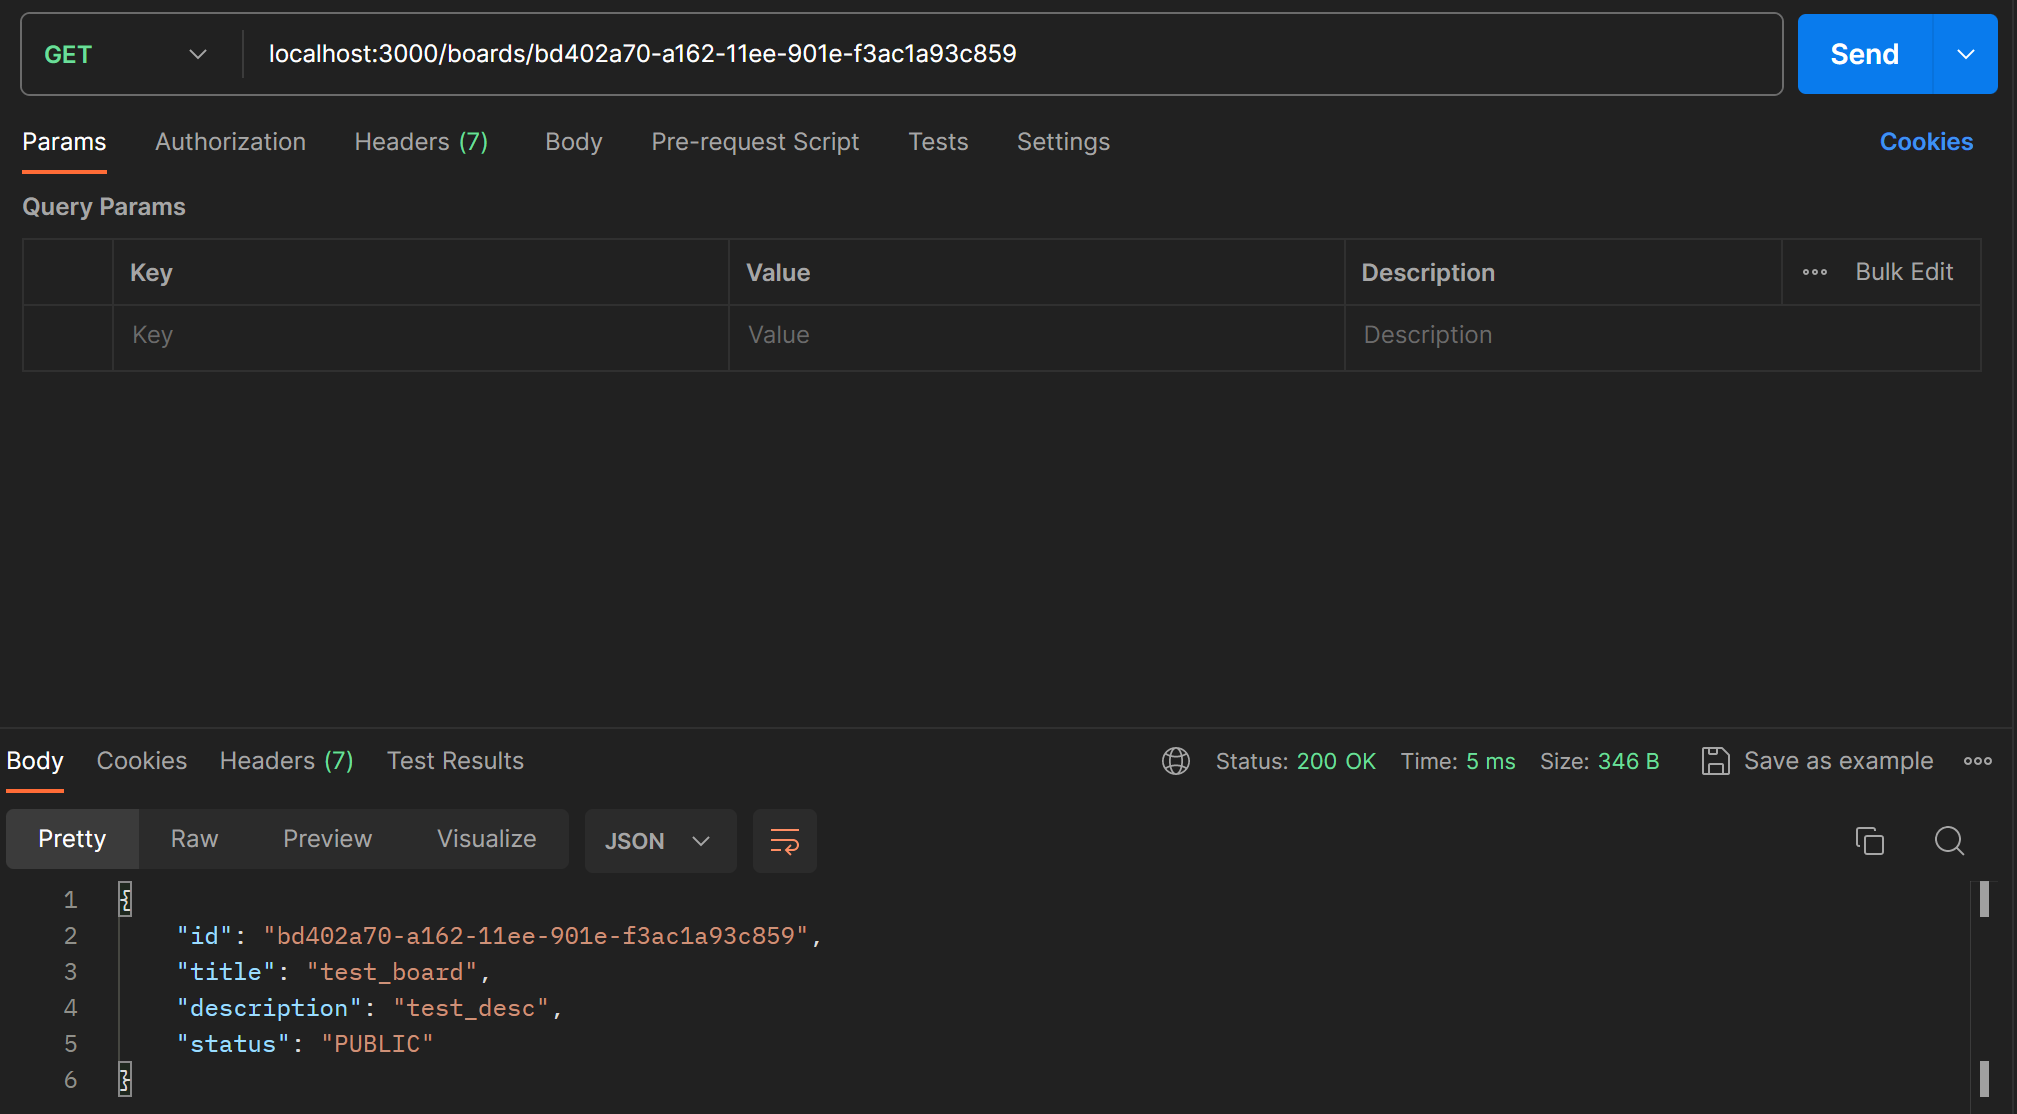
}createBoard로 생성한 보드의 id를 따와 postman으로 테스트해본다.
Delete
비슷하게 이번에는 id를 사용해서 특정 게시물을 삭제하는 API를 만든다. filter를 사용하여 boards 배열에서 특정 id를 가진 board를 삭제하는 서비스를 추가한다.
deleteBoard(id:string): void {
    this.boards = this.boards.filter((board)=> board.id !==id)
}
컨트롤러에는 delete 메서드를 하나 추가한다.
@Delete('/:id')
deleteBoard(@Param('id') id : string) : void {
    this.boardService.deleteBoard(id)
}
delete는 반환 값 없이 void로 선언한다. 제대로 삭제가 되었는지는 getAllBoard API로 확인하자.
Update
board의 status를 변경하는 API를 만들어보자. 수정할 board의 id와 status를 받아 처리한다.
updateBoardStatus(id: string, status: BoardStatus) : Board {
     const board = this.getBoardById(id);
     board.status = status;
     return board;
}
위에서 선언한 getBoardById 메서드를 재사용하여 id로 특정 board를 가져와서 status를 바꿔준다.
컨트롤러에서는 fetch 메서드로 id는 파라미터, status는 body로 받아준다.
@Patch('/:id/status')
updateBoardStatus(@Param('id') id : string, @Body('status') status : BoardStatus): Board {
return this.boardService.updateBoardStatus(id,status)
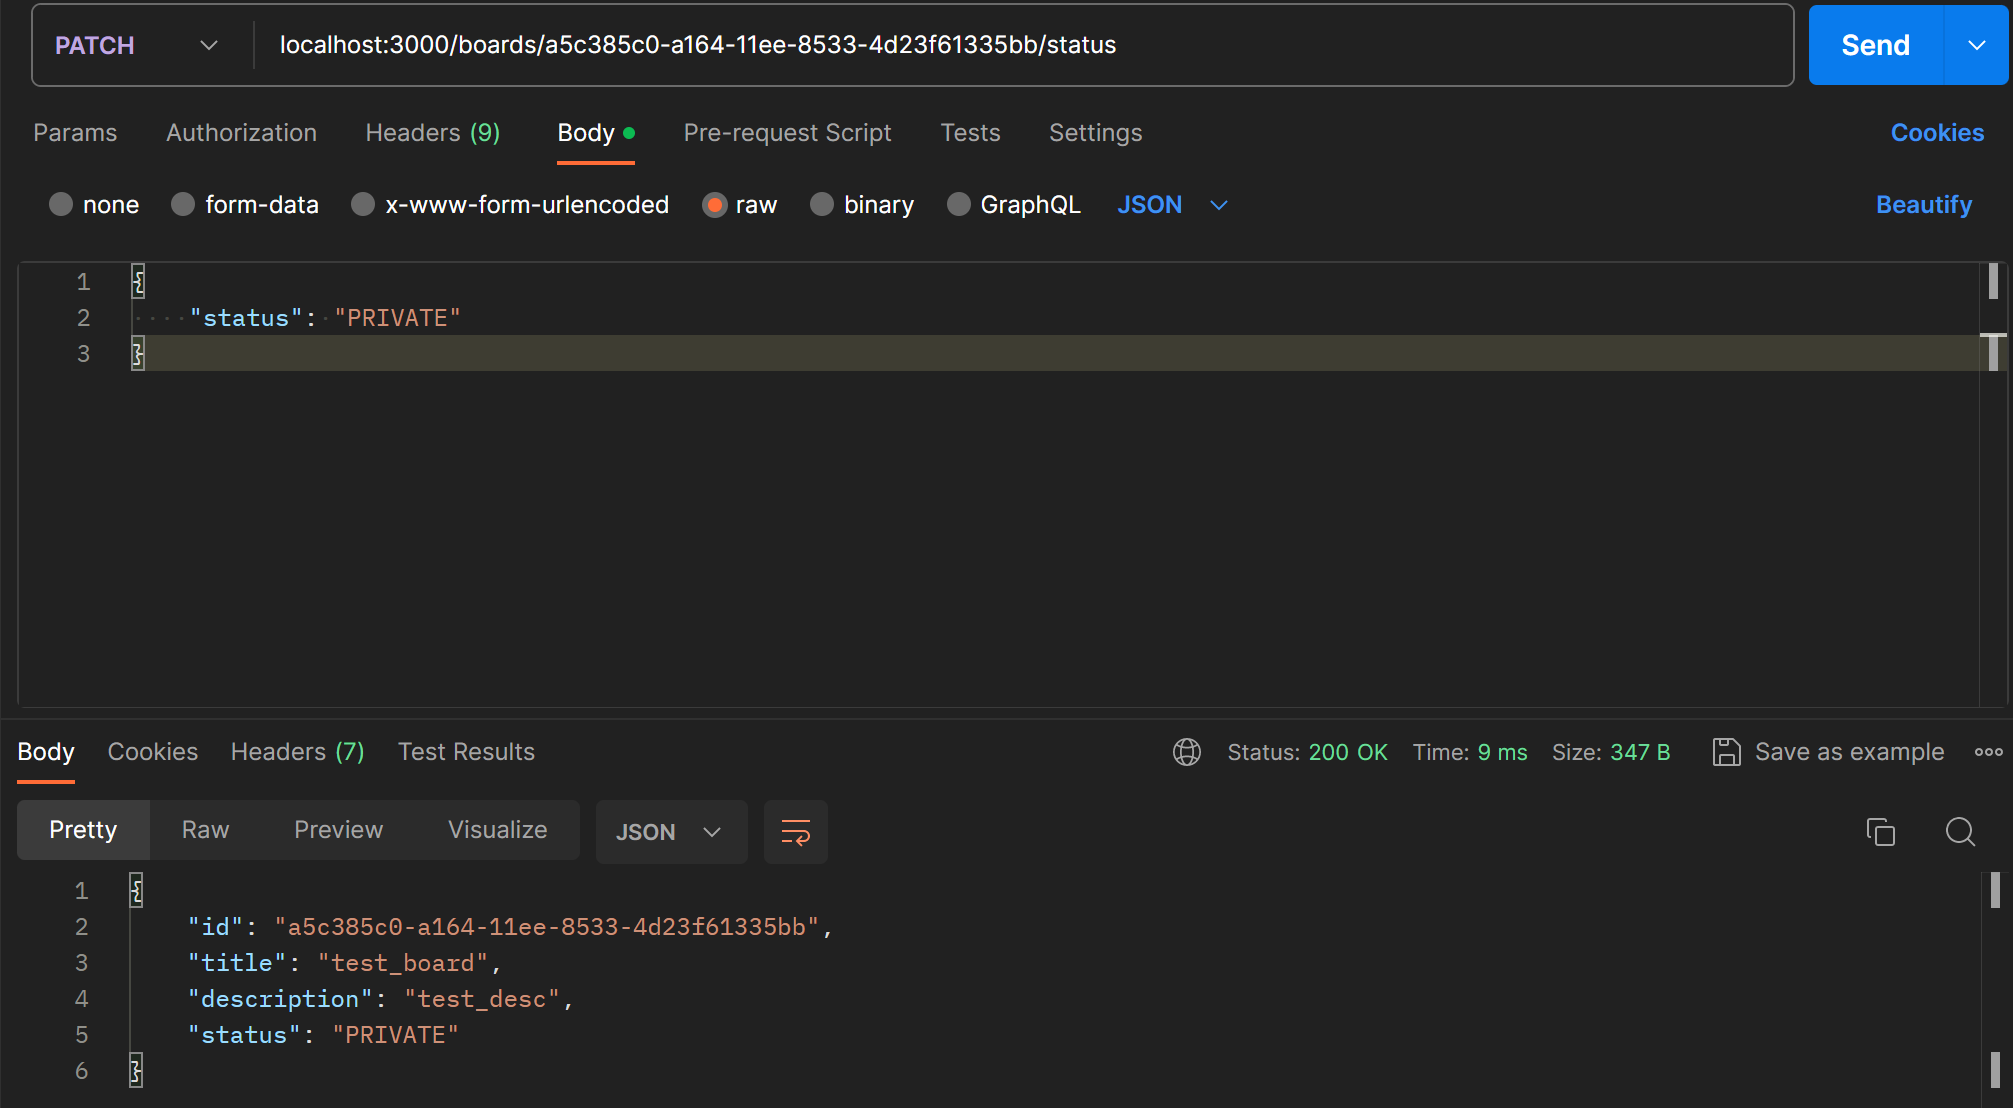
}postman으로 확인한다.
getAllBoard API로도 수정사항이 반영된 것을 볼 수 있다.