
이 블로그를 읽기전에 이 글을 읽어보자
TableView 사용하기
서론
따지고 보면 TableVeiw가 ViewController의 하나의 View이다. 이 View를 위한 Model이기 때문에 데이터 저장방식은 ViewModel이다.
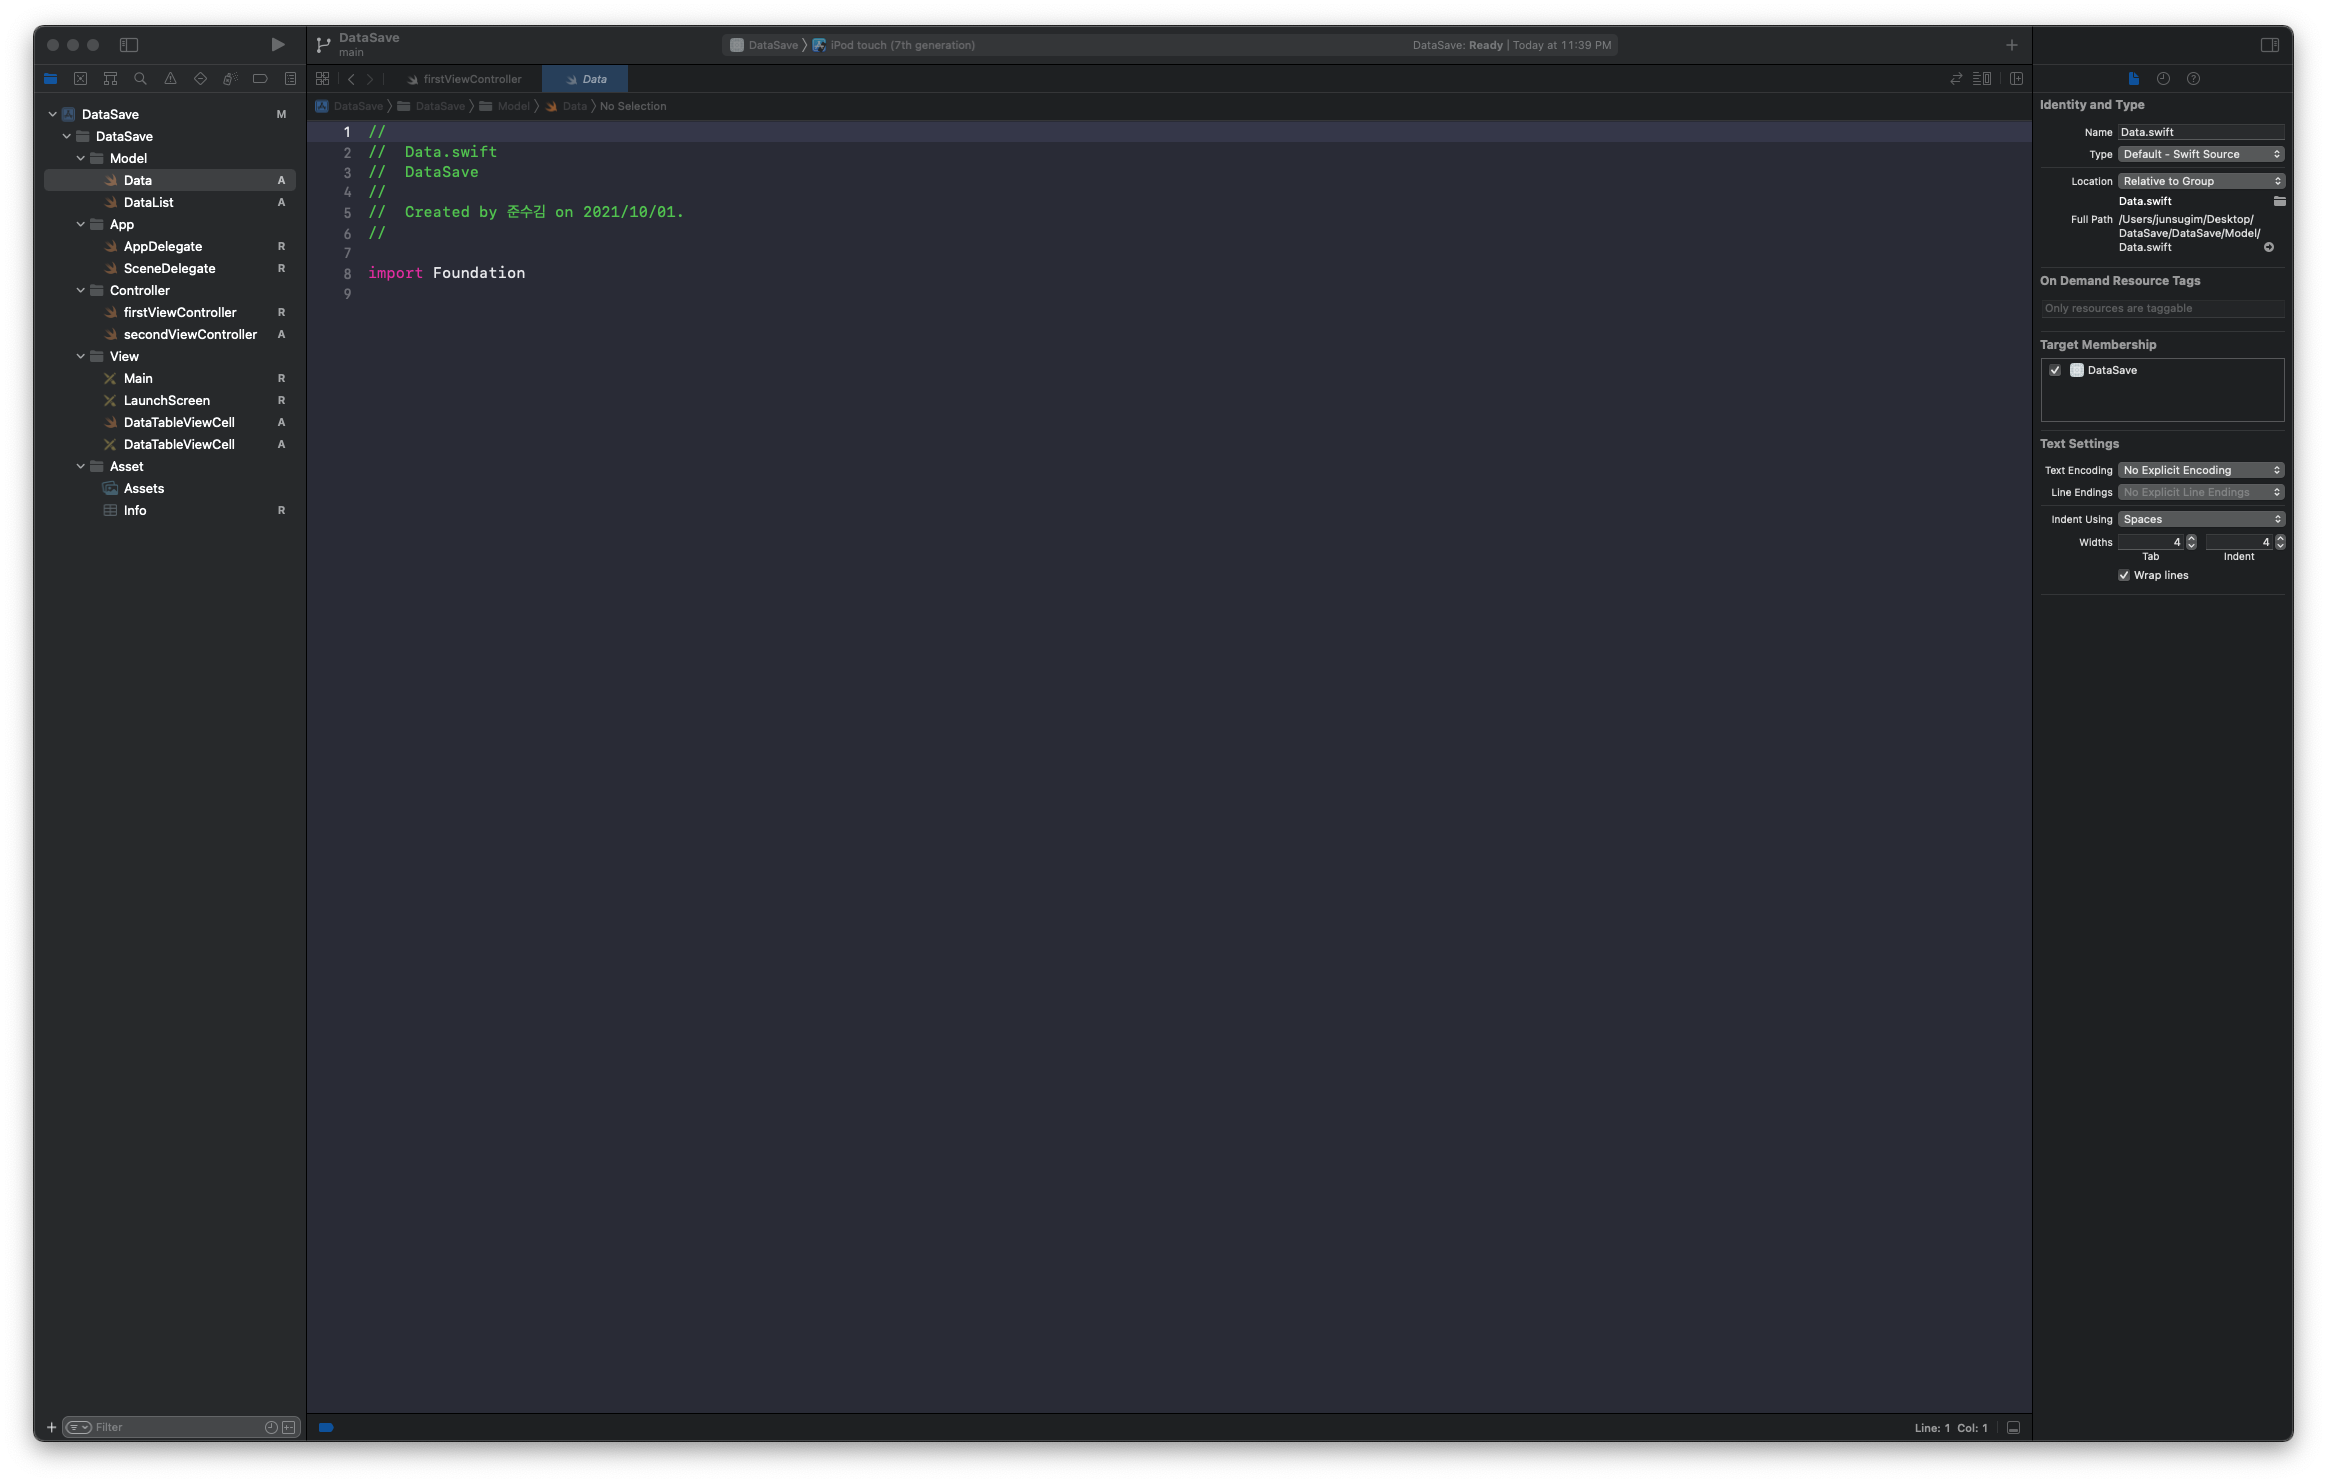
1. 아래와 같이 폴더를 생성해서 파일을 묶어준다. (Asset 주의 - 링크참고)
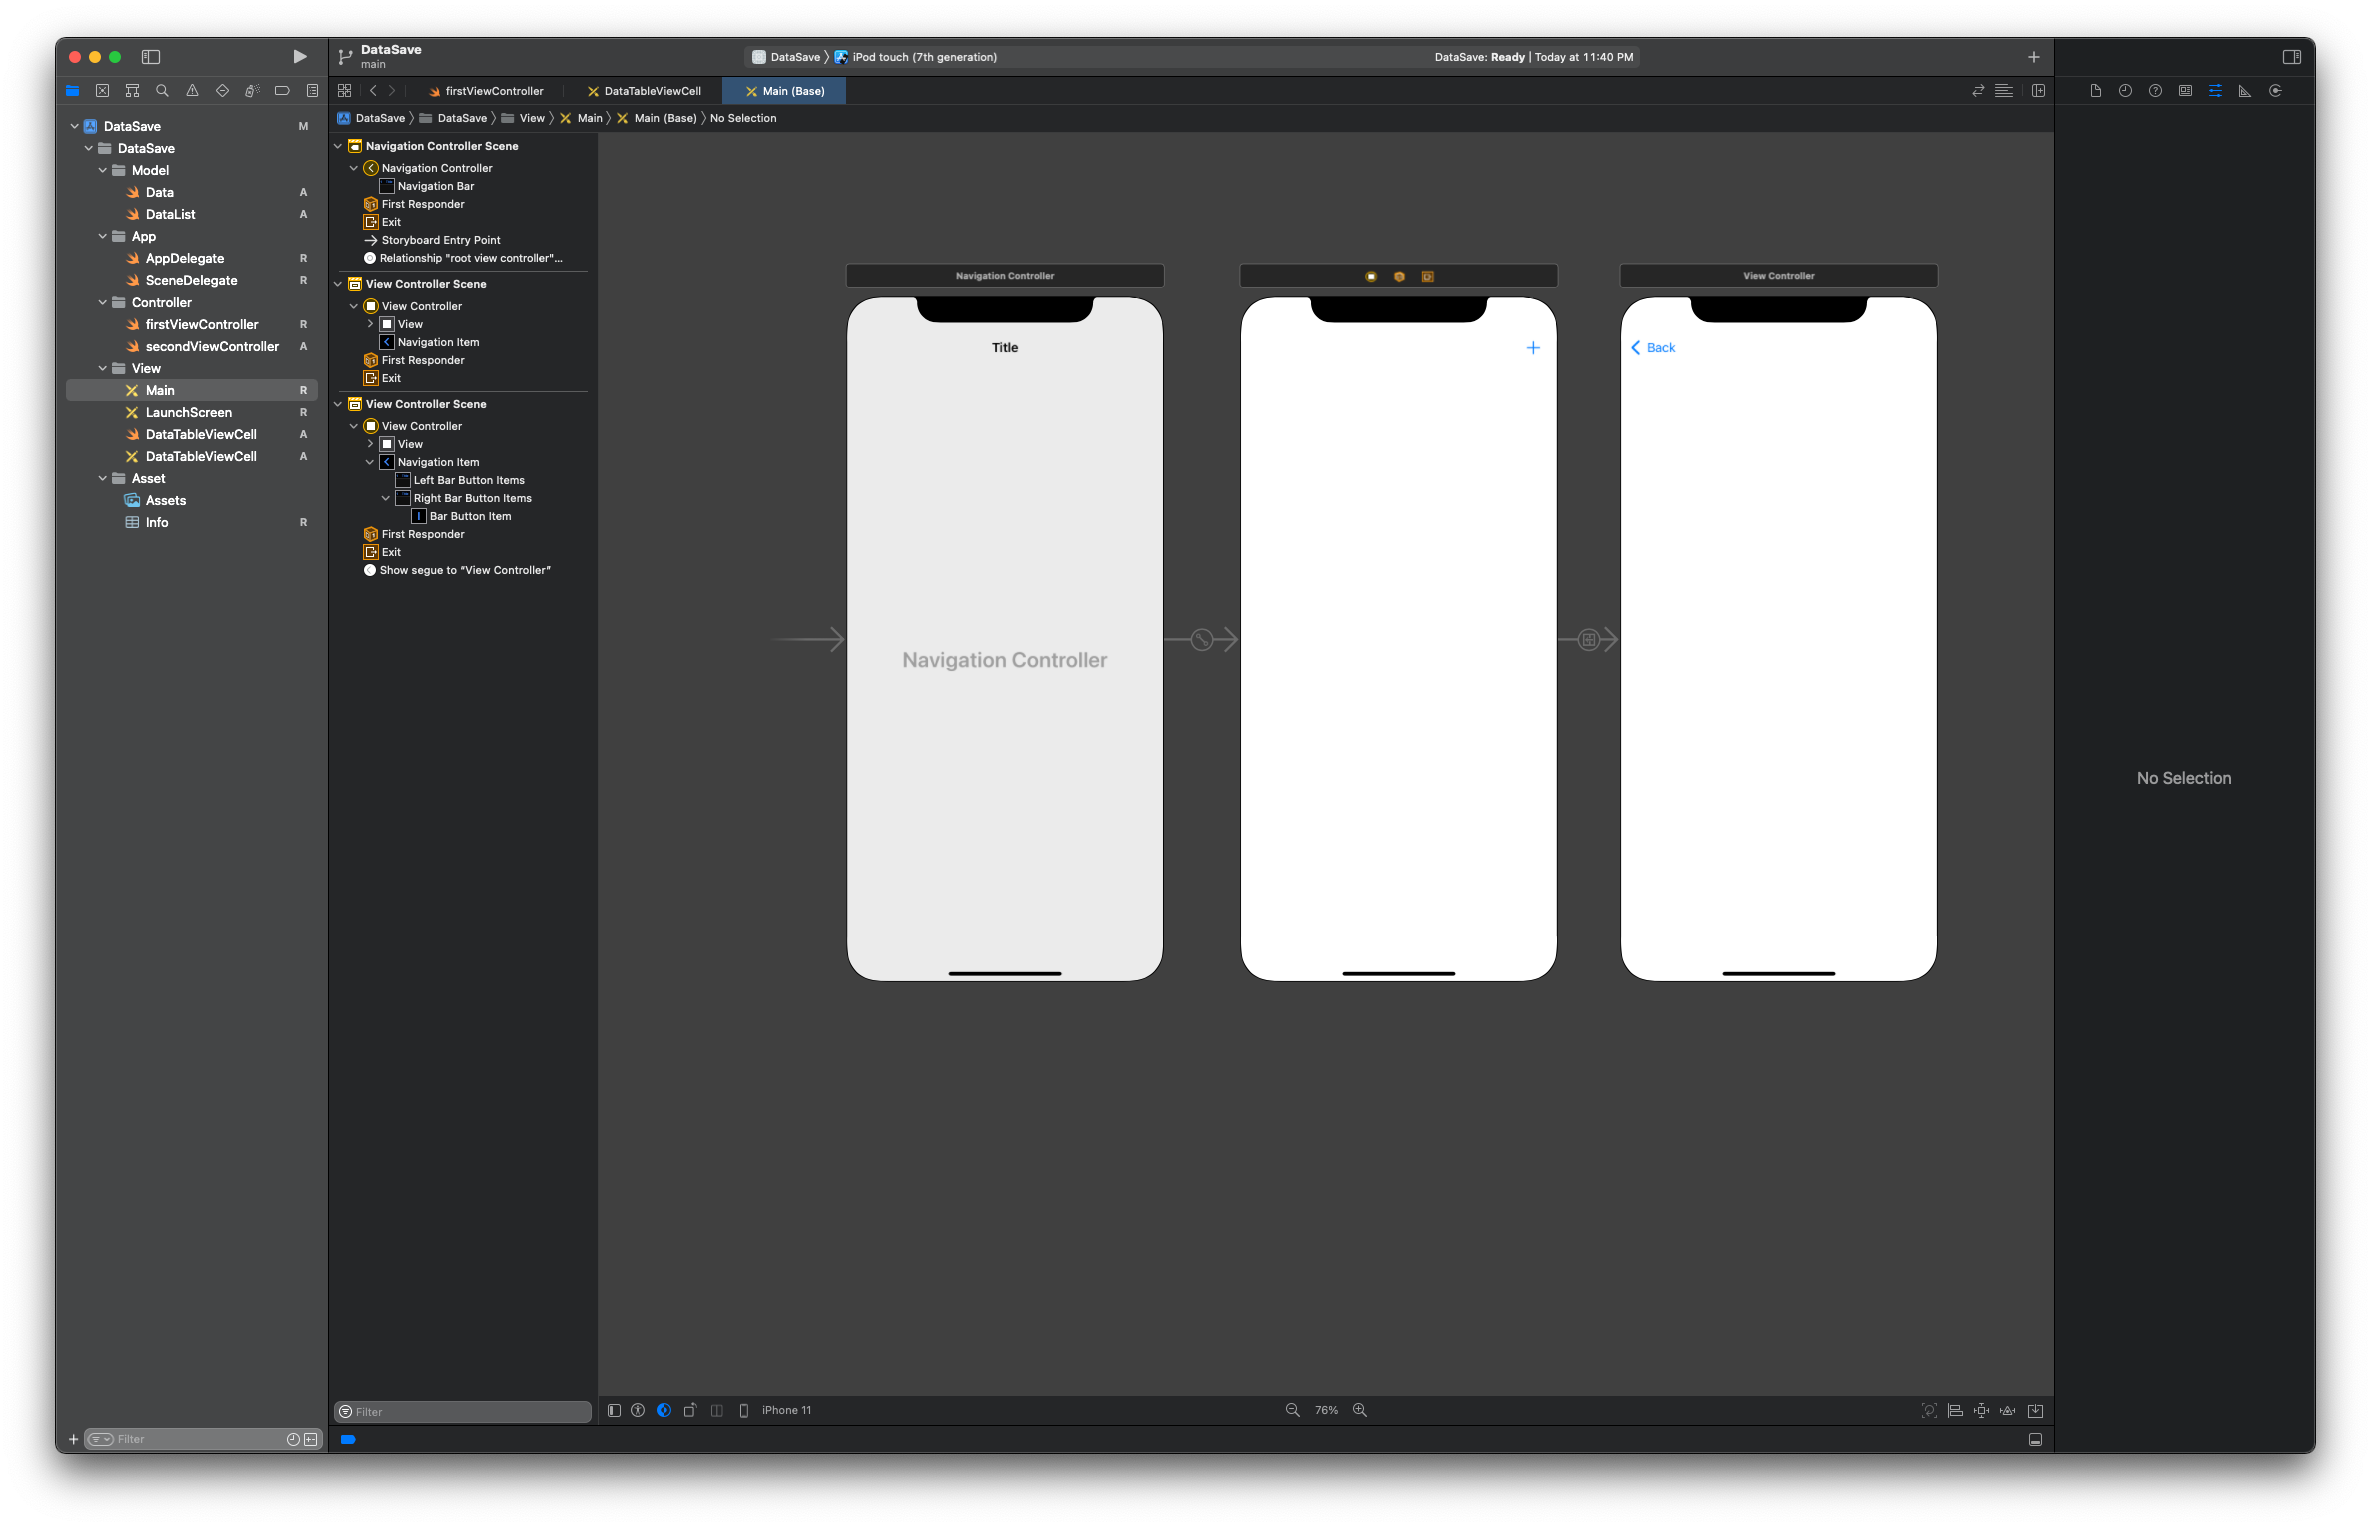
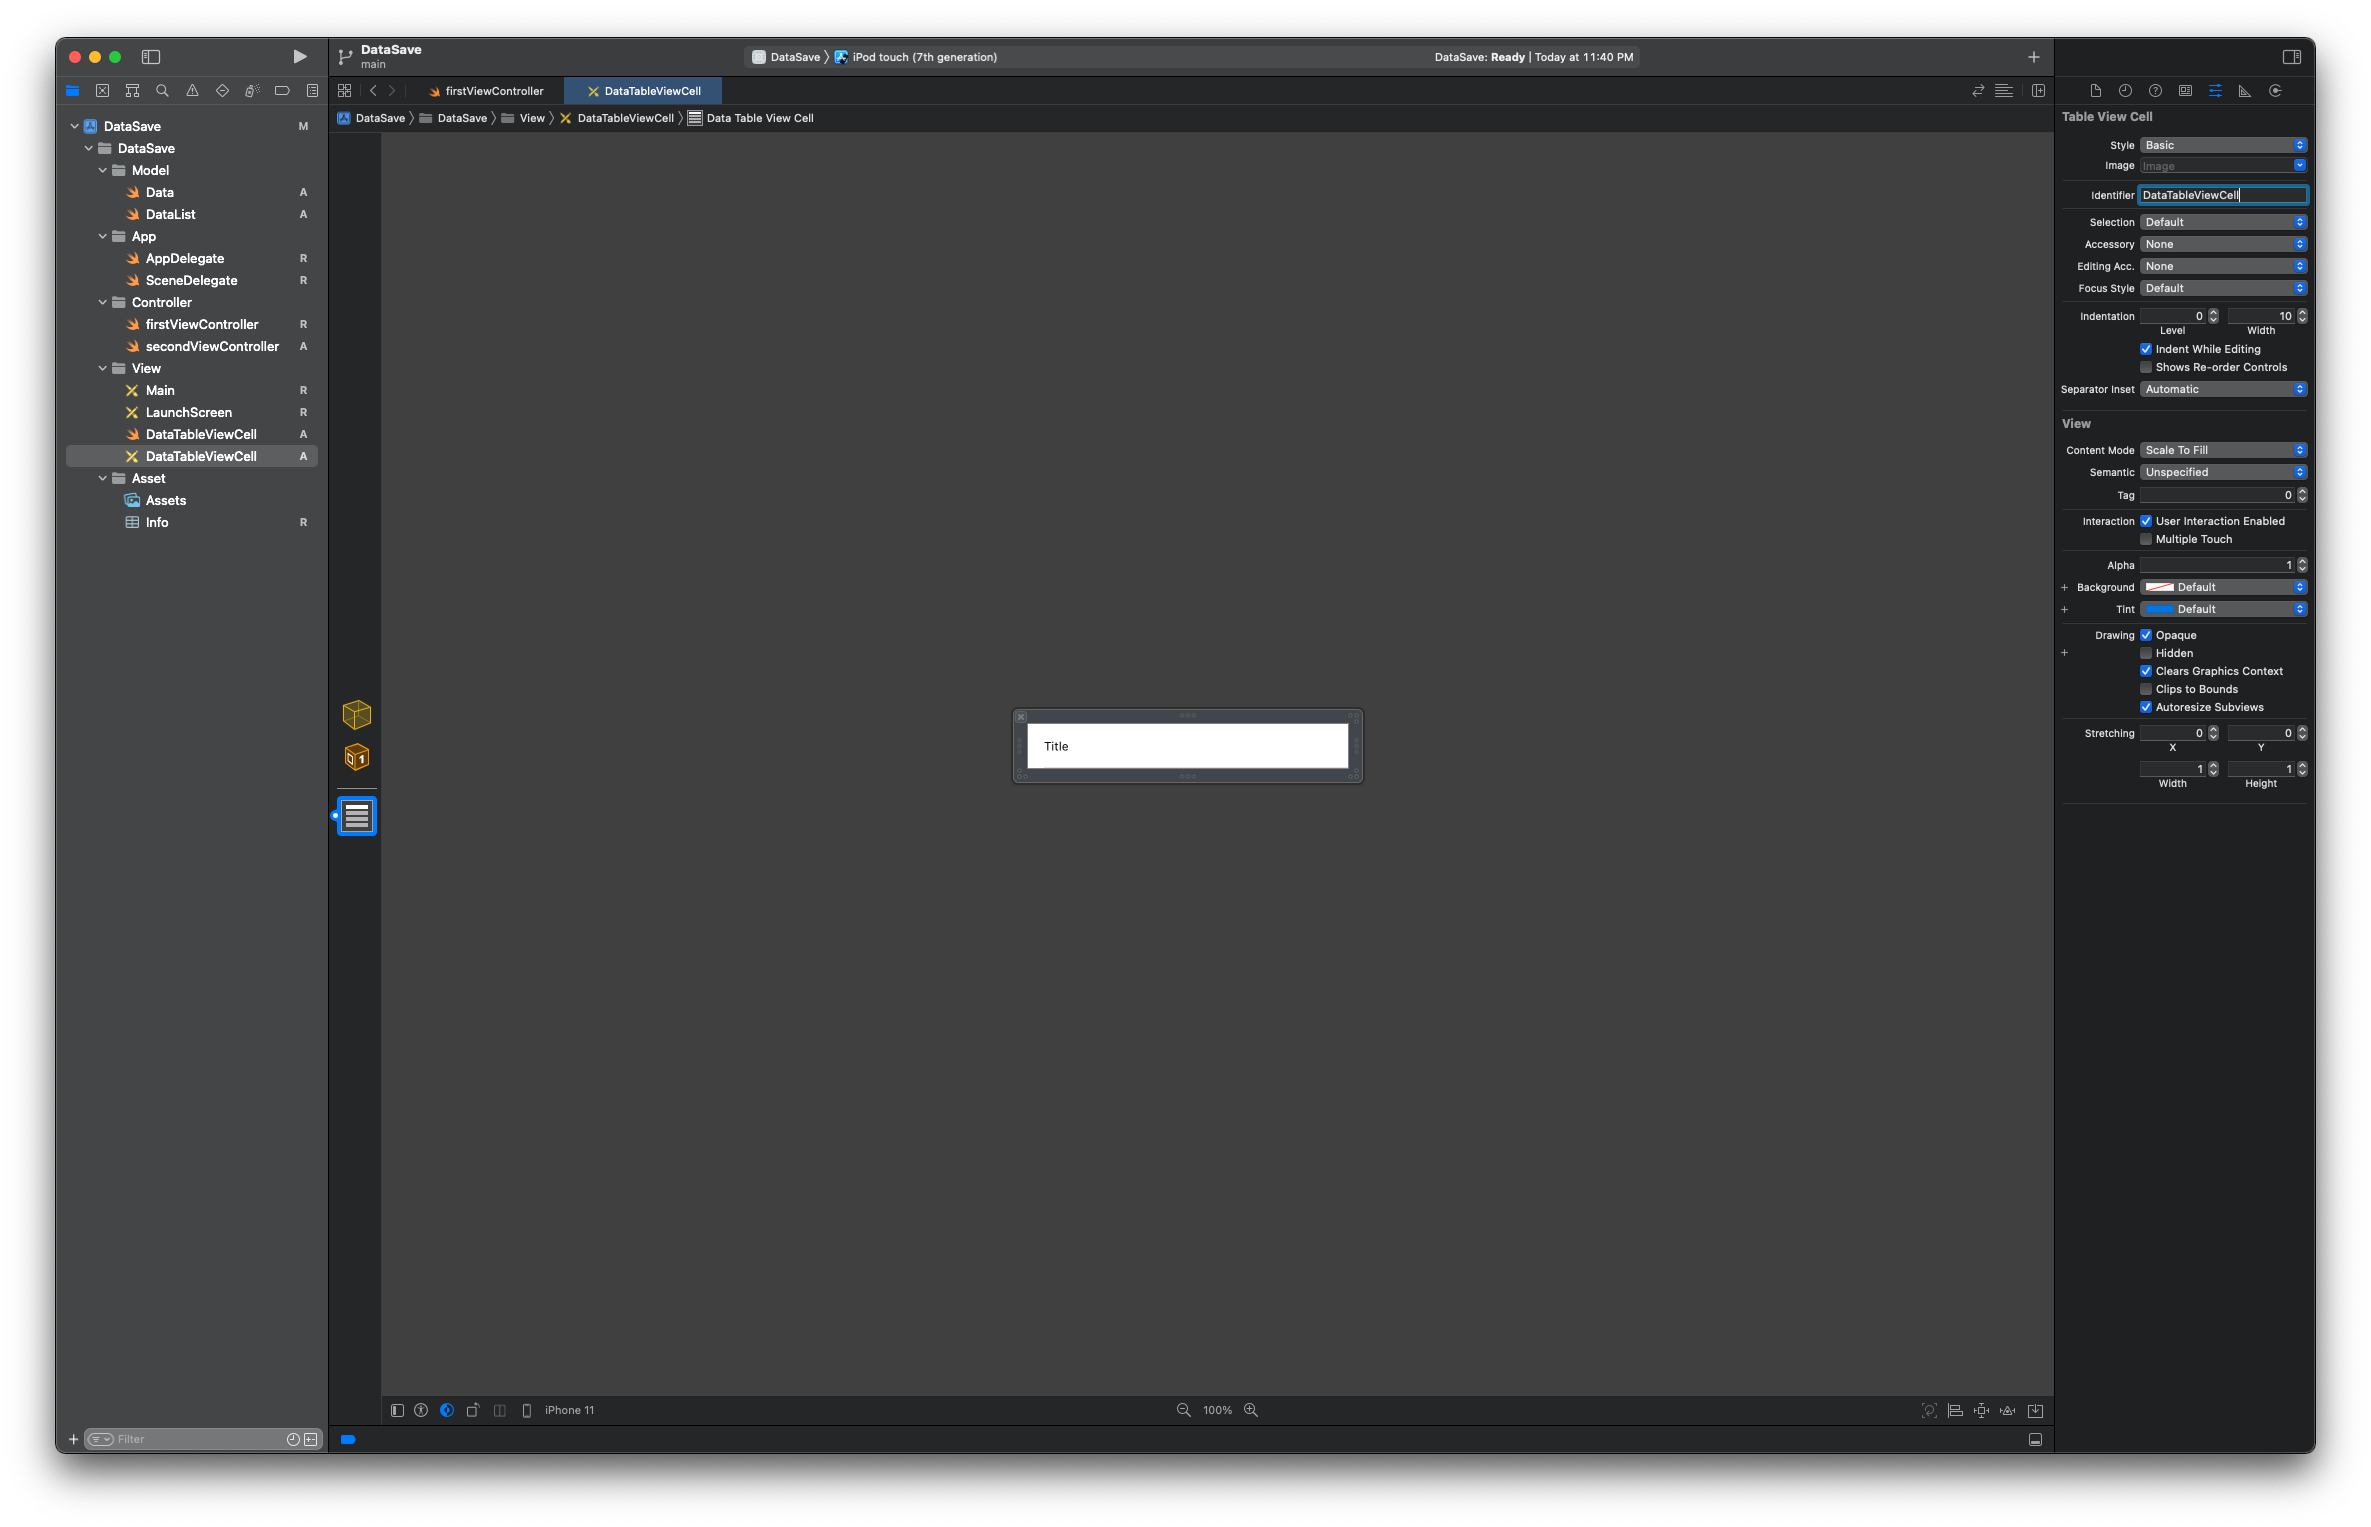
2. 스토리보드는 아래와 같이 만들어주고 XIB 파일은 Style - Basic / Identifier - 파일명으로 설정해준다.
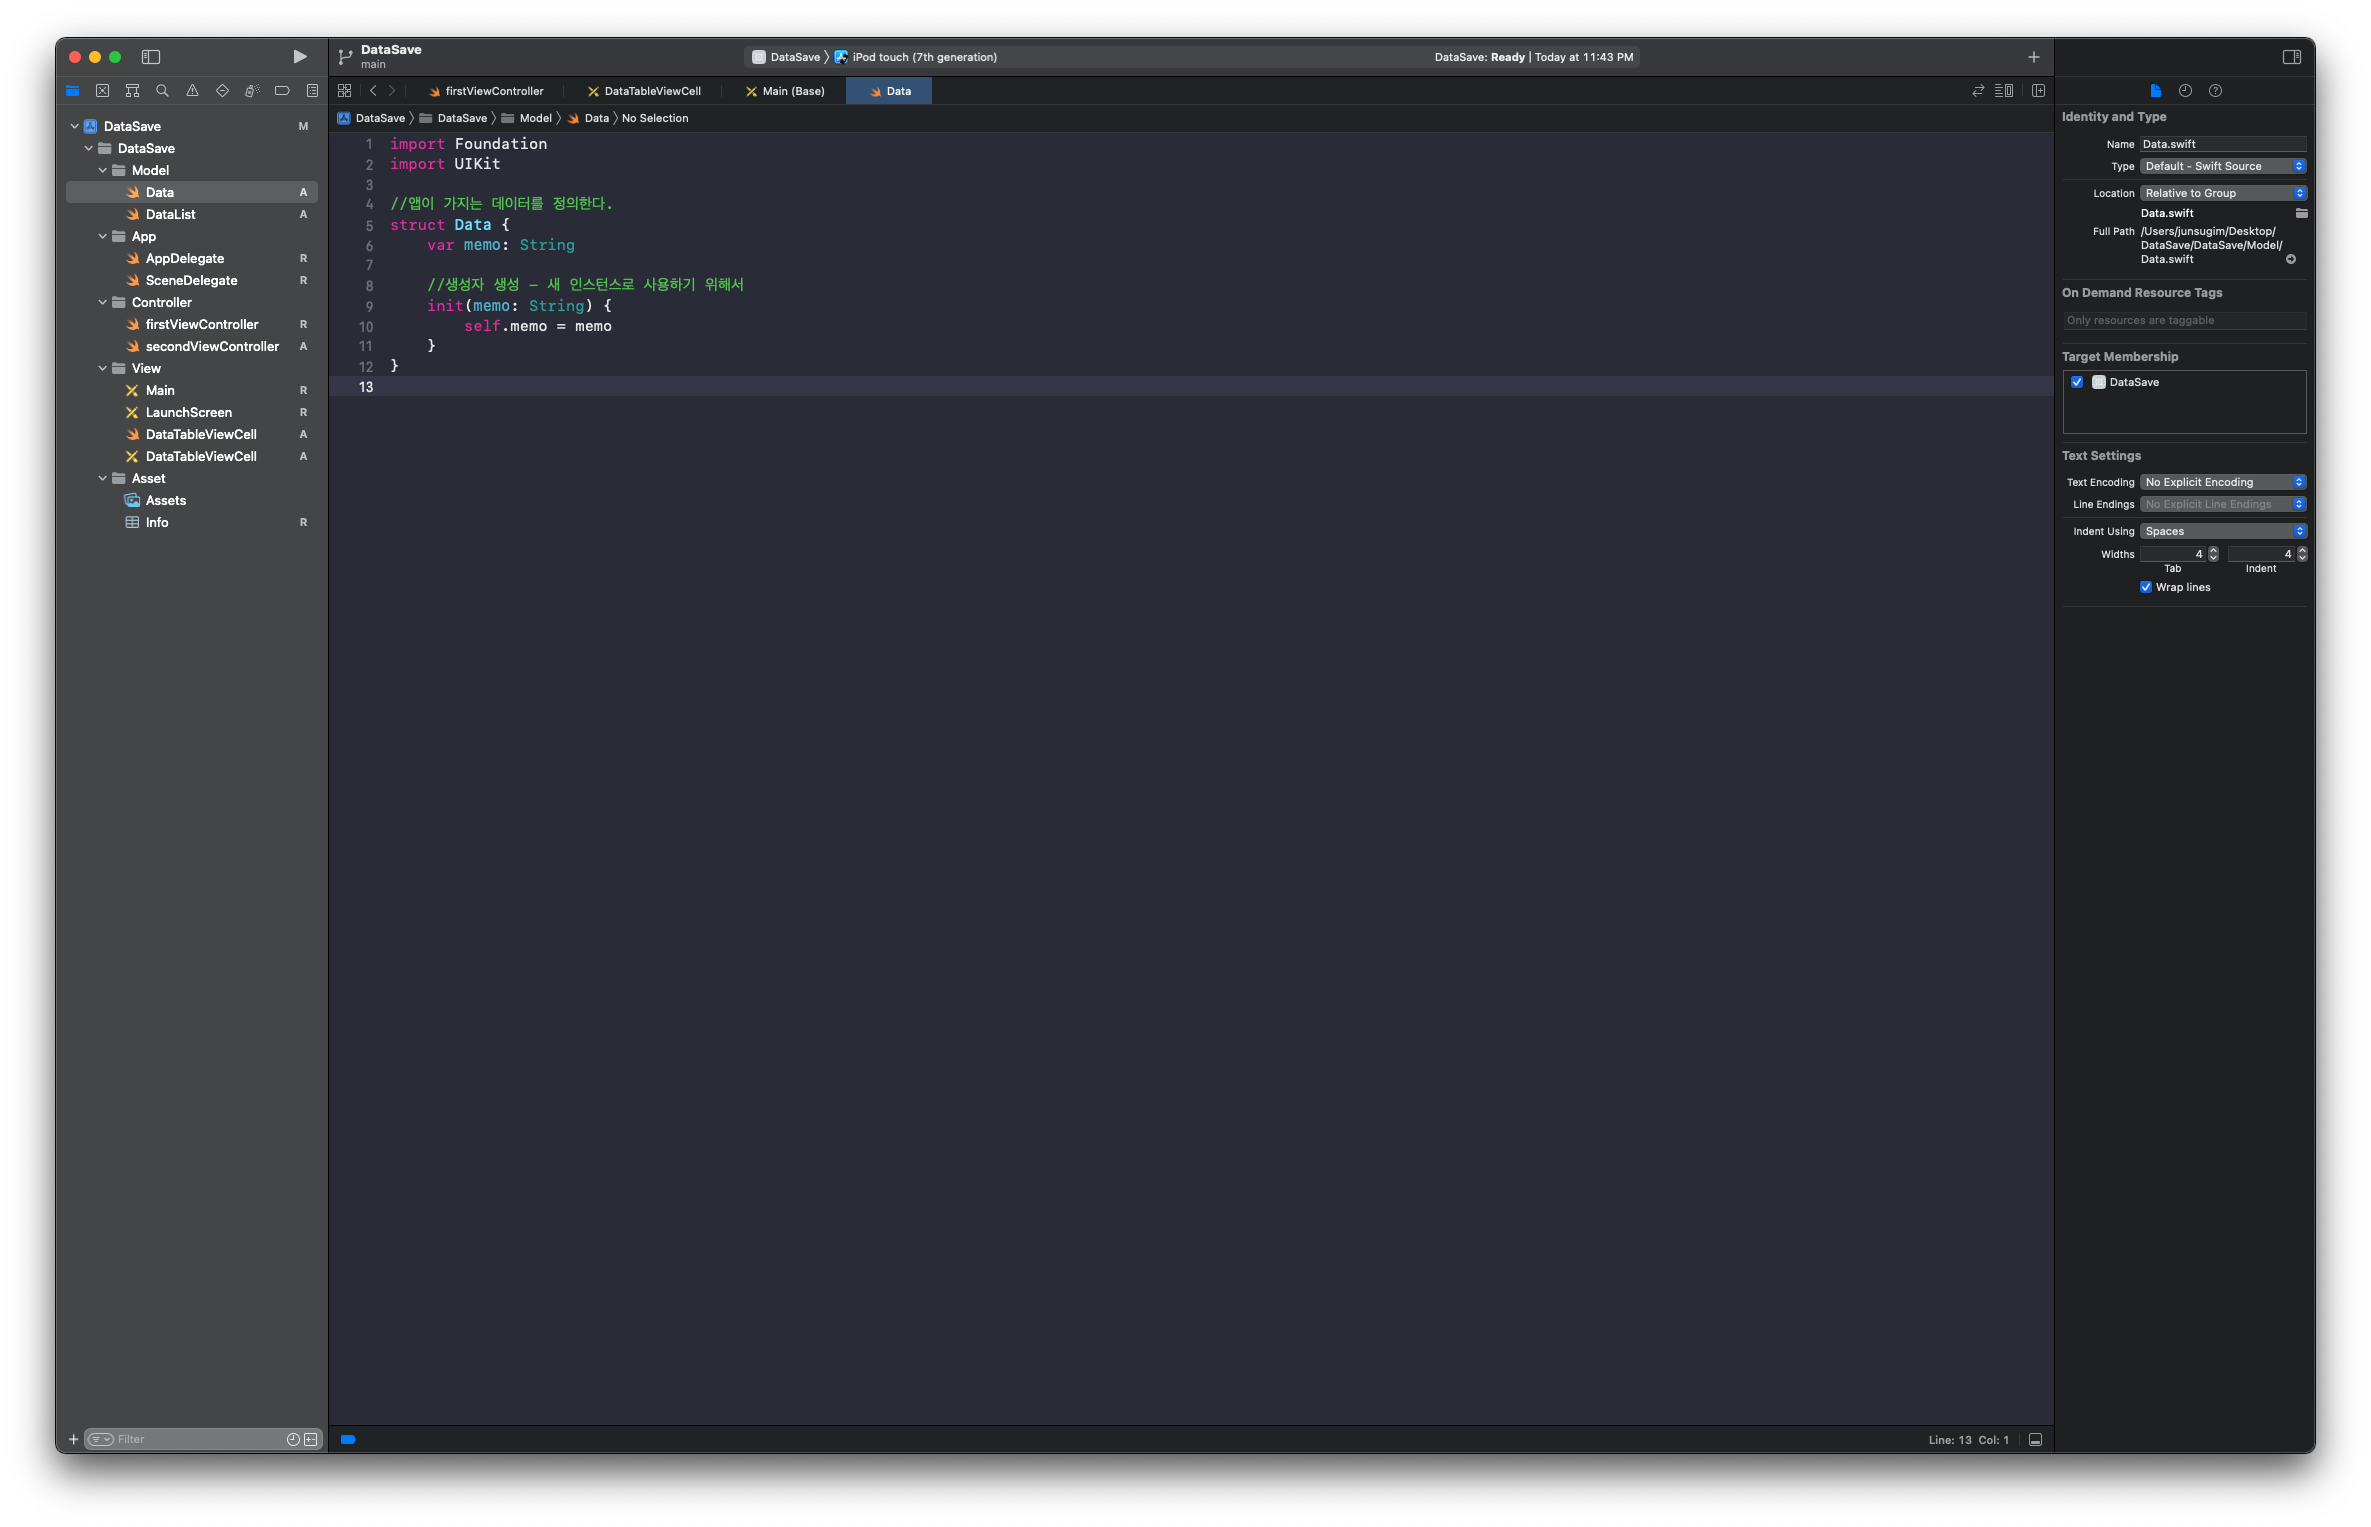
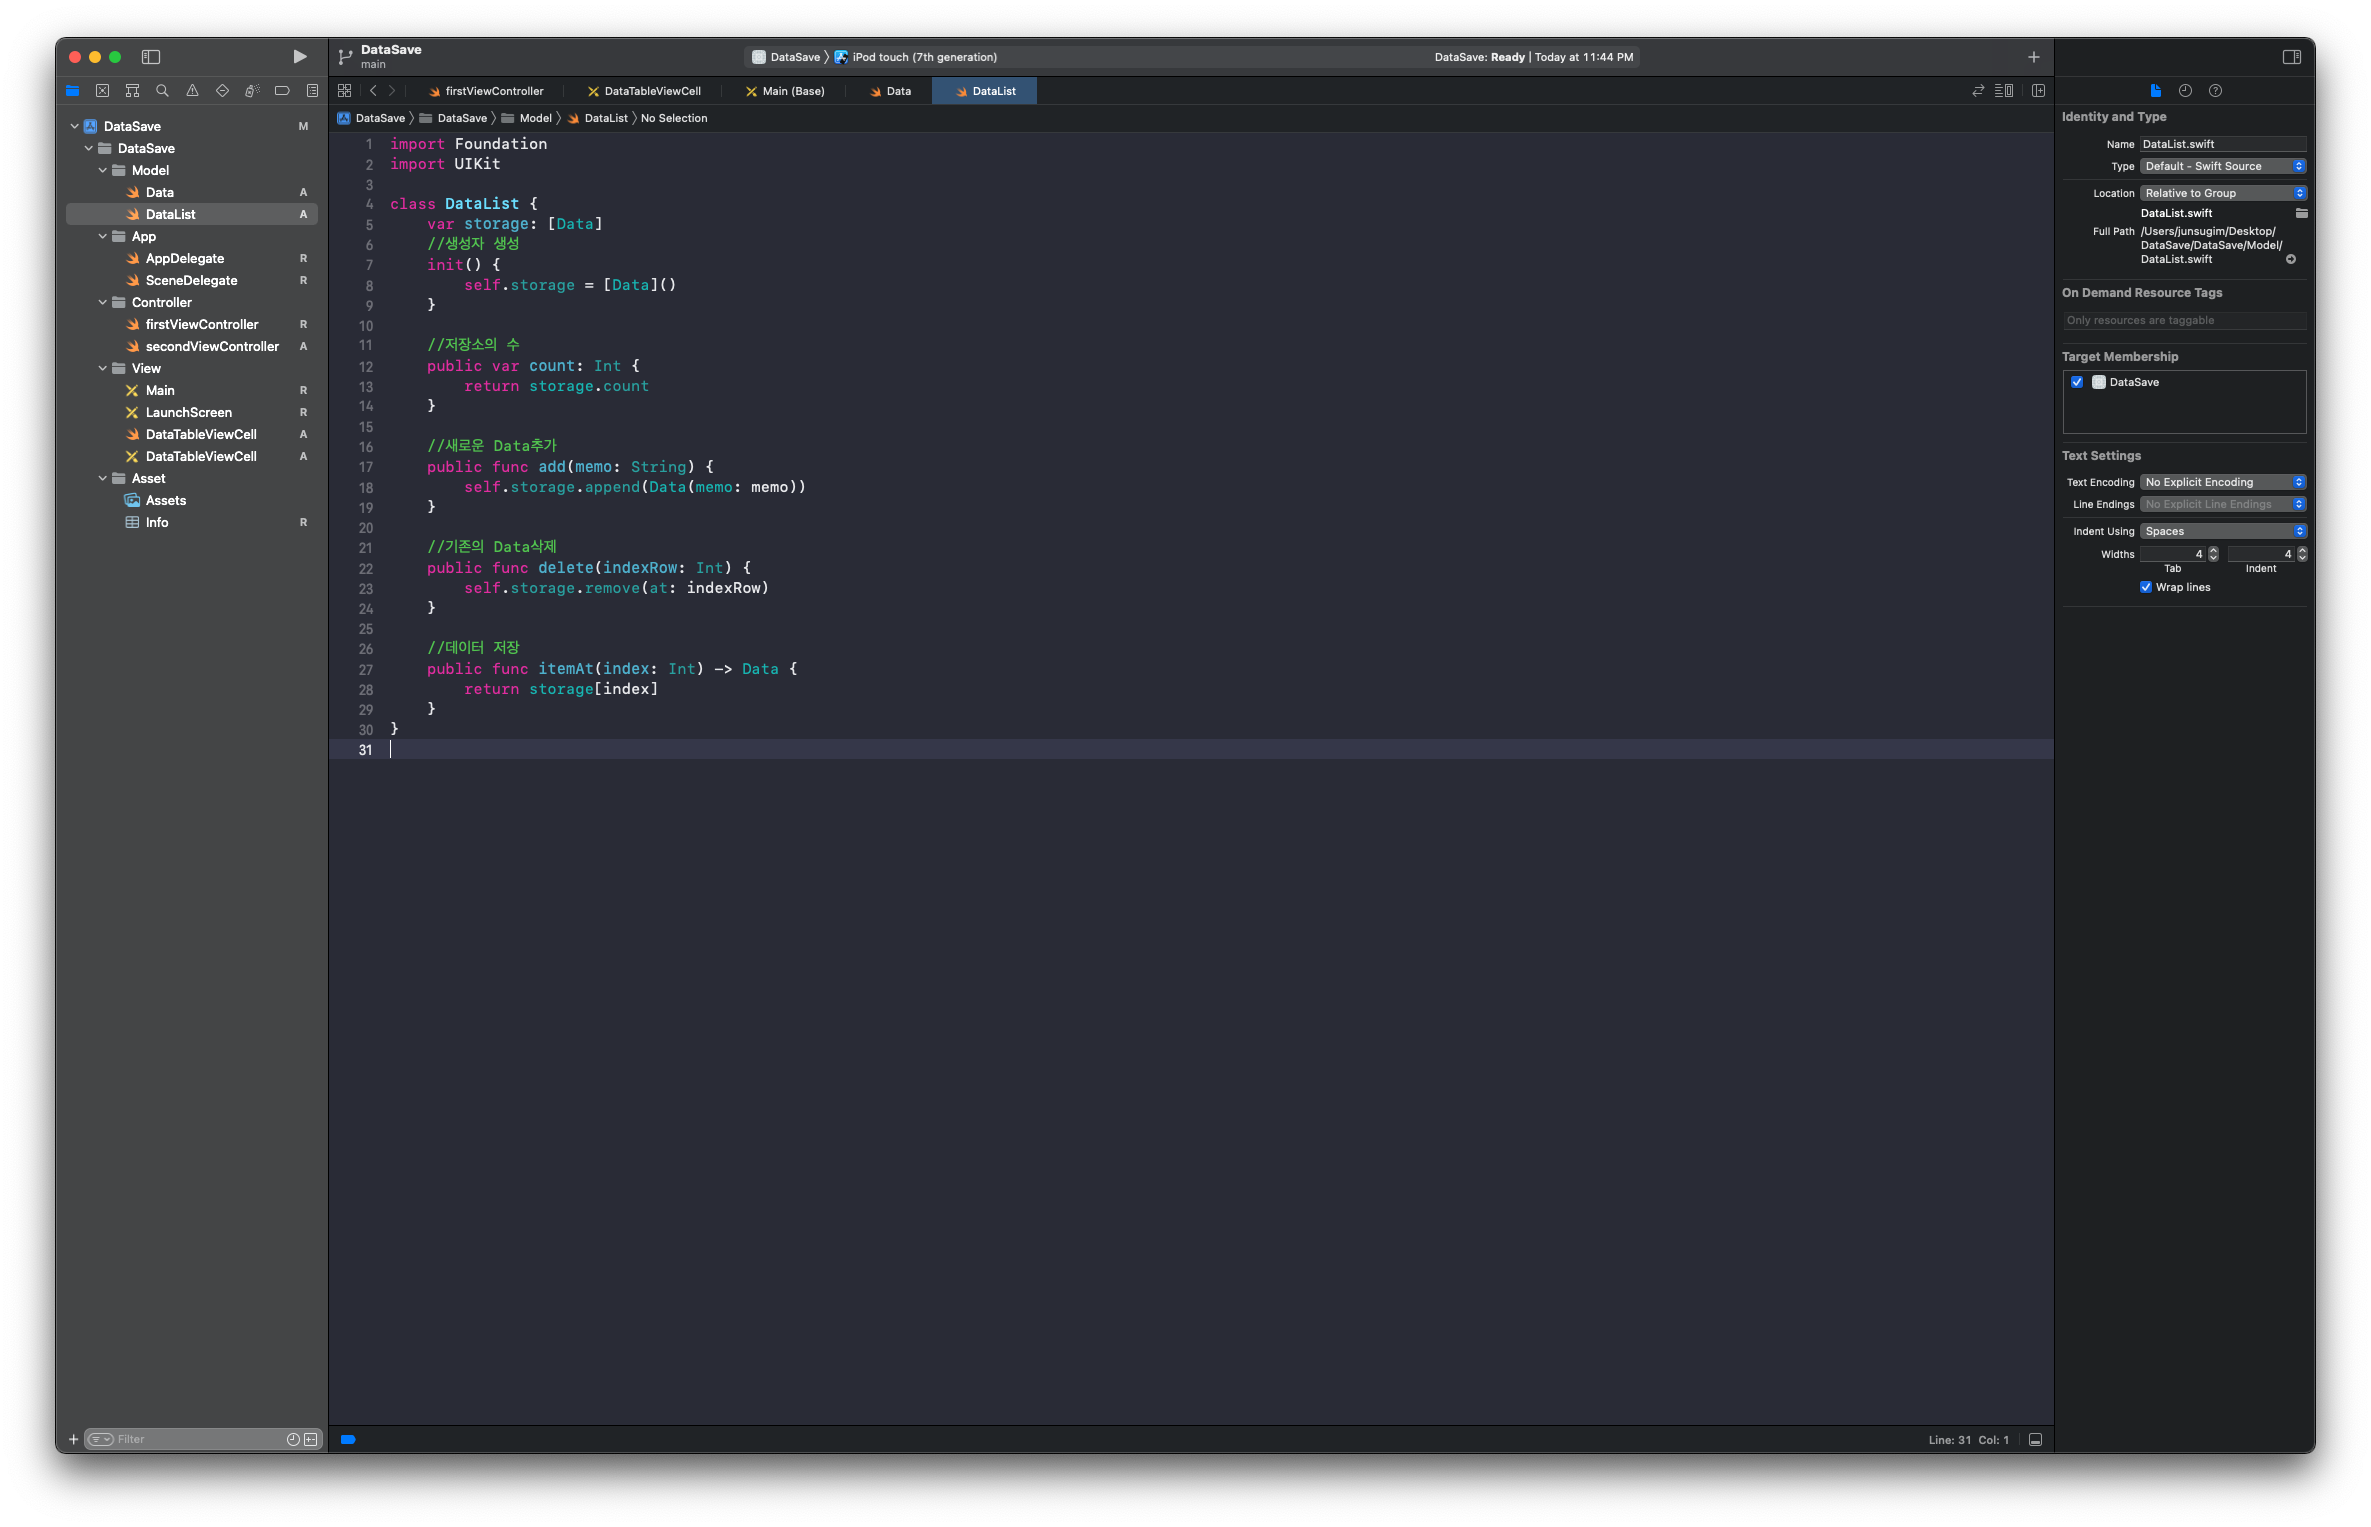
3. Data와 DataList를 만들어준다.
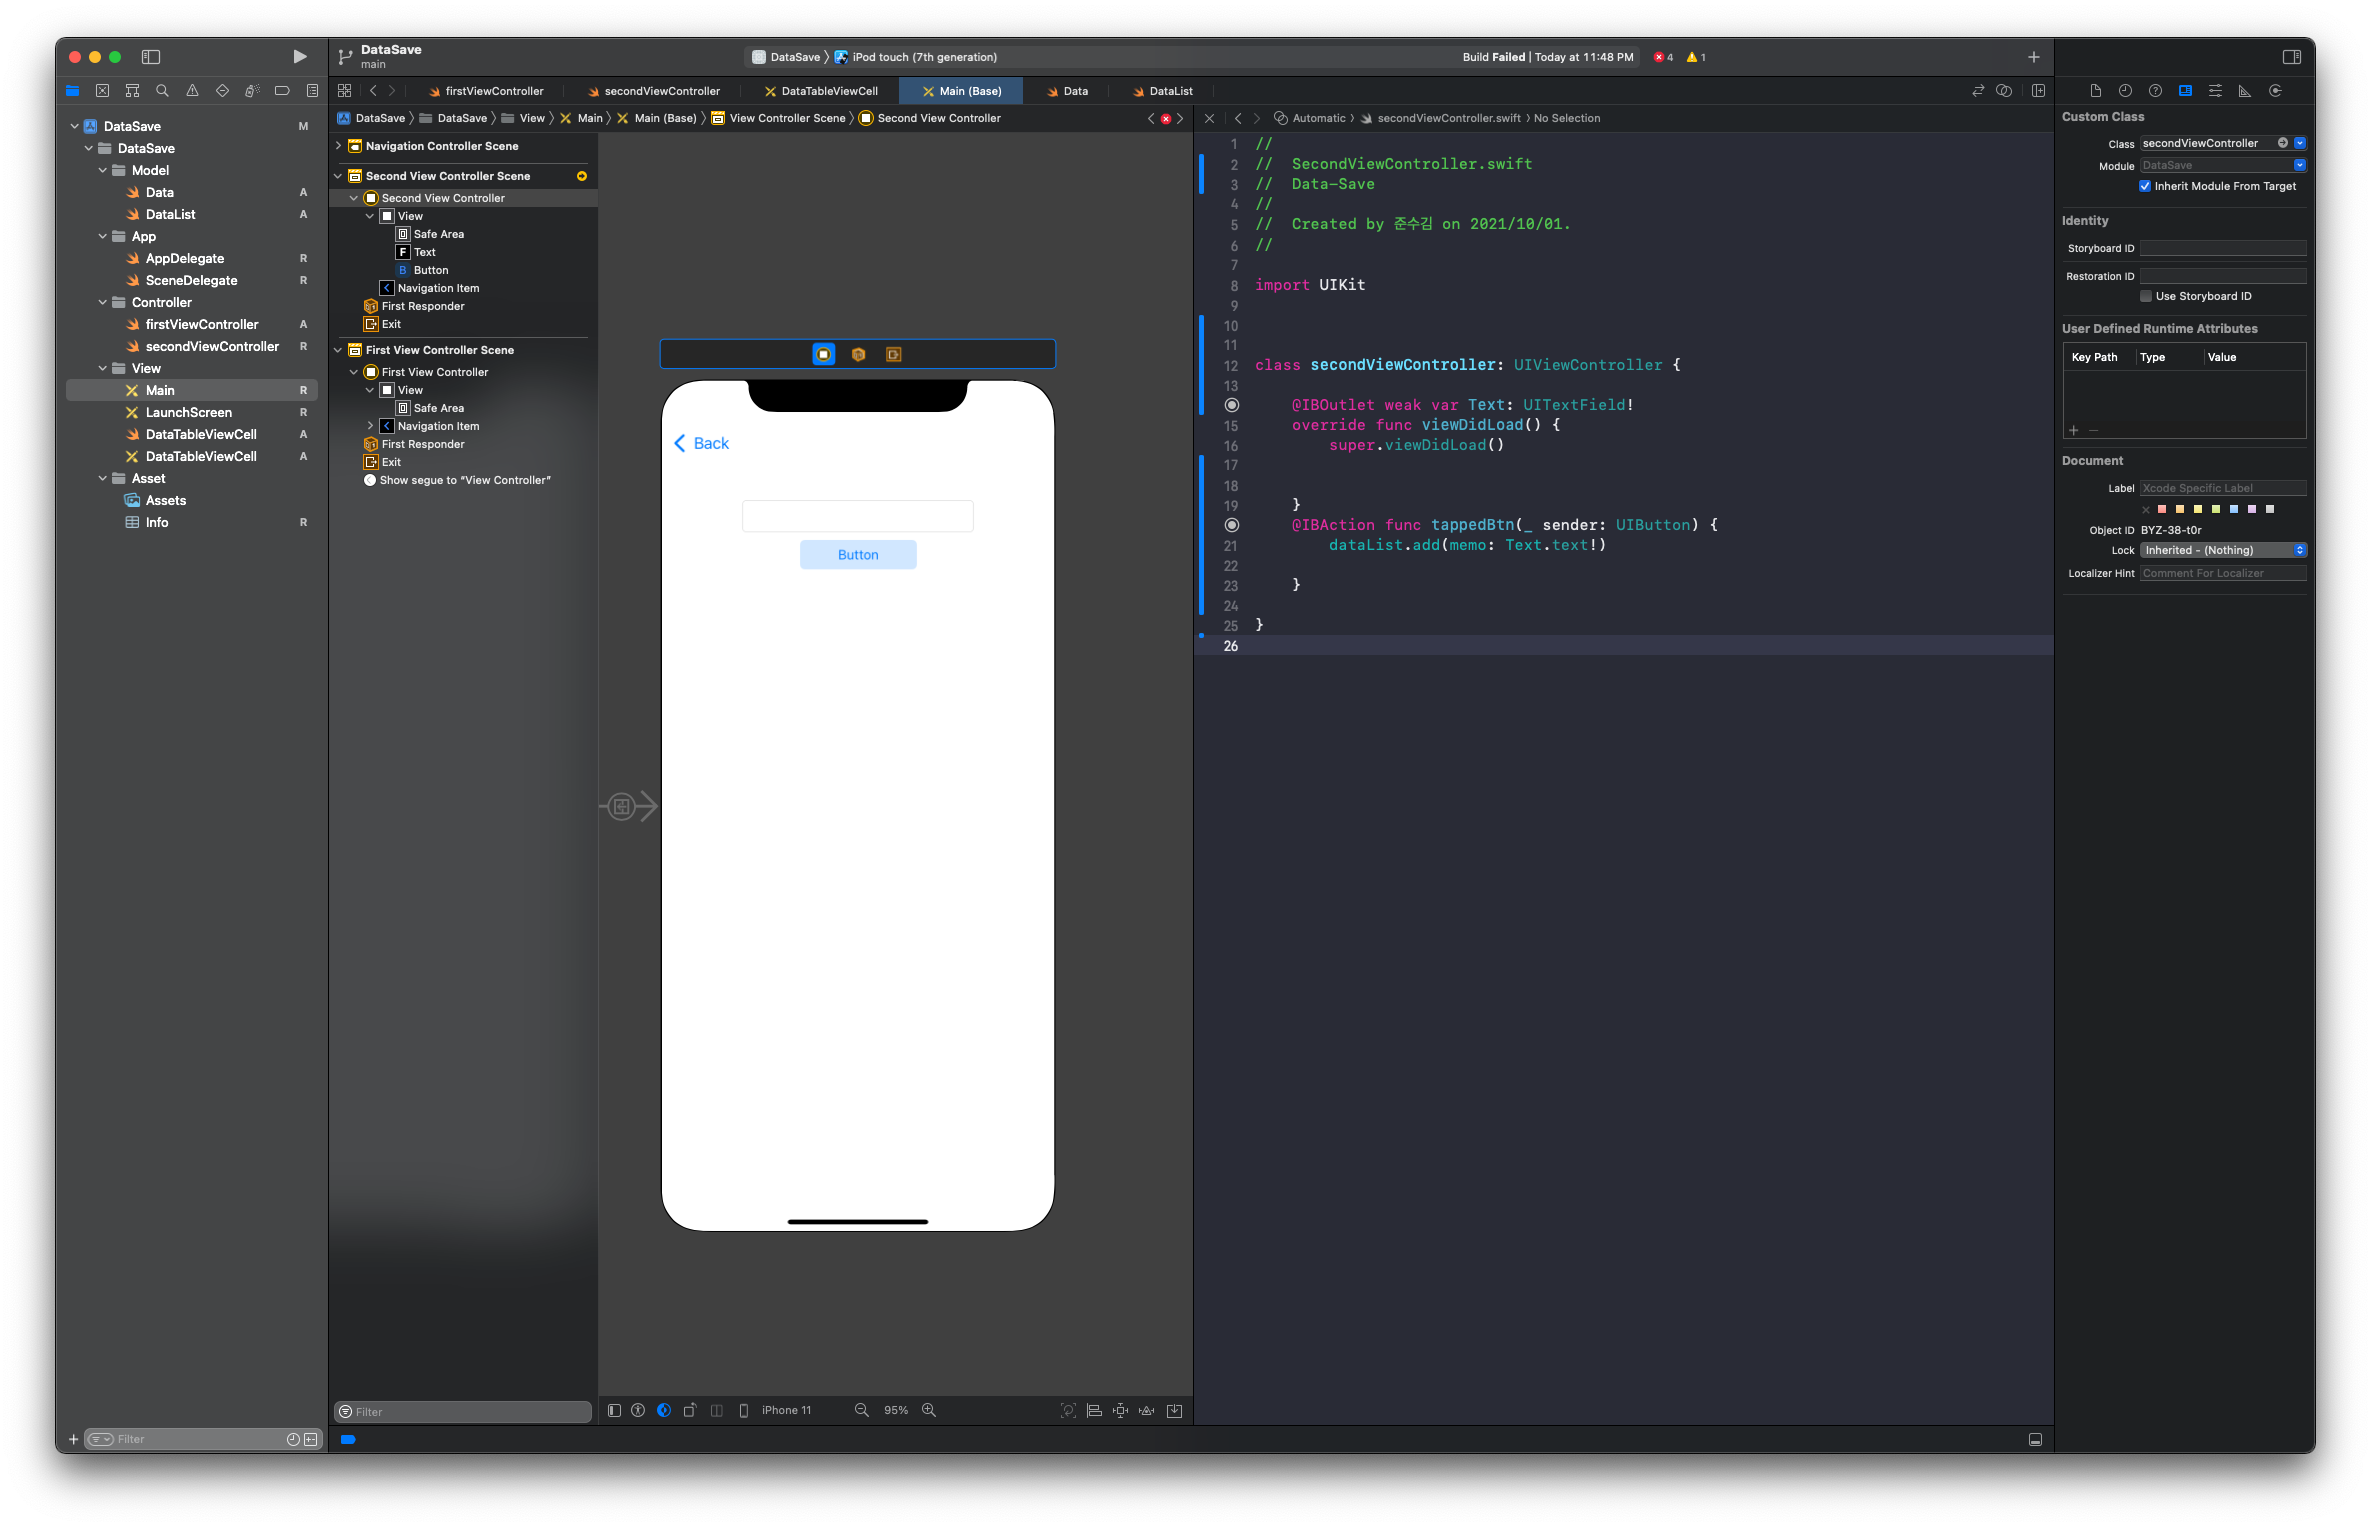
4. Storyboard에 가서 각 ViewController을 해당 Class와 연결하고 TextField와 Button을 만들고 연결해준다.
5. XIB파일로 가서 Title을 연결해준다.

깃허브

애플을 좋아하는 비전공생