Tab Bar와 Navigation을 이용해서 오늘의 집 간단한 클론코딩해보기. - 사진은 background Color로 대체
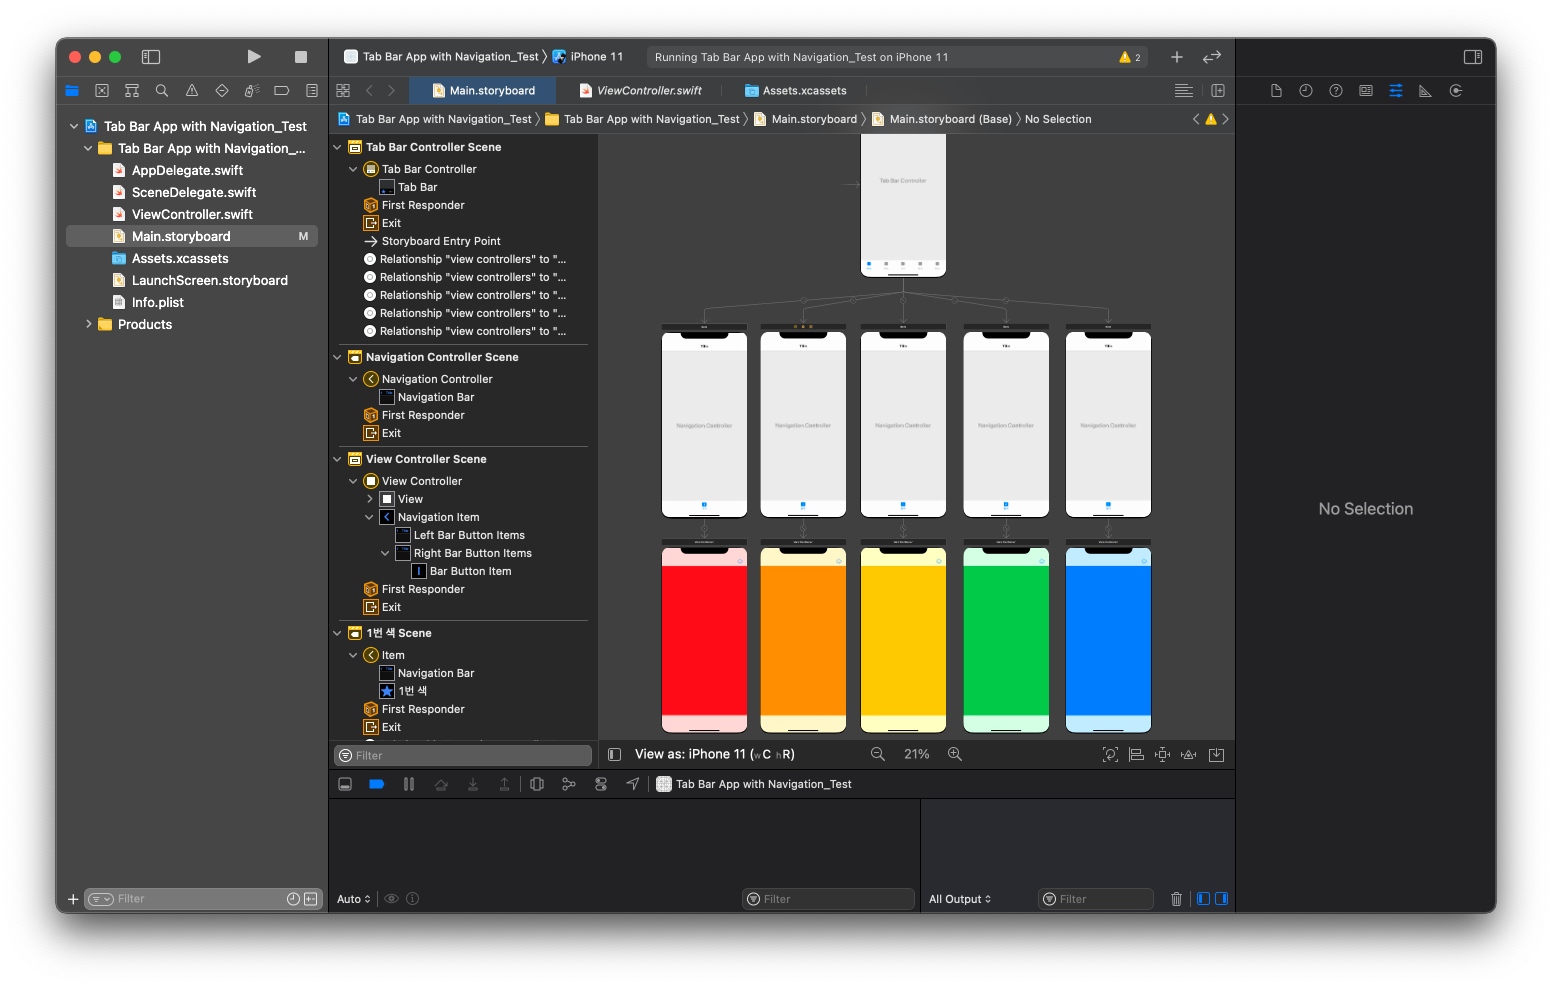
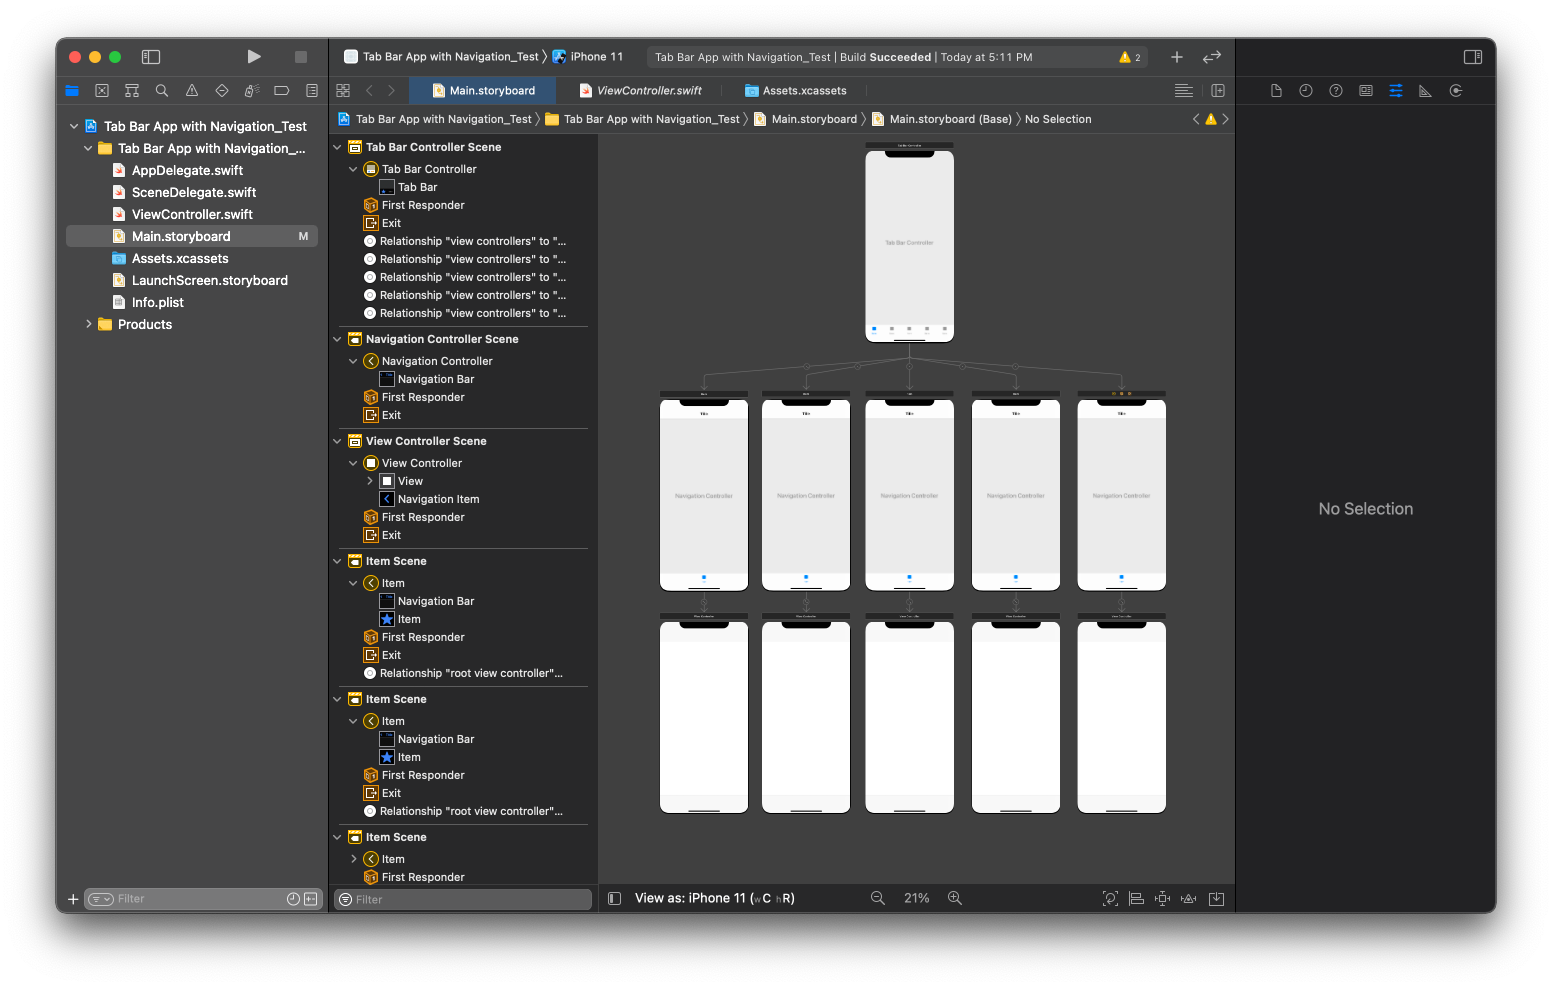
[완성된 스토리보드 상태]
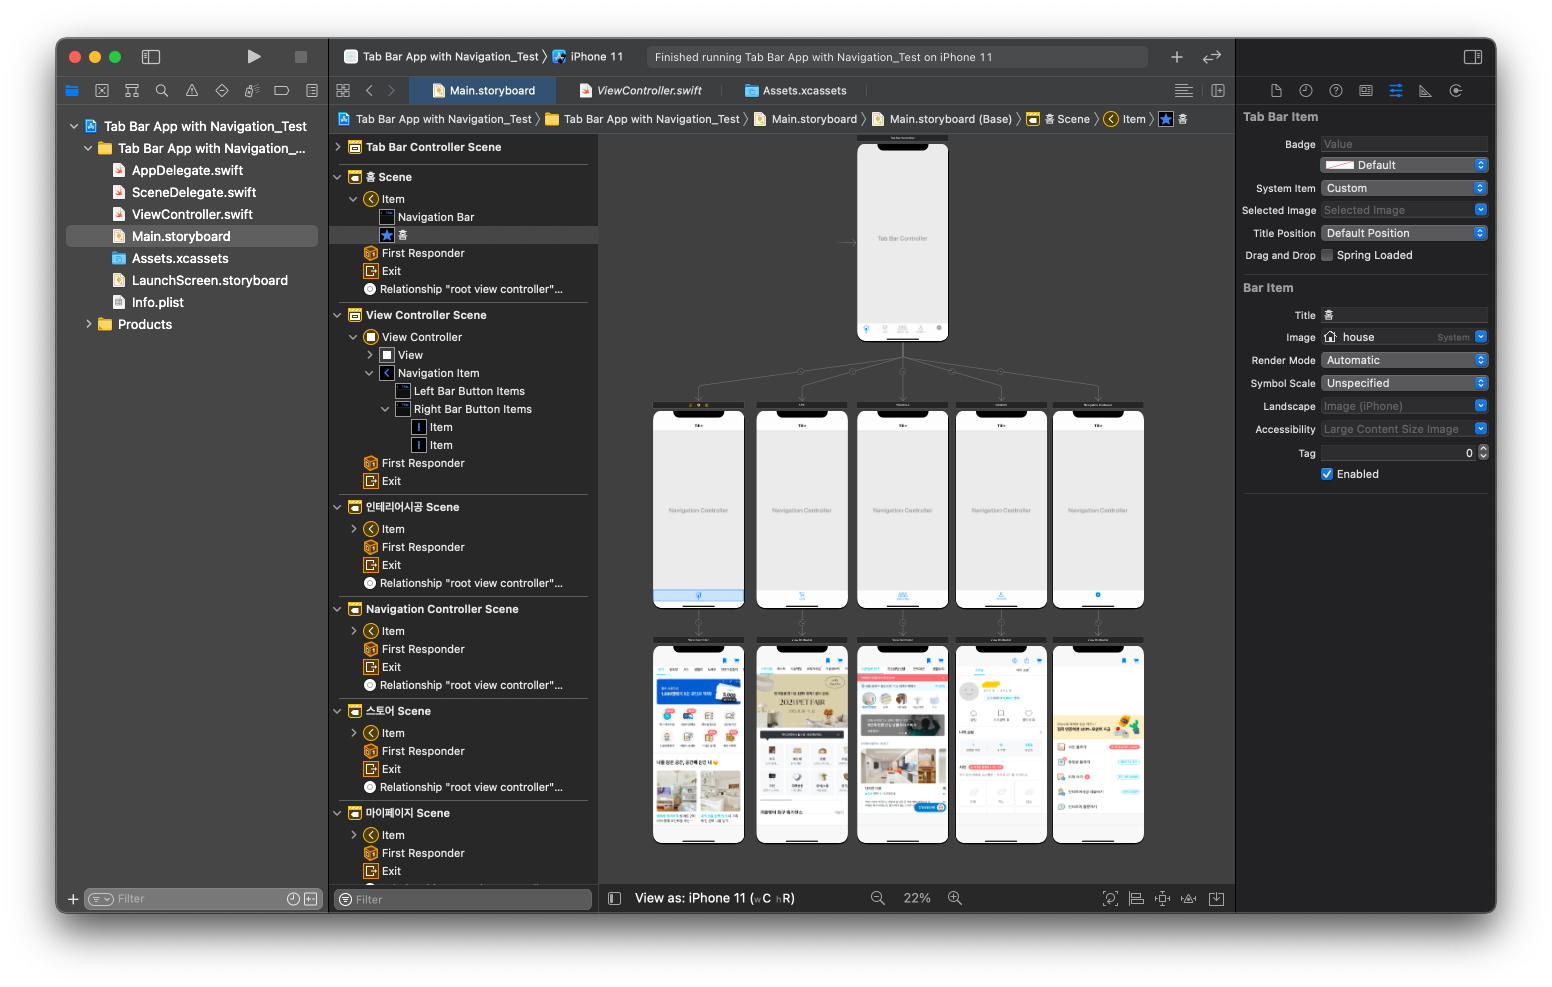
[오늘의 집 완성상태]
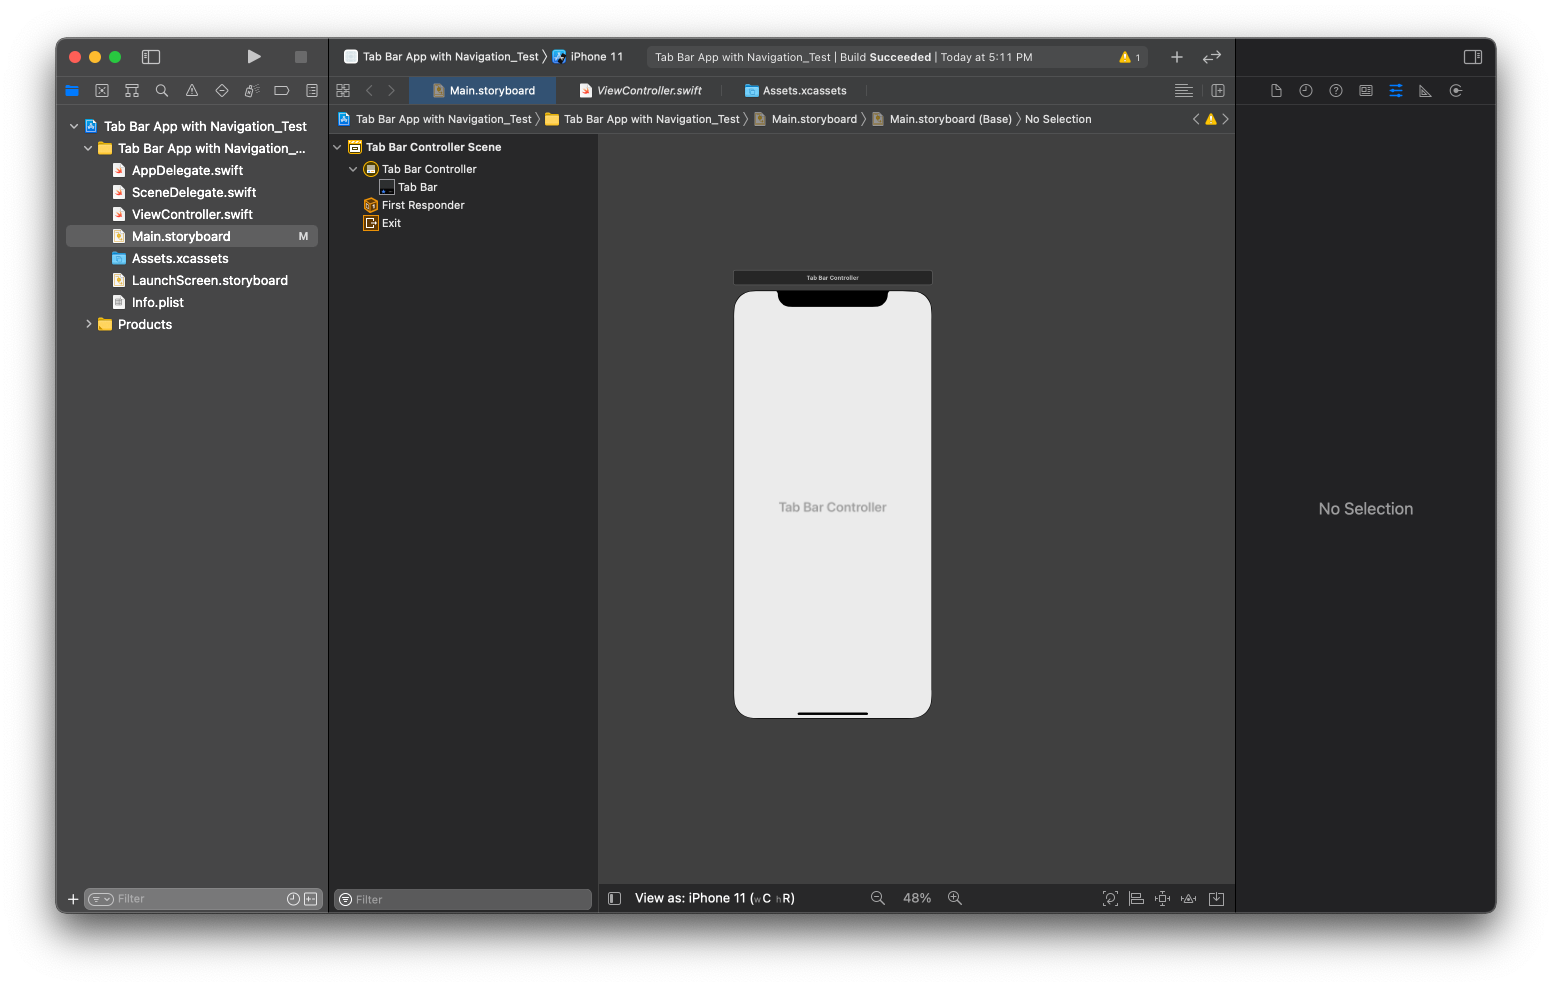
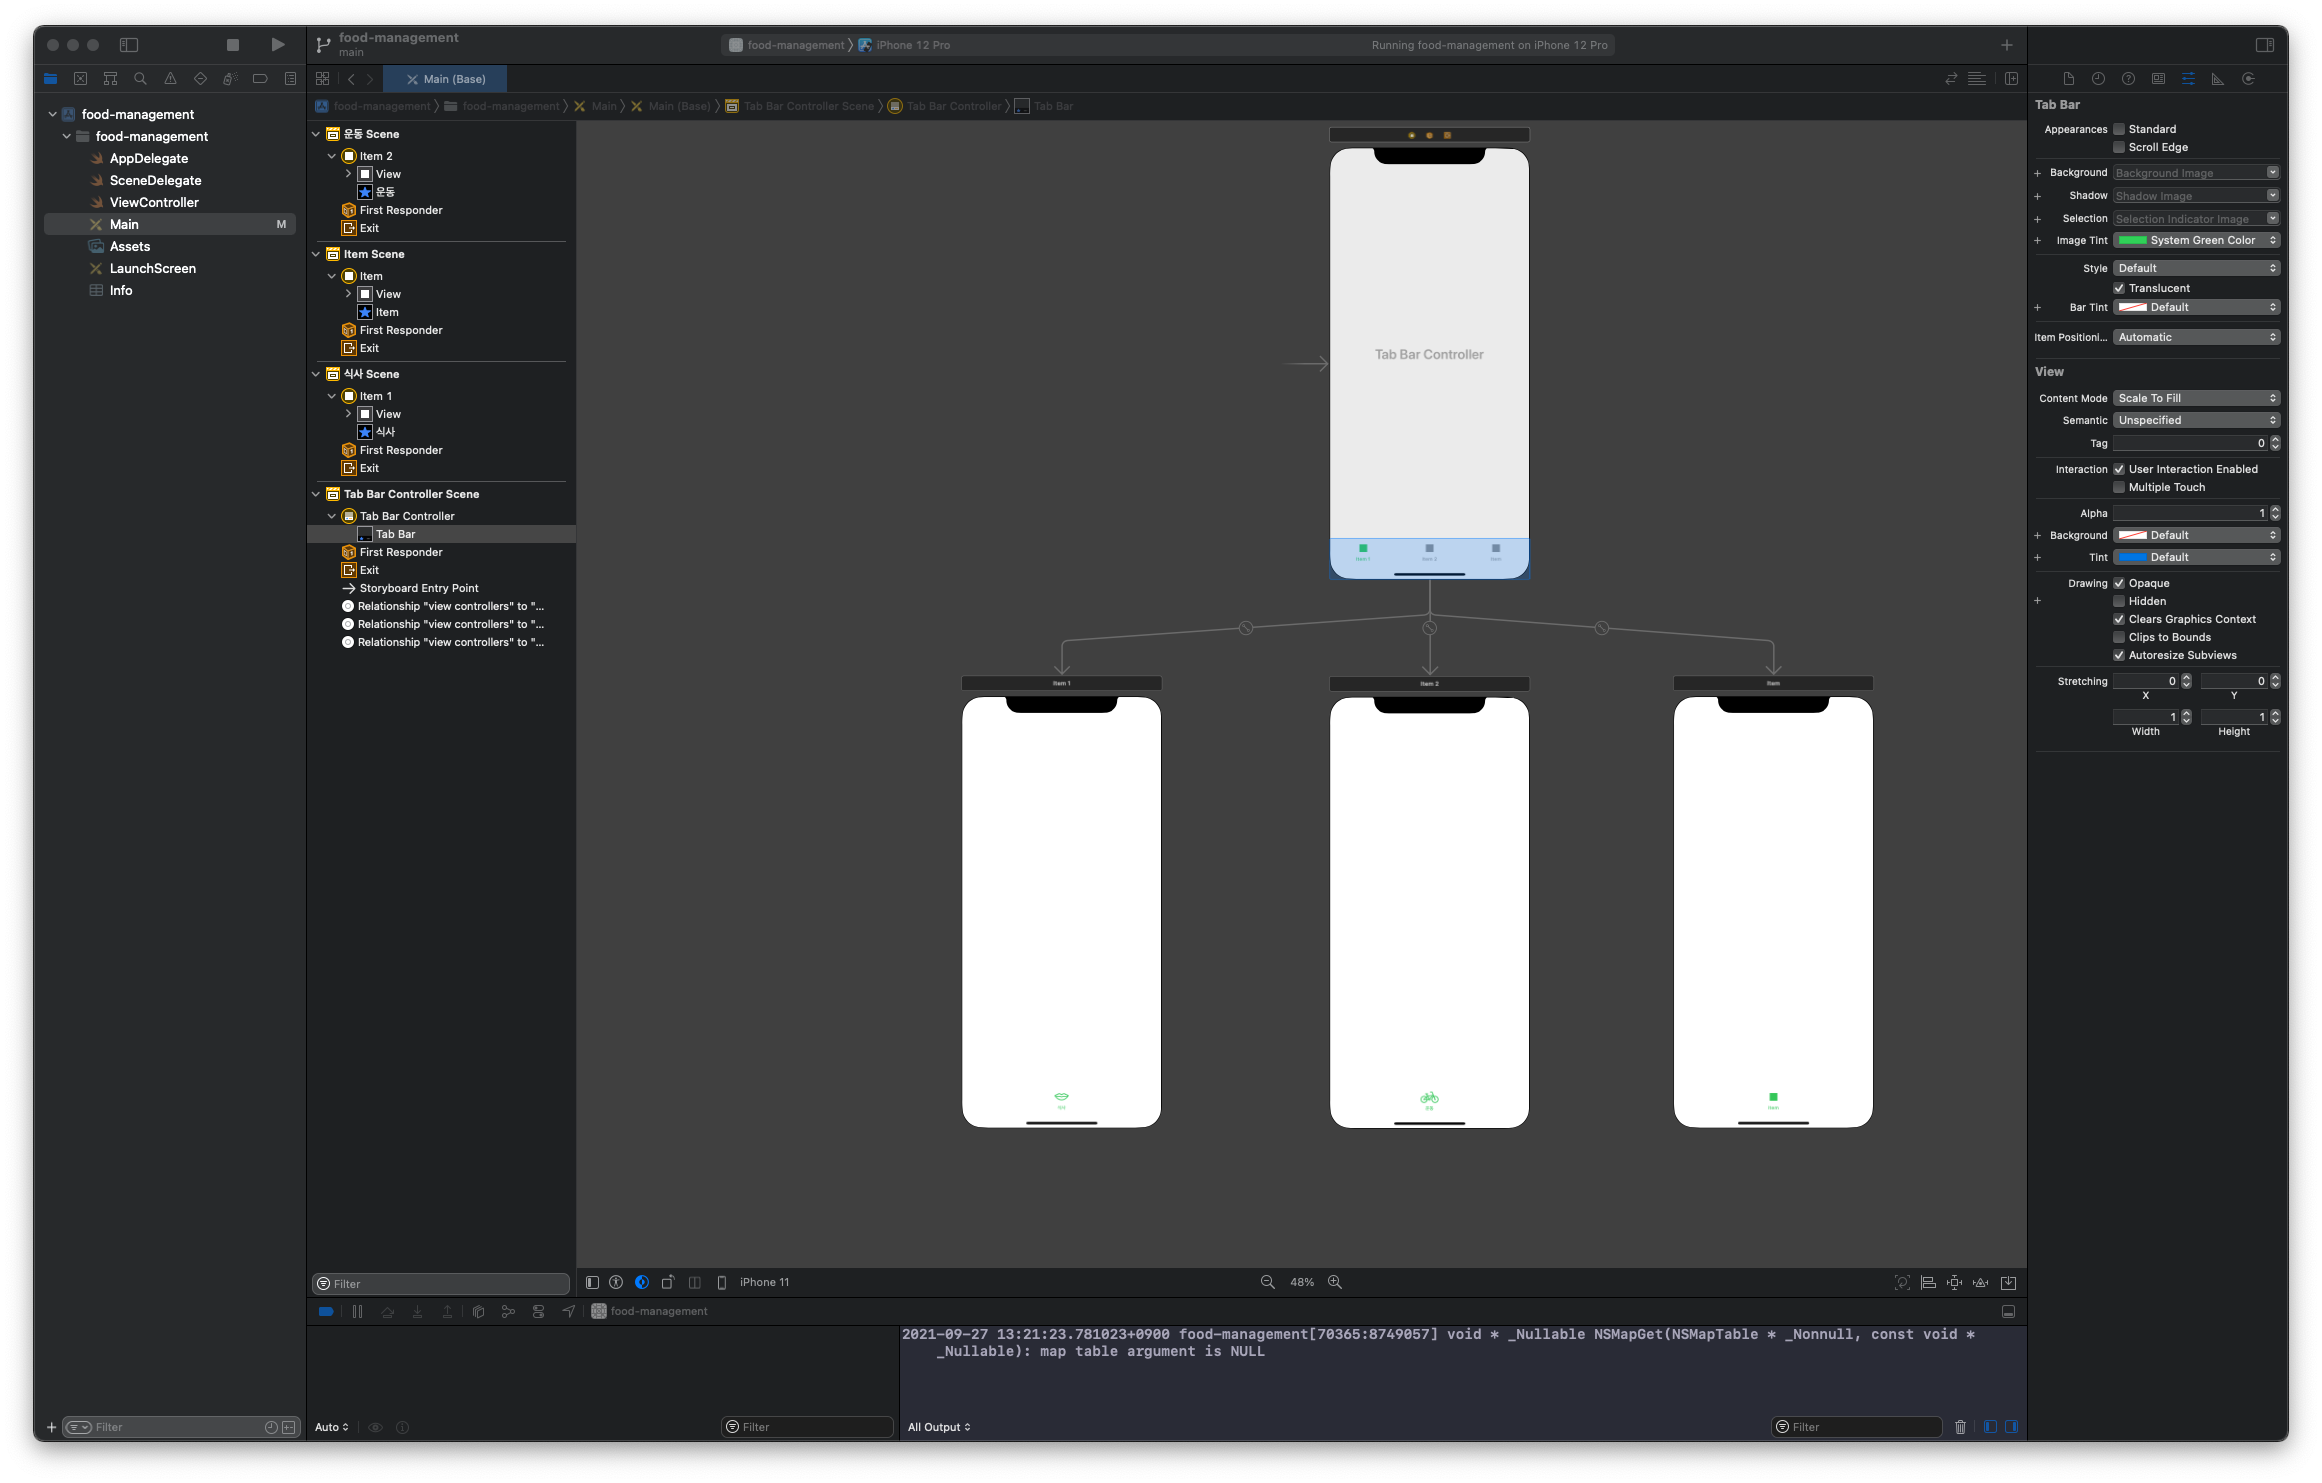
1. Cmd + Shift + l을 누르고 Tab Bar Controller 선택한뒤 Tab Bar Controller를 제외한 2개의 View를 삭제한다.
2. Cmd + Shift + l을 누르고 Navigation Controller 선택한뒤 Navigation Controller를 제외한 1개의 View를 삭제한다. 그리고 총 5개를 복사해서 일렬로 정렬한다.
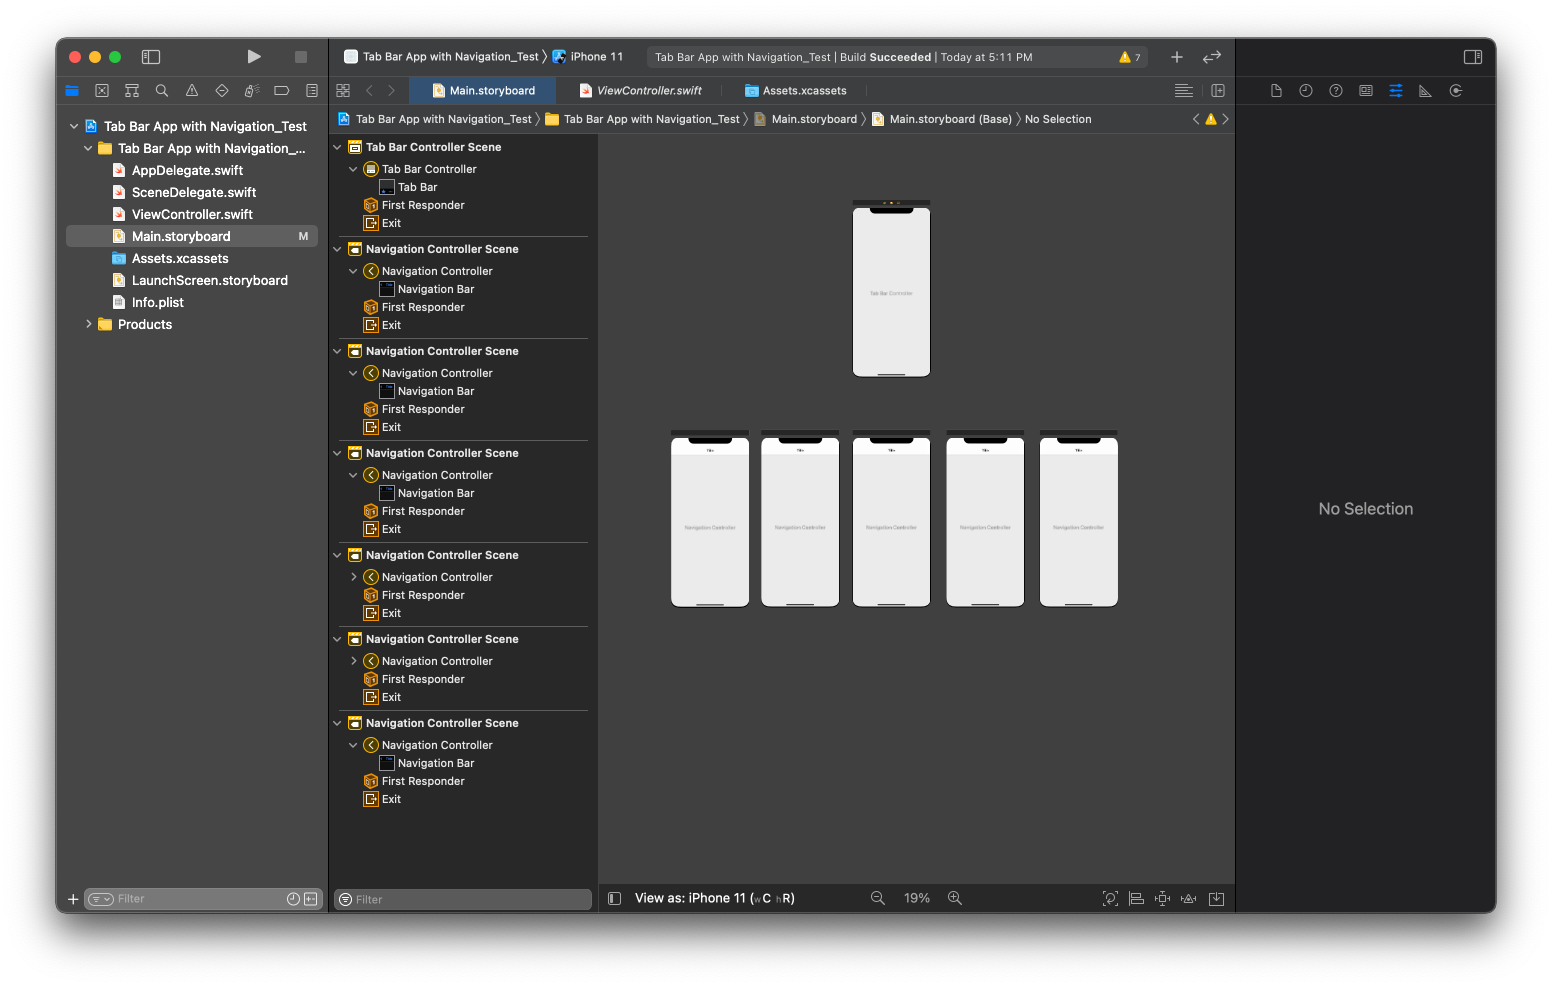
3. Cmd + Shift + l을 누르고 View Controller 선택한다. 그리고 View Controller 총 5개를 복사해서 일렬로 정렬한다.
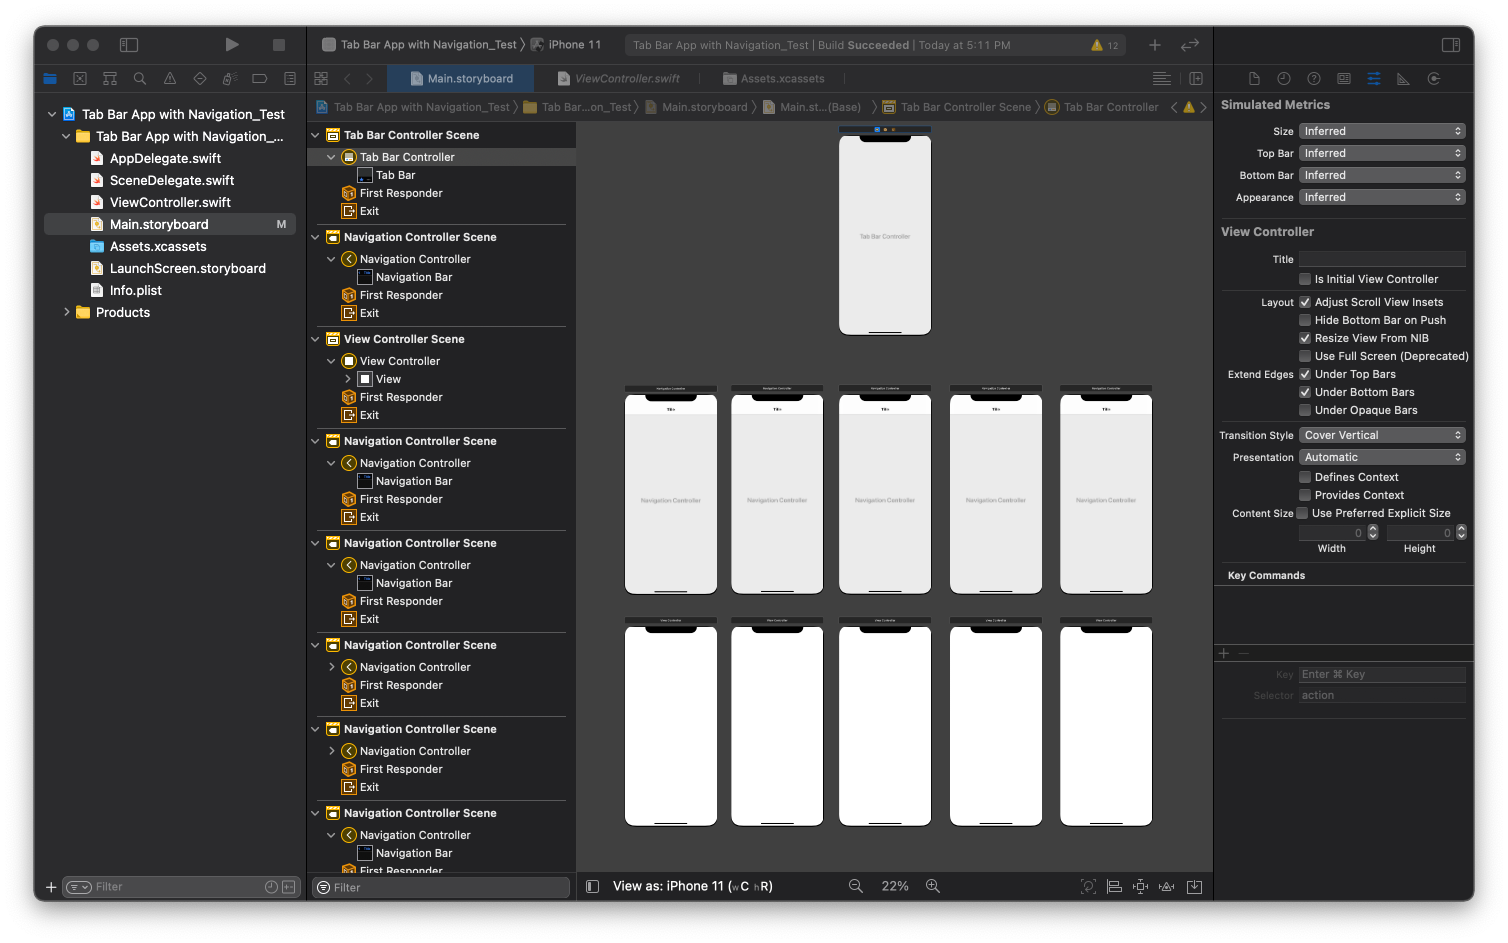
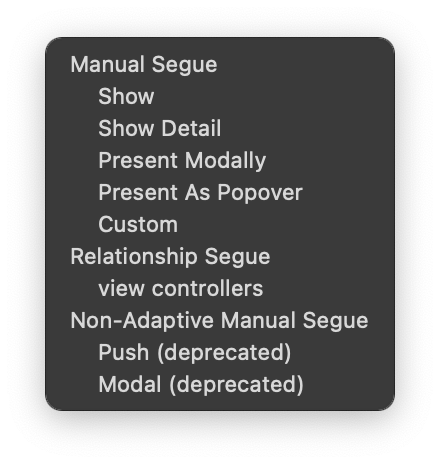
4. Tab Bar Controller을 먼저 클릭한후 Ctrl을 누른 상태에서 드래그해서 Navigation Controller에 연결해준 뒤, Relationship Segue - view controllers를 선택해준다. (5개의 Navigation Controller 모두에 똑같이 해준다.)

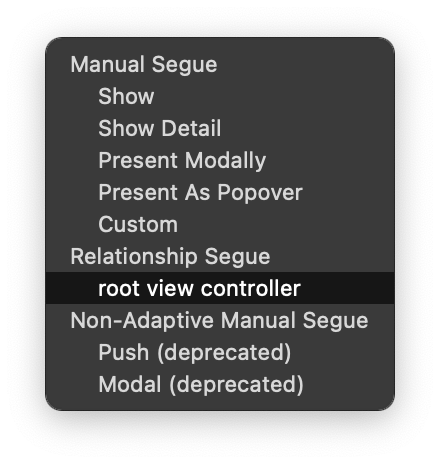
5. Navigation Controller을 먼저 클릭한후 Ctrl을 누른 상태에서 드래그해서 View Controller에 연결해준 뒤, Relationship Segue - root view controllers를 선택해준다. (5개의 View Controller 모두에 똑같이 해준다.)
6. Navigation Controller item을 클릭한 뒤 Tile과 image는 마음대로 선택한다.
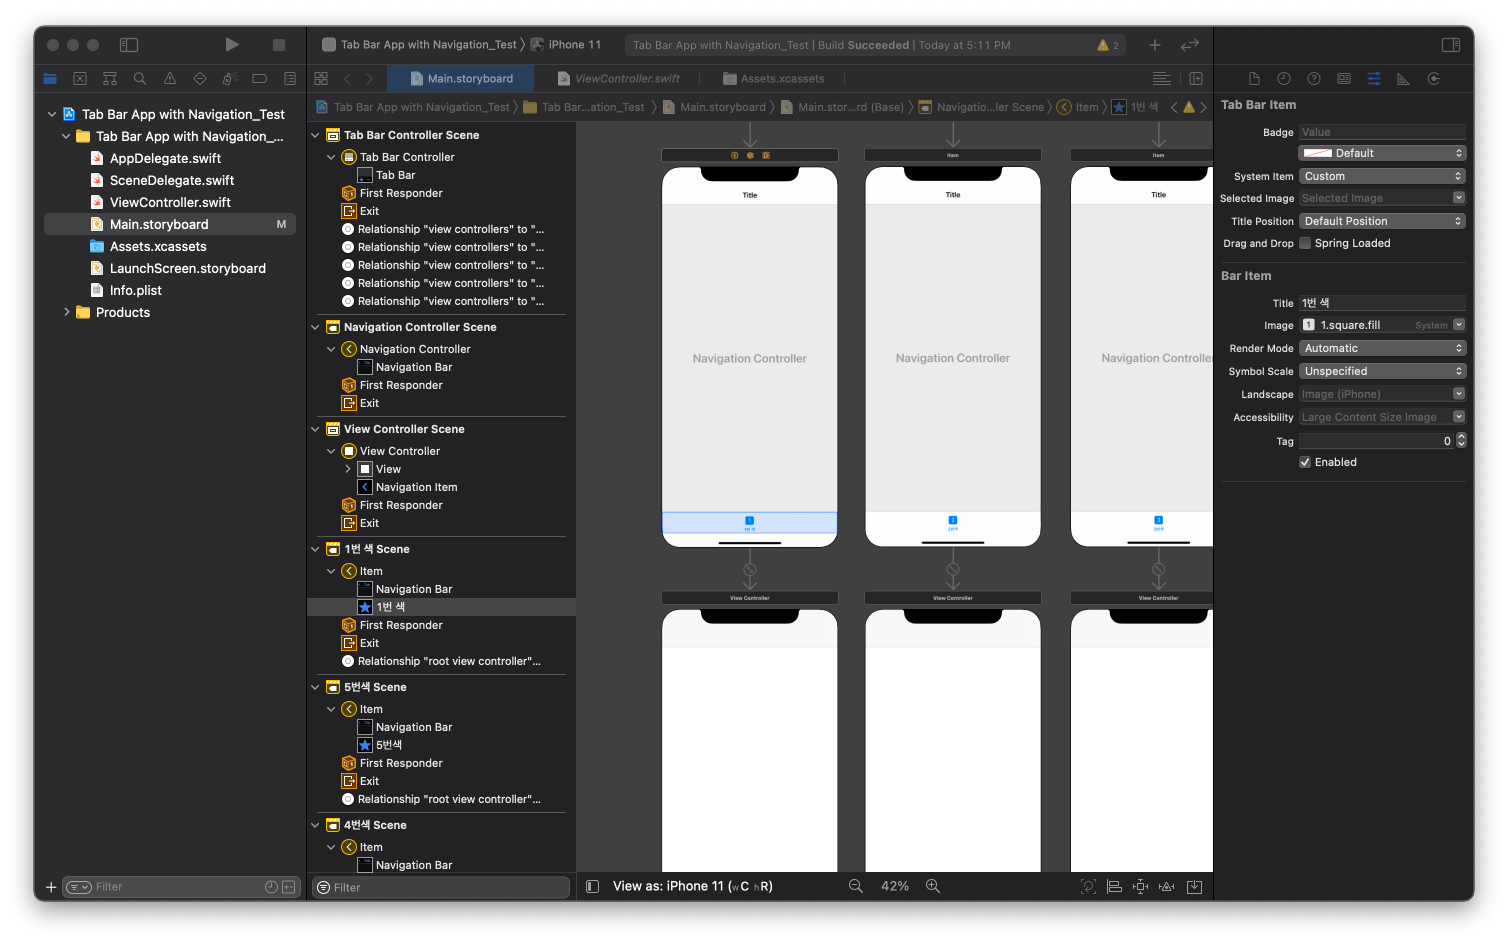
7. 우리는 사진대신 배경색을 바꾸기로 했으니깐 View Controller를 클릭하고 Background Color를 변경해준다.
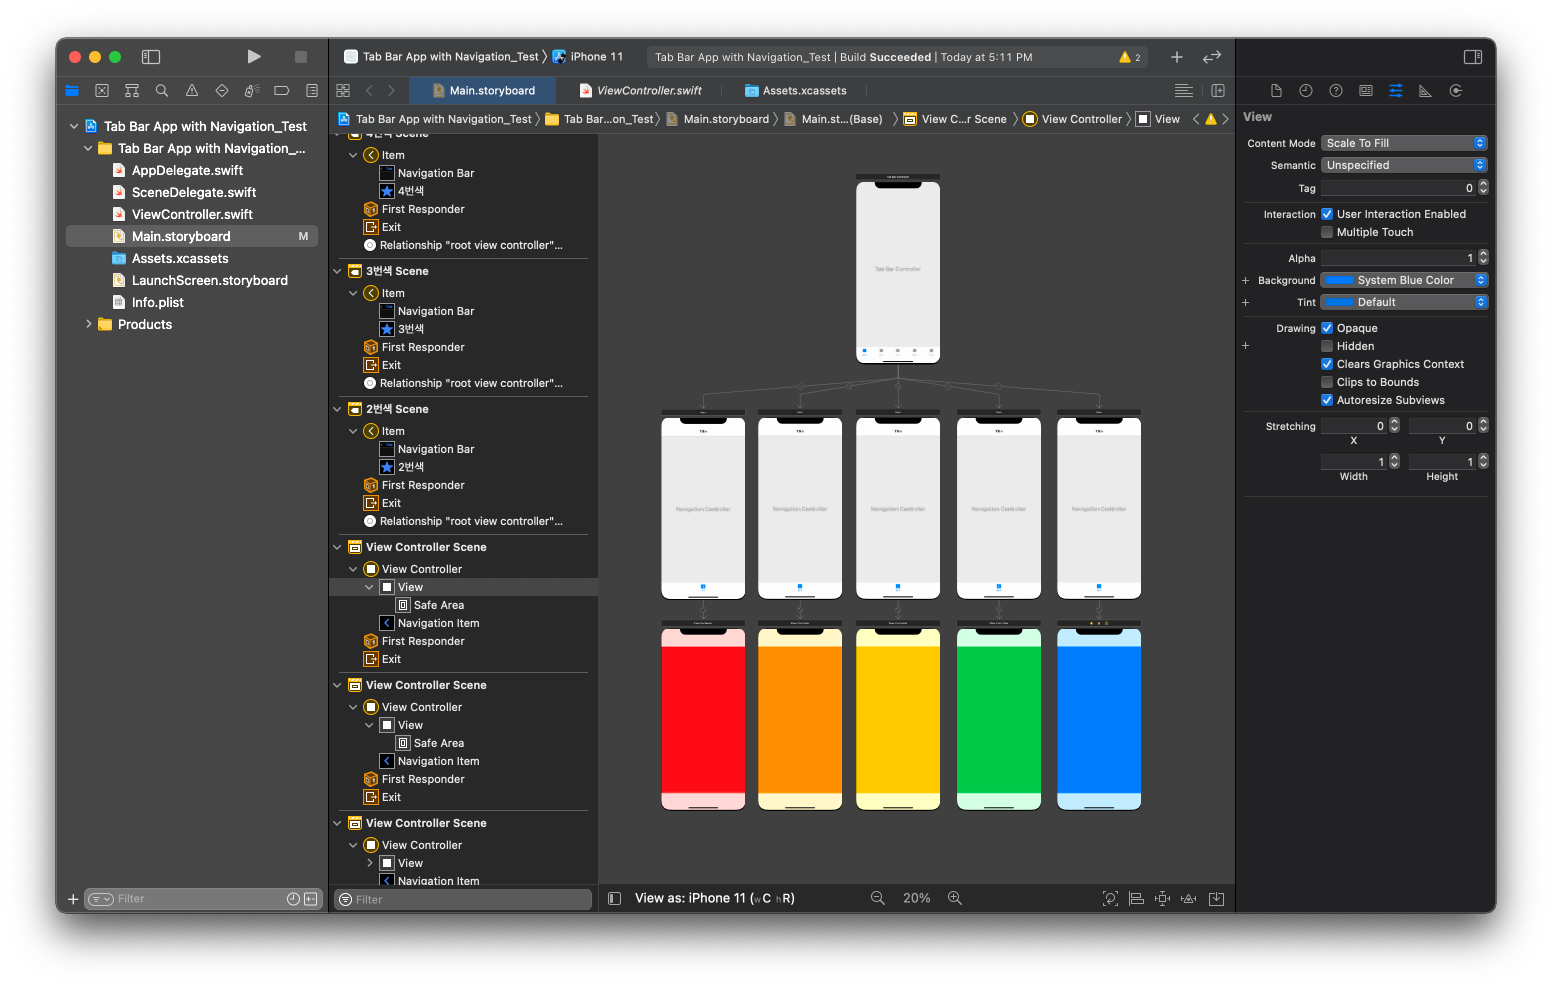
8. 그리고 우리는 bar button item을 이용해서 다른 버튼(작동x)을 만들어줄텐데 Cmd + Shift + l 를 드래그해서 View Controller 상단 우측 또는 좌측에 놓아준다.

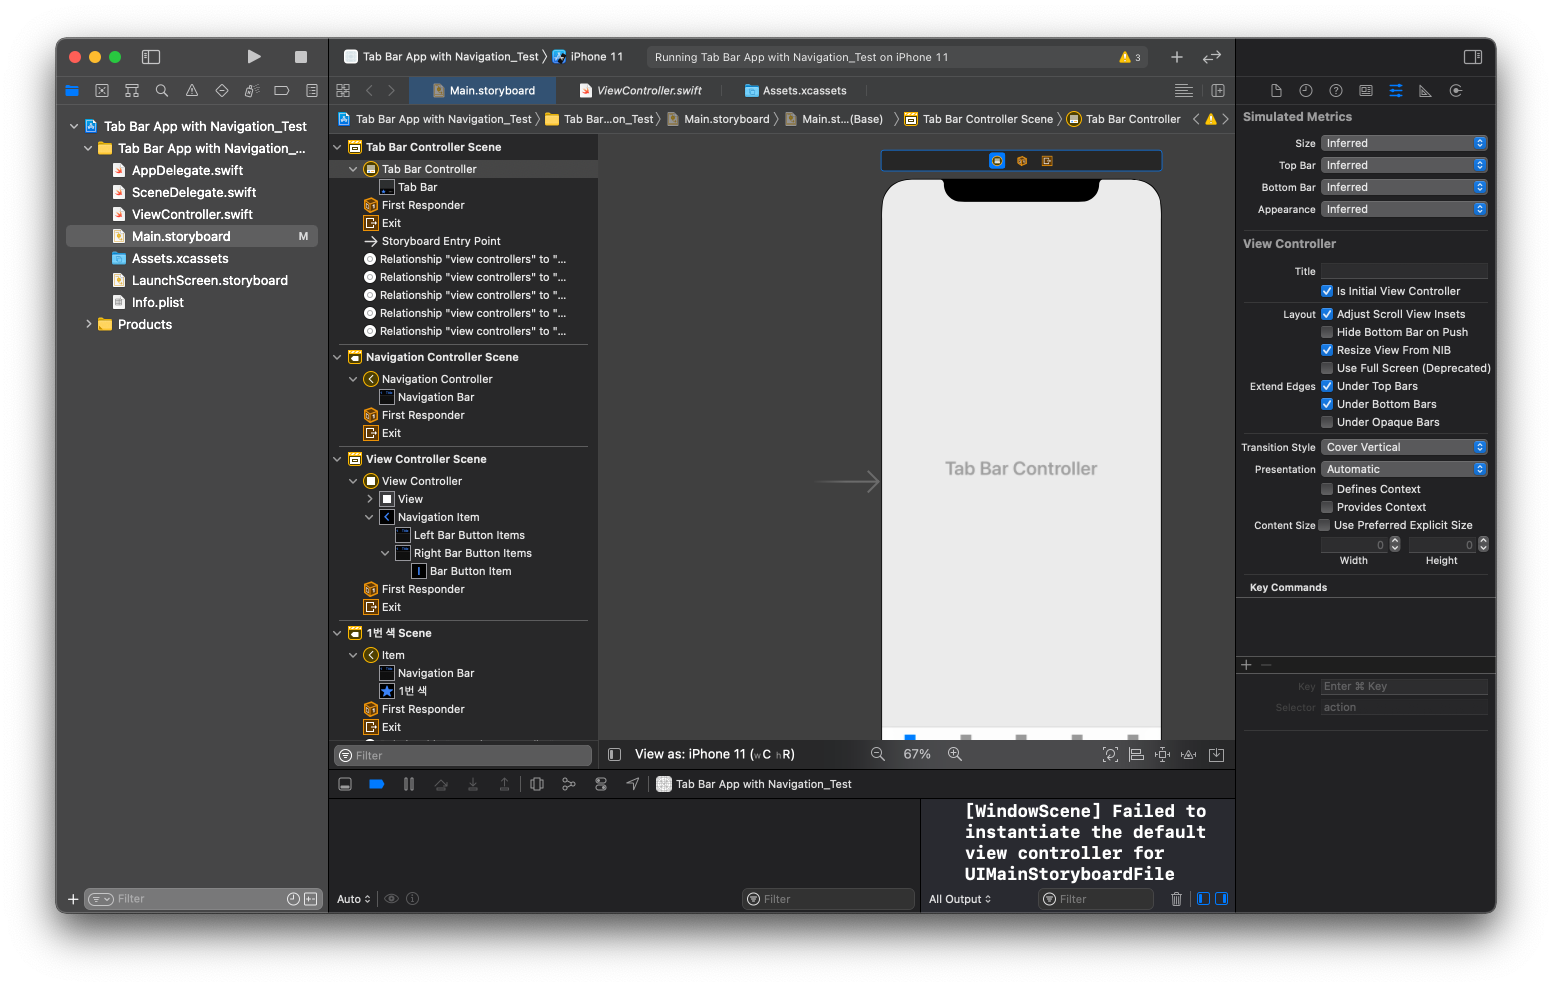
9. item을 클릭한 뒤 Tile과 image는 마음대로 선택해주고 Tab Bar Controller를 선택해준 뒤 Inspector Area에서 is initial View Controller를 선택해서 entry point를 찍어준다.
중요) 만약에 Tabbar Item의 색을 바꾸고 싶다면 - Tab Bar Controller - Inspetor Area - Tab Bar - Image Tint의 색을 바꾸어준다.
[참고]
YouTube - Create Tab Bar App with Navigation in Swift 5 (Xcode 11) - 2021 iOS

애플을 좋아하는 비전공생