How to Build a DIY Tufting Frame for Beginners
Tufting has exploded in popularity over the past few years, transforming from a niche textile craft into a beloved creative hobby for artists and DIY enthusiasts worldwide. Social media feeds overflow with vibrant rugs, wall hangings, and custom textile art that inspire beginners to pick up a tufting gun and start creating. However, many newcomers quickly discover a significant barrier to entry: the cost and availability of quality tufting frames. Commercial frames can be expensive and often come in standard sizes that don't suit every project or workspace. The solution lies in building your own custom tufting frame, a surprisingly straightforward project that requires minimal woodworking experience and basic materials. Creating a DIY frame not only saves money but also allows you to design dimensions perfectly suited to your creative vision and available space. This guide walks you through everything you need to know, from selecting the right materials and tools to assembling a sturdy, beginner-friendly frame. We'll cover essential safety considerations, provide detailed step-by-step instructions, and share practical tips to help you start tufting successfully on your handmade frame.
Why Build Your Own Tufting Frame?
Commercial tufting frames typically range from several hundred to over a thousand dollars, placing them out of reach for many beginners who want to explore the craft without major financial commitment. Building your own frame costs a fraction of that amount, often under fifty dollars depending on materials you choose and what you already have available. Beyond the immediate savings, a DIY tufting frame approach gives you complete control over dimensions and features. Perhaps you're working in a small apartment and need a compact frame, or maybe you're planning large statement pieces that require an oversized setup. Store-bought options force you into standard sizes, but a custom build adapts to your exact needs. This flexibility extends to height adjustments, portability features, and reinforcement placement based on how you plan to work. For beginners especially, creating your own frame demystifies the equipment and builds confidence in understanding how tufting mechanics actually work. You'll know every joint and corner intimately, making adjustments and repairs straightforward rather than intimidating. The construction process itself requires no advanced carpentry skills, just careful measuring and basic assembly techniques that anyone comfortable with a drill can master in an afternoon.
Essential Materials for Your DIY Tufting Frame
The foundation of any reliable tufting frame starts with selecting the right wood. For beginners, standard pine or spruce lumber from any home improvement store works perfectly well and remains budget-friendly. You'll need four pieces for the frame perimeter: two longer pieces for the sides and two shorter pieces for top and bottom. A common beginner-friendly size uses 1x3 inch boards creating a 3-foot by 4-foot frame, though you can adjust based on your workspace. Avoid thin, flimsy wood that might warp under fabric tension; stick with boards at least three-quarters of an inch thick. For additional stability, consider adding corner braces or a center support bar if building frames larger than four feet in any direction. The essential tools required are surprisingly minimal: a drill with basic bits, wood screws (2-inch length works well), a saw if cutting your own lumber, a measuring tape, a carpenter's square for checking right angles, and sandpaper to smooth rough edges that might snag fabric. Most beginners already own these tools or can borrow them easily. For accessories, you'll need a heavy-duty staple gun with quarter-inch or three-eighths-inch staples to attach your tufting cloth, and wood glue adds extra joint strength though screws alone suffice. A pencil for marking measurements and a level helps ensure your frame sits properly when mounted or propped for working. Optional but helpful additions include wood stain or sealant to protect your frame from moisture and wear, and felt pads if you plan to lean it against walls frequently.
Step-by-Step Guide to Building Your Frame
Step 1: Measuring and Cutting the Wood
Before making any cuts, decide on your frame dimensions based on the projects you envision creating. Beginners typically find success starting with a manageable 3-foot by 4-foot frame, which accommodates small rugs and wall hangings without overwhelming limited workspace. Measure your available area carefully, remembering that you'll need clearance around the frame for comfortable movement while tufting. Mark your measurements on the lumber using a pencil and carpenter's square to ensure perfectly straight lines. Double-check every measurement before cutting, following the old carpenter's wisdom to measure twice and cut once. If you're having the hardware store cut your lumber, bring exact dimensions written clearly on paper. When cutting yourself, use a handsaw or circular saw with steady, controlled movements, securing the wood firmly to prevent shifting. After cutting all four pieces, lay them out on a flat surface in frame formation to verify that opposite sides match exactly in length and that corners align at proper right angles.
Step 2: Assembling the Frame
Start assembly by positioning two adjacent pieces to form a corner, ensuring they meet at a perfect 90-degree angle verified with your carpenter's square. Apply wood glue to the joining surfaces if you're using it, then drill pilot holes through the face of one board into the end of the other to prevent wood splitting. Drive 2-inch wood screws through these pilot holes, using at least two screws per corner for stability. Work your way around the frame, attaching each corner with the same careful attention to square angles. As you work, periodically check that the frame remains flat against your work surface and hasn't twisted. Wear safety glasses throughout the drilling and screwing process to protect against wood chips, and keep fingers well clear of drill bits and saw blades. For frames larger than four feet, reinforce the structure by adding a center support bar that spans the middle, attached with the same pilot hole and screw technique. Once assembled, sand all edges and surfaces smooth to eliminate splinters that could catch on fabric or scratch your hands during use.
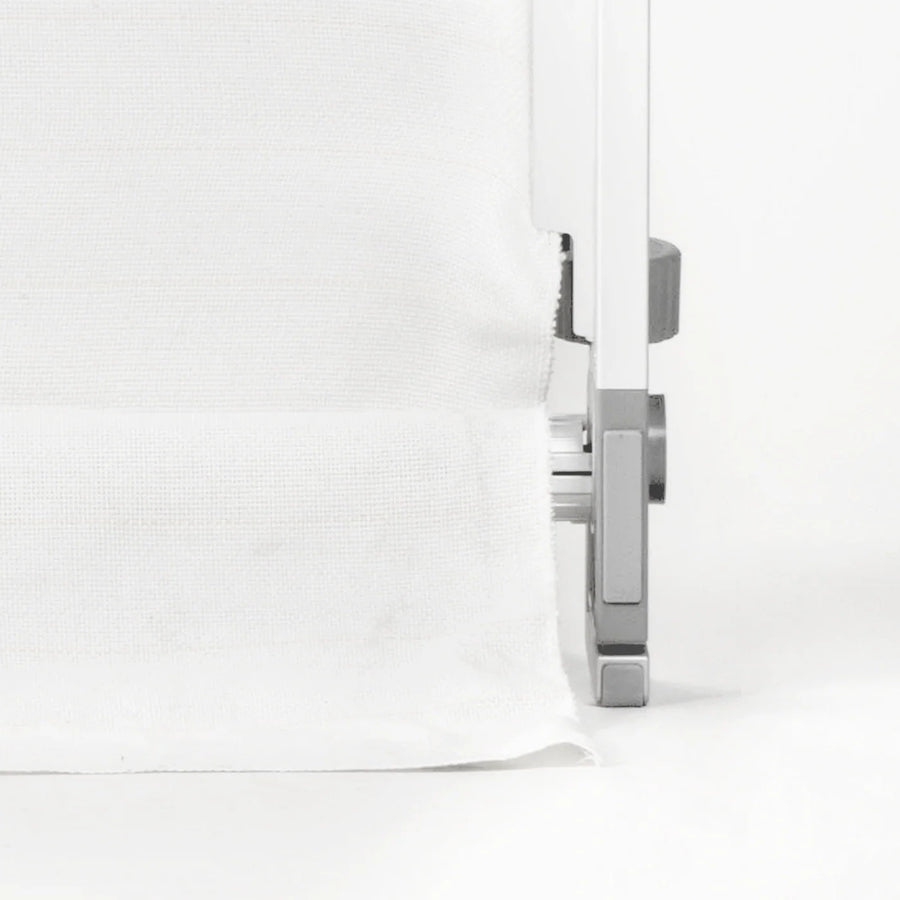
Step 3: Adding the Fabric Support
Select tufting cloth specifically designed for this craft, typically a monk's cloth or primary tufting backing fabric with an open weave that allows your tufting gun needle to penetrate easily. Cut your fabric several inches larger than your frame on all sides to provide adequate material for wrapping and stapling. Lay the frame face-down on a clean floor, then drape the fabric over the back, centering it carefully so excess extends evenly around all edges. Starting at the center of one long side, pull the fabric taut and fire a staple through the fabric into the frame edge, positioning it about half an inch from the outer edge. Move to the opposite side's center point, pull the fabric firmly to create even tension across the frame, and staple there. Repeat this process on the two remaining sides, creating a cross pattern of tension points. Now work outward from each center staple toward the corners, adding staples every two inches while maintaining consistent tension. The fabric should feel drum-tight when you tap it, with no sagging or loose spots. At corners, fold the fabric neatly like wrapping a gift, trimming excess bulk if necessary, and secure with additional staples. Check tension one final time before beginning your tufting work, as proper tension prevents needle jams and ensures clean, even loops.

Tips for Successful Tufting on Your DIY Frame
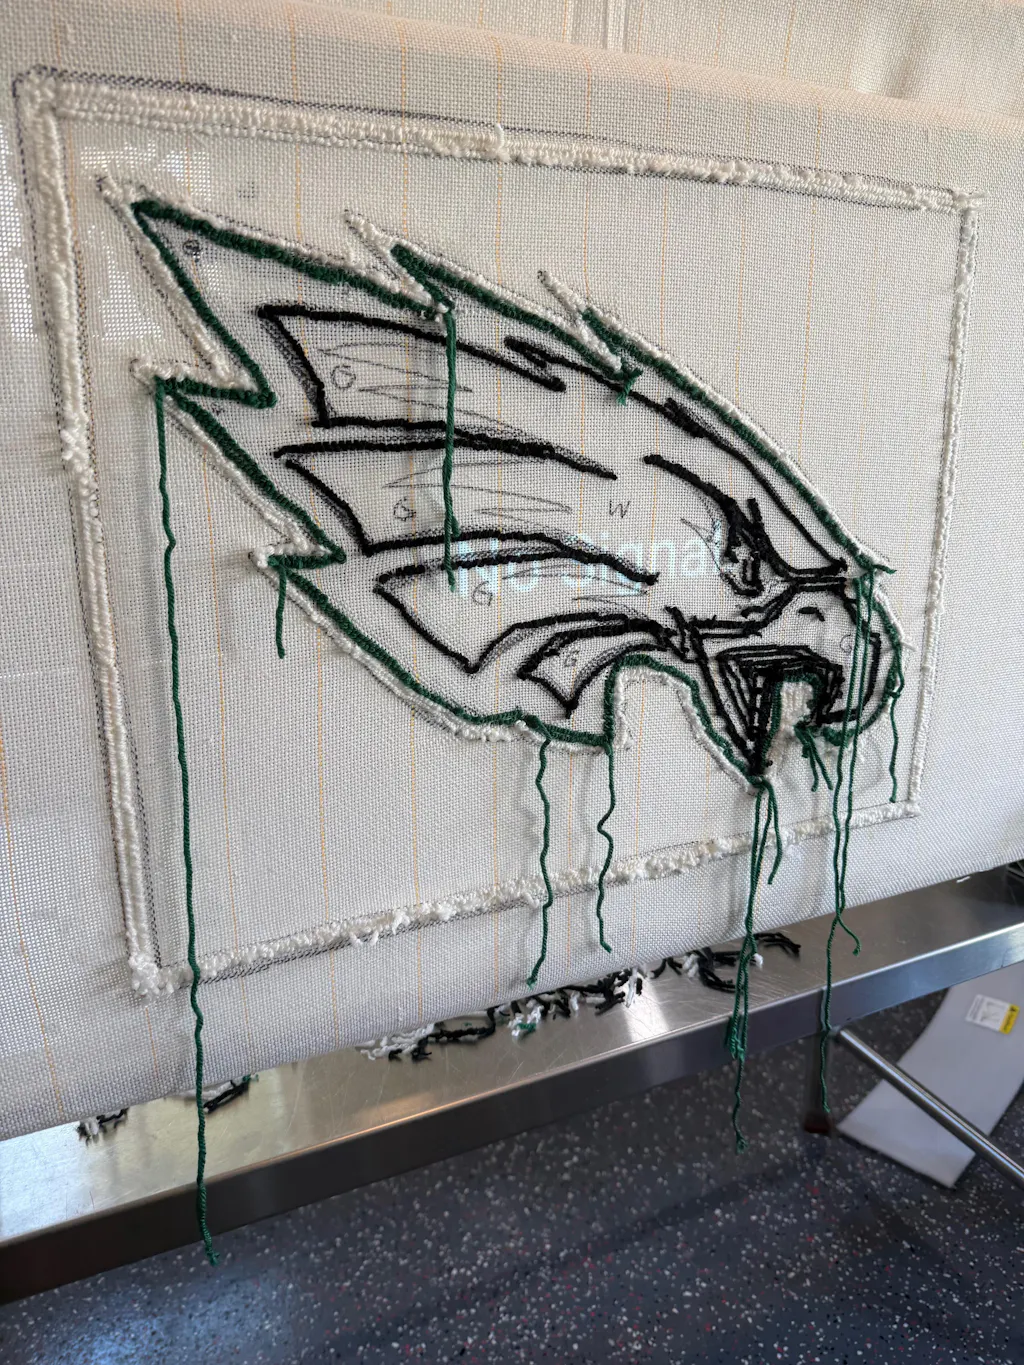
Once your frame is built and fabric mounted, maintaining proper tension becomes your most critical ongoing task. Check fabric tightness before each tufting session by tapping the surface and listening for that drum-like resonance that indicates ideal tension. Loose fabric causes loops to pull through inconsistently and creates frustrating jams in your tufting gun, while overly tight fabric can distort your design and strain the frame joints. If you notice sagging after extended use, simply add a few strategic staples in the loose areas, pulling the fabric taut before securing. When working with cut pile techniques, keep your gun perpendicular to the fabric surface and maintain consistent pressure as you move across your design. Loop pile requires slightly less pressure and benefits from slower, more deliberate movements to ensure uniform loop height. Many beginners struggle with their gun skipping or creating uneven rows, which usually stems from working too quickly or holding the gun at inconsistent angles. Practice on scrap fabric stretched over a small section before tackling your main project. If you encounter persistent needle jams, check that your fabric weave isn't too tight for your needle size and verify that tension remains adequate throughout the working area. Clean your gun regularly according to manufacturer instructions, as yarn fiber buildup causes most mechanical issues. Whether you're using a Clawlab tufting gun or another brand, keeping the mechanism free of debris ensures consistent performance and extends the tool's lifespan. When switching between yarn weights or colors, test a small area first to ensure your settings produce the desired effect. Keep your workspace well-lit and take frequent breaks to step back and assess your progress from a distance, catching design issues before investing too much time in a problematic section.
Start Your Tufting Journey with Confidence
Building your own tufting frame transforms what initially seems like an expensive barrier into an accessible, empowering first step in your creative journey. The cost savings alone make DIY construction worthwhile, but the real value lies in understanding your equipment intimately and crafting something perfectly suited to your space and ambitions. You've learned that with basic lumber, simple tools, and careful attention to measurement and tension, anyone can create a professional-quality frame in just a few hours. Start with a modest size for your first build, perhaps that beginner-friendly 3-foot by 4-foot dimension, and allow yourself room to experiment and learn without pressure. As you gain confidence with both frame construction and tufting techniques, you can always build additional frames in different sizes or configurations. Remember that crafting safety remains paramount throughout every stage, from cutting lumber to operating your tufting gun, so work deliberately and protect yourself with appropriate safety gear. Most importantly, embrace the learning process with patience and curiosity. Every project teaches something new, whether about tension adjustment, design planning, or troubleshooting unexpected challenges. Your handmade frame represents more than assembled wood and fabric—it's the foundation for countless creative possibilities waiting to emerge through your unique artistic vision.
