
내가 사용할 수 있는 기능들의 조합이 뭐가 있을까를 고민하다가
서버 데이터 상태 관리에 용이한 React Query와
백엔드 서비스 Supabase를 결합한 프로젝트를 고안하게 되었습니다.
이번에는 TODO와 Image DragAndDrop 프로젝트를 구현했습니다!!
당연히 CI/CD가 되는 배포까지 완료!!
Supabase와 React Query를 함께 쓰면 어떤 이점이 있을까??

Supabase는 실시간 데이터베이스 업데이트를 지원하여 데이터 변경 사항을 즉시 반영할 수 있습니다.
React Query는 서버 상태를 관리하고 캐싱을 통해 효율적인 데이터 요청과 업데이트를 제공합니다.
즉 두 가지를 결합하면 실시간 데이터 반영과 효율적인 캐싱을 동시에 구현할 수 있어 성능과 사용자 경험이 향상됩니다!!!
Todo
코드 전체가 아닌 메인 ui부분과 todo, serverAction 코드만 작성했습니다.
설정을 어떻게 하고 supabase todo는 어떻게 했는지 주저리 주저리 하면 핵심이 흐려져서 패스...
TODO 개발 순서
- 전체적인 UI 개발
- server action 만들기
- Supabase연동 및 React Query 설정하기
- React query로 data들 CRUD하기
- Github action과 GCP Cloud Run을 이용해 CI/CD 배포하기
그리고 useMemo를 사용해서 리렌더링 최적화를 했습니다.
이렇게 하면 todos, search가 아니면 전에 사용했던 값을 재사용해서 filter링이 자주 필요한 todo에 유용합니다.
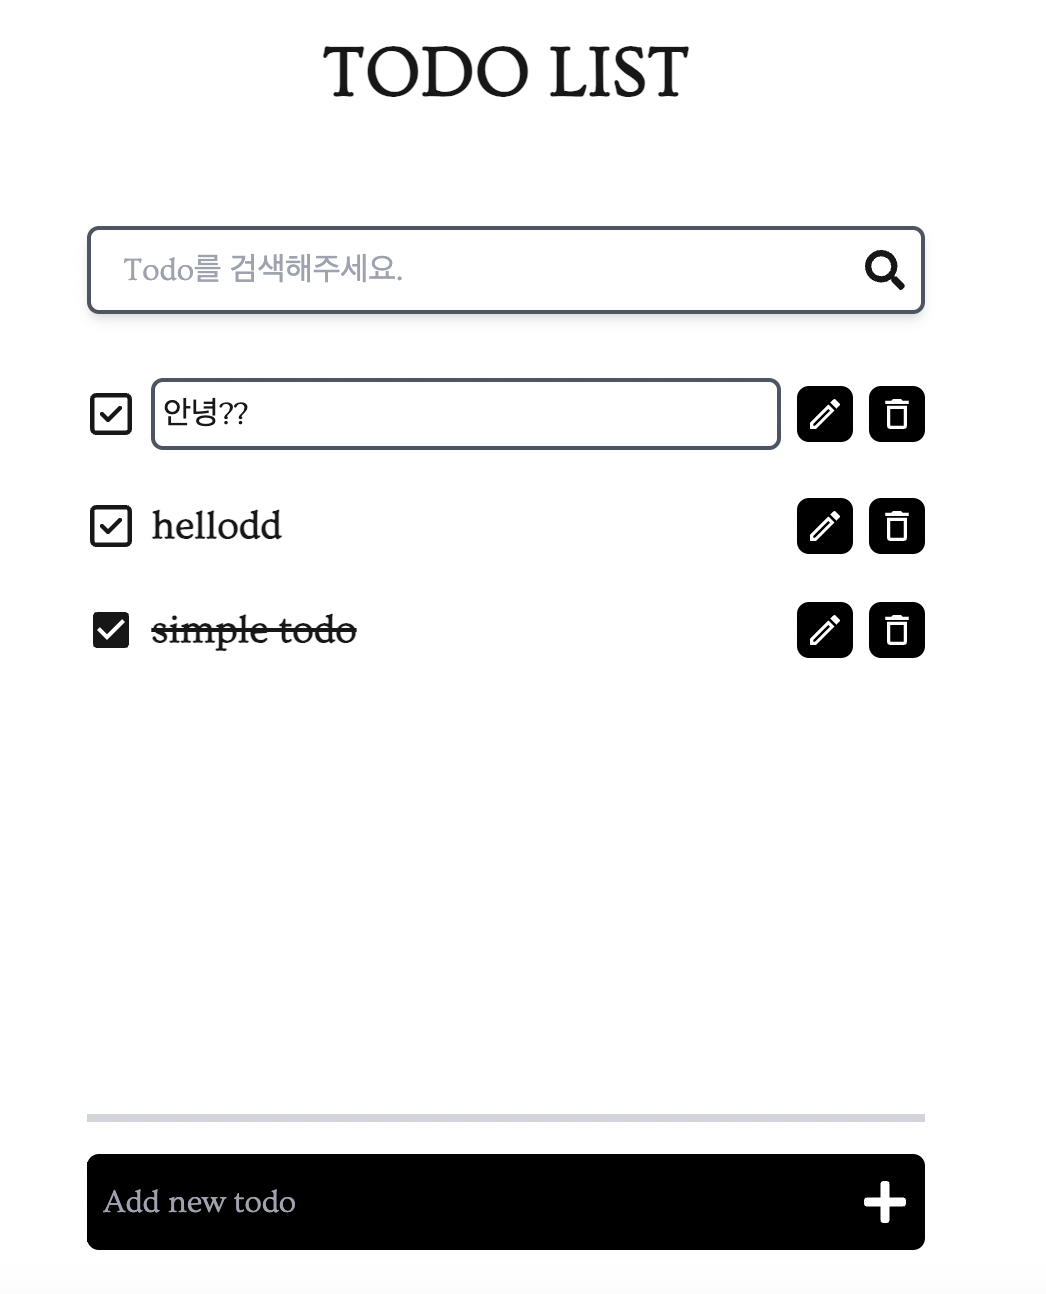
아래 사진은 만들어진 모습입니다.
Todo Code - supabaseService.js
server Action은 Next의 14부터 생겨난 기능인데
이걸 사용시 클라이언트와 서버의 상호작용이 간단해지고, 별도의 API 라우트를 작성할 필요가 없습니다.
"use server"

import { supabase } from "../../lib/supabaseClient";

export async function fetchTodos() {
	const {data, error} = await supabase
    	.from("todo").select("*").order("created_at", {ascending: false});
    if (error) throw new Error(error.message);

  console.log("fetch success");
  return data;
}

// add todo
export async function addTodo(newTodo) {
  const { data, error } = await supabase
    .from("todo")
    .insert([{ title: newTodo }]);

  if (error) throw new Error(error.message);

  console.log("add success");
  return data;
}

// update todo
export async function editTodo(id, updates) {
  const { data, error } = await supabase
    .from("todo")
    .update(updates)
    .eq("id", id);

  if (error) throw new Error(error.message);

  console.log("edit success");
  return data;
}

// delete todo
export async function deleteTodo(id) {
  const { data, error } = await supabase
    .from("todo")
    .delete()
    .eq("id", id);

  if (error) throw new Error(error.message);

  console.log("delete success");
  return data;
}
TODO Code - MainUI
중점으로 봐야할 부분
- useMemo를 이용한 검색창 최적화
- React Qeury를 이용한 supabase data 관리
- React Query를 이용해서 데이터 추가 mutation 하기
"use client";
...

const MainUI = () => {
  const [newTodo, setNewTodo] = useState("");
  const [search, setIsSearch] = useState("");
  const queryClient = useQueryClient();

  // fetch todos using react query
  const { data: todos=[], isLoading, isError } = useQuery({
    queryKey: ["todos"],
    queryFn: fetchTodos
  })

  // add todo using react query
  const mutation = useMutation({
    mutationFn: addTodo,
    onSuccess: () => {
      queryClient.invalidateQueries({ queryKey: ["todos"] });
      setNewTodo("");
    }
  });

  const filteredTodos = useMemo(() => {
    return todos.filter((todo) =>
      todo.title.toLowerCase().includes(search.toLowerCase())
    );
  }, [todos, search]);

  const handleAddTodo = () => {
    console.log("click add", newTodo)
    if (newTodo.trim()) {
      mutation.mutate(newTodo);
    }
  }

  if (isError) return <h1>데이터를 가져오는데 실패했습니다. 네트워크 상태 혹은 서버를 확인해주세요</h1>;

  return (
    <div className='w-full p-4 flex h-[500px] items-center flex-col gap-4'>

      {/* search div */}
      <div className='w-2/3 max-w-[600px] mb-4 flex p-2 border-2 shadow-md border-gray-600 rounded-md items-center gap-2'>
        <input
          value={search} onChange={(e) => setIsSearch(e.target.value)}
          className='focus:outline-none flex-1 ml-2 '
          type="text" placeholder='Todo를 검색해주세요.' />
        <FaSearch className='text-xl cursor-pointer hover:scale-105'/>
      </div>

      {/* todo list */}
      <div className='flex-1 w-2/3 max-w-[600px] mb-8'>
        {isLoading ? <h1>Loading...</h1> :  <TodoList todos={filteredTodos} />}
     </div>

      <div className='border-2 border-gray-300 w-2/3 max-w-[600px] '></div>

      {/* add todo button */}
      <div className="flex gap-2 items-center w-2/3 max-w-[600px] bg-black text-white py-1  rounded-md">
        <input
          className="flex-1 p-2 bg-black focus:outline-none"
          type="text"
          placeholder="Add new todo"
          value={newTodo}
          onChange={(e) => setNewTodo(e.target.value)}
        />
        <FaPlus className='text-2xl mr-2'
          onClick={handleAddTodo}
          disabled={mutation.isLoading} />
      </div>

    </div>
  )
}

export default MainUI
TODO Code - Todo
중점적으로 봐야할 부분
- edit 후처리 -> add처럼 invalidateQueries를 해서 cache를 삭제하고 fetch를 다시해줍니다.
- delte 후처리 -> edit과 마찬가지!!
"use client"

...

const Todo = ({ id, title, completed }) => {
  const [isCompleted, setIsCompleted] = useState(completed);
  const [isEditing, setIsEditing] = useState(false);
  const [text, setText] = useState(title); // 초기값을 title로 설정
  const queryClient = useQueryClient();

  const toggleCompleted = async () => {
    await editTodo(id, { completed: !isCompleted });
    setIsCompleted(!isCompleted);
  };

  const handleEdit = async () => {
    if (isEditing) {
      // 수정 완료 시 서버에 저장
      await editTodo(id, { title: text });
      queryClient.invalidateQueries({ queryKey: ["todos"] }); // 캐시 무효화
    } else {
      // 수정 모드 활성화 시 초기값 설정
      setText(title);
    }
    setIsEditing(!isEditing);
  };

  const handleDelete = async () => {
    await deleteTodo(id);
    queryClient.invalidateQueries({ queryKey: ["todos"] });
  };

  return (
    <div className="w-full flex items-center gap-2 mb-2">
      {/* 체크박스 */}
      <div onClick={toggleCompleted}>
        {isCompleted ? (
          <IoMdCheckbox className="text-2xl" />
        ) : (
          <FaRegSquareCheck className="text-2xl" />
        )}
      </div>

      {isEditing ? (
        <input
          value={text}
          className="flex-1 border-2 border-gray-600 rounded-md p-1"
          onChange={(e) => setText(e.target.value)}
        />
      ) : (
        <p
          className={`flex-1 font-bold text-xl ${
            isCompleted && "line-through"
          }`}
        >
          {title}
        </p>
      )}

      <div className="flex gap-2 items-center">
        {/* 수정 버튼 */}
        <div
          onClick={handleEdit}
          className="cursor-pointer hover:scale-105 bg-black p-1 rounded-md text-white"
        >
          <MdOutlineEdit className="text-xl" />
        </div>
        {/* 삭제 버튼 */}
        <div
          onClick={handleDelete}
          className="cursor-pointer hover:scale-105 bg-black p-1 rounded-md text-white"
        >
          <MdOutlineDelete className="text-xl" />
        </div>
      </div>
    </div>
  );
};

export default Todo;
피드백
과연 이걸 어떻게 포트폴리오에 강점으로 녹일 수 있을지가 관건이다...
확실히 React query랑 Supabase에 대한 이해도와 사용에 대해 더 자연스러워졌지만 아직 부족하다!!