
목표: gpu가 달린 가상머신을 생성후 ssh로 접속하기
Generative AI
권장사항
- GPU 없이 Stable Diffusion 사용은 사실상 불가능하다.
- 가능하다면 NVDIA 그래픽카드를 구매하는 것이 바람직
- NV32as_v4 이상의 사양 권장
Azure에서 GPU 사용하기
가상머신
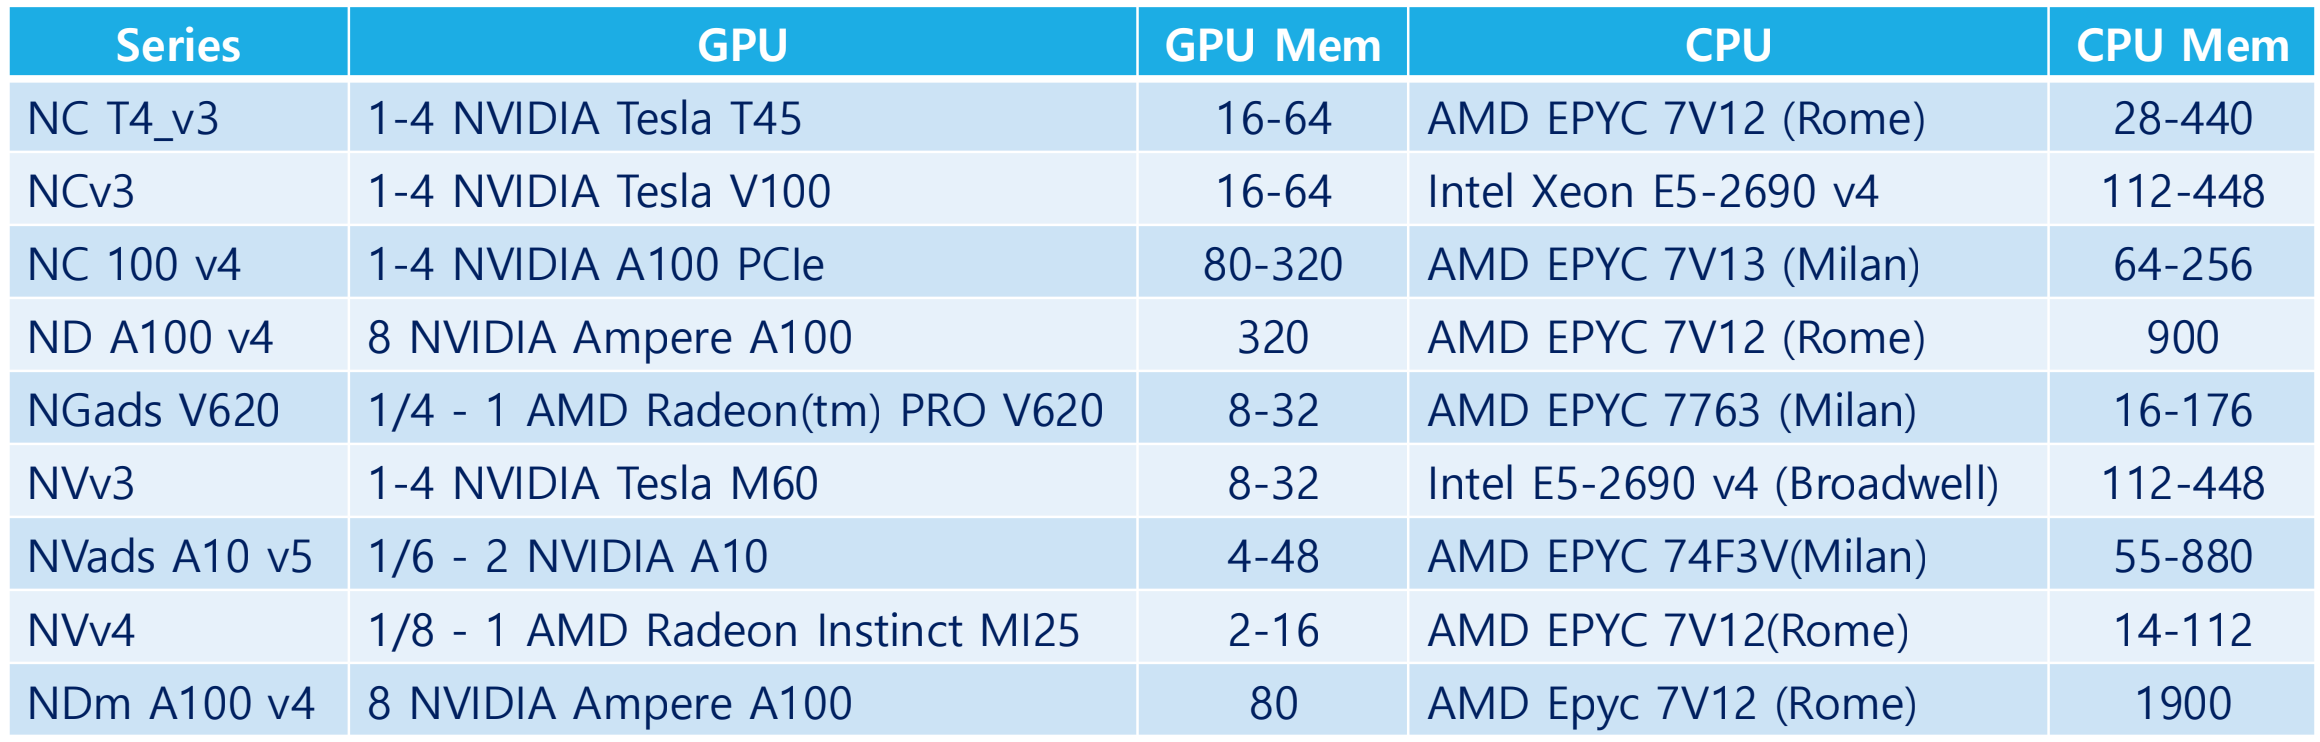
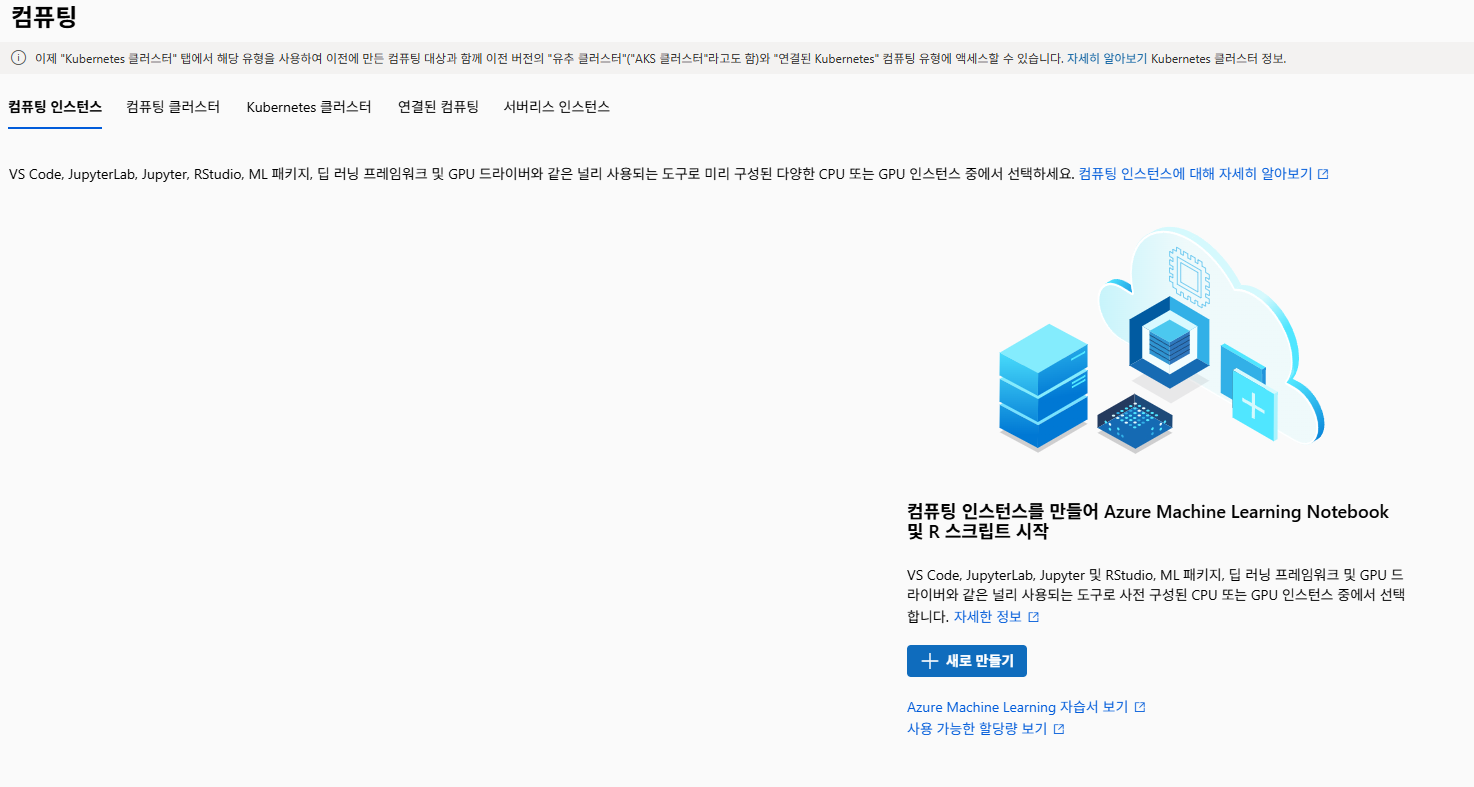
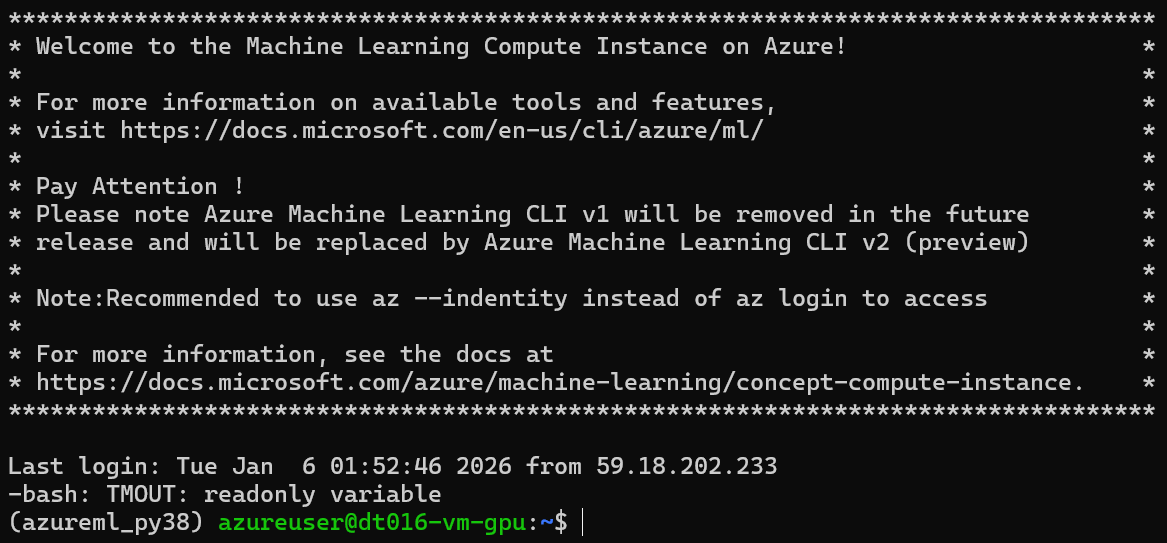
Azure Machine Learning Compute Instance
- Tensor, Conda, Jupyter, pytorch, git 등 딥 러닝 프레임워크, 사전 구성된 ML 패키지, GPU 드라이버를 제공한다.
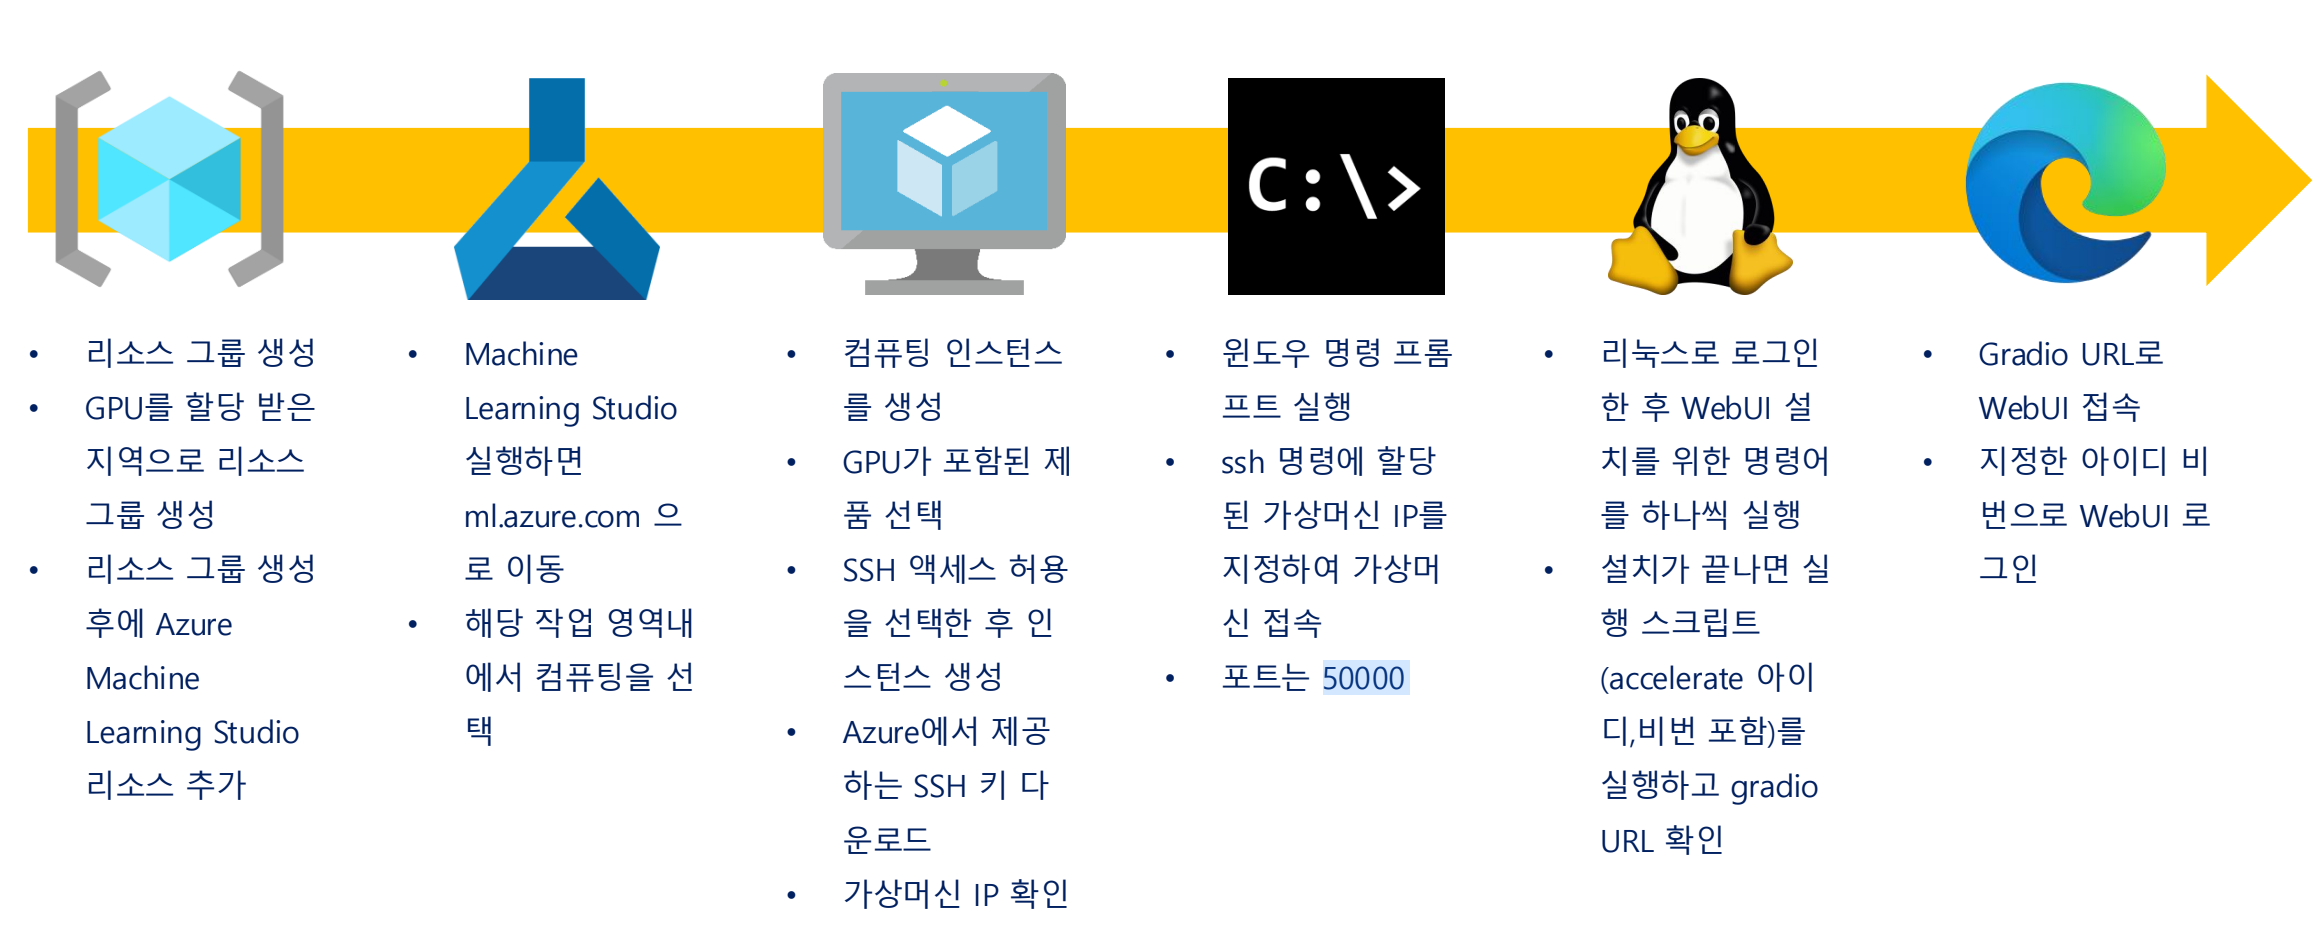
설치 단계
- Gradio: python만으로 웹페이지 생성 가능한 라이브러리
- share라는 기능을 통해 외부 url을 바로 발급 가능
- 해당 url로 로컬에서 접속 가능
1. 리소스 그룹 만들기
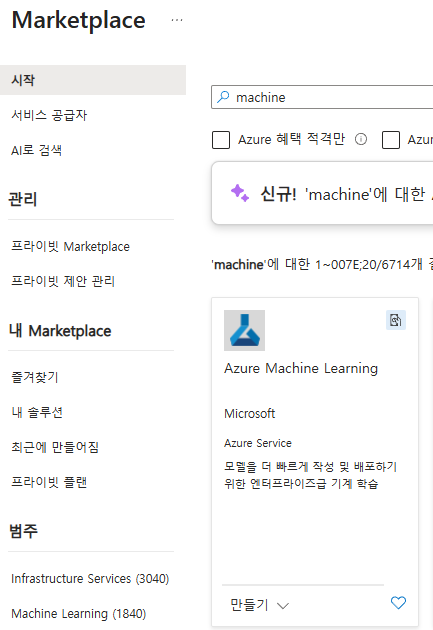
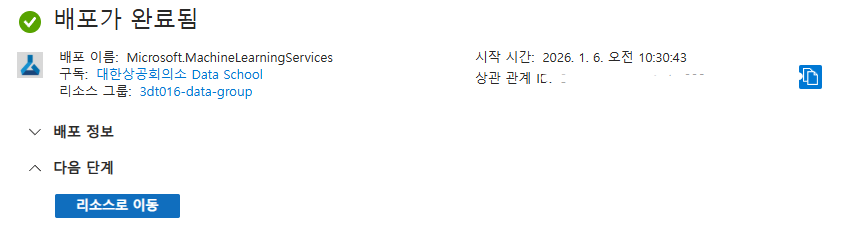
2. Machine Learning Studio 추가하기
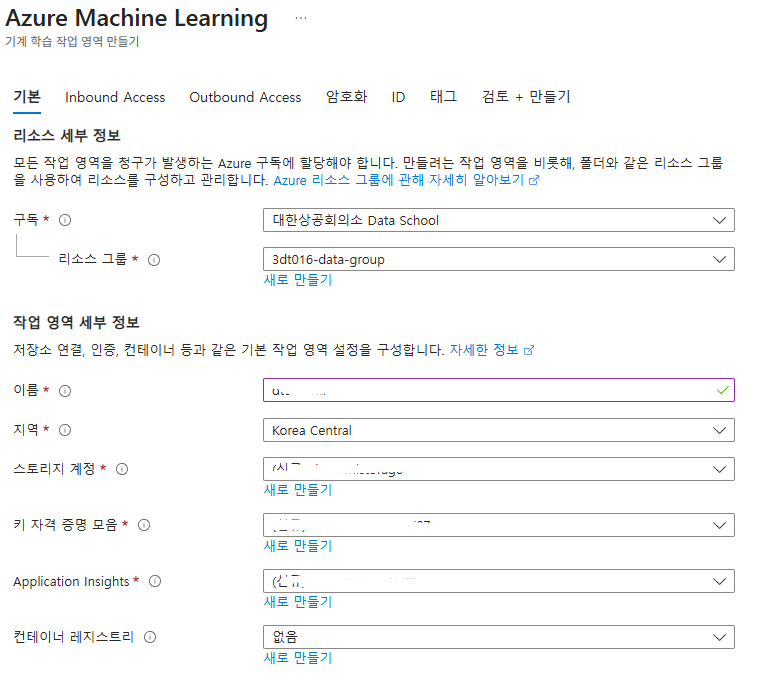
3. Machine Learning Studio 작업 영역 구성
- 스토리지 계정, 키 자격 증명, Application Insights 생성
- Block Storage 동기화를 스토리지 계정에 시킴
- 머신러닝을 위한 파일들이 저장되는 곳이 스토리지 계정
- 이름은 아이디-ml 이나 아이디-mlstorage 식인듯 하다
- 복제 옵션은 LRS(로컬중복스토리지)등 설정 가능
- 태그 설정도 가능
Machine Learning Studio 시작
리소스그룹 → ML → Launch Studio
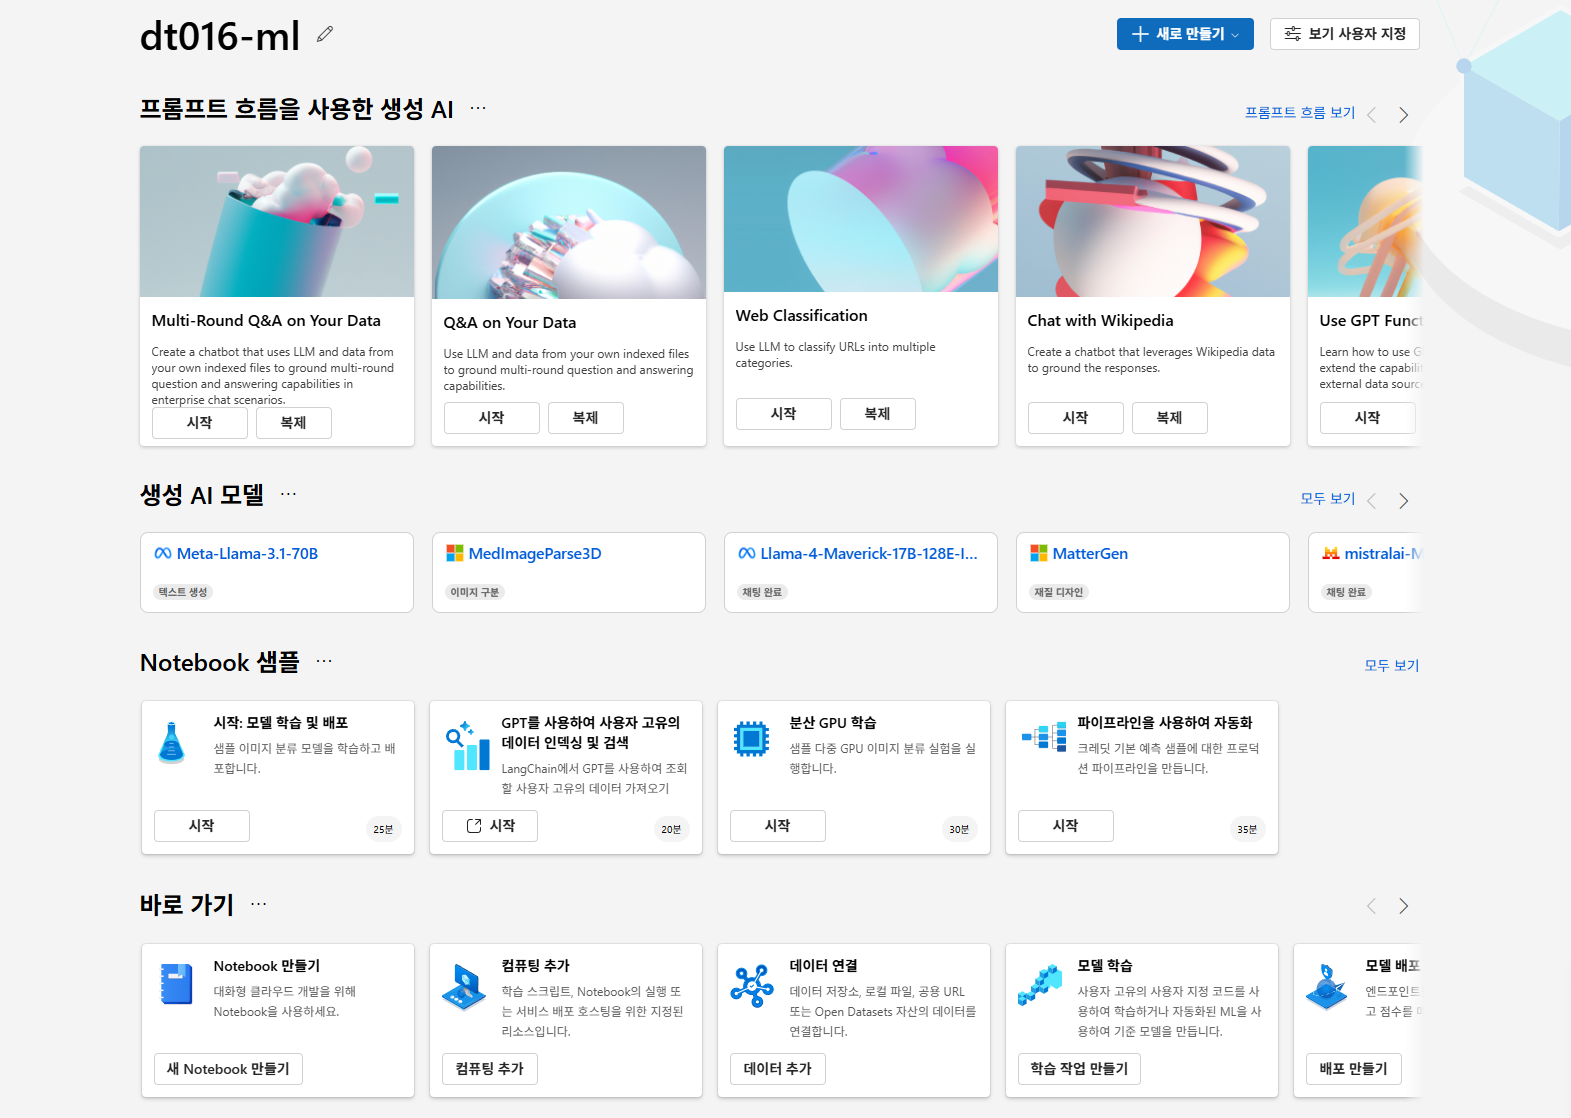
Compute 생성하기
컴퓨팅 인스턴스 선택
가상 머신 유형으로 GPU 선택
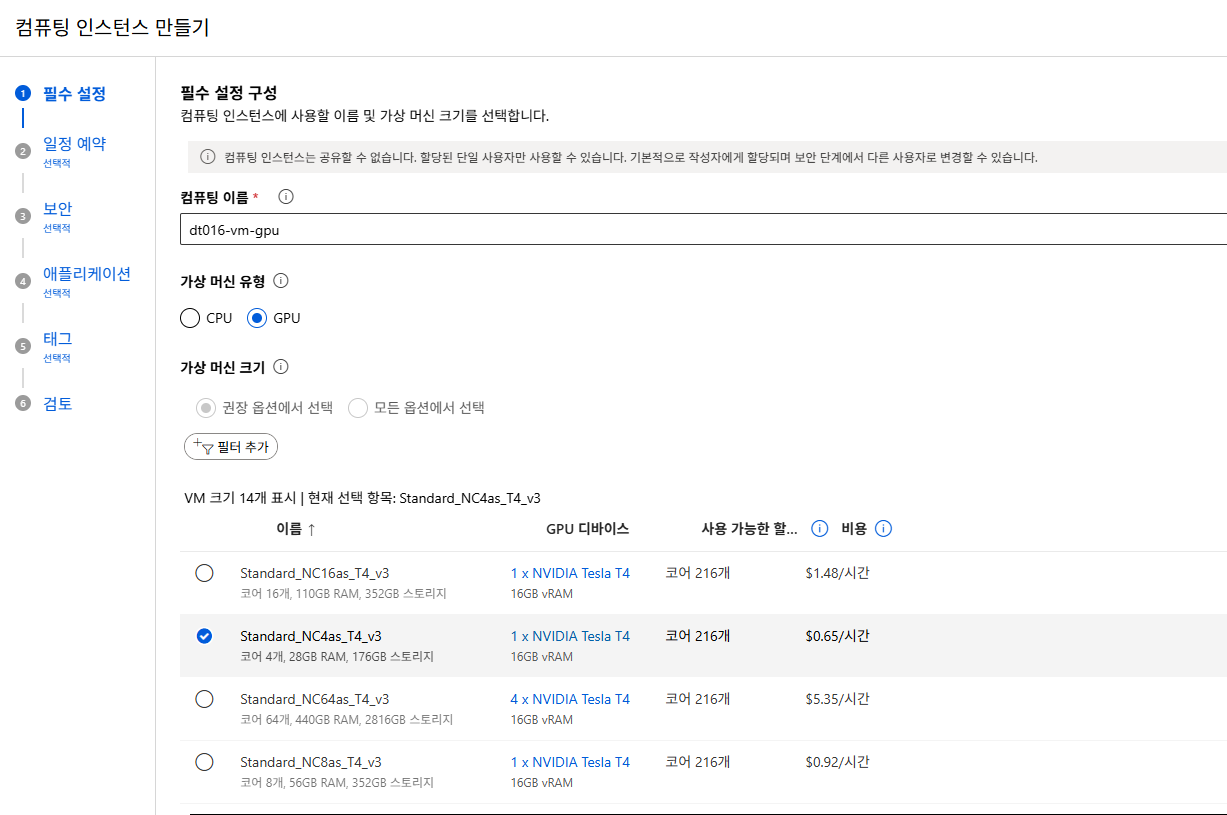
- 실습 여건상 코어는 4개로 선택
컴퓨팅 인스턴스 구성하기
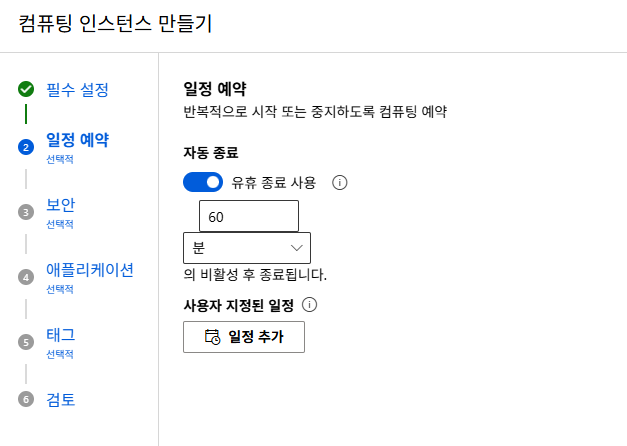
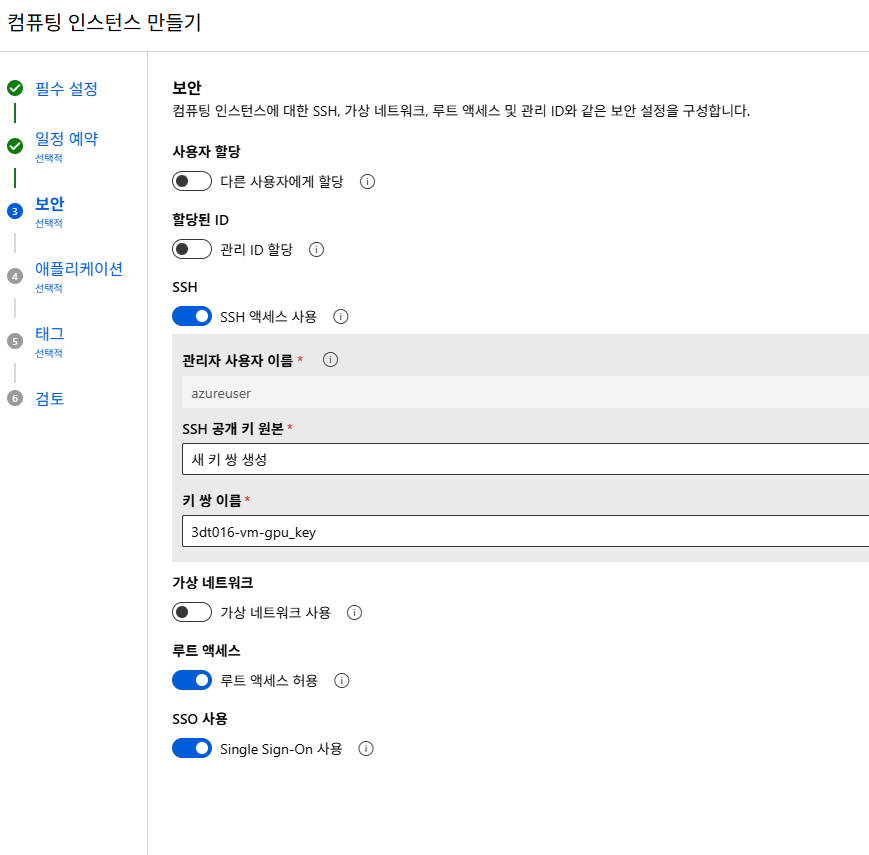
자동종료: 지정하면 필요할 때만 사용하고 사용하지 않을 때 VM 중지SSH: SSH 접속에서 사용- 인스턴스마다 다른 SSH 공개키를 사용하는 것이 바람직하다
- 제로트러스트원칙

- 태그 설정 가능
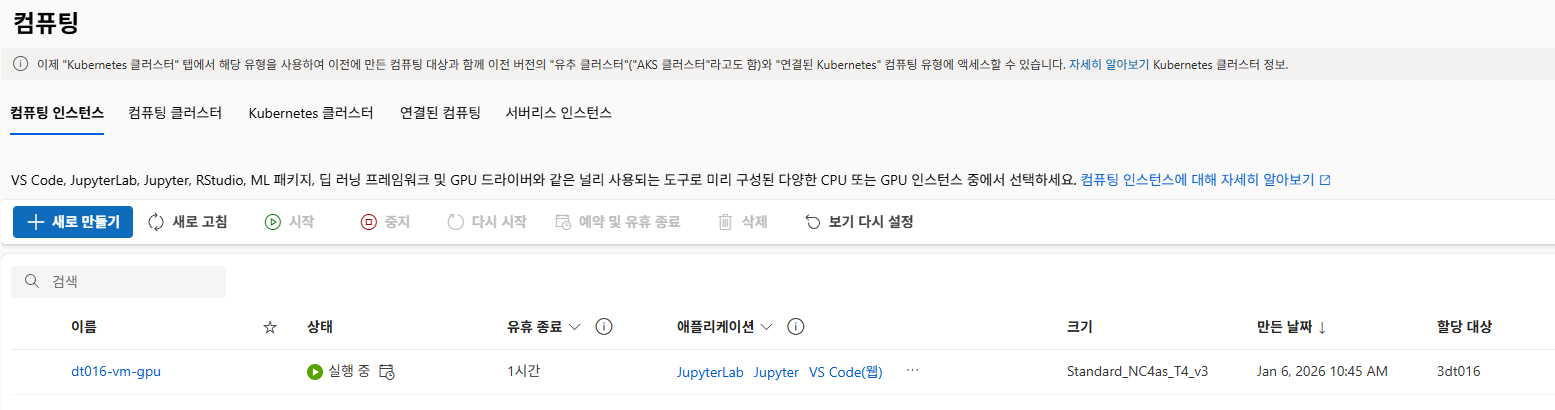
키가 다운로드되며 실행중으로 바뀌면 성공
SSH 접속

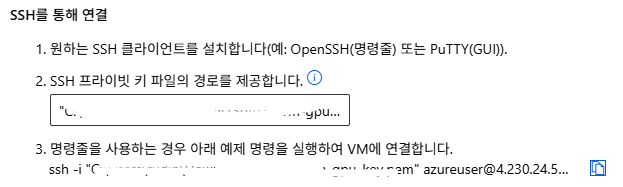
- 생성한 VM 정보 확인에서 연결 선택 → IP 주소 확인
ssh -i .\[프라이빗키파일이름] azureuser@[IP주소] -p 50000
Stable Diffusion Forge WebUI 설치
- conda, virtualemv 등 사용, 여기서는 conda
- 다만 conda는 많은 것이 설치되기 때문에 무겁다.
# Create a new Conda environment
conda create -n sd python=3.10

# Activate environment
conda activate sd

# Clone SD Forge
git clone https://github.com/lllyasviel/stable-diffusion-webui-forge.git

# Go to Stable Diffusion folder
cd stable-diffusion-webui-forge

# Go to the models folder
cd ~/stable-diffusion-webui-forge/models/Stable-diffusion- sd 라는 가상환경을 가상머신 안에서 만들어 독립적 설치 환경 구성
- WebUI 실행을 위해서는 항상 이 별도로 만든 가상환경이 activate 되어야 함
참고
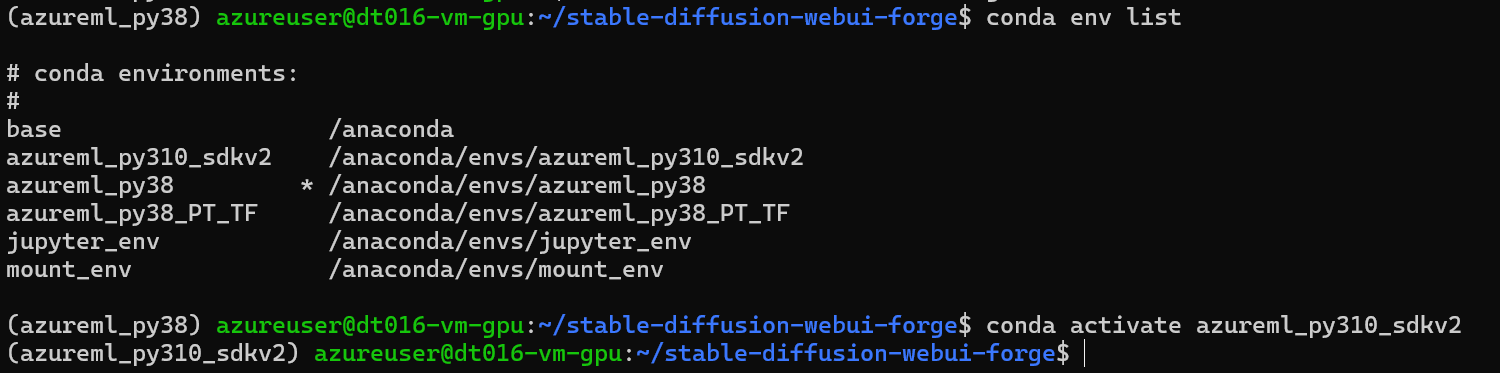
# 환경 목록 확인
conda env list
# 환경 on
conda activate [환경이름]
# 환경 off
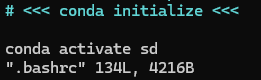
conda deactivate시작 환경 설정
루트에서 .bashrc의 conda initialize 부분의 하단에 시작 환경을 설정할 수 있다.
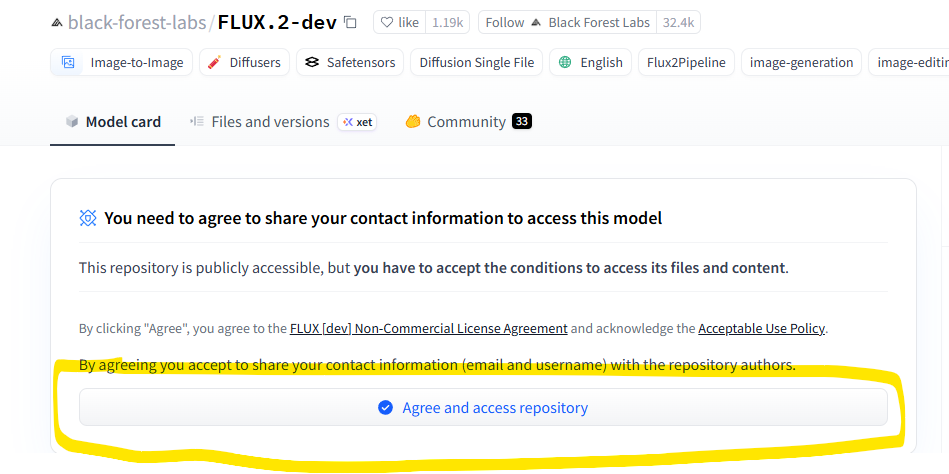
Hugging Face Flux 모델
- Hugging Face는 대부분의 모델이 있는 웹페이지임
- Flux 모델 다운을 위해서는 모델 사용에 대한 동의를 해야 정상 다운로드 가능
Access Token 발급

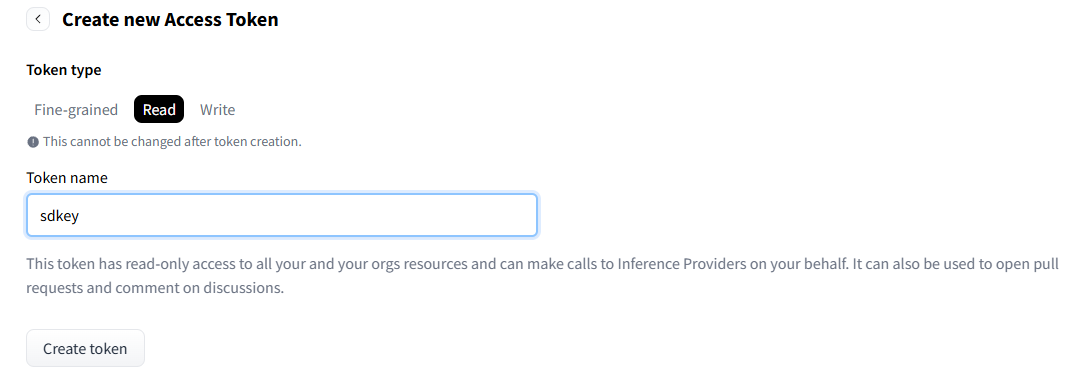
- Hugging Face 가입
- Access Tokens 메뉴에서 발급
- 프로필 클릭 후 Access Tokens 이동
- 발급 시점에만 볼 수 있기 때문에 기록해두는 것이 좋음
- 사용 용도에 따라 Read/Write/Fine-grained 지정
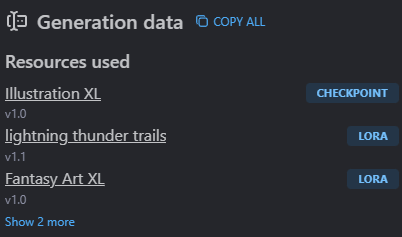
생성형 AI 관련 사이트
civitAI - 생성형 AI 이미지 및 모델 관련된 것들이 올라옴
- Resources Used 아래의 CheckPoint 부분에 사용된 모델이 작성되어 있음
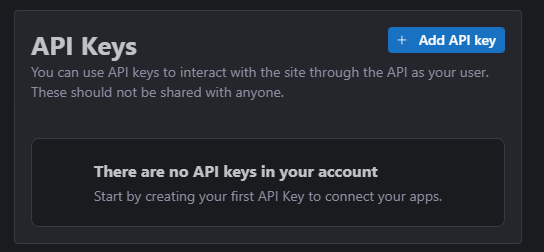
API Key
프로필아이콘 → Settings → 최하단 부분의 API Keys
사용
# To download models from Civit.ai
pip install civitdl

# Review library (설치하지 않아도 문제 없음)
sudo apt-get install lynx w3m links
Stable Diffusion 1.5 다운로드
https://huggingface.co/stable-diffusion-v1-5/stable-diffusion-v1-5
- checkpoint는 범용성이 높은 대신 보안성이 낮음
- 따라서 safetensor 사용
- 위치는 ~/stable-diffusion-webui-forge/models/Stable-diffusion
# Download base models 1.5 and XL(base and refiner) Model
curl -H "Authorization: Bearer <Your Hugging Face Token>" https://huggingface.co/stable-diffusion-v1-5/stable-diffusion-v1-5/resolve/main/v1-5-pruned.safetensors --location --output sd-v1-5.safetensors
--location: 리다이렉션 허용--output: 로컬에서의 이름 설정- 헤더, Bearer, 엔드포인트 순
- <> 괄호는 없이 토큰 입력해야 함
# apt get update
sudo apt-get update

# Install alloc 메모리 관리에 탁월
sudo apt-get install libgoogle-perftools-dev

# Run the WebUI script # chmod +x webui.sh
# --always-cpu --skip-torch-cuda-test
./webui.sh --share
Stable Diffusion Forge WebUI
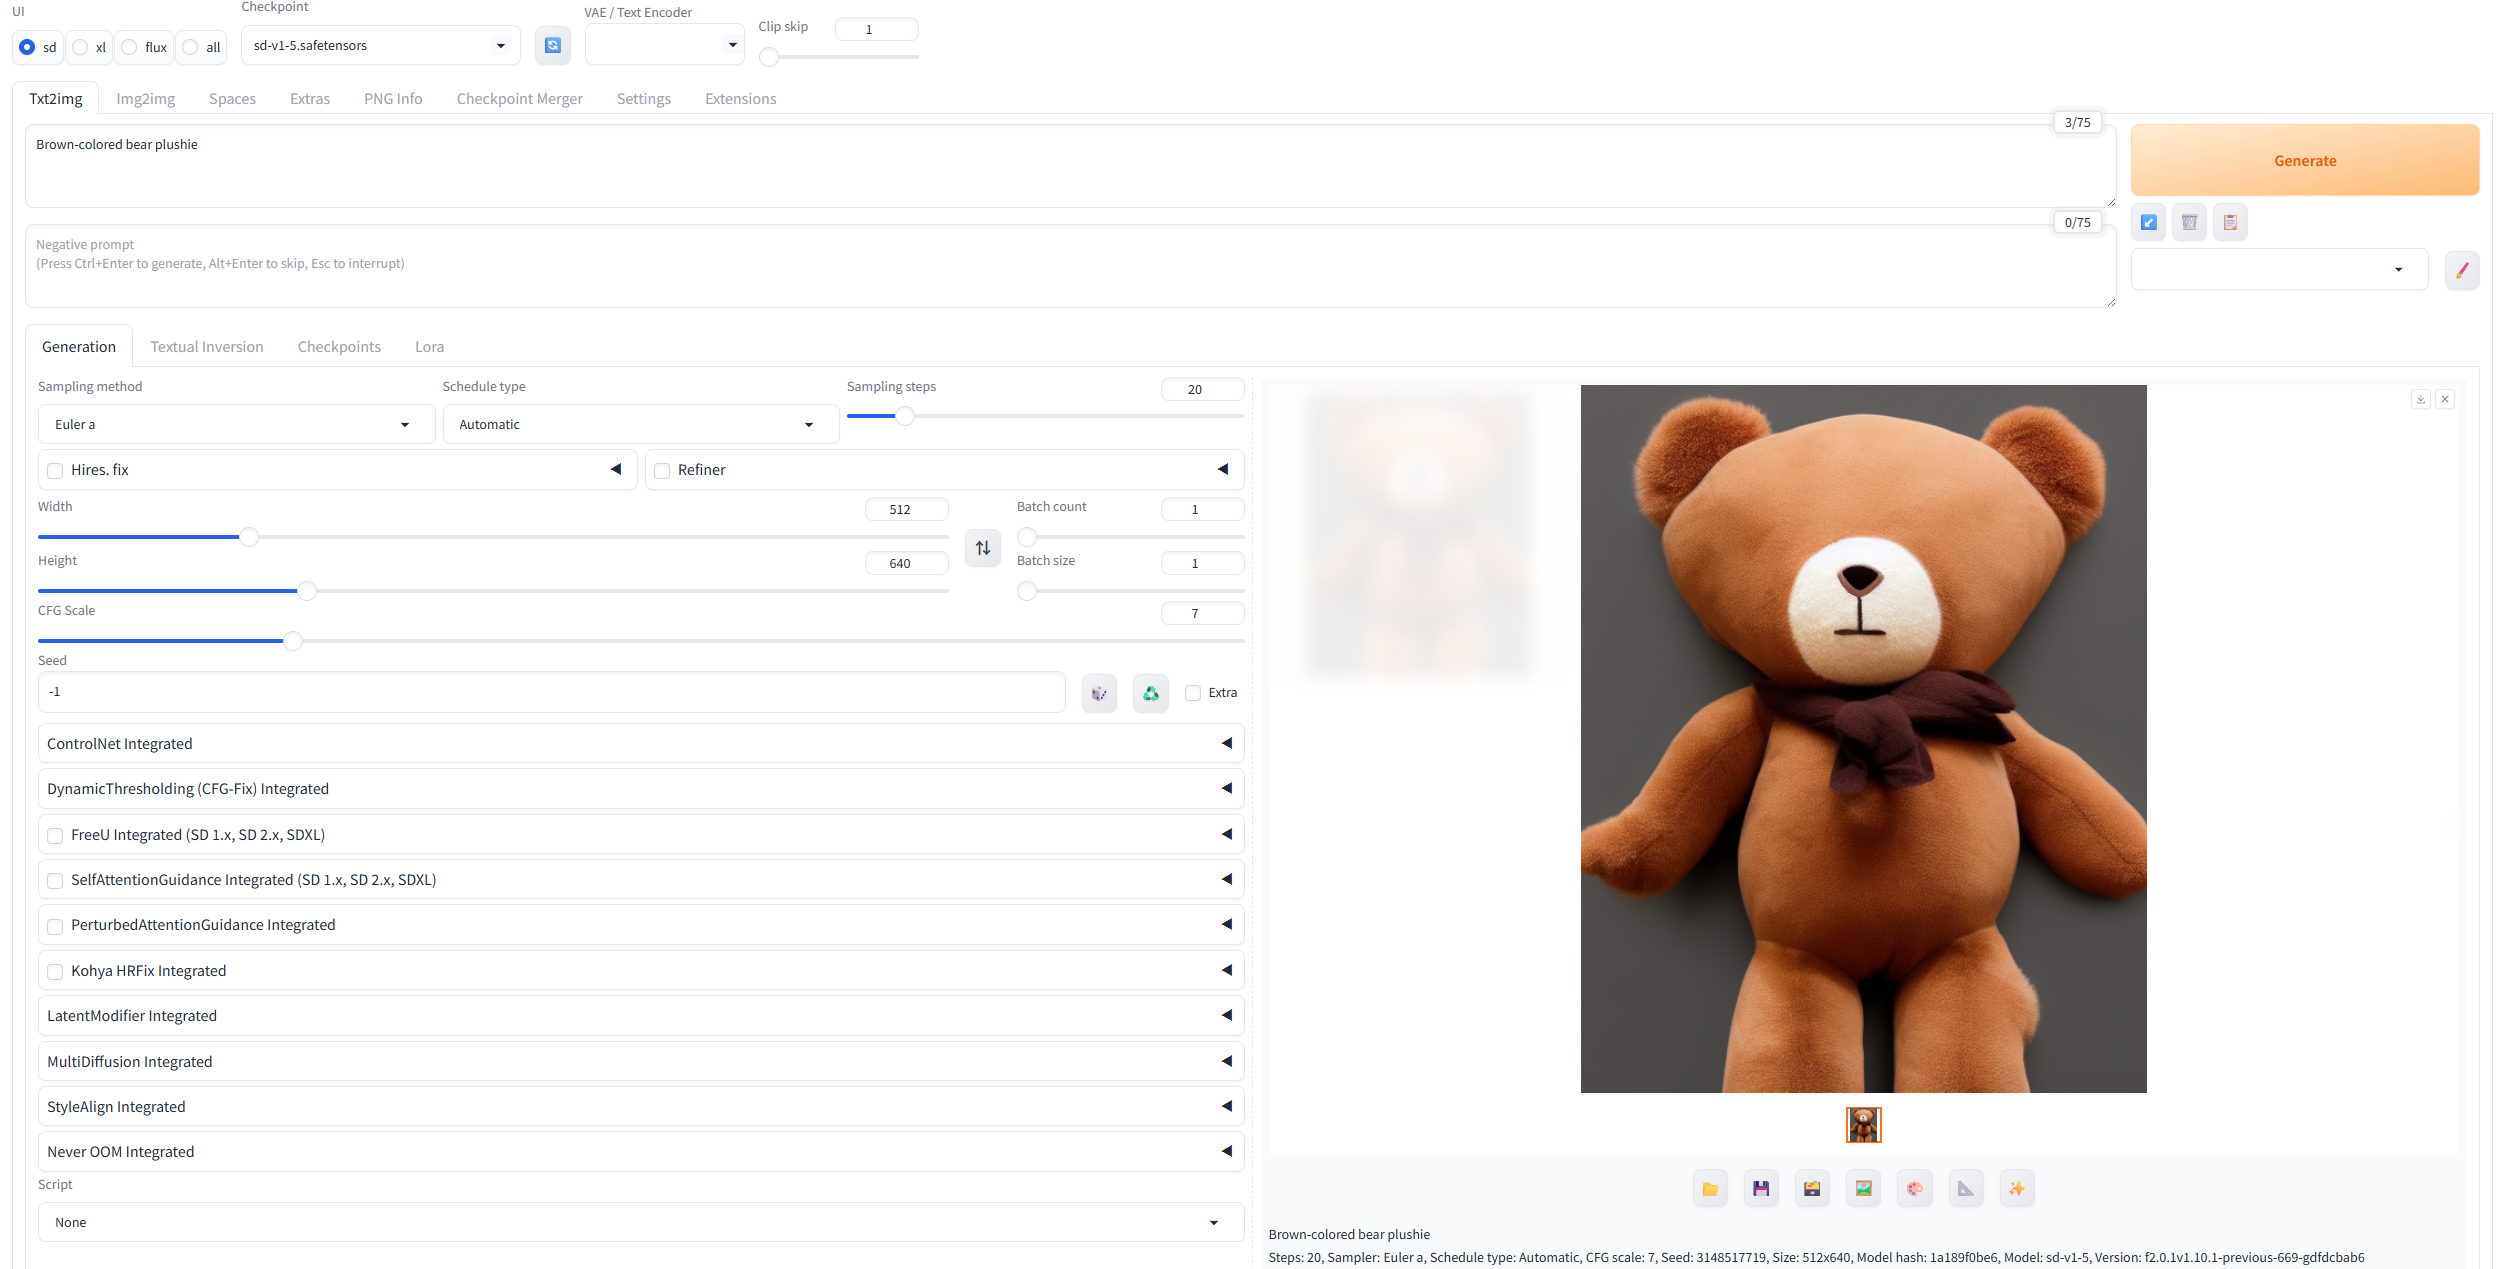

- 시작 명령어를 입력하면 라이브러리들이 설치되고, 접근 가능한 url 확인 가능
- public URL 확인
- stable diffusion이 8배수로 이미지 축소, 확대하기 때문에 크기는 8의 배수로 진행된다.(필수)
prompt
- 생성하려는 이미지에 대한 단어 입력
- 키워드만 입력해야 함(,로 구분)
- 자연어 X
negative prompt
- 이미지에 포함되지 않았으면 하는 요소
UI
- Stable Diffusion은 xl
Checkpoint
- 모델 설정
VAE/Text Encoder
- VAE: 색감 조절
- Text Encoder: 영어가 아닌 다른 언어로 입력 가능케 함
Diffusion in Low Bits
- 보통 Automatic 으로 설정
GPU Weights
- 사용되는 GPU 양
- 적게하면 그만큼 오래걸림
Sampling method
- 이미지 생성 알고리즘
- 보통 DPM++2M SDE 사용
Sampling steps
- 설정한 번째수의 이미지를 채택한다는 것
- 높일수록 퀄리티는 높아지고 오래걸림(무조건적으로 퀄리티가 높아지는 것은 아님)
Schedule type
- 노이즈 처리 방식
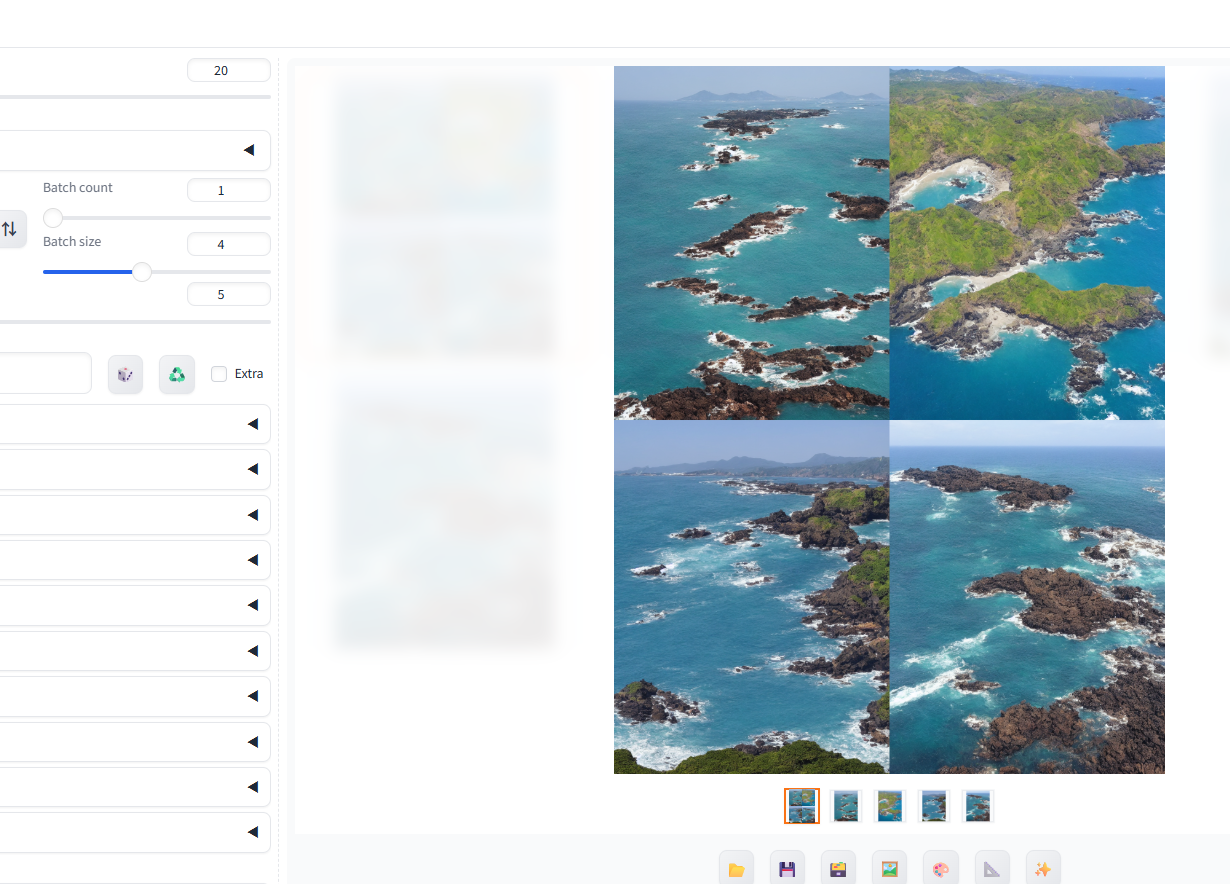
Batch count
- 한 번에 몇장의 이미지를 생성할것인지
Batch size
- 한 스텝 돌릴 때 만들 이미지 수
CFG Scale
- 이미지를 만드는데 AI가 관여하는 정도
- 올리면 퀄이 높아지긴 하지만 너무 올리면 색이 이상해짐
[참고] Stable Diffusion에 새로운 모델 추가
저장해야할 위치로 이동한 후 다운로드 명령어 사용
저장 위치
Base model / Checkpoint 저장 위치: ~/stable-diffusion-webui-forge/models/Stable-diffusionLora 저장 위치: ~/stable-diffusion-webui-forge/models/LoraControlNet 저장 위치: ~/stable-diffusion-webui-forge/extensions/sd-webui-controlnet
# Download base models Flux1 Model
curl -H "Authorization: Bearer <Your Hugging Face Token>”
https://huggingface.co/lllyasviel/flux1_dev/resolve/main/flux1-dev-fp8.safetensors --location --output flux1-dev-fp8.safetensors

# VAE
curl -H "Authorization: Bearer <Your Hugging Face Token>" https://huggingface.co/black-forest-labs/FLUX.1-dev/resolve/main/ae.safetensors --location --output ae.safetensors

# Text Encoder
curl -H "Authorization: Bearer <Your Hugging Face Token>"
https://huggingface.co/comfyanonymous/flux_text_encoders/resolve/main/clip_l.safetensors --location --output clip_l.safetensors
1. Huggingface에서 있는 모델
curl -H "Authorization: Bearer <Your Hugging Face Token>" https://huggingface.co/runwayml/stable-diffusion-v1-5/resolve/main/v1-5-pruned-emaonly.ckpt --location --output v1-5-pruned-emaonly.ckpt
2. Civit.AI에 있는 모델
# To download models from Civit.ai
pip install civitdl
# Download models from Civit.ai
civitdl [값] [저장위치] -k [키값]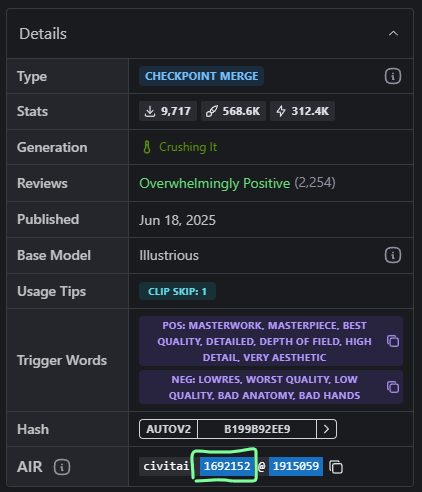
- civitdl 1692152 . -k [키값] (현재 위치에 저장)
이외 툴
- comfyui
- stabilitymatrix
결과물 다운로드
저장 위치
- ~/stable-diffusion-webui-forge/outputs/
- txt2img를 한 경우에는 txt2img-images라는 폴더가 생성. 그 밑으로 날짜별로 저장됨
- Img2img를 한 경우에는 img2img-images라는 폴더가 생성
- batch size를 늘렸을경우 txt2img-grids 폴더 생성
압축하기
zip -r output.zip .
- 해당 folder 밑에 있는 모든 내용을 압축해서 output.zip으로 만들기
PC로 가져오기
윈도우 명령 프롬프트에서 다음 명령 입력
scp: secure copy- 포트 전달 시 옵션 P가 대문자임을 유의하자
scp -i [프라이빗키주소] -P 50000 azureuser@[ip주소]:/home/azureuser/stable-diffusion-webui-forge/outputs/output.zip .

예)scp -i .\3dt016-vm-gpu_key.pem -P 50000 azureuser@0.000.00.00:/home/azureuser/stable-diffusion-webui-forge/outputs/output.zip .
이미지 생성시 자동으로 Blob Storage로 업로드
Watchdog 라이브러리 사용
pip install --upgrade pip
pip install watchdog
파일을 동기화 시키기 위한 인증 관련 정보 확인
- 액세스 키 이용, Entra ID 이용 등의 방법 존재
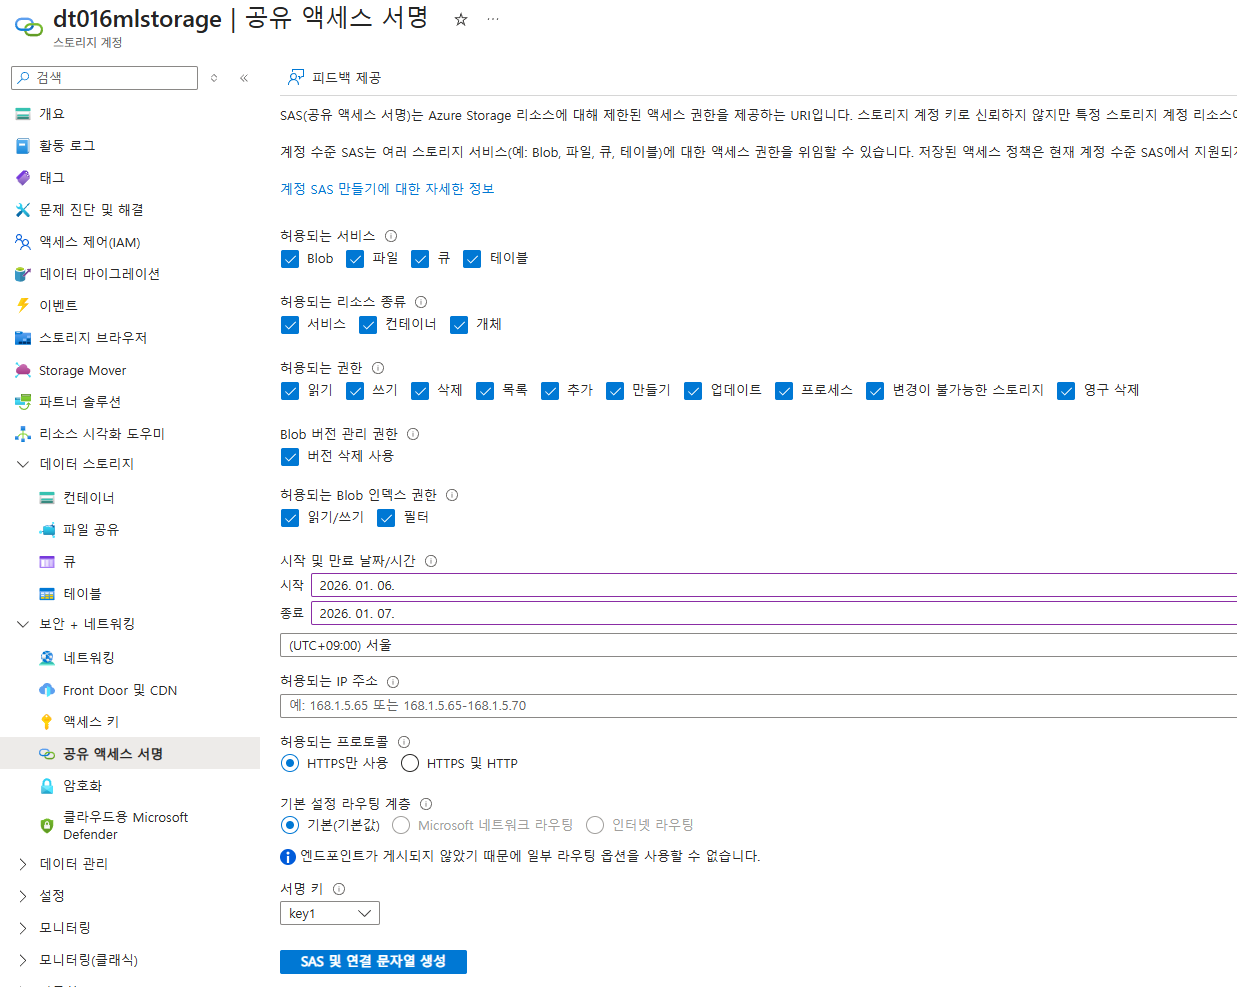
- 여기서는 보안이 강화된 SAS 토큰 사용하여 파일 동기화
- 스토리지 계정 → 공용 액세스 서명 → 허용되는 리소스 모두 체크 → SAS 및 연결 문자열 생성
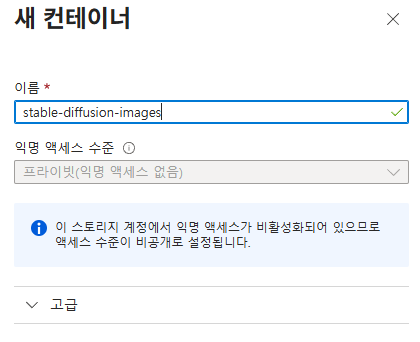
blob 컨테이너 생성
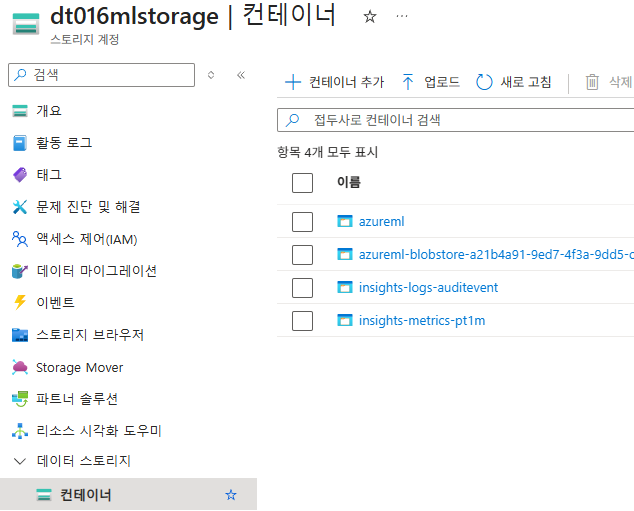
Azure CLI를 통해 해당 폴더를 Blob Storage의 컨테이너에 업로드
sudo apt-get update && sudo apt-get install azure-cli- 지정한 폴더 내의 변화가 감지된 경우 shell 코드를 실행, 자동으로 해당 폴더와 Blob Storage 동기화
# Image 가 생성되는 폴더로 이동.
cd ~/stable-diffusion-webui-forge/outputs/

# vi로 sh 파일 생성 및 편집
vi upload_to_azure.sh
azcopy
https://learn.microsoft.com/ko-kr/azure/storage/common/storage-use-azcopy-v10
쉘 코드
#!/bin/bash

STORAGE_ACCOUNT_NAME="dt016mlstorage"

CONTAINER_NAME="stable-diffusion-images"

LOCAL_PATH="/home/azureuser/stable-diffusion-webui-forge/outputs/"

SAS_TOKEN="<토큰>"

BLOB_URL="https://${STORAGE_ACCOUNT_NAME}.blob.core.windows.net/${CONTAINER_NAME}?${SAS_TOKEN}"

azcopy sync "${LOCAL_PATH}" "${BLOB_URL}" --recursive --include-pattern="*.png"
sh 명령어로 코드 실행
sh upload_to_azure.sh새로운 파일이 생성되었을 경우
- 자동 동기화를 위해 watchdog 실행
# 실행 권한 추가
chmod 775 upload_to_azure.sh

# watchdog을 통해 해당 폴더의 변경 여부 체크
watchmedo shell-command --patterns="*.png" --recursive --command="sh /home/azureuser/stable-diffusion-webui-forge/outputs/upload_to_azure.sh" /home/azureuser/stable-diffusion-webui-forge/outputs
성장하기 위한 기록