
사이드 프로젝트로 동물 후원 사이트를 제작하고 있다. 글 작성 기능을 구현할 때 쓸 텍스트 에디터가 필요해서 위지위그(WYSIWYG: What You See Is What You Get) 에디터를 찾던 중 react-quill을 발견했다.
선택 이유는 크게 세 가지:
- npm 다운로드 순위가 가장 높다.
- 리턴 값이 스트링에 담긴 html이다.
- 참고할 만한 레퍼런스가 꽤 있다.
오늘은 react-quill에서 이미지를 첨부하며 겪었던 시행착오와 해결 방법을 포스팅 해보려고 한다.
base64로 변환된 이미지가 너무 길어서 서버에 저장되지 않는 문제
react-quill 에디터로 이미지를 첨부하면 base64로 인코딩된다. 변환을 거치지 않고 데이터를 전송할 경우 스트링이 너무 길어서 서버에 저장되지 않는다. 따라서 에디터에 이미지 첨부 이벤트가 일어나면 서버에 API 요청을 보내 응답값으로 URL을 돌려받고, 이미지 태그의 src에 base64 대신 URL을 넣어야 한다.
이 과정을 구현하기 위해 imageHandler를 직접 만들어서 사용할 것이다. 모듈의 handlers에 { image: imageHandler } 를 넣어주면 에디터의 이미지 첨부 아이콘을 클릭했을 때 직접 만든 이미지 핸들러가 실행된다.
아래의 코드는 아직 이미지 핸들러가 구현되지 않은 상태의 QuillEditor 컴포넌트이다.
QuillEditor.tsx
import styles from '../contents/QuillEditor.module.css';
import ReactQuill from 'react-quill';
import 'react-quill/dist/quill.snow.css';
import { useRef, useMemo } from 'react';
import { imageApi } from '../../../apis/posts';
export default function QuillEditor({ html, setHtml }) {
const quillRef = useRef(null);
const modules = useMemo(
() => ({
toolbar: {
container: [
[{ header: '1' }, { header: '2' }],
[{ size: [] }],
['bold', 'italic', 'underline', 'strike', 'blockquote'],
[{ list: 'ordered' }, { list: 'bullet' }, { align: [] }],
['image'],
],
handlers: { image: imageHandler },
},
clipboard: {
matchVisual: false,
},
}),
[],
);
const formats = [
'header',
'font',
'size',
'bold',
'italic',
'underline',
'strike',
'blockquote',
'list',
'bullet',
'align',
'image',
];
return (
<ReactQuill
ref={quillRef}
onChange={setHtml}
className={styles.quill}
modules={modules}
formats={formats}
value={html}
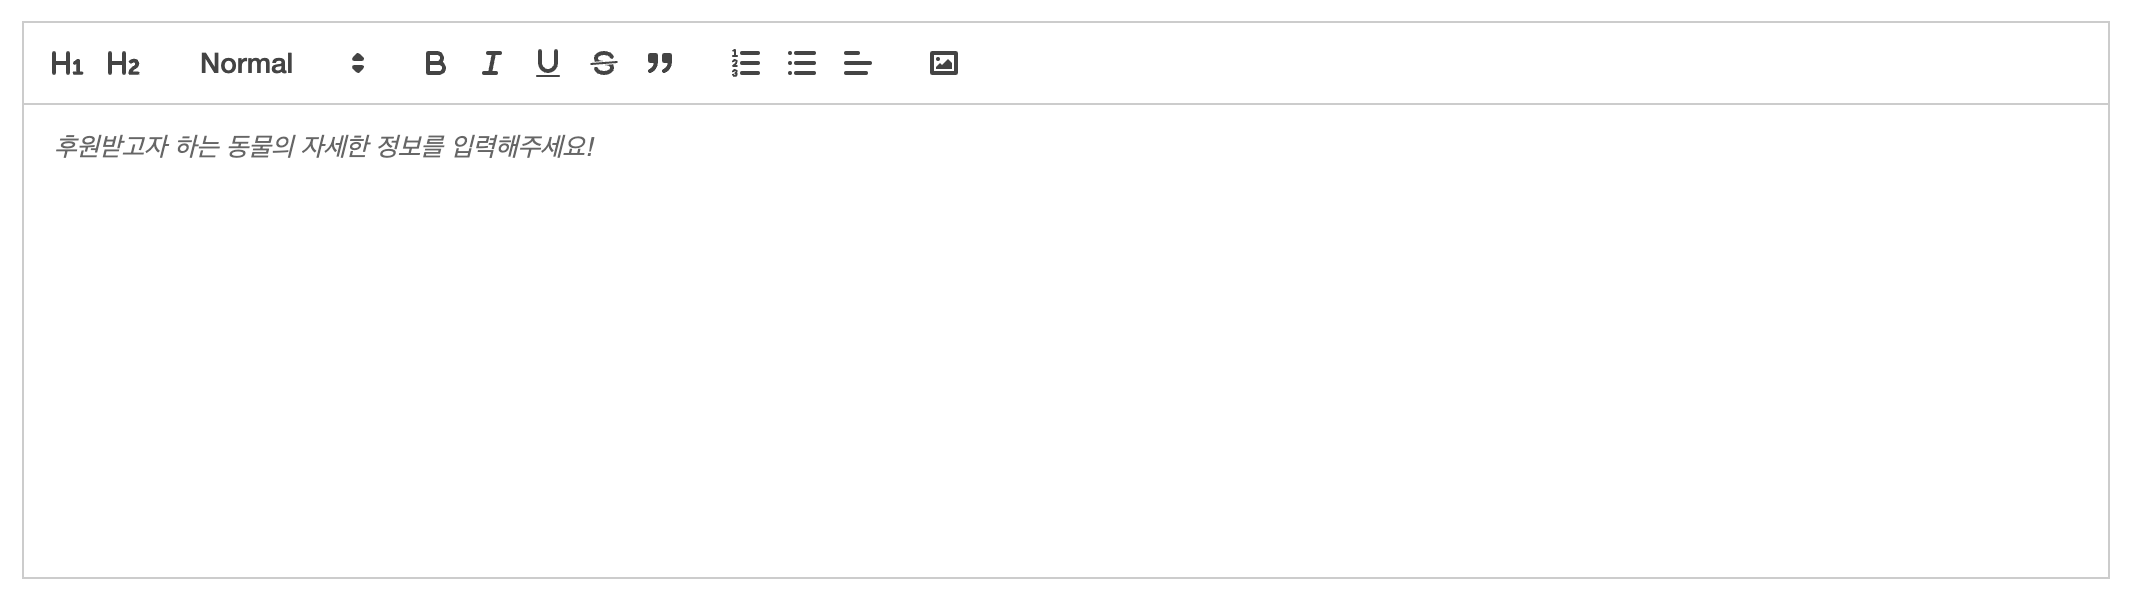
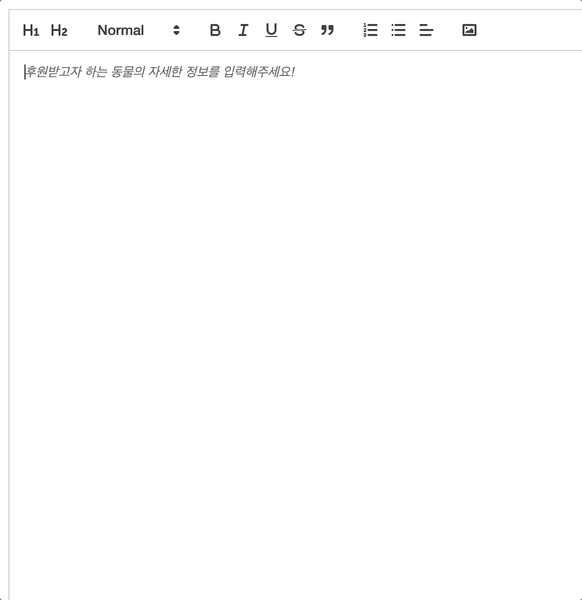
placeholder={'후원받고자 하는 동물의 자세한 정보를 입력해주세요!'}
theme="snow"
/>
);
}렌더링이 발생할 때마다 포커스가 벗어나는 문제
모듈을 useMemo로 감싸지 않으면 렌더링이 발생할 때마다 모듈 객체가 새로 생성되면서 focus가 에디터에서 벗어난다. 위 코드처럼 module 객체를 useMemo로 감싸주도록 하자.
코드의 모듈과 포맷을 바탕으로 구현된 텍스트 에디터의 모습은 아래와 같다.
커스텀 이미지 핸들러 만들기
모듈은 이미지핸들러를 참조하고 있으므로 이미지핸들러 함수는 모듈보다 위에 위치해야 함을 유의하자.
const imageHandler = () => {
    const input = document.createElement('input');
    input.setAttribute('type', 'file');
    input.setAttribute('accept', 'image/*');
    input.click();

    input.addEventListener('change', async () => {
      const file = input.files[0];

      try {
        const res = await imageApi({ img: file });
        const imgUrl = res.data.imgUrl;
        const editor = quillRef.current.getEditor();
        const range = editor.getSelection();
        editor.insertEmbed(range.index, 'image', imgUrl);
        editor.setSelection(range.index + 1);
      } catch (error) {
        console.log(error);
      }
    });
  };
이미지 핸들러 작동 방식
- 이미지 파일을 첨부할 수 있는 input을 만든다.
const input = document.createElement('input');
input.setAttribute('type', 'file');
input.setAttribute('accept', 'image/*');- 이미지핸들러 실행시, input을 클릭한 효과를 낸다.
input.click()- input에 이벤트리스너를 붙여, change 이벤트가 발생할 경우 2번째 인자인 함수를 실행시킨다.
input.addEventListener('change', 함수)- 함수는 첨부된 파일을 서버에 보내고 응답값으로 URL을 돌려받는다.
const file = input.files[0];
// try ...
	const res = await imageApi({ img: file });
const imgUrl = res.data.imgUrl;- ref를 이용하여 에디터의 현재 위치를 구하고, 그 곳에 이미지를 붙여넣는다.
const editor = quillRef.current.getEditor();
const range = editor.getSelection();
editor.insertEmbed(range.index, 'image', imgUrl);- 이미지를 붙여넣고 나면 커서를 현재 위치의 바로 옆으로 이동시킨다.
editor.setSelection(range.index + 1)Dynamic Import
QuillEditor.tsx 파일의 import ReactQuill from 'react-quill' 부분을 보고 의문을 가진 사람도 있을 것 같다. react-quill이 동작하려면 window.document 객체가 필요한데, 서버에는 window 객체가 없기 때문에 SSR 방식으로 동작하는 Next.js에서 React처럼 그냥 Import 구문을 사용할 경우 에러가 발생하기 때문이다.
처음에는 컴포넌트에 바로 Dynamic Import를 했다가, 이벤트 핸들러를 구현할 때 필수인 ref 때문에 QuillEditor.tsx 에서는 일반 임포트 구문을 사용했다. 여기서 Dynamic Import를 할 경우 Typescript가 ref 타입은 안받아준다며 에러를 내뱉는다. (하..........)

해결 방안
QuillEditor 컴포넌트를 실제로 사용하는 페이지에서 Dynamic Import를 한다. (pages 폴더 안에 있는 page 컴포넌트) 여기서 { ssr: false } 옵션으로 해당 페이지를 클라이언트에서만 렌더링 되게 설정한다.
index.tsx
import dynamic from 'next/dynamic';

const QuillEditor = dynamic(() => import('../../QuillEditor.tsx'), { ssr: false });

  return (
    <>
      <WriteMainSection /> // 관련 없는 컴포넌트
      <QuillEditor setHtml={setHtml} html={html} />
    </>
  );
작동 모습
수미상관


n개의 quill editor가 있는 상황이라면, 현재 quill을 어떻게 지정하는게 옳을까요?