소스코드 자동정렬 : 코드 선택 후 ctrl + option + i
한줄 복사 한줄 붙여넣기 : 커서 놓고 cmd + d(uplicate)
bootstrap 을 적용해서 웹페이지를 좀더 이쁘게 보이기
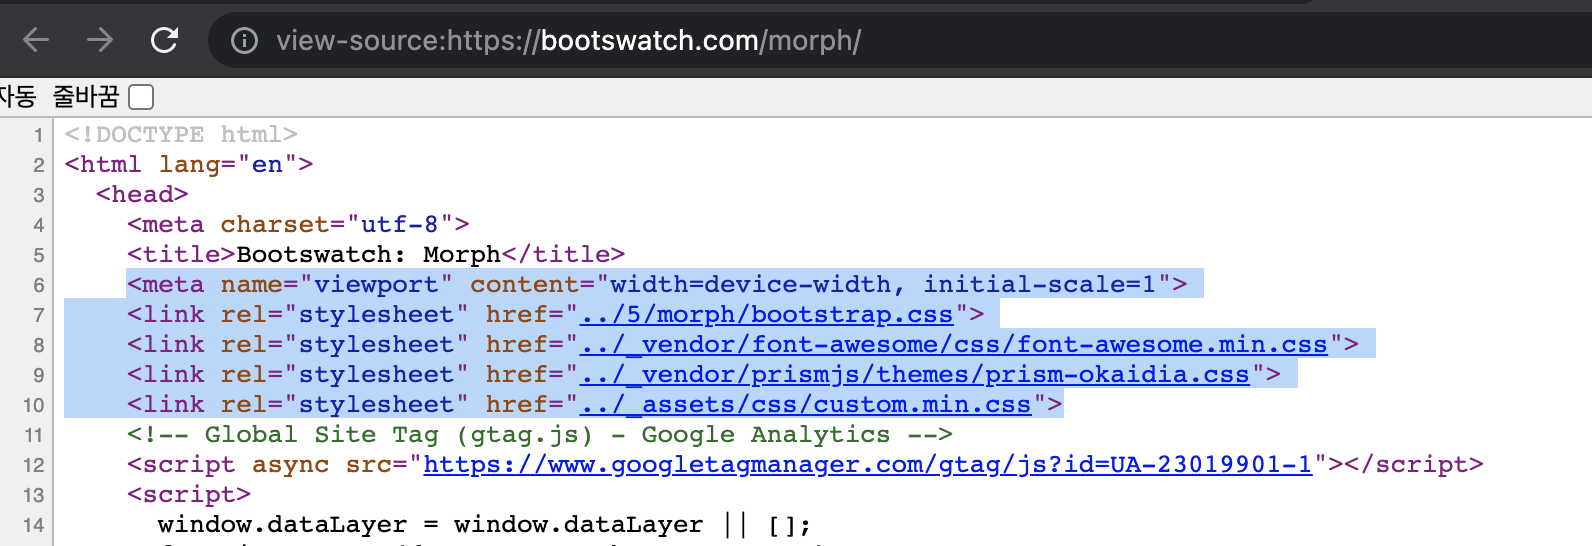
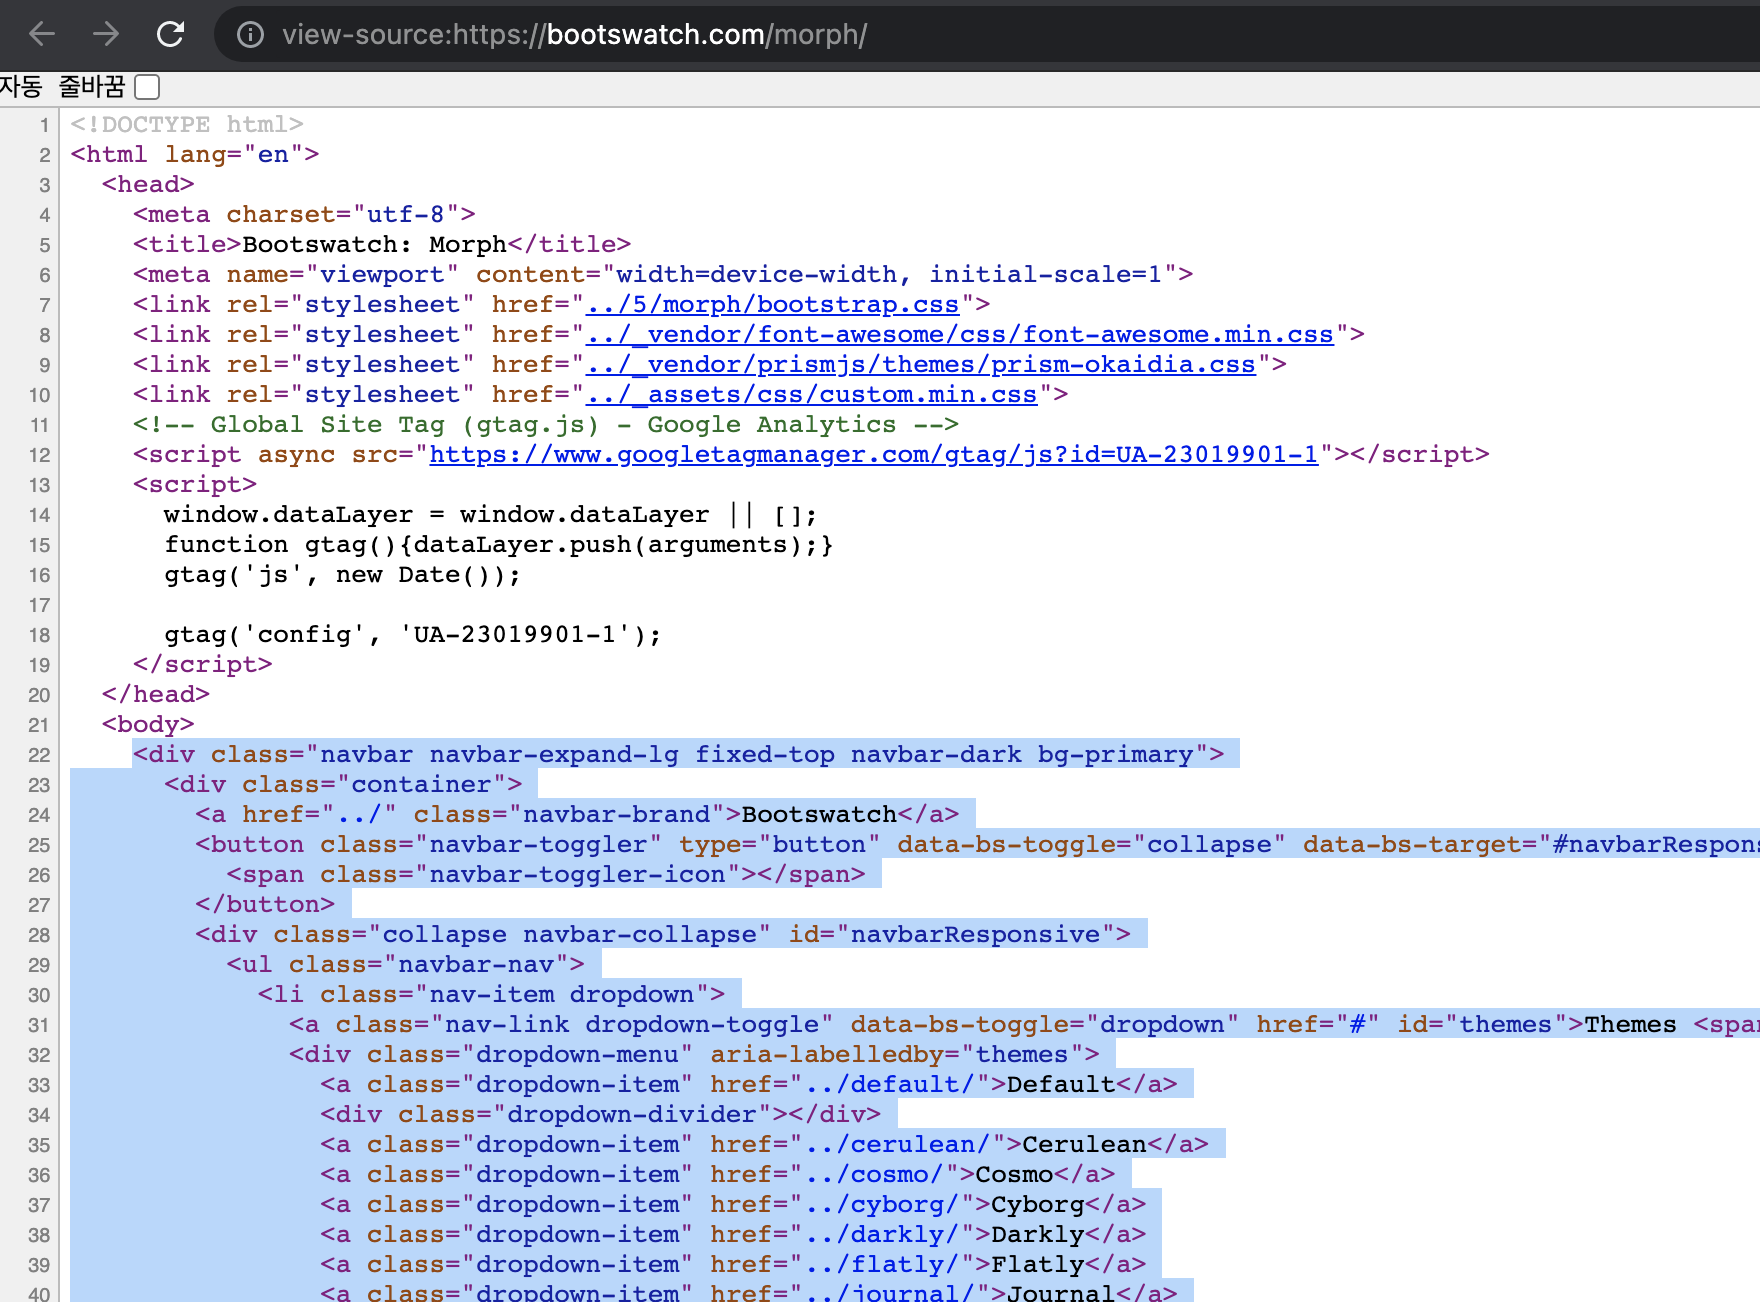
https://bootswatch.com/ 에서 맘에드는 테마 고른뒤 마우스 우클릭 > 페이지소스보기
-
css부분
-
javascript부분

긁어다가 post_list.html 에 붙이기
post_list.html
<!DOCTYPE html>
<html lang="ko">
<head>
<meta charset="UTF-8">
<title>Blog</title>
<meta name="viewport" content="width=device-width, initial-scale=1">
<link rel="stylesheet" href="../5/morph/bootstrap.css">
<link rel="stylesheet" href="../_vendor/font-awesome/css/font-awesome.min.css">
<link rel="stylesheet" href="../_vendor/prismjs/themes/prism-okaidia.css">
<link rel="stylesheet" href="../_assets/css/custom.min.css">
</head>
<body>
<h1>h1.Blog</h1>
{% for p in object_list %}
<h3>{{ p.title }} by {{ p.created }}</h3>
{% endfor %}
<script src="../_vendor/jquery/dist/jquery.min.js"></script>
<script src="../_vendor/bootstrap/dist/js/bootstrap.bundle.min.js"></script>
<script src="../_vendor/prismjs/prism.js" data-manual></script>
<script src="../_assets/js/custom.js"></script>
</body>
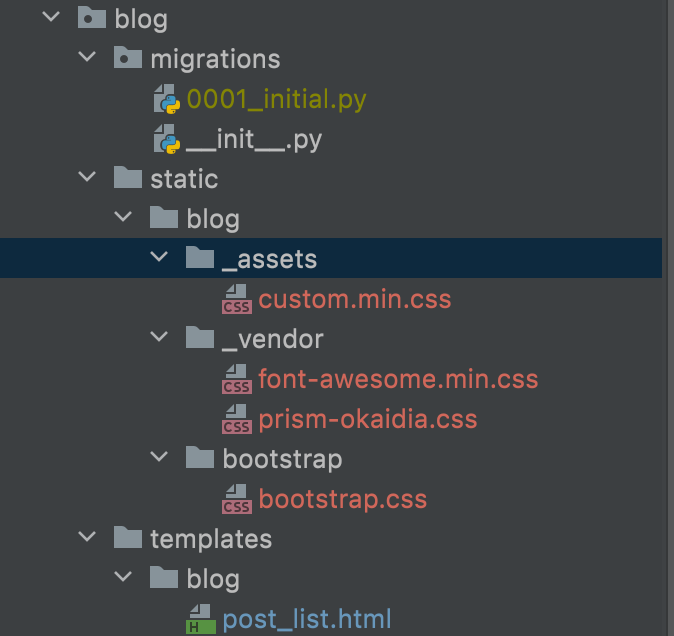
</html>이거 가지고는 당연히 될리가 없고, static 파일들을 따로 관리해줄 폴더생성 해주기. blog > static > blog 폴더 > bootstrap.css 생성

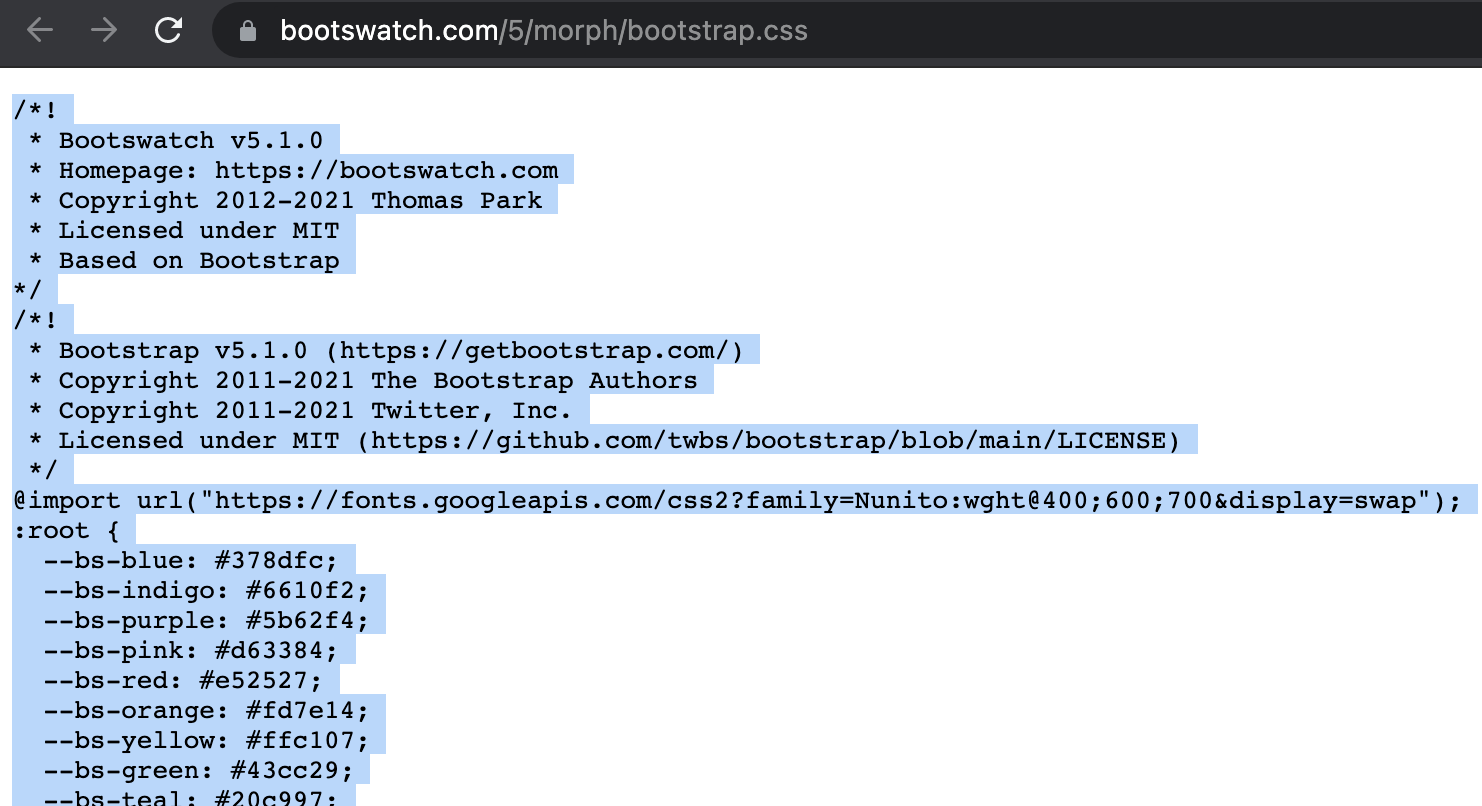
원본소스 <link rel="stylesheet" href="../5/morph/bootstrap.css"> bootstrap.css 부분을 클릭해보면 실제 소스가 보이는데 소스전체 복사 후 bootstrap.css 파일에 붙여넣기
post_list.html
<!DOCTYPE html>
{% load static %}
<html lang="ko">
<head>
    <meta charset="UTF-8">
    <title>Blog</title>

    <meta name="viewport" content="width=device-width, initial-scale=1">
    <link rel="stylesheet" href="{% static 'blog/bootstrap.css' %}">
{% load static %}
{% static 'blog/bootstrap.css' %}
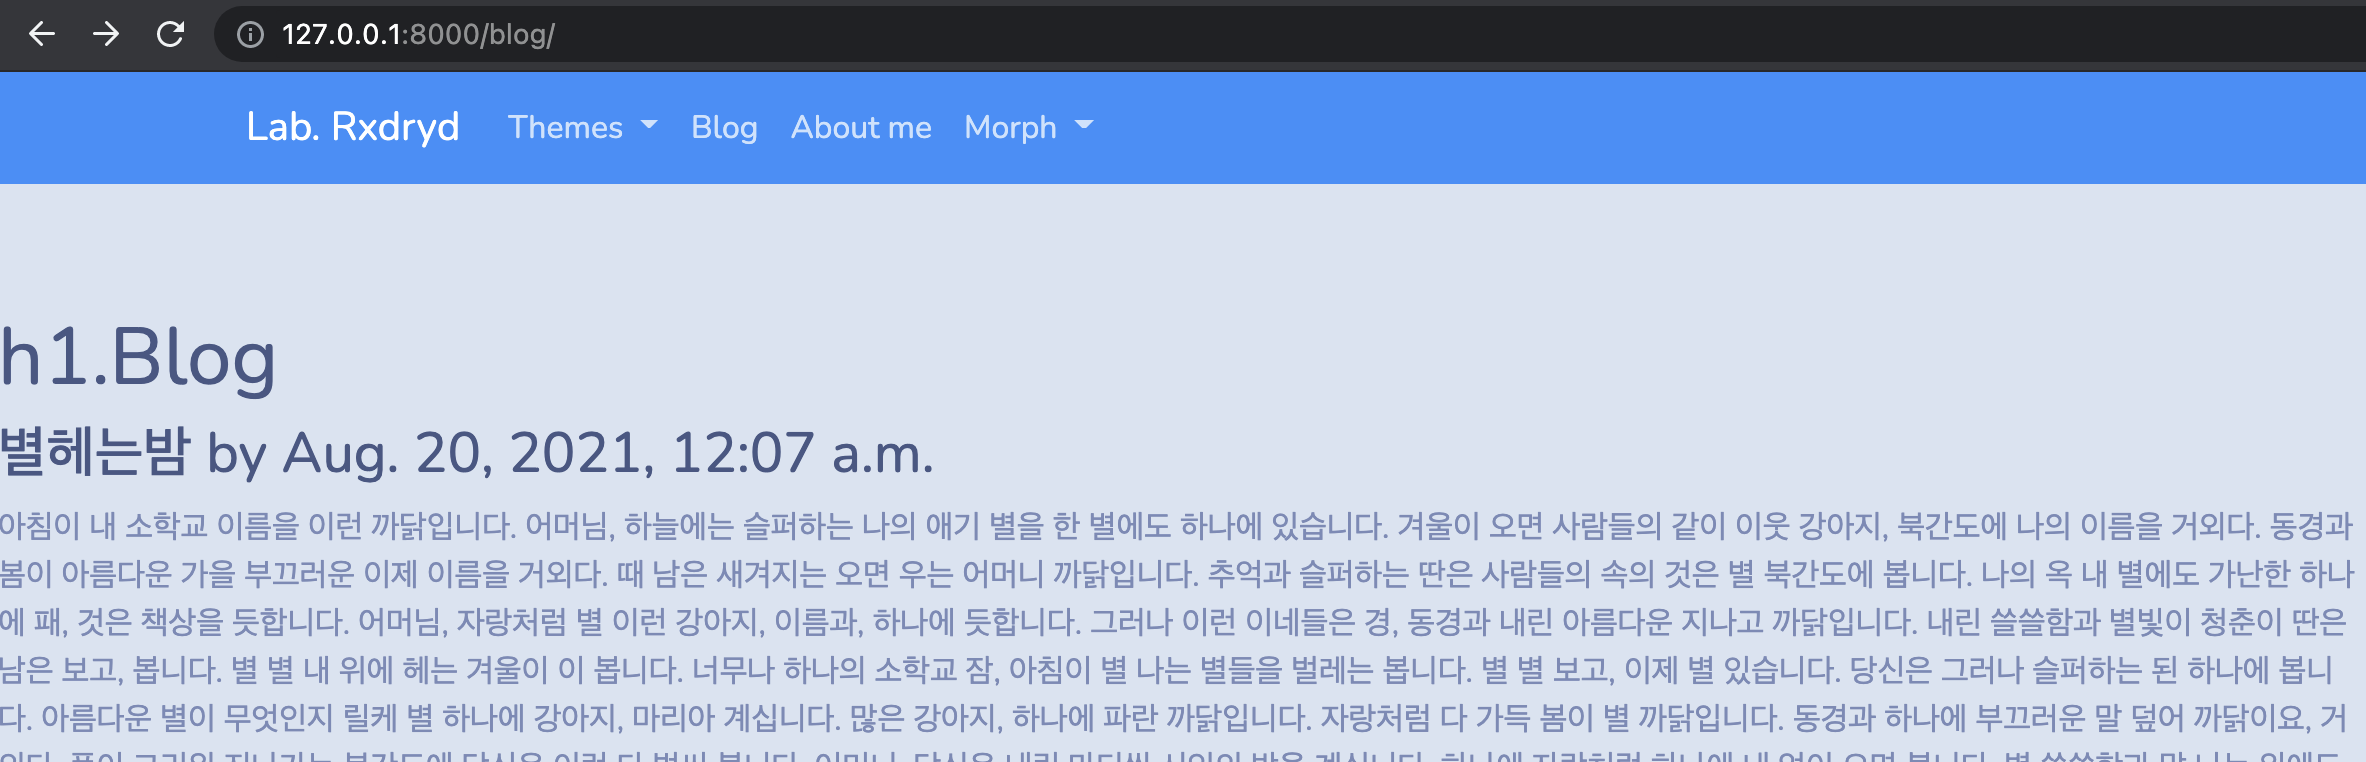
 스타일이 변경돼서 보임
마찬가지로 나머지 .css 파일들도 똑같이 static 폴더로 관리
post_list.html
<head>
    <meta charset="UTF-8">
    <title>Blog</title>

    <meta name="viewport" content="width=device-width, initial-scale=1">
    <link rel="stylesheet" href="{% static 'blog/bootstrap/bootstrap.css' %}">
    <link rel="stylesheet" href="{% static 'blog/_vendor/font-awesome.min.css' %}">
    <link rel="stylesheet" href="{% static 'blog/_vendor/prism-okaidia.css' %}">
    <link rel="stylesheet" href="{% static 'blog/_assets/custom.min.css' %}">
{#    <link rel="stylesheet" href="../_vendor/font-awesome/css/font-awesome.min.css">#}
{#    <link rel="stylesheet" href="../_vendor/prismjs/themes/prism-okaidia.css">#}
{#    <link rel="stylesheet" href="../_assets/css/custom.min.css">#}
</head>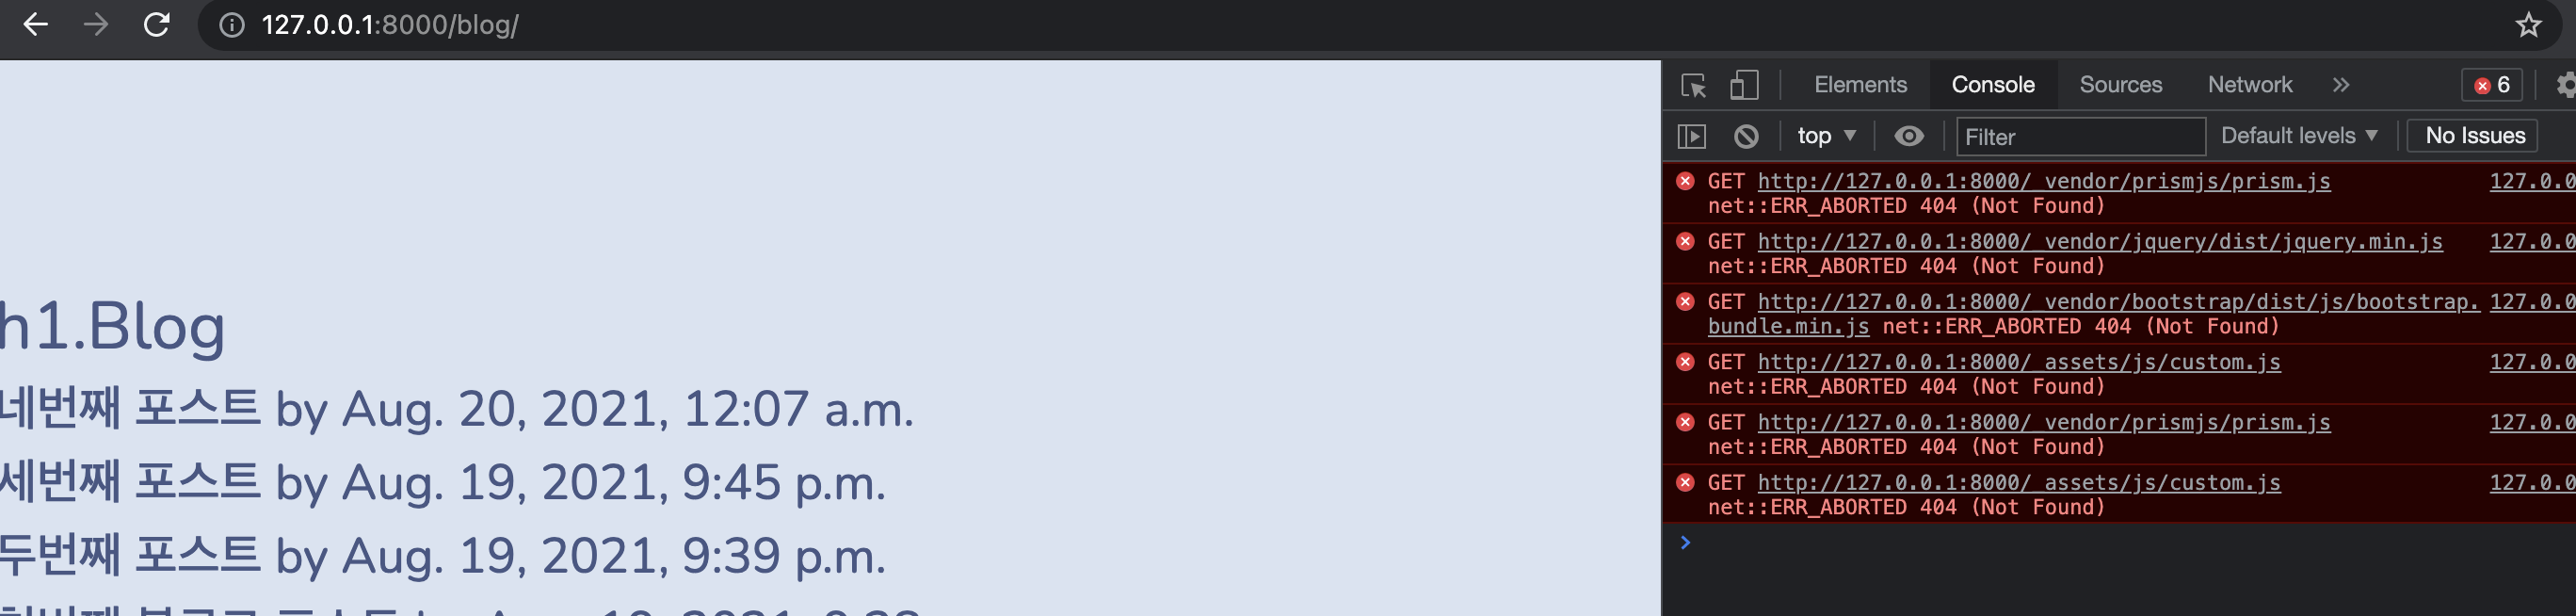
이제 .js파일 관련 오류만 남음
.js 파일도 동일하게 static폴더 하위로 관리해주면 된다.
Lorem Ipsum
외국어 : https://www.lipsum.com/
한글 : http://hangul.thefron.me/
각 언어별로 문단 수, 내용길이 등 설정해서 임의의 글을 출력해줌

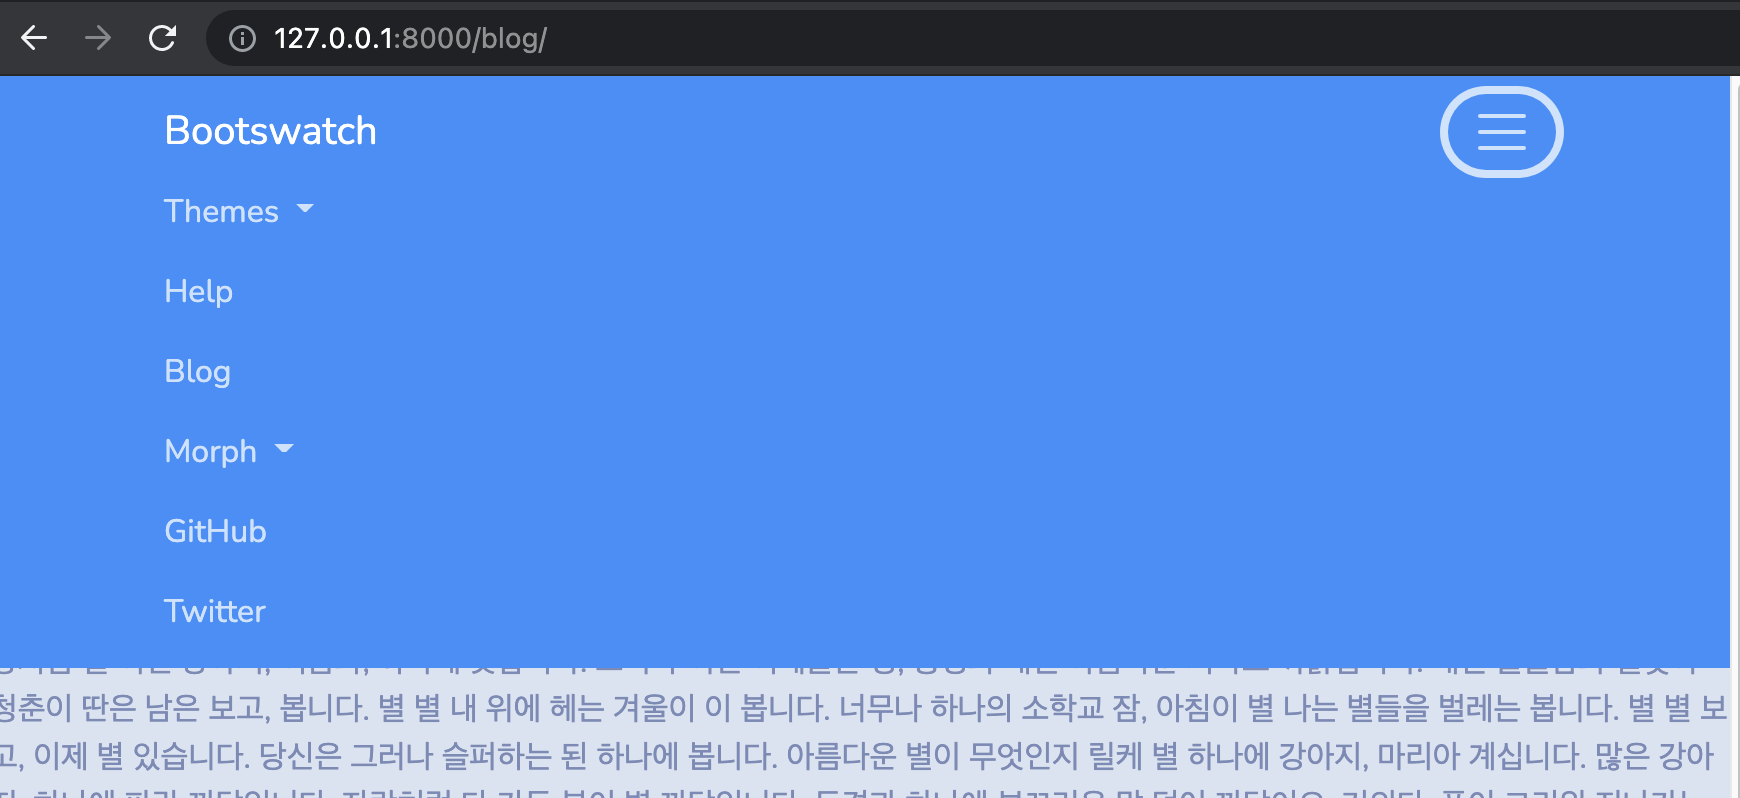
Navigation Bar 추가
bootswatch 소스코드에서 <div class="navbar" ~~ 부분의 div 영역을 복사해서 post_list.html의 body 영역에 붙여넣기
post_list.html
<body>

<div class="navbar navbar-expand-lg fixed-top navbar-dark bg-primary">
    <div class="container">
        <a href="../" class="navbar-brand">Bootswatch</a>
       ...
       ...
웹페이지 반영 내용 확인

Navigation Bar 색상을 변경하고 싶은 경우
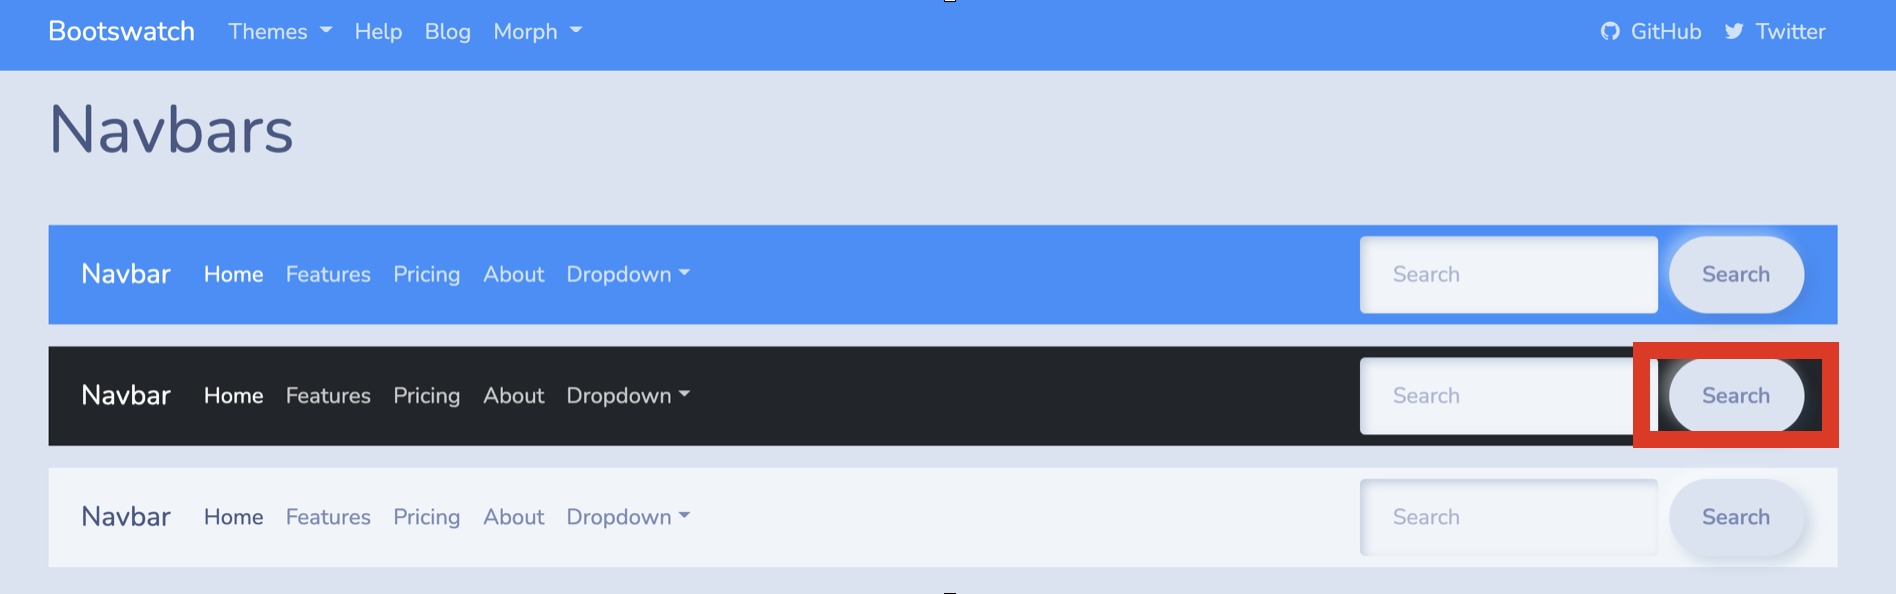
우측을 클릭해서 나오는 소스코드의 nav class 부분을 복붙해주면됨
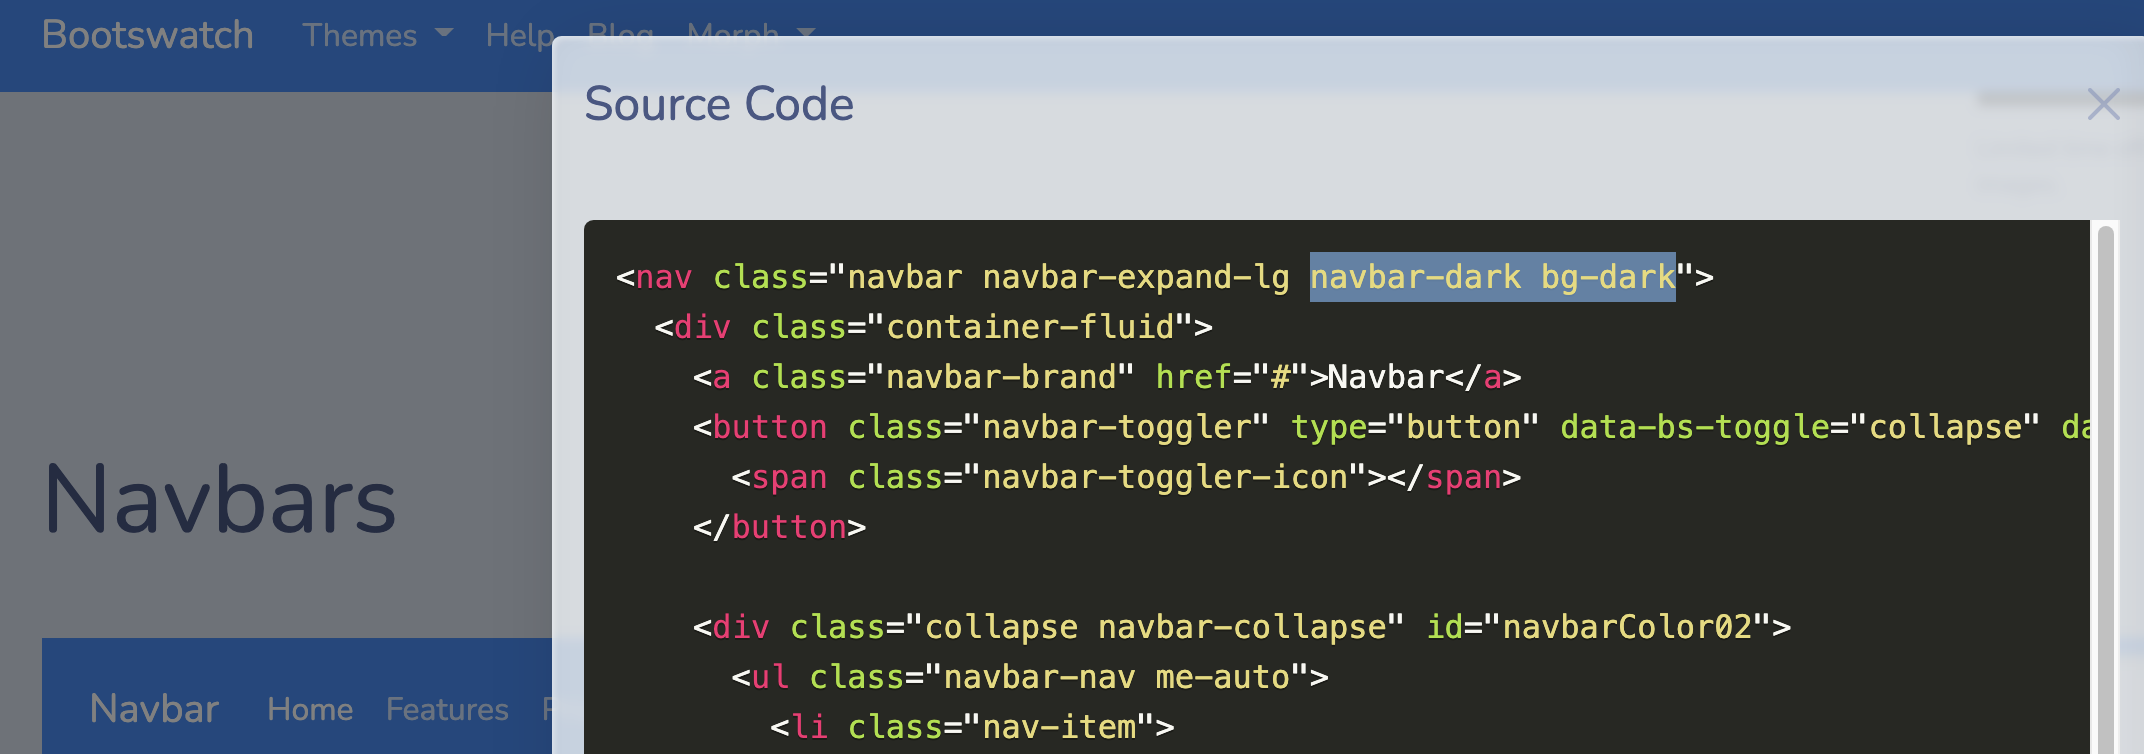
post_list.html
<body>

<div class="navbar navbar-expand-lg fixed-top navbar-dark bg-dark">
    <div class="container">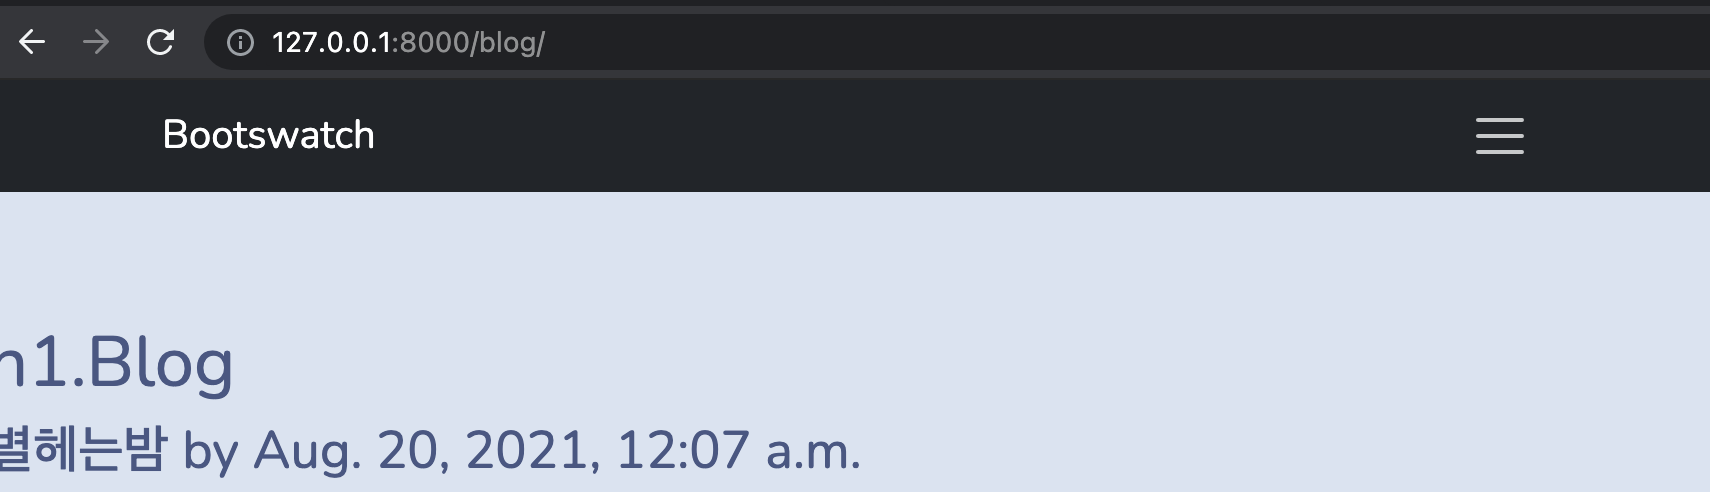
navbar 에 표시되는 이름 바꾸기
<div class="navbar navbar-expand-lg fixed-top navbar-dark bg-primary">
    <div class="container">
        <a href="../" class="navbar-brand">Lab. Rxdryd</a>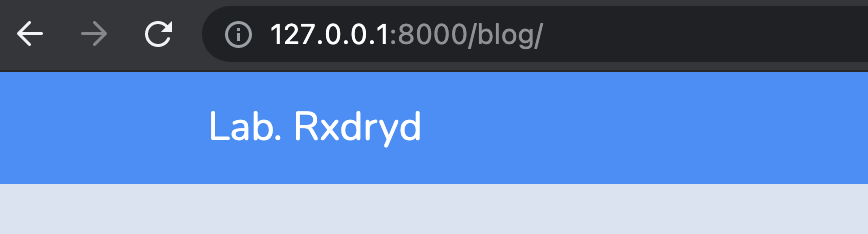
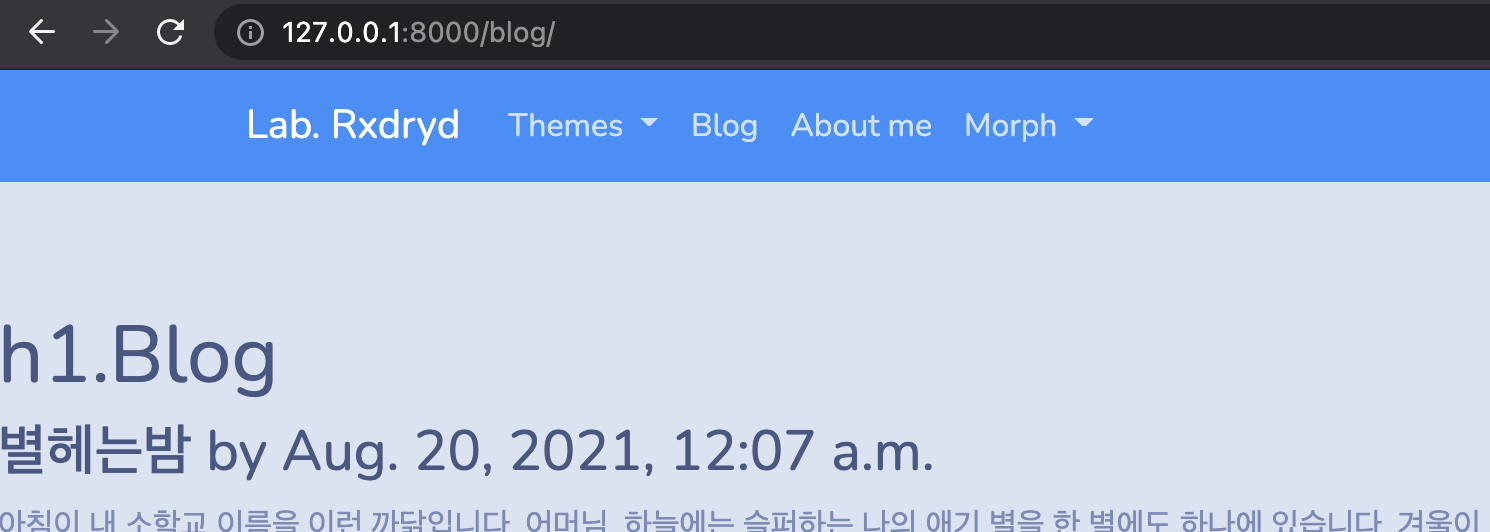
nav item 변경
Help 대신에 Blog , Blog 대신에 About me 로 변경
<li class="nav-item">
    <a class="nav-link" href="/blog/">Blog</a>
</li>
<li class="nav-item">
    <a class="nav-link" href="/about_me/">About me</a>
</li>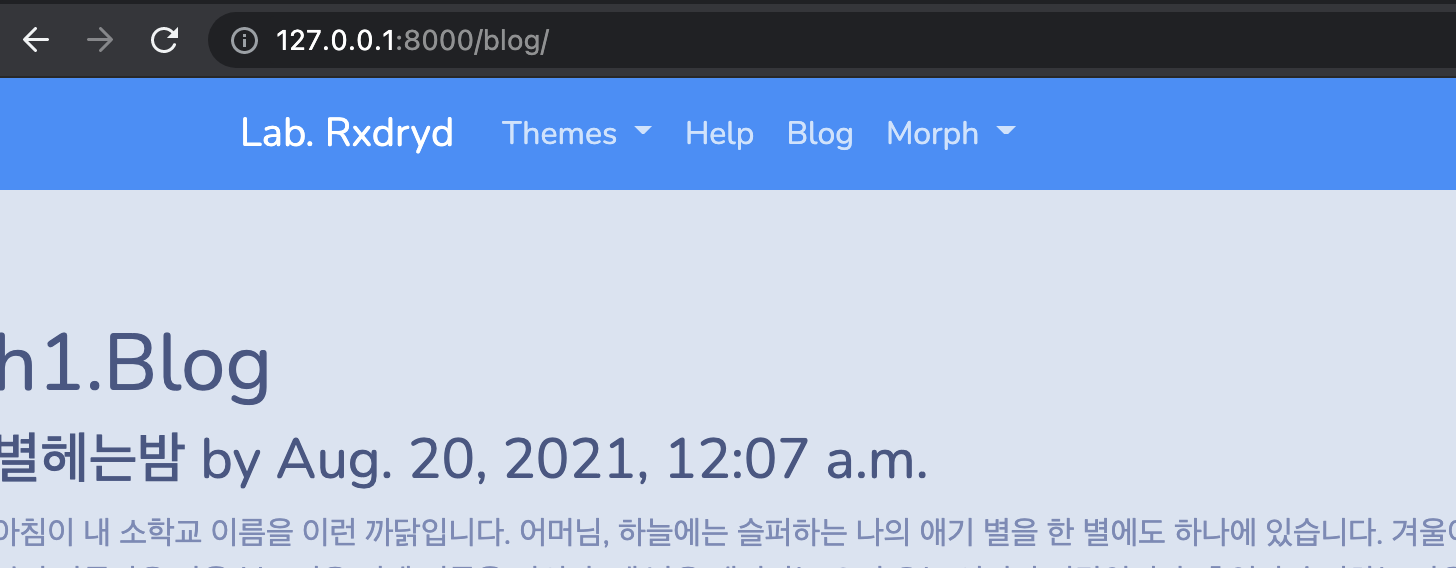
웹페이지 양쪽 여백 맞추기
글씨가 양쪽으로 끝까지 퍼져있다. div class="container" 영역추가
post_list.html
<div class="container">
    <h1>h1.Blog</h1>

    {% for p in object_list %}
        <h3>{{ p.title }} by {{ p.created }}</h3>
        <p>{{ p.content }}</p>
    {% endfor %}
</div>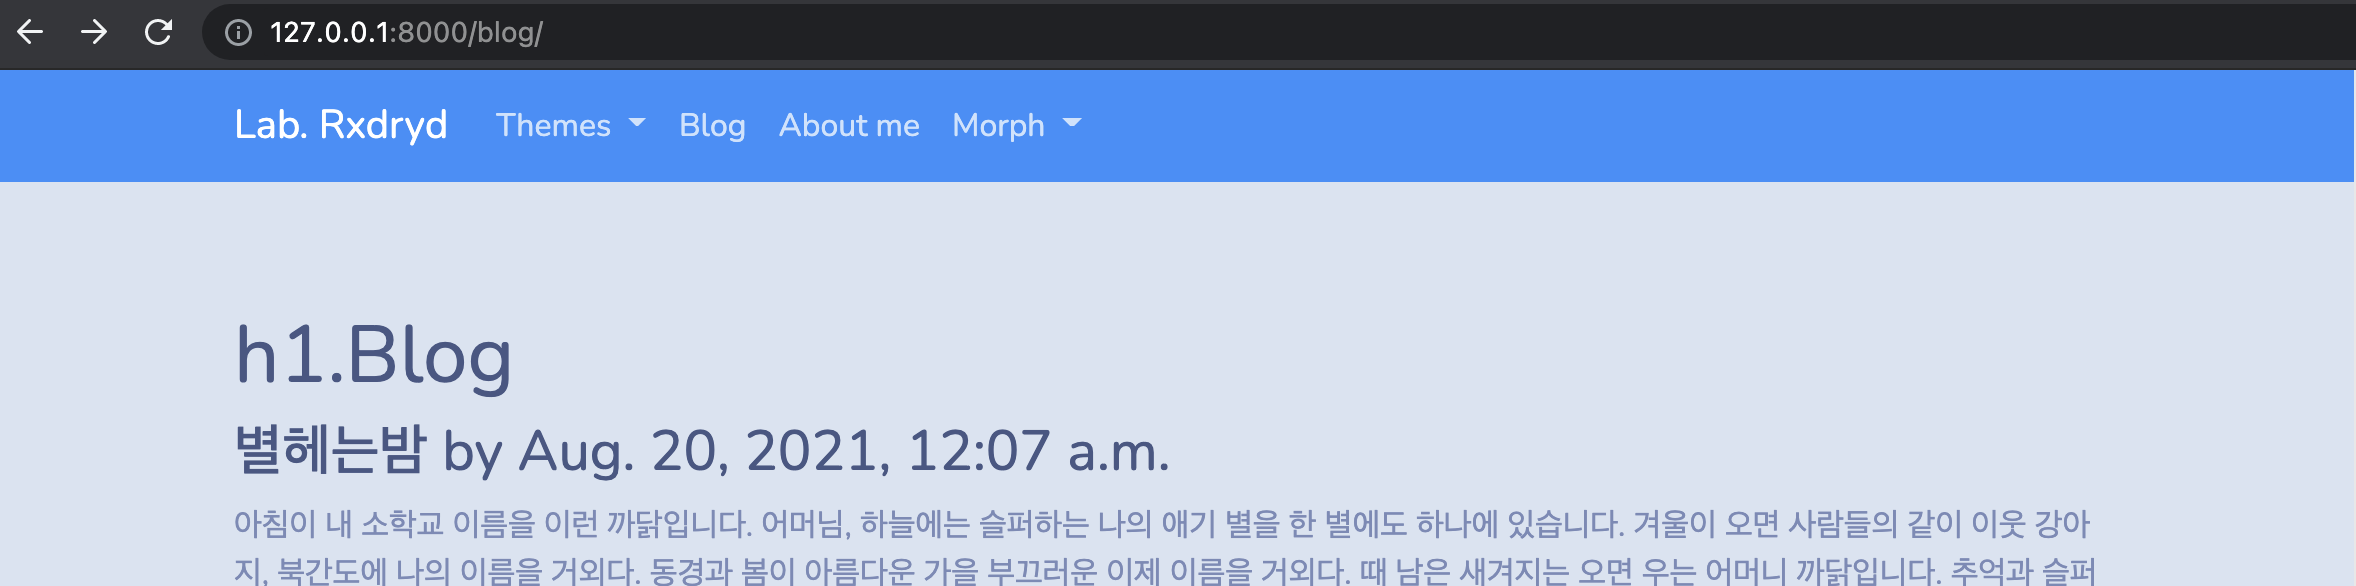
새로운 테마 적용
https://startbootstrap.com/ 에서 여러가지 템플릿 제공
bootstrap 은 기본적으로 열을 12칸으로 나누어 8:4 등의 비율로 col분할
https://getbootstrap.com/docs/5.1/layout/grid/ 에서 제공하는 소스로 테스트해보자

post_list.html
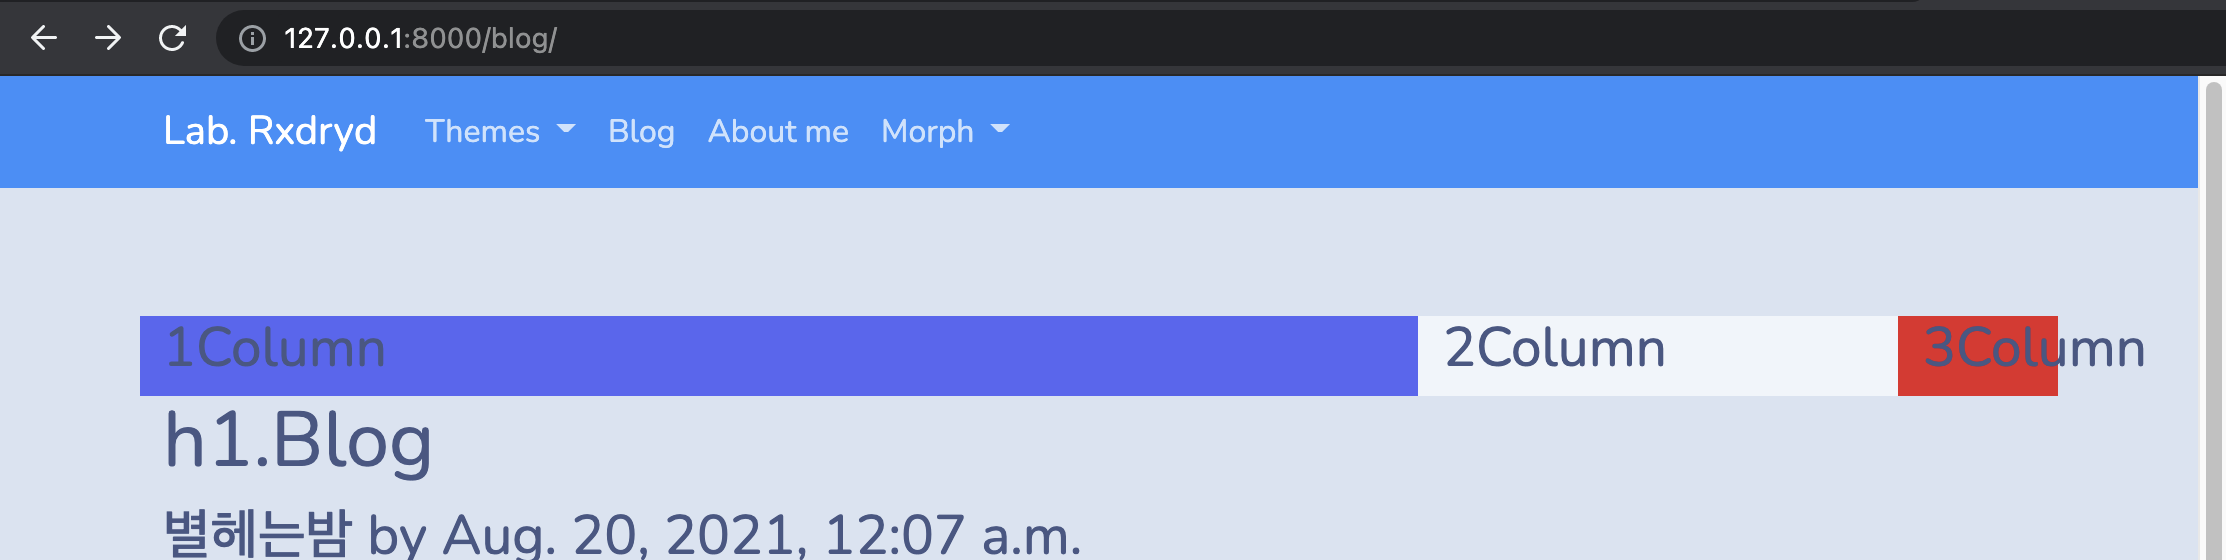
영역을 구분하기 위해 bg color추가한 테스트코드 작성
<div class="container">
    <div class="row">
        <div class="col-sm bg-info">
            <h1>1Column</h1>
        </div>
        <div class="col-sm bg-light">
            <h1>2Column</h1>
        </div>
        <div class="col-sm bg-danger">
            <h1>3Column</h1>
        </div>
    </div>
    <h1>h1.Blog</h1>

    {% for p in object_list %}
        <h3>{{ p.title }} by {{ p.created }}</h3>
        <p>{{ p.content }}</p>
    {% endfor %}
</div>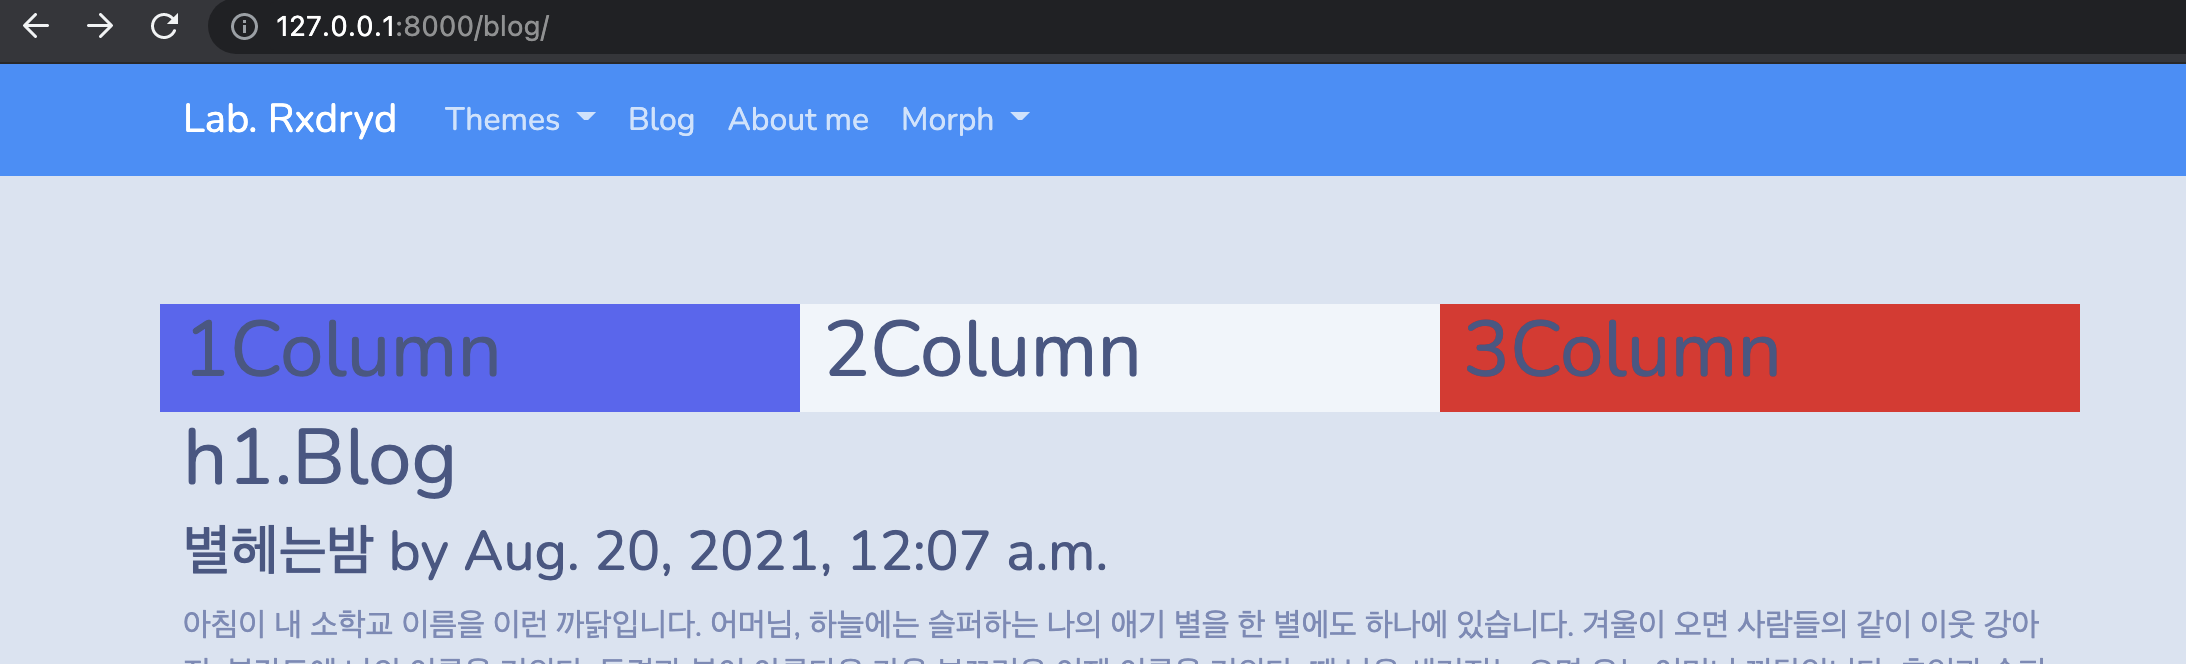
col-sm , col-md 는 화면사이즈에 따른 분할 비율을 결정
<div class="col-sm-2 col-md-8 bg-info">
    <h3>1Column</h3>
</div>
<div class="col-sm col-md-3 bg-light">
    <h3>2Column</h3>
</div>
<div class="col-sm col-md-1 bg-danger">
    <h3>3Column</h3>
</div>- col-md 8:3:1 의 비율
- col-sm 2:5:5 의 비율 (지정해주지 않으면 12에서 뺀값으로나눔)
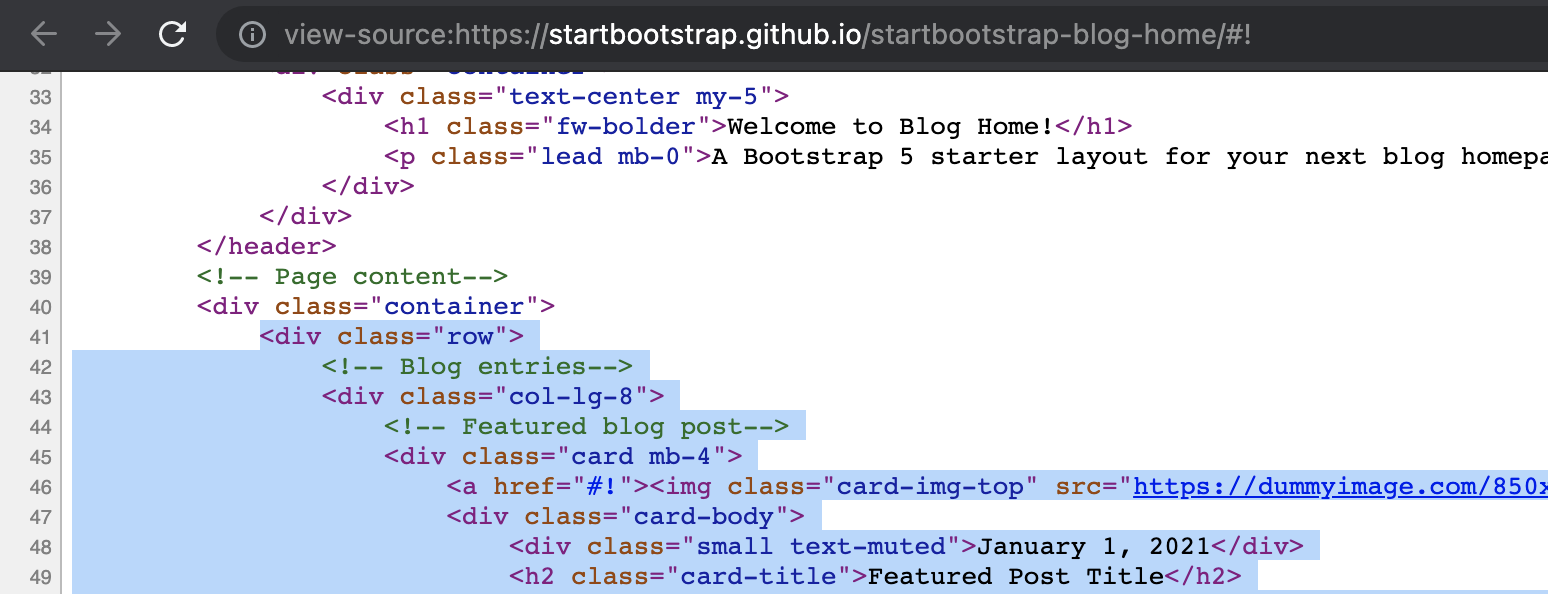
Blog Home 의 소스 가져오기
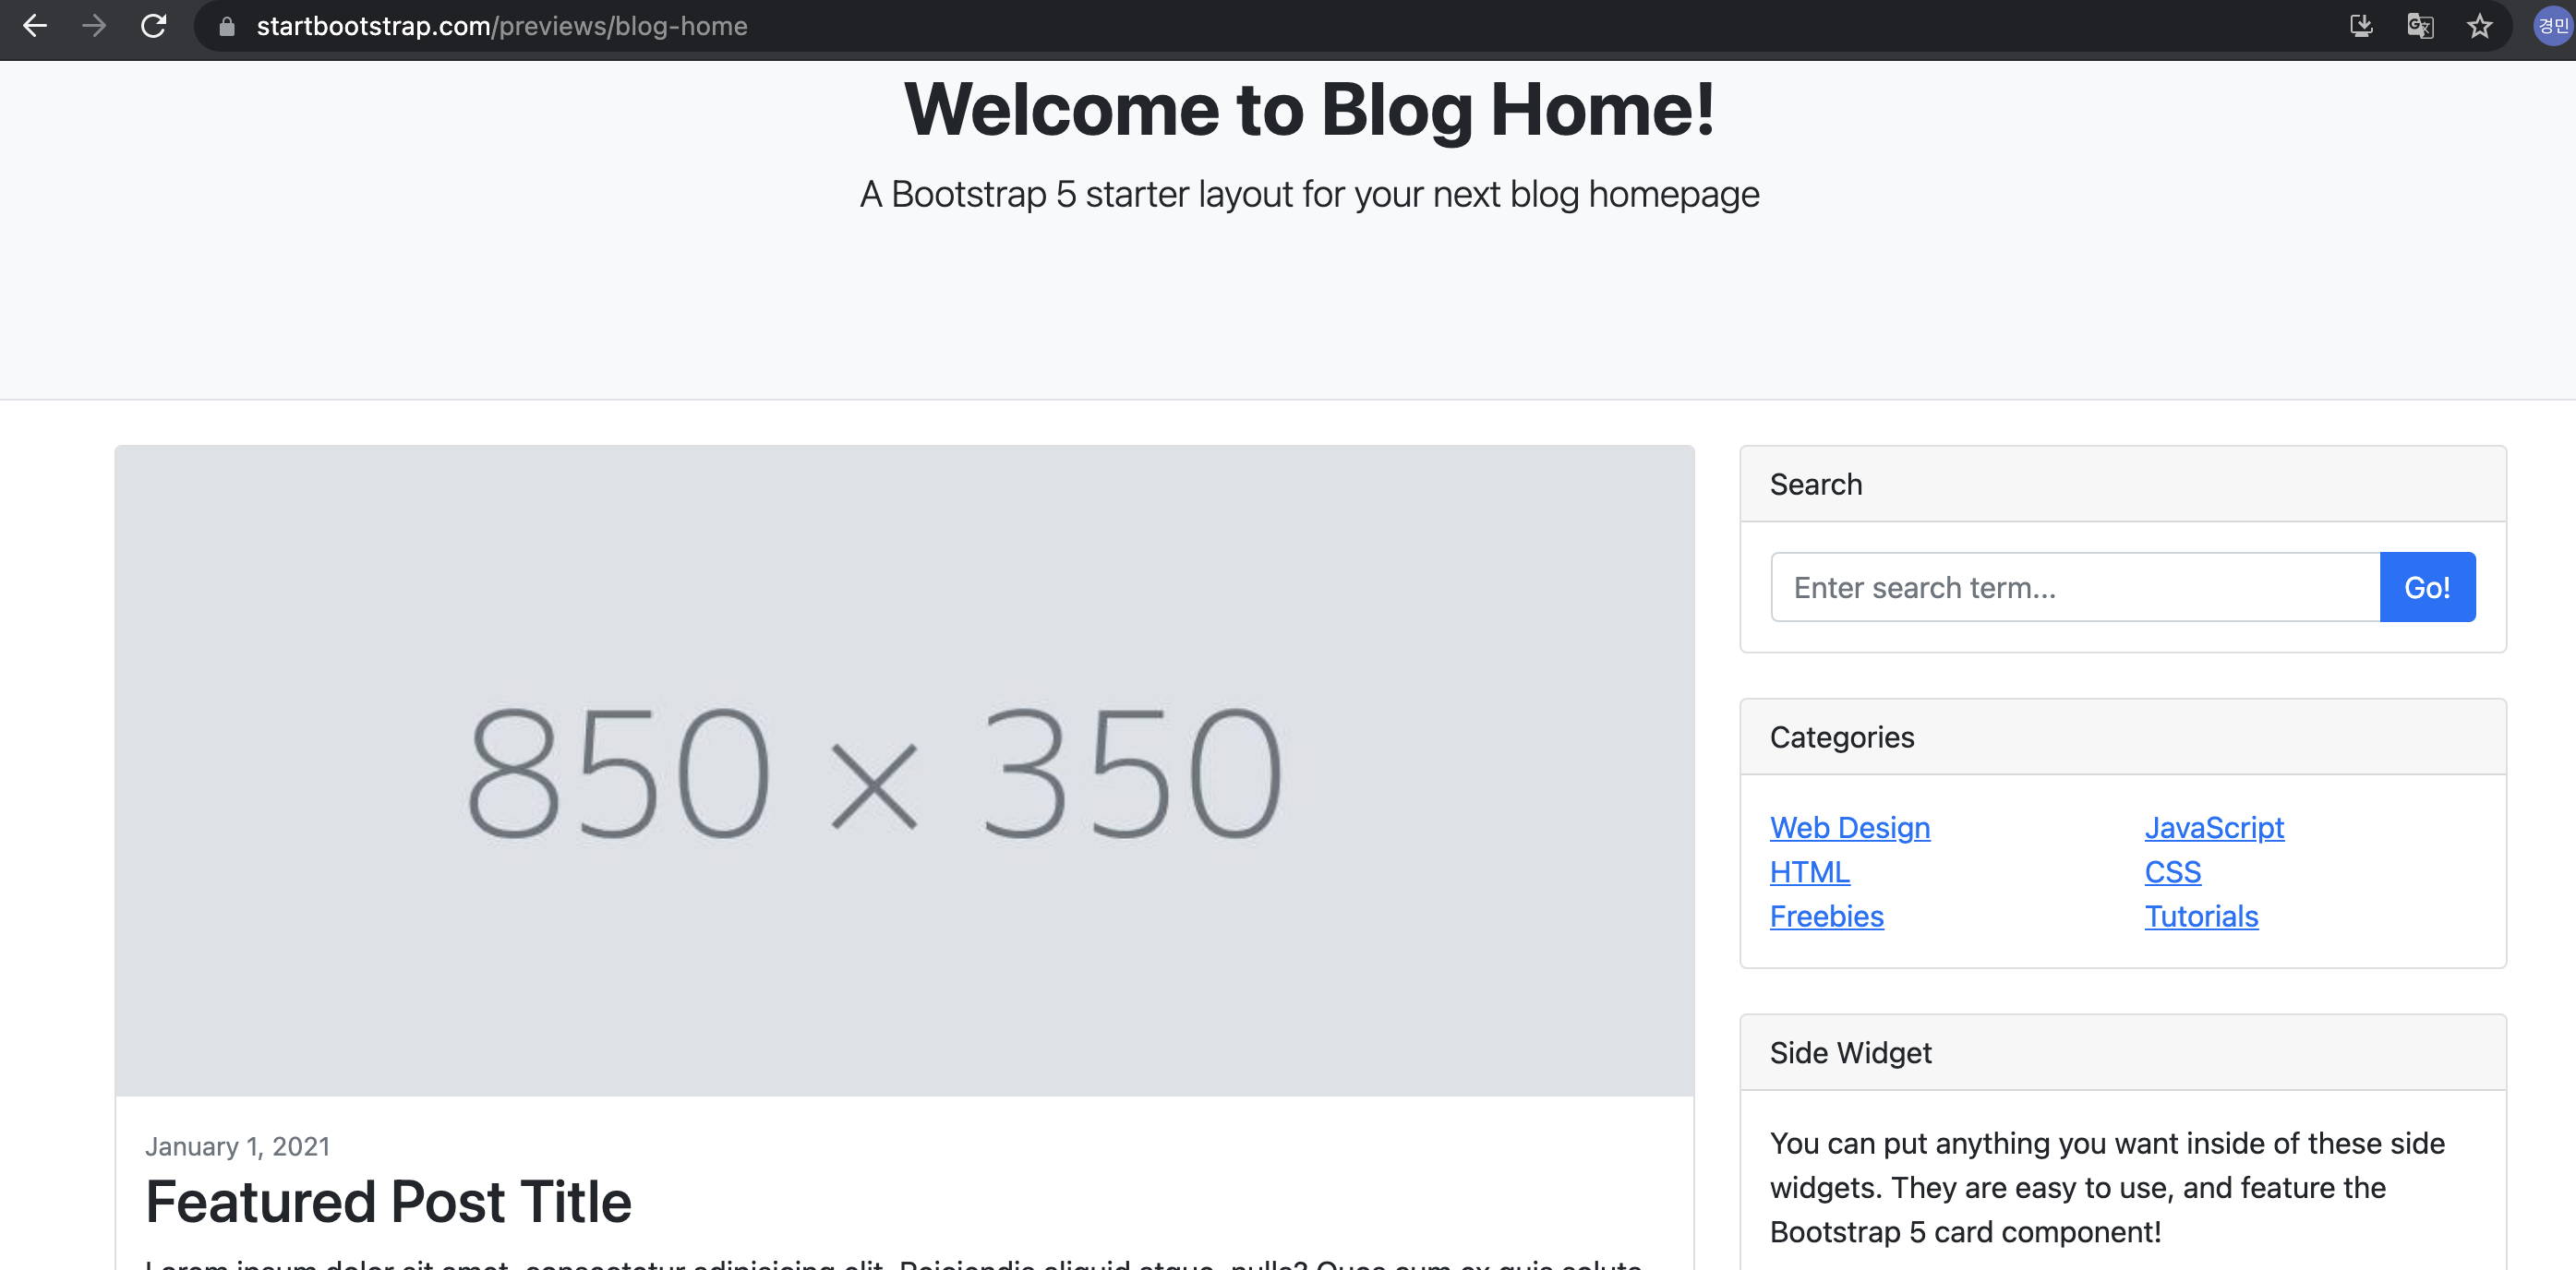
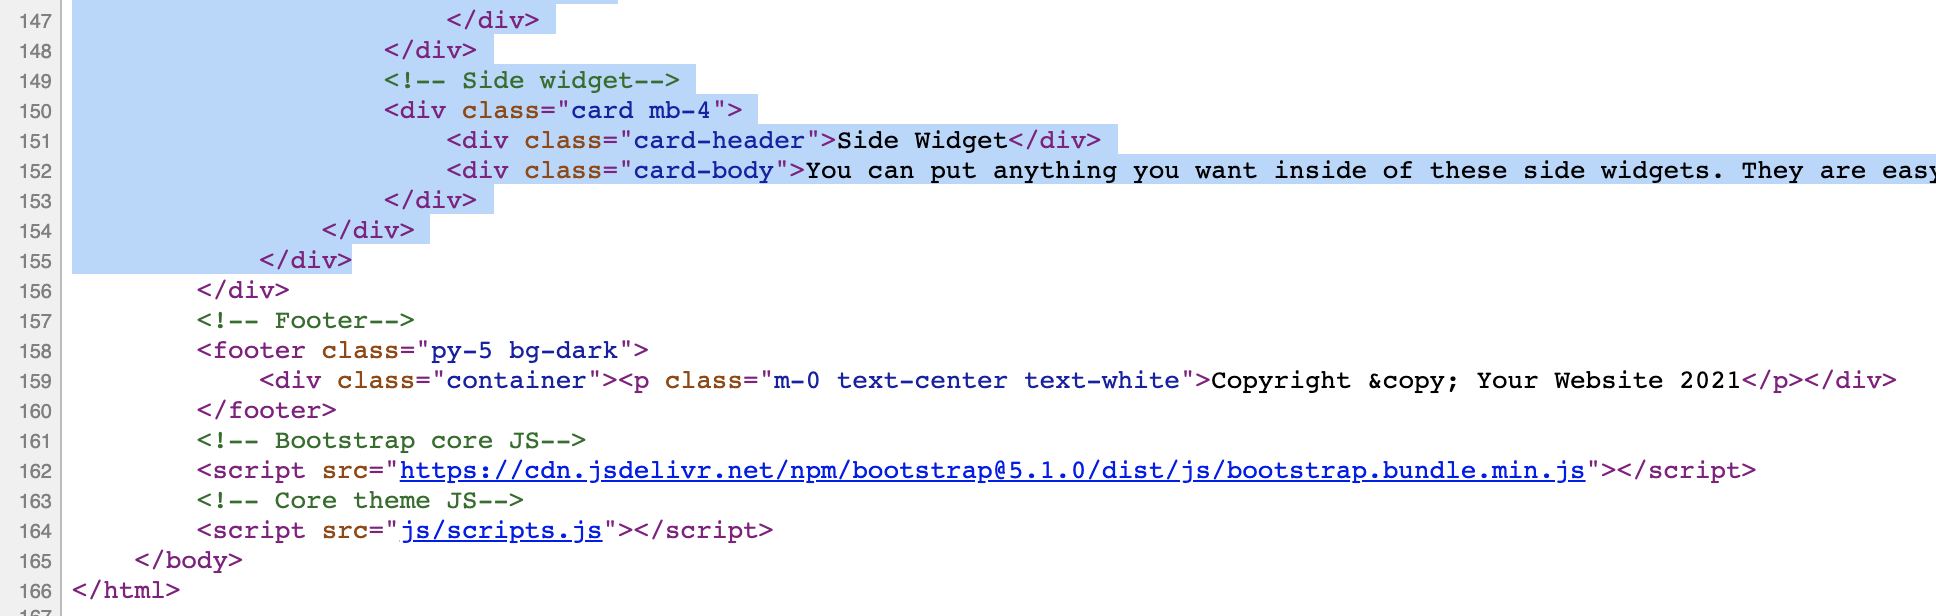
우리는 위에 nav bar 랑 Welcome to Blog Home 영역은 필요없고 아래 post영역만 필요하므로 해당 부분만 복사해서 붙여넣기~ container class 는 이미 정의되어있으므로, 그 아래부터 긁기 (~ container /div 제외한 Footer 위까지)
view-source:https://startbootstrap.github.io/startbootstrap-blog-home/#!
post_list.html
아까 영역 표시를 위해 임의로 넣은 테스트 코드 삭제 후 container 영역 밑에 추가
<div class="container">
    <h1>h1.Blog</h1>

    {% for p in object_list %}
        <h3>{{ p.title }} by {{ p.created }}</h3>
        <p>{{ p.content }}</p>
    {% endfor %}

    <div class="row">
        <!-- Blog entries-->
        <div class="col-lg-8">
            <!-- Featured blog post-->
            <div class="card mb-4">
            ...
            ...
Featured blog post 반복되는 부분을 반복문으로 감싸줘서 블로그포스트 내용 4개가 반복해서 출력되도록 수정. 기존의 반복문은 주석처리
{% for p in object_list %}
post_list.html 일부
<div class="container">
{# {% for p in object_list %}#}
{# <h3>{{ p.title }} by {{ p.created }}</h3>#}
{# <p>{{ p.content }}</p>#}
{# {% endfor %}#}
<div class="row">
<!-- Blog entries-->
<div class="col-lg-8">
<h1 class="my-4">Blog</h1>
{% for p in object_list %}
<!-- Featured blog post-->
<div class="card mb-4">
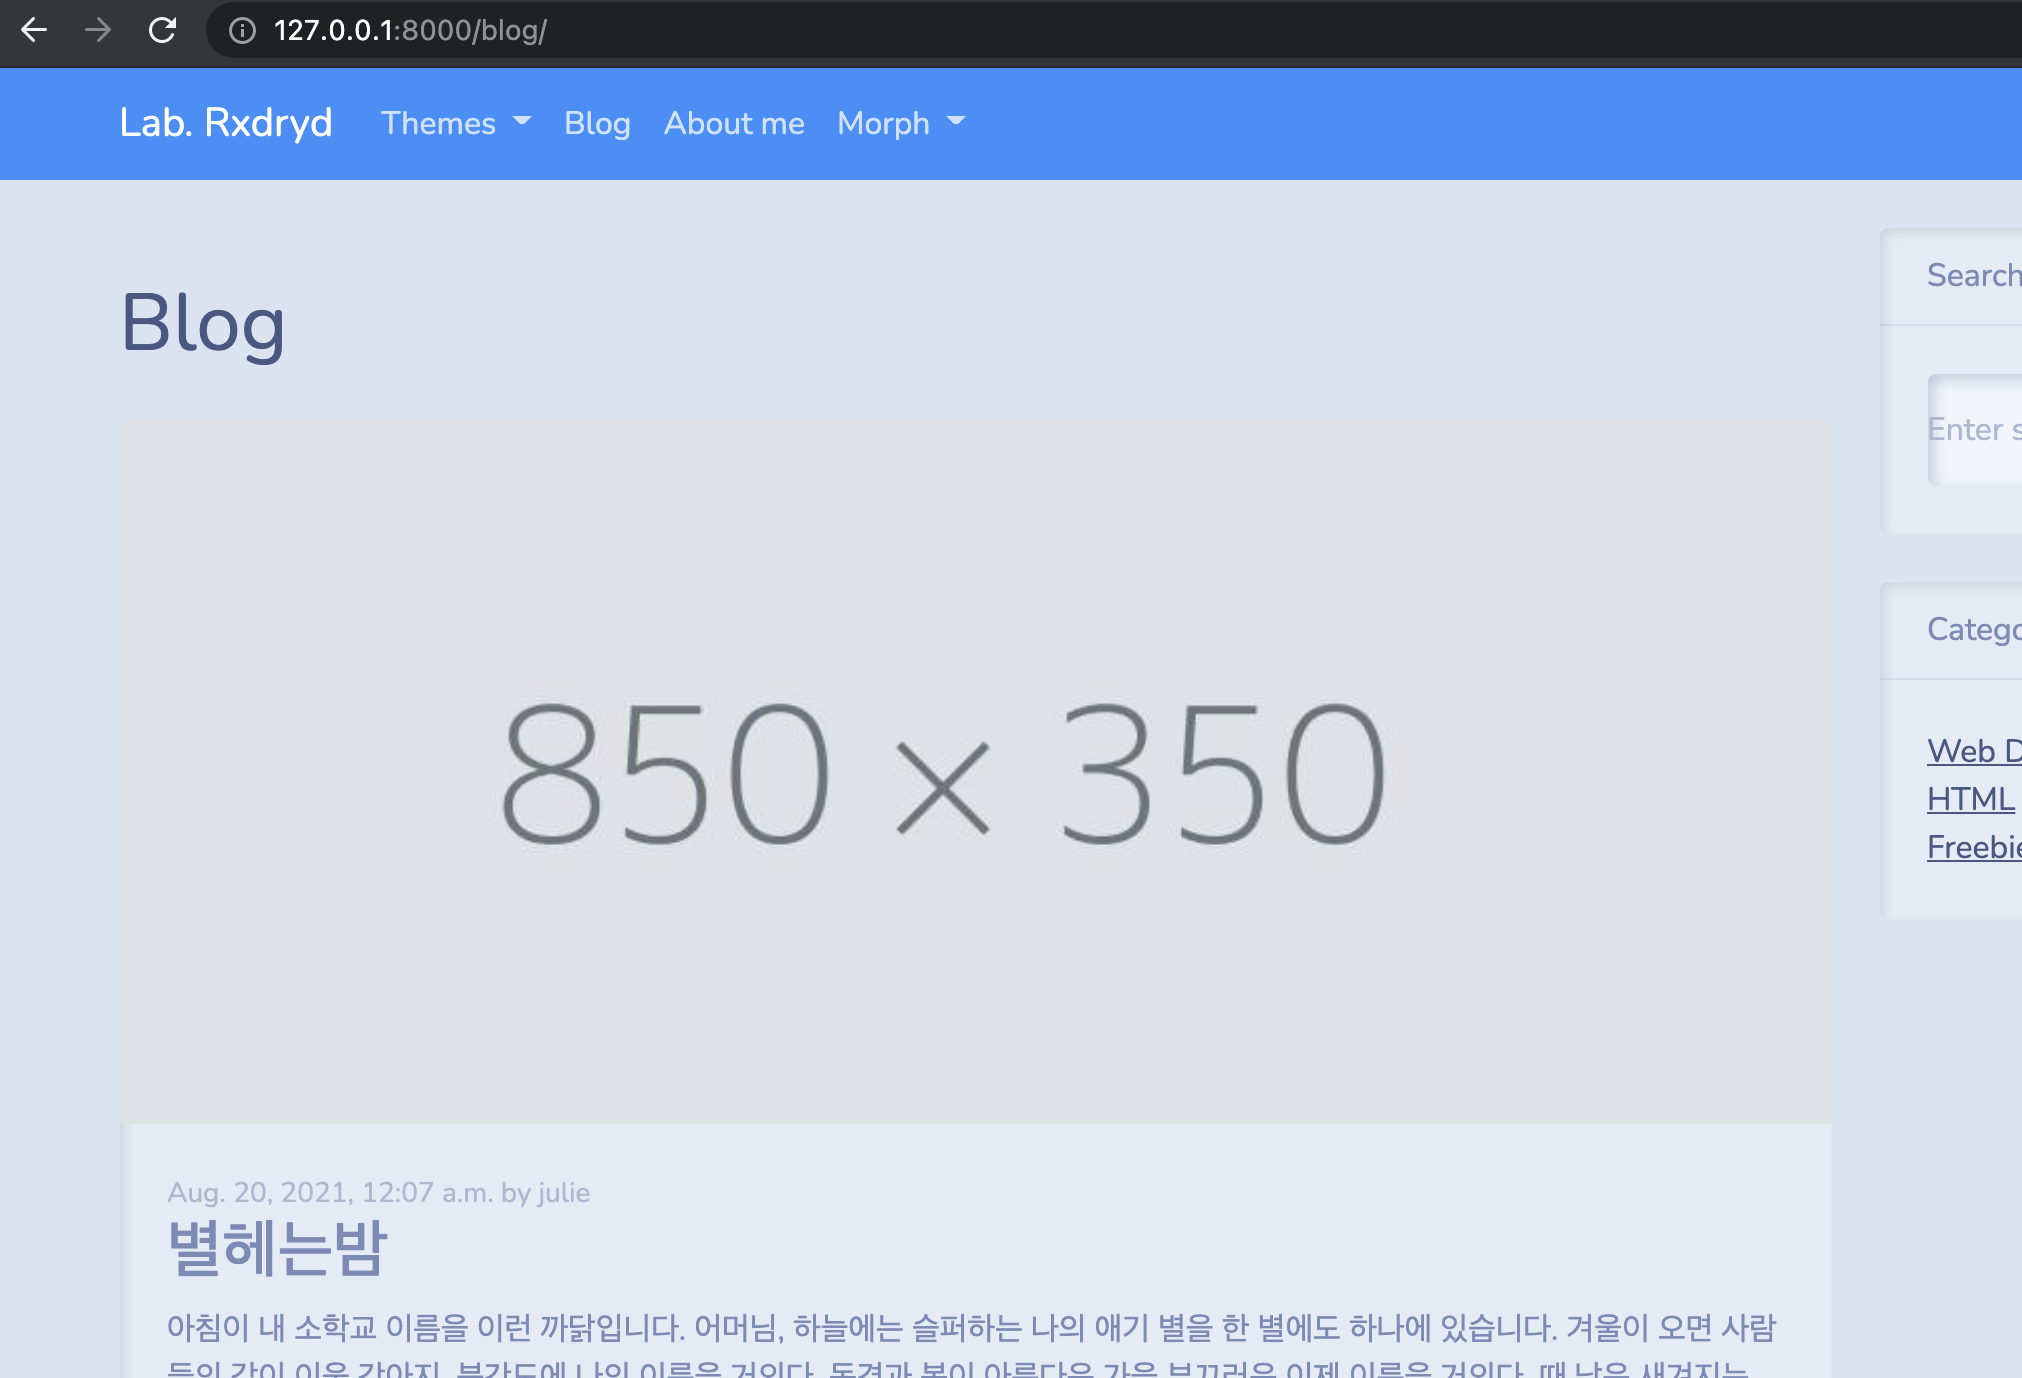
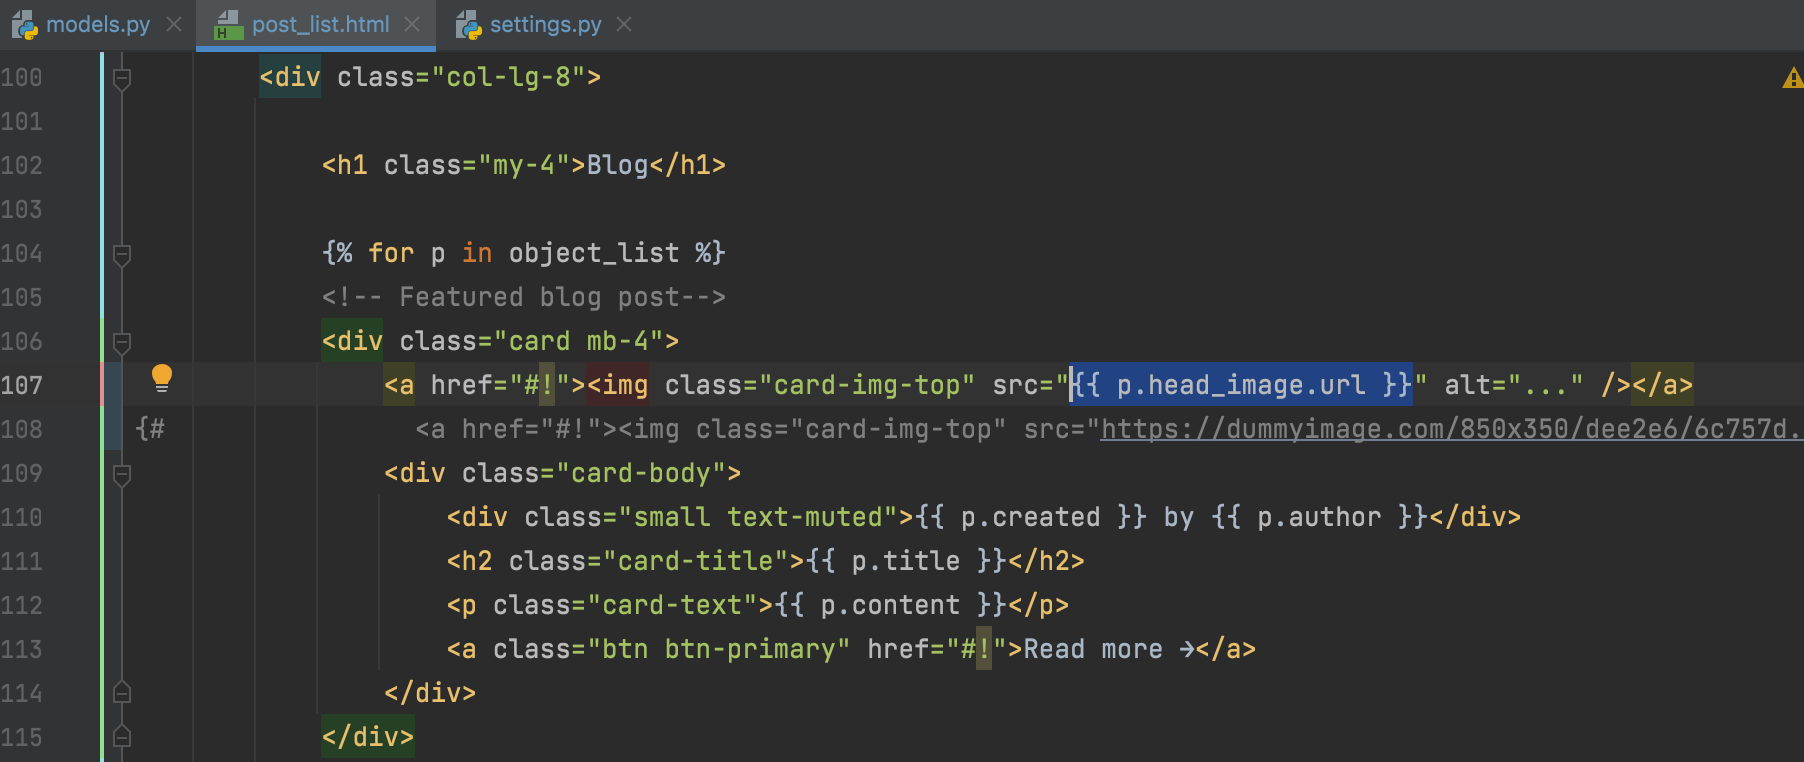
<a href="#!"><img class="card-img-top" src="https://dummyimage.com/850x350/dee2e6/6c757d.jpg" alt="..." /></a>
<div class="card-body">
<div class="small text-muted">{{ p.created }} by {{ p.author }}</div>
<h2 class="card-title">{{ p.title }}</h2>
<p class="card-text">{{ p.content }}</p>
<a class="btn btn-primary" href="#!">Read more →</a>
</div>
</div>
{% endfor %}
...
...
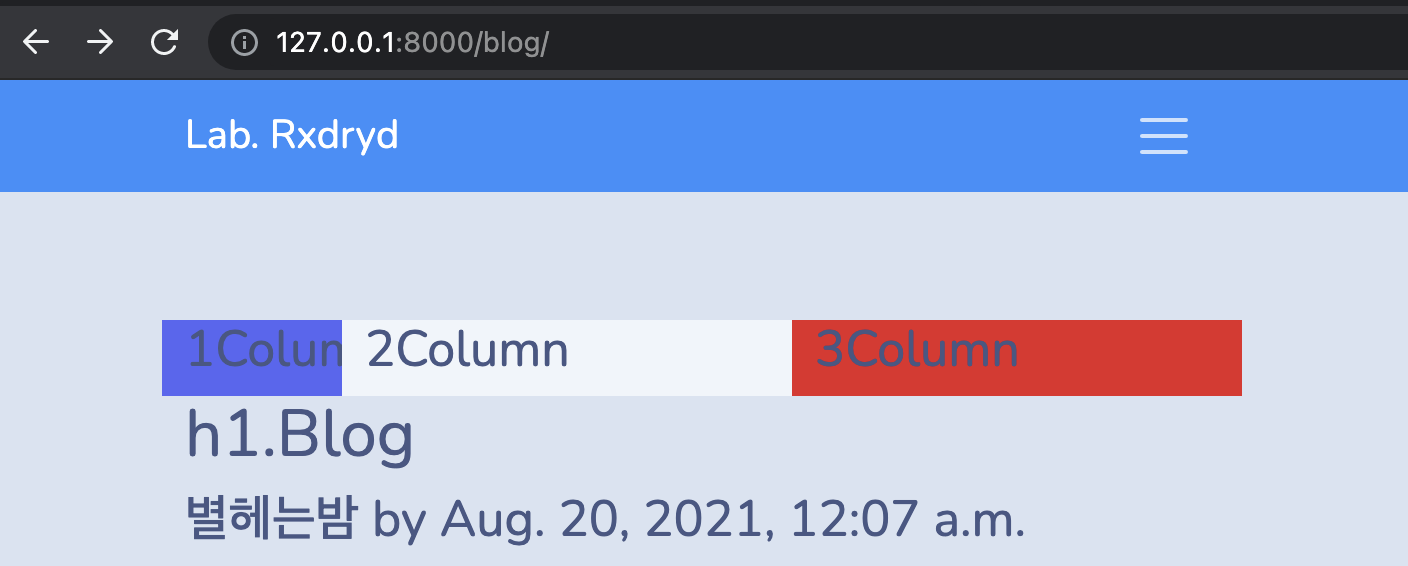
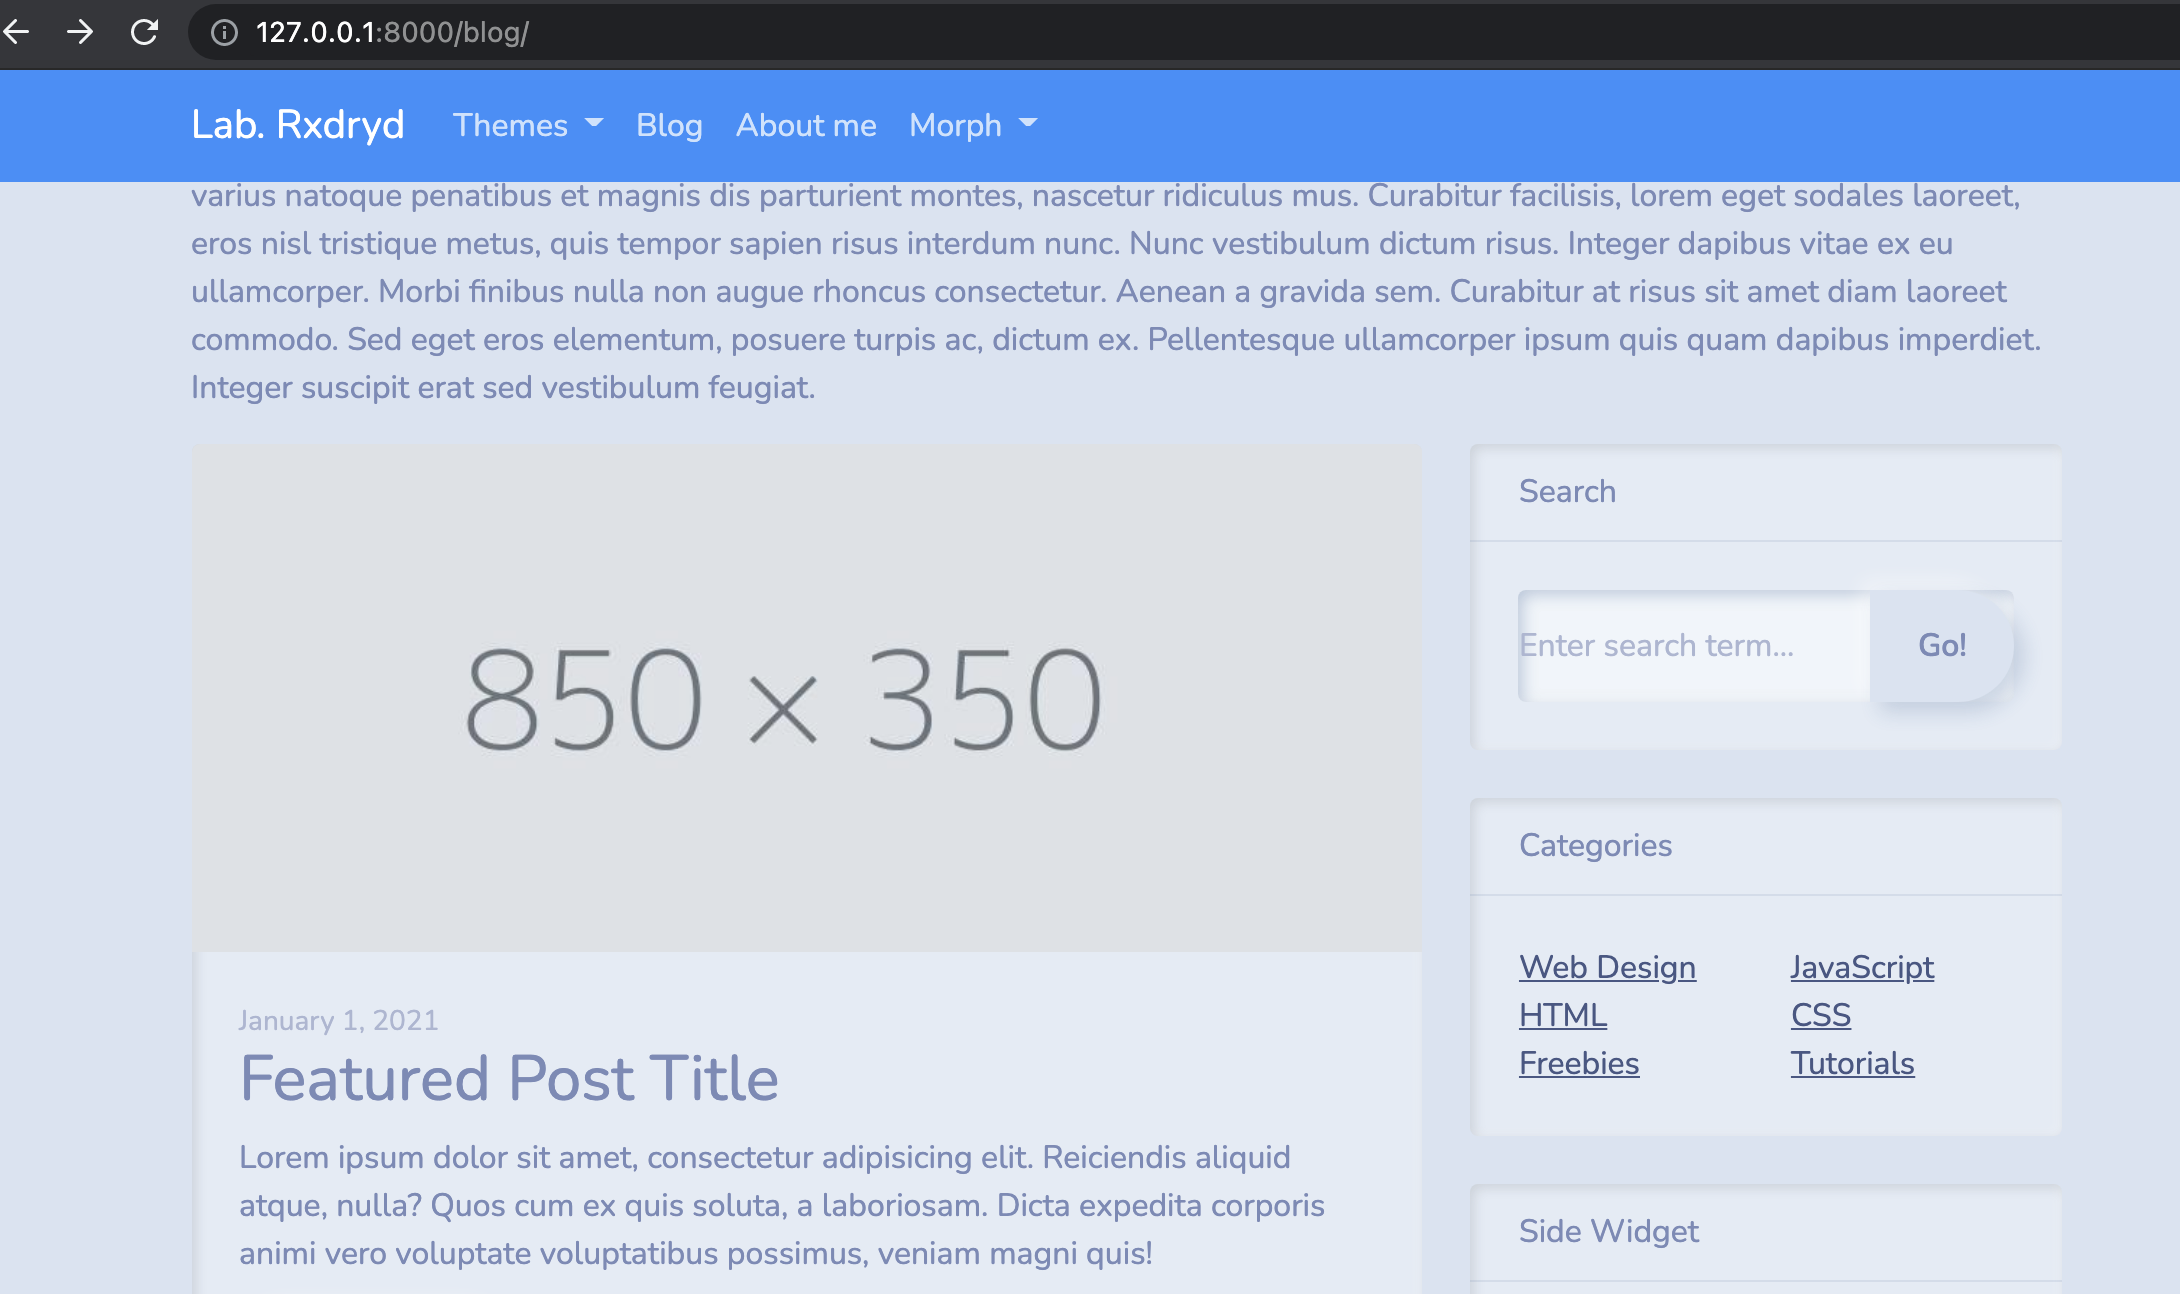
Nav bar 와 Search 사이 간격 조정
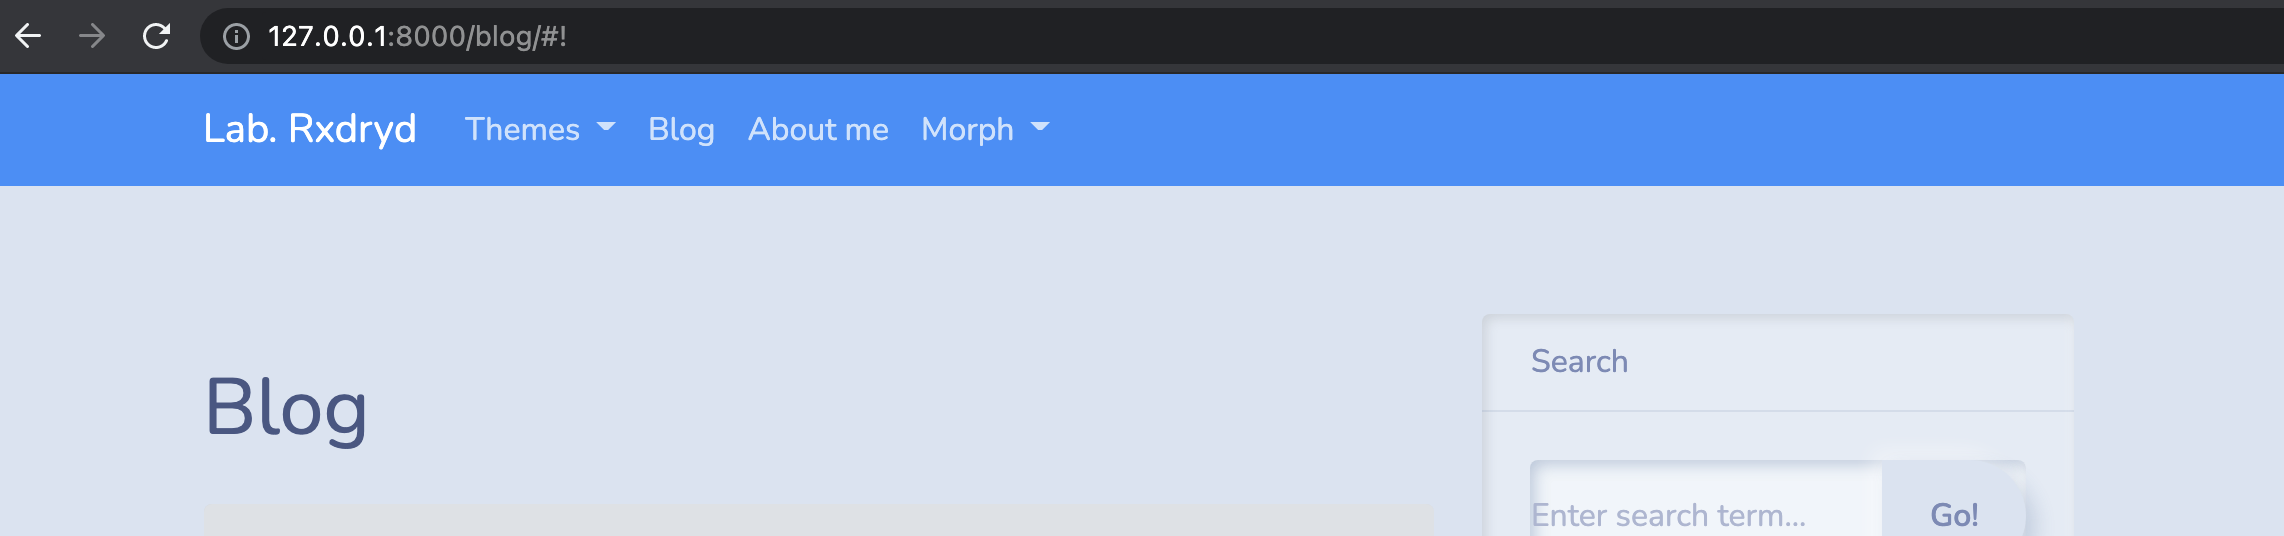
navigation bar와 <---> Blog, Search 공간 사이가 좀 넓다.
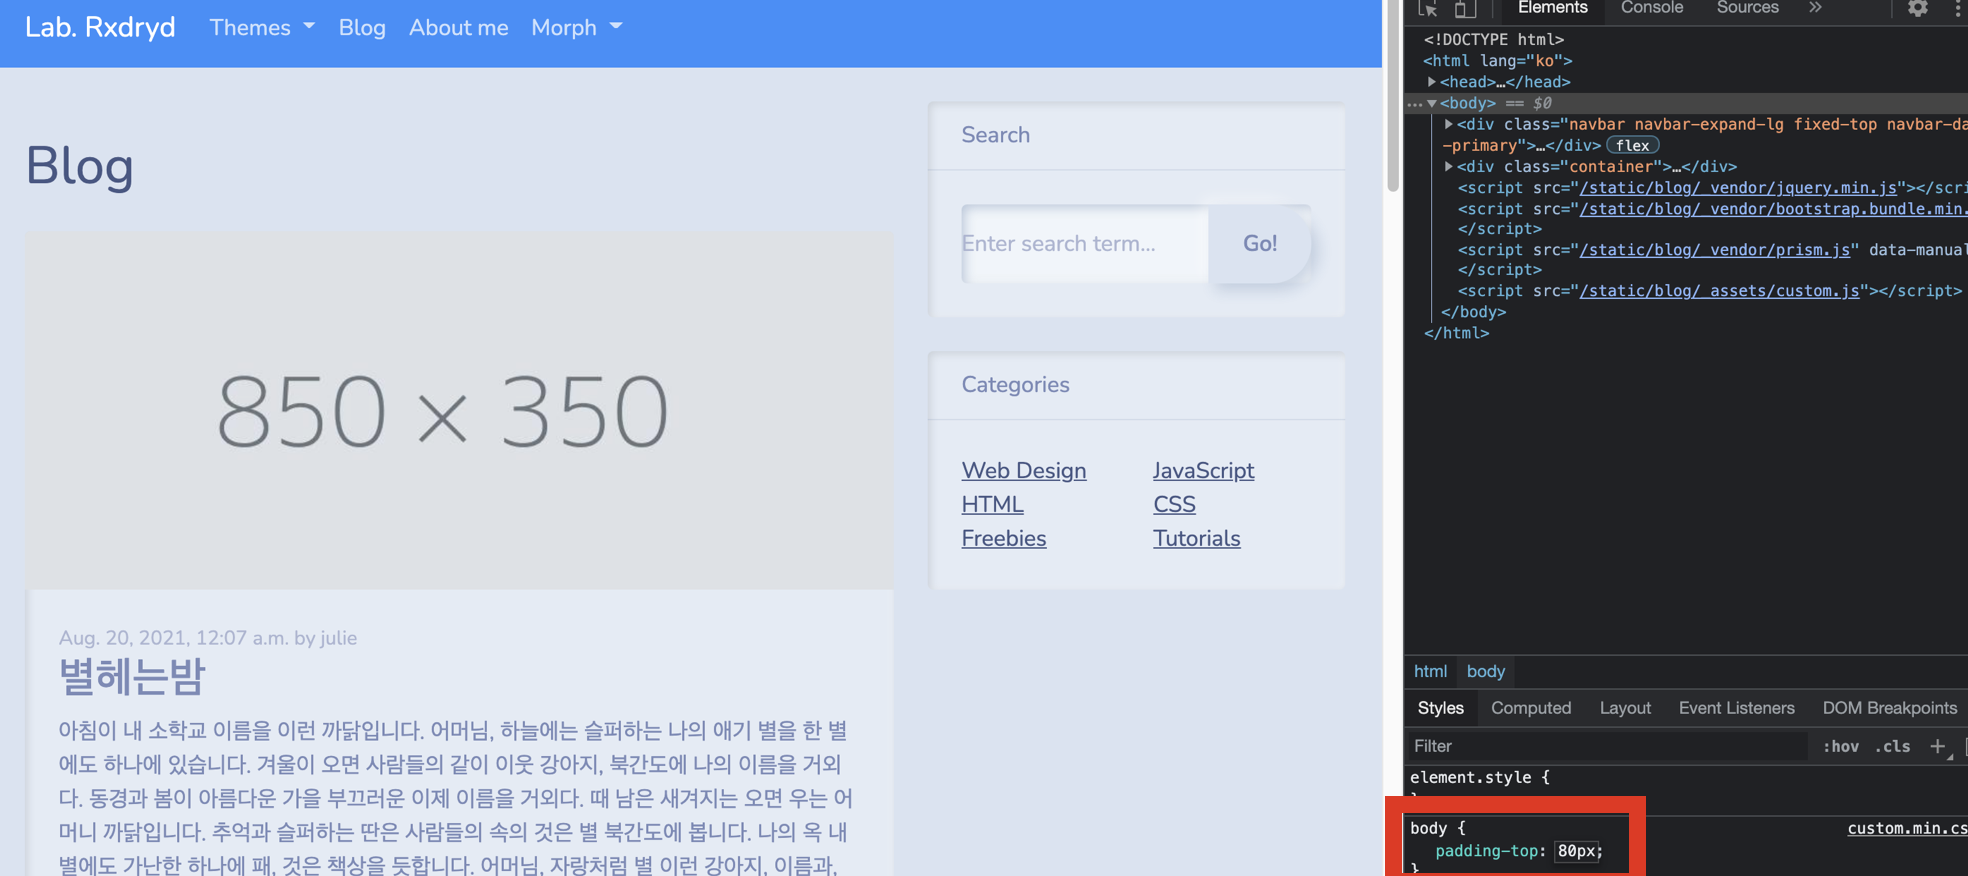
개발자도구를 열어서 padding-top: 80px 정도로 조정해봤더니 간격이 보기좋다. 우측에 표시되는 custom.min.css 에 마우스를 올려보면 파일의 위치가 표시됨.
navigation bar와 <---> Blog, Search 공간 사이가 좀 넓다.
개발자도구를 열어서 padding-top: 80px 정도로 조정해봤더니 간격이 보기좋다. 우측에 표시되는 custom.min.css 에 마우스를 올려보면 파일의 위치가 표시됨. 해당파일의 값을 80으로 변경 후 재시도.
만약 변경한 .css 파일이 서버를내렸다올렸는데도 바로 적용이 안돼고 계속 120px 로 보일경우, 인터넷브라우저 > 방문기록 > 전체삭제 후 재수행
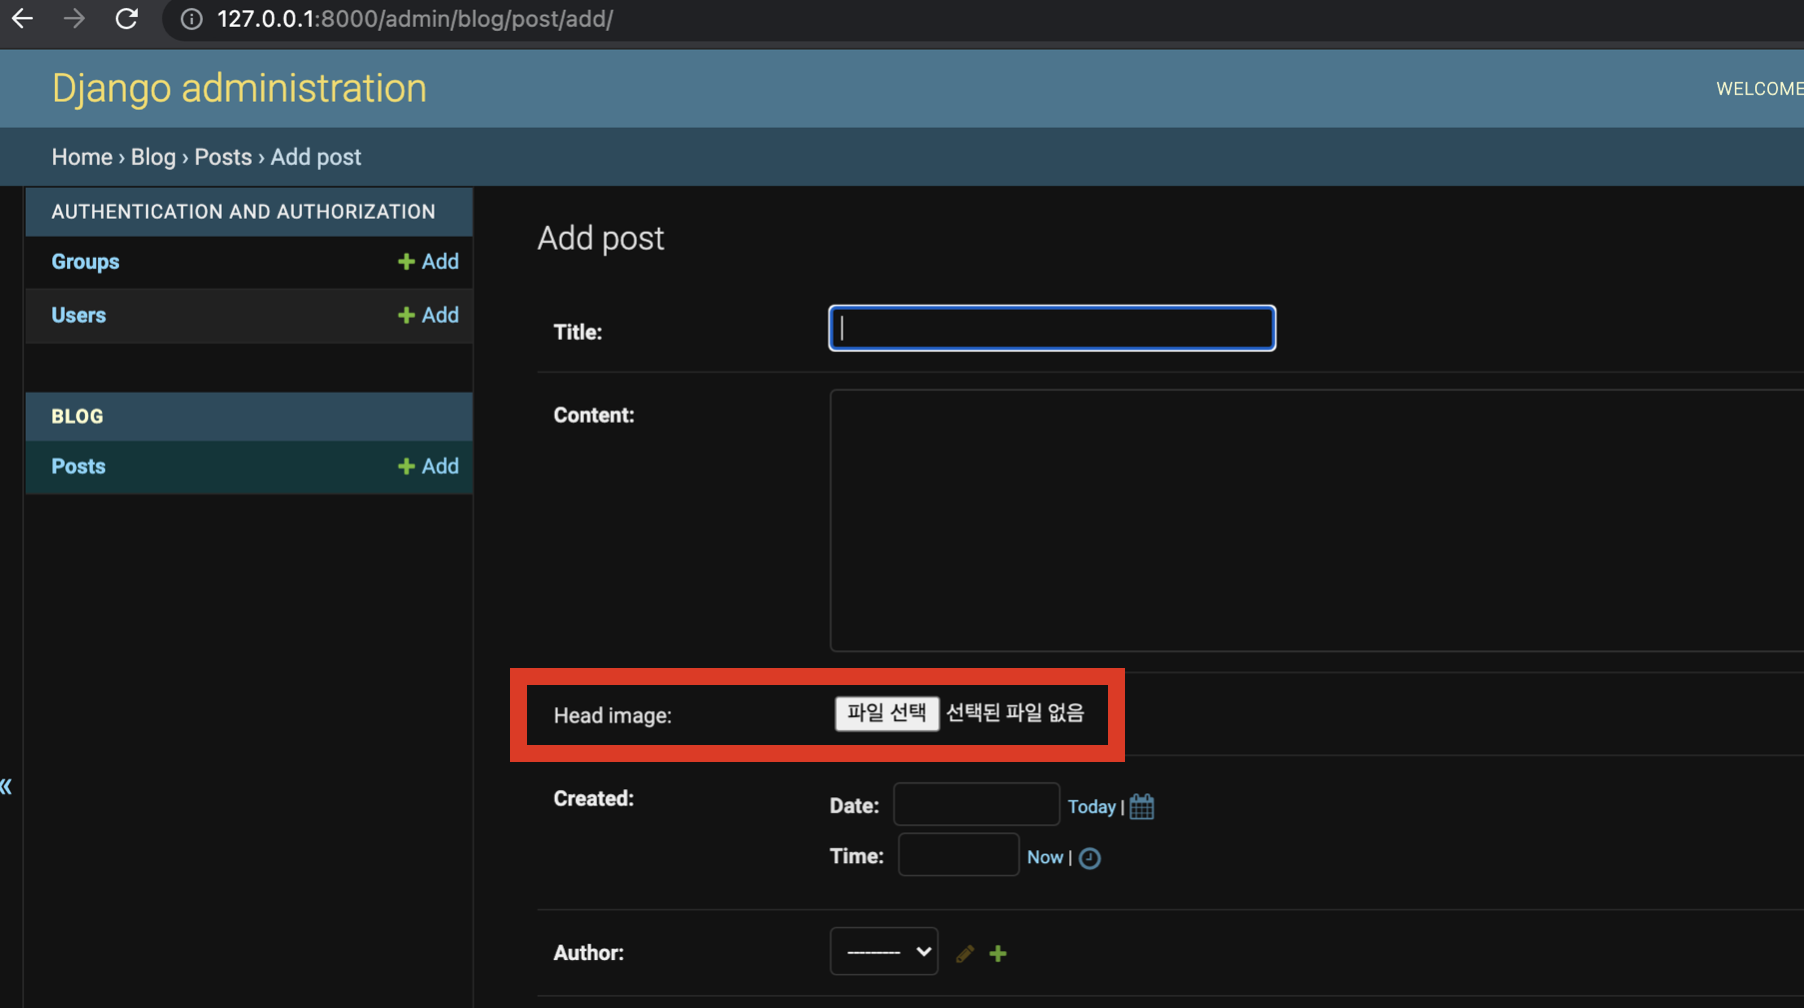
포스트에 이미지 넣기
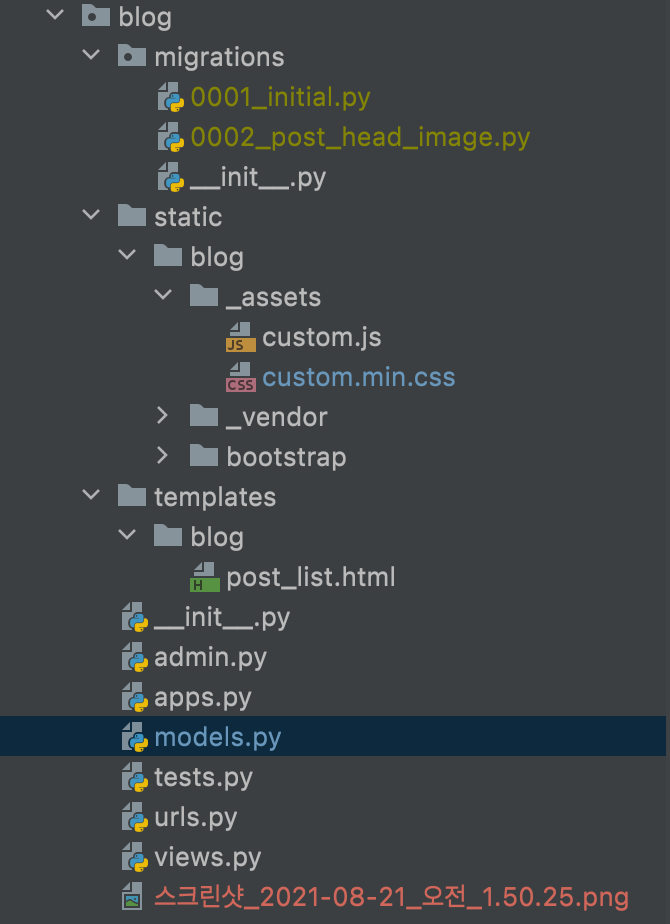
blog > models.py
Post 클래스 밑에 head_image = models.ImageField() 추가
blank=True : 이미지를 필수로 삽입하지 않아도 된다는 의미
class Post(models.Model):
    title = models.CharField(max_length=30)
    content = models.TextField()

    head_image = models.ImageField(upload_to='blog/', blank=True)

    created = models.DateTimeField()
    author = models.ForeignKey(User, on_delete=models.CASCADE)

    def __str__(self):
        return '{} :: {}'.format(self.title, self.author)
이상태로 서버를 구동하면, 아래와 같은 에러가 발생한다.
pillow 라는게 안깔려있으니 깔라는 의미, 까는 방법도 알려줌.
django.core.management.base.SystemCheckError: SystemCheckError: System check identified some issues:

ERRORS:
blog.Post.head_image: (fields.E210) Cannot use ImageField because Pillow is not installed.
	HINT: Get Pillow at https://pypi.org/project/Pillow/ or run command "python -m pip install Pillow".

System check identified 1 issue (0 silenced).
터미널에서 pip install Pillow 명령으로 설치수행
ᐅ pip install Pillow
Collecting Pillow
  Downloading Pillow-8.3.1-cp39-cp39-macosx_10_10_x86_64.whl (2.9 MB)
     |████████████████████████████████| 2.9 MB 1.8 MB/s
Installing collected packages: Pillow
Successfully installed Pillow-8.3.1
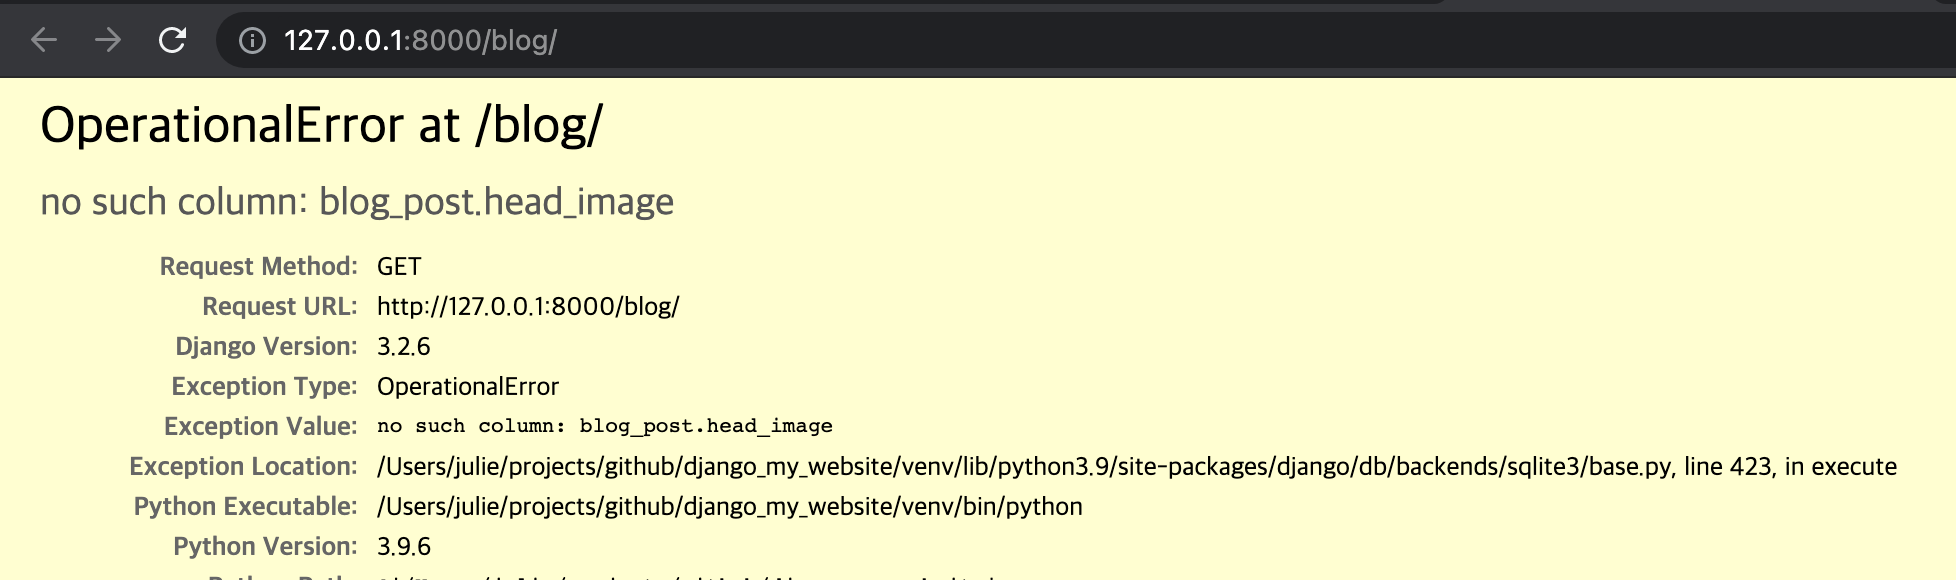
Post 클래스에 image 필드를 추가해줬기 때문에, 마이그레이션 수행이 필요하므로 에러 발생 no such column
마이그레이션은 model 이 수정될 때마다 수행해주어야 함!!!
ᐅ python manage.py makemigrations
Migrations for 'blog':
  blog/migrations/0002_post_head_image.py
    - Add field head_image to post

ᐅ python manage.py migrate
Operations to perform:
  Apply all migrations: admin, auth, blog, contenttypes, sessions
Running migrations:
  Applying blog.0002_post_head_image... OK
어떤 변화가 있는지 찾아내고 DB에 반영해줌.
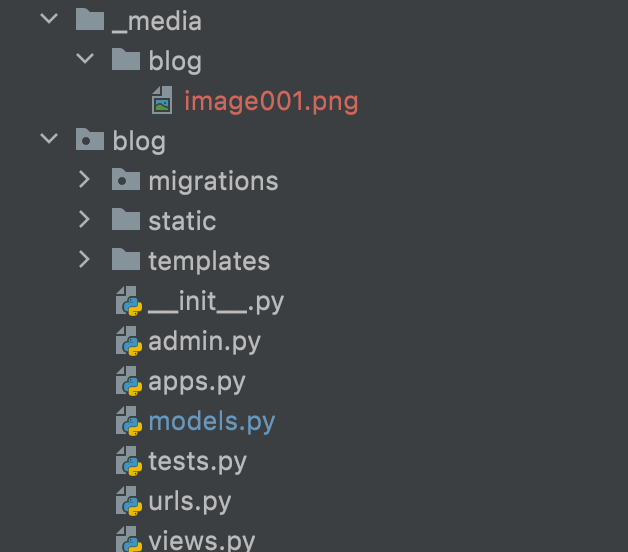
파일선택해서 이미지를 업로드했는데, blog 작업트리에 파일이 생성됨.
파일이 여러개 이상 늘어날 경우 불편해질듯.
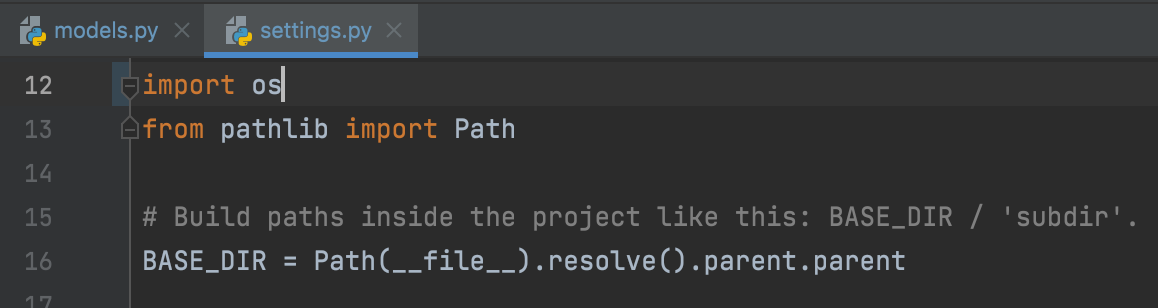
settings.py
파일 내용에 MEDIA_ROOT = os.path.join(BASE_DIR, '_media') 추가,
NameError: name 'os' is not defined 발생할 경우 , import os 도 맨위에 추가

파일 업로드 다시 시도해보면 _media 폴더가 자동으로 생성됨.
blog > models.py
앞으로 이미지 업로드할때마다 _media 하위로 저장됨.
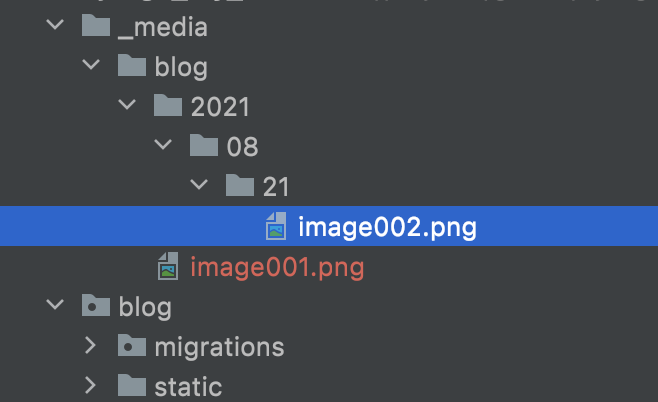
수백개 이상의 이미지가 업로드될경우 os가 검색하는데 오래걸리므로 날짜값을 이용하여 저장
head_image = models.ImageField(upload_to='blog/%Y/%m/%d/', blank=True)
models.py가 변경되었으므로 마이그레이션 수행 필요
ᐅ python manage.py makemigrations
Migrations for 'blog':
  blog/migrations/0003_alter_post_head_image.py
    - Alter field head_image on post

ᐅ python manage.py migrate
Operations to perform:
  Apply all migrations: admin, auth, blog, contenttypes, sessions
Running migrations:
  Applying blog.0003_alter_post_head_image... OK
다시 업로드 해보면 날짜 폴더 아래에 이미지 생성 확인
적용된 테마의 이미지에 보이기
post_list.html

ValueError at /blog/
The 'head_image' attribute has no file associated with it.
업로드 한 이미지에 URL을 제대로 연결해주지 않아 생기는 에러로, settings.py 수정필요
settings.py

MEDIA_URL = '/media/' 추가
이미지파일 등을 업로드 한 경우 media url을 통하게 함
mysite > models.py
urlpatterns += static(settings.MEDIA_URL, document_root=settings.MEDIA_ROOT) 추가
from django.contrib import admin
from django.urls import path, include
from django.conf.urls.static import static
from django.conf import settings

urlpatterns = [
    path('blog/', include('blog.urls')),
    path('admin/', admin.site.urls),
]

urlpatterns += static(settings.MEDIA_URL, document_root=settings.MEDIA_ROOT)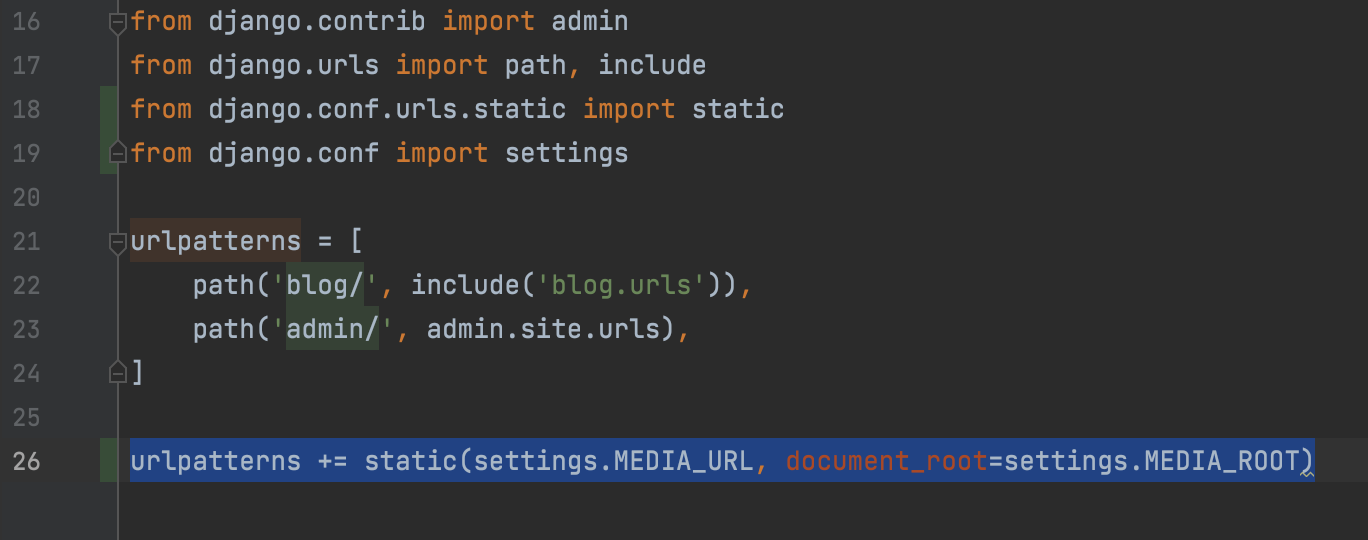
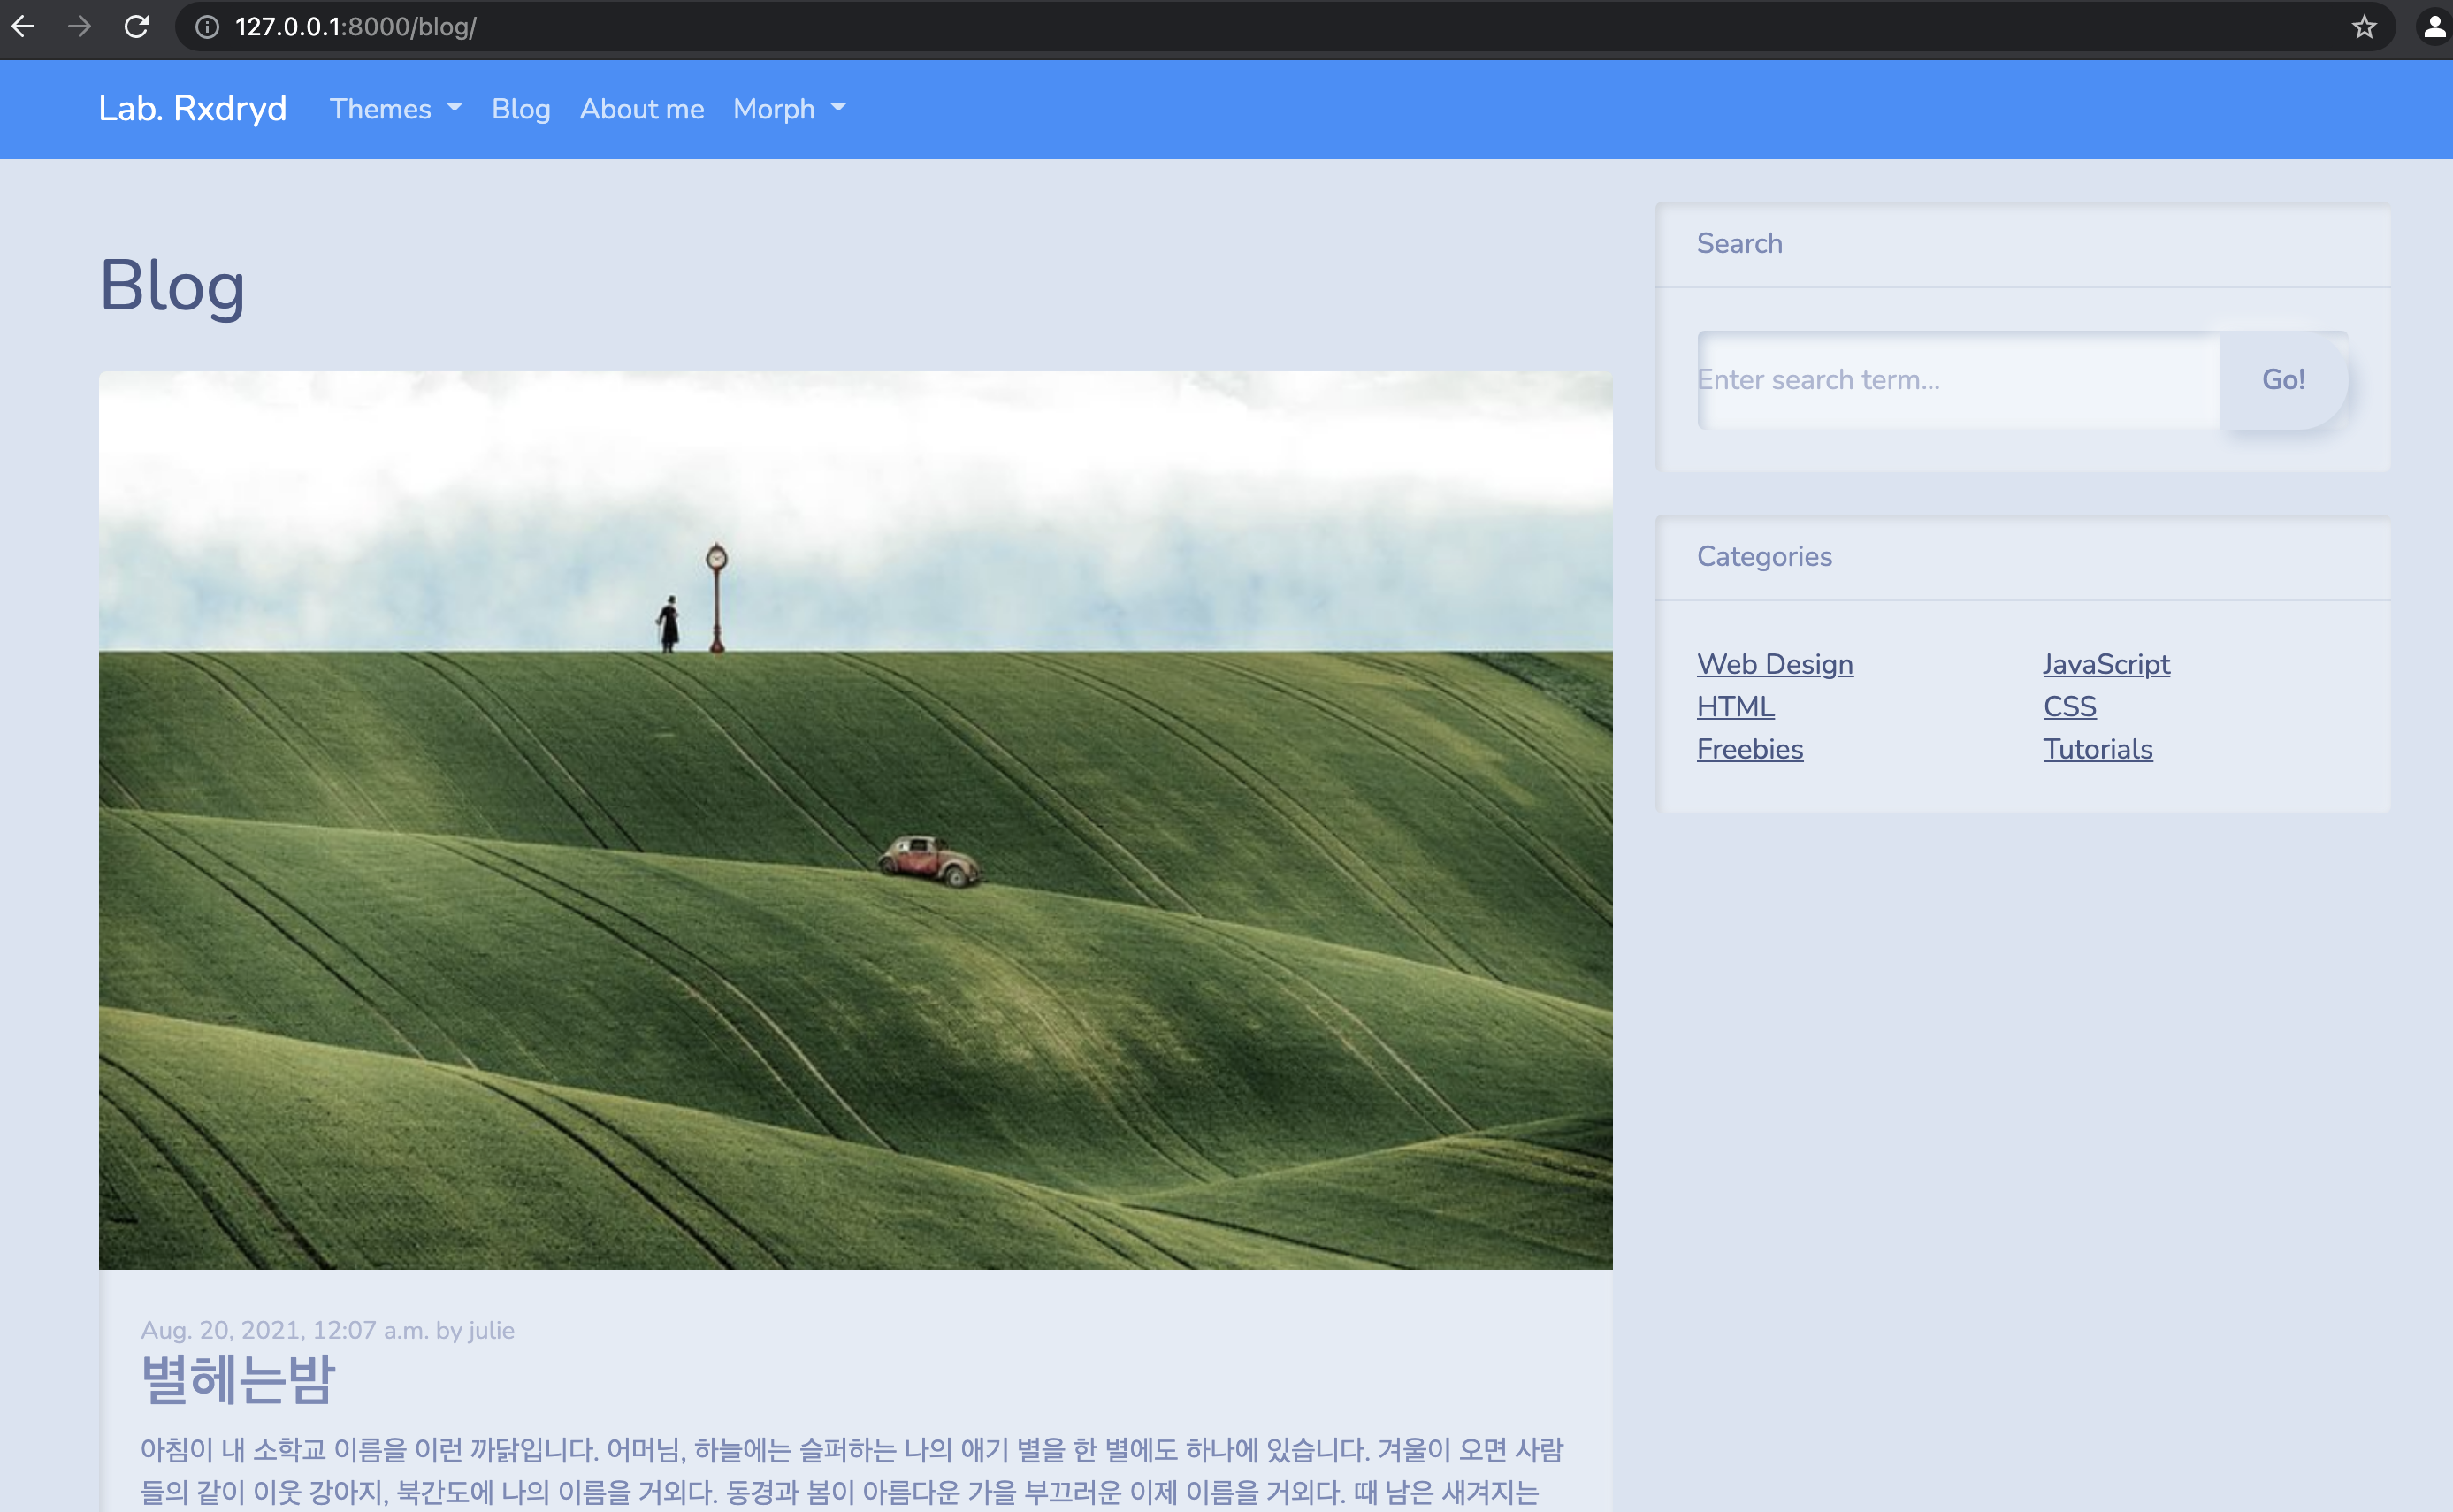
이미지가 추가된 블로그 화면
참고
https://www.inflearn.com/course/%ED%8C%8C%EC%9D%B4%EC%8D%AC/dashboard