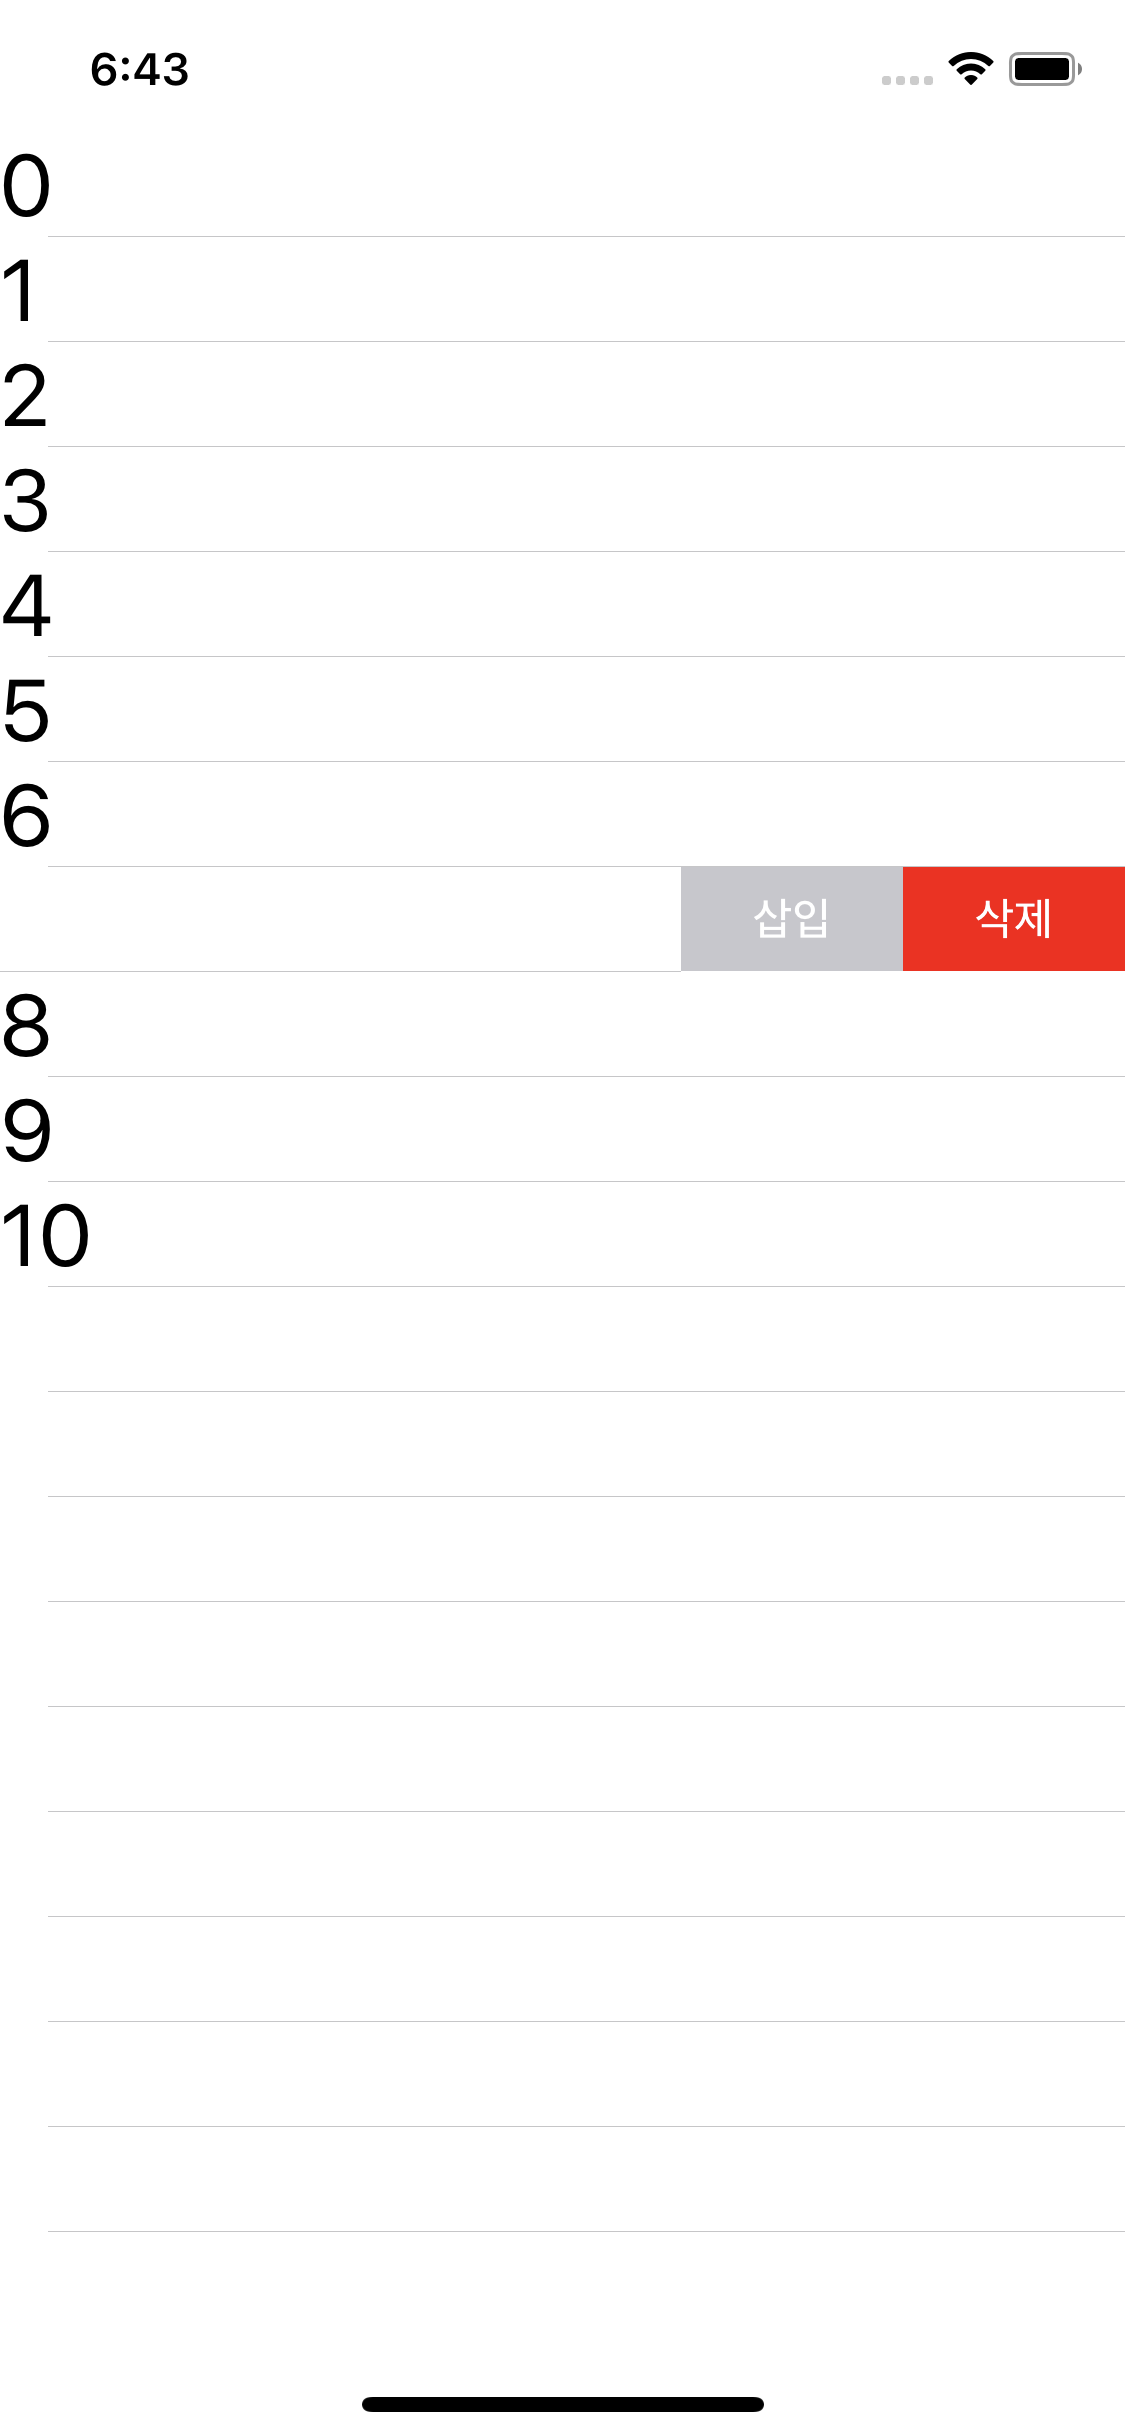
✅⠀TableView Cell Swipe Action
UITableViewDelegate를 활용할 때
- TableView에 연결된 데이터를 삭제 한 후 tableView.deleteRows(at:, with: )를 호출해야 된다.
extension ViewController: UITableViewDelegate{
func tableView(_ tableView: UITableView, trailingSwipeActionsConfigurationForRowAt indexPath: IndexPath) -> UISwipeActionsConfiguration? {
guard indexPath.item > 0 else { return nil }
let delete = UIContextualAction(style: .normal, title: nil) { (action, view, completion) in
self.num -= 1
tableView.deleteRows(at: [indexPath], with: .automatic)
completion(true)
}
delete.backgroundColor = .red
delete.title = "삭제"
let insert = UIContextualAction(style: .normal, title: nil) { (action, view, completion) in
self.num += 1
tableView.reloadData()
completion(true)
}
insert.title = "삽입"
let configuration = UISwipeActionsConfiguration(actions: [delete, insert])
configuration.performsFirstActionWithFullSwipe = false
return configuration
}
}

func tableView(_ tableView: UITableView, leadingSwipeActionsConfigurationForRowAt indexPath: IndexPath)
func tableView(_ tableView: UITableView, trailingSwipeActionsConfigurationForRowAt indexPath: IndexPath)
RxCocoa를 활용할 때
tableView.rx.itemDeleted
         .subscribe(onNext: { [weak self] indexPath in
            self?.finedustListViewModel.removeFineDust(indexPath.item)
         })
         .disposed(by: disposeBag)

