👩🏻💻 오늘 공부한 내용
✅ 네이버 맵 API 활용하여 맵 띄우기 ( 가이드, 참고 사이트 )
클라이언트 ID 발급
- 네이버 클라우드 플랫폼에 로그인한 후 콘솔에 들어갑니다.
- Products & Services에서 AI-Application Service 하위의 AI·NAVER API를 선택합니다.
- Application 등록을 선택하고 Maps 하위의 Mobile Dynamic Map을 체크합니다.
- 선택하지 않으면 인증 실패 오류(429)가 발생합니다.
- iOS Bundle ID에 네이버 지도 SDK를 사용하고자 하는 앱의 번들 ID를 추가하고 등록합니다.
- 올바르게 입력하지 않으면 인증 실패 오류(401)가 발생합니다.
- 등록한 애플리케이션의 인증 정보를 선택해 Client ID를 확인합니다.
git-lfs 설치
- HomeBrew 설치
- Intel
/bin/bash -c "$(curl -fsSL https://raw.githubusercontent.com/Homebrew/install/HEAD/install.sh)"- M1
# We'll be installing Homebrew in the /opt directory.
cd /opt

# Create a directory for Homebrew. This requires root permissions.
sudo mkdir homebrew

# Make us the owner of the directory so that we no longer require root permissions.
sudo chown -R $(whoami) /opt/homebrew

# Download and unzip Homebrew. This command can be found at https://docs.brew.sh/Installation.
curl -L https://github.com/Homebrew/brew/tarball/master | tar xz --strip 1 -C homebrew

# Add the Homebrew bin directory to the PATH. If you don't use zsh, you'll need to do this yourself.
echo "export PATH=/opt/homebrew/bin:$PATH" >> ~/.zshrc- git-lfs 설치
brew install git-lfs- cocoapod 처음 설치인 경우
pod init- 해당 프로젝트 터미널에서 git-lfs 다시 초기화
git-lfs installPodfile에 의존성 선언
- pod file에 아래 코드 추가
pod 'NMapsMap'- pod install
pod install클라이언트 ID 지정
- Info.plist를 열고 Imfrmation PropertyList에 Key : NMFClientId, Value : 발급받은 ClientID 추가

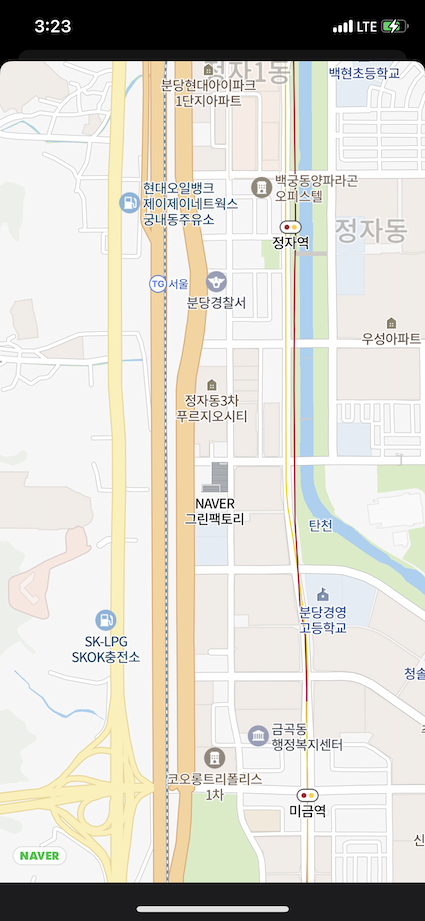
지도 띄우기
- View 밑에 View 추가 후 NMFMapView 연결
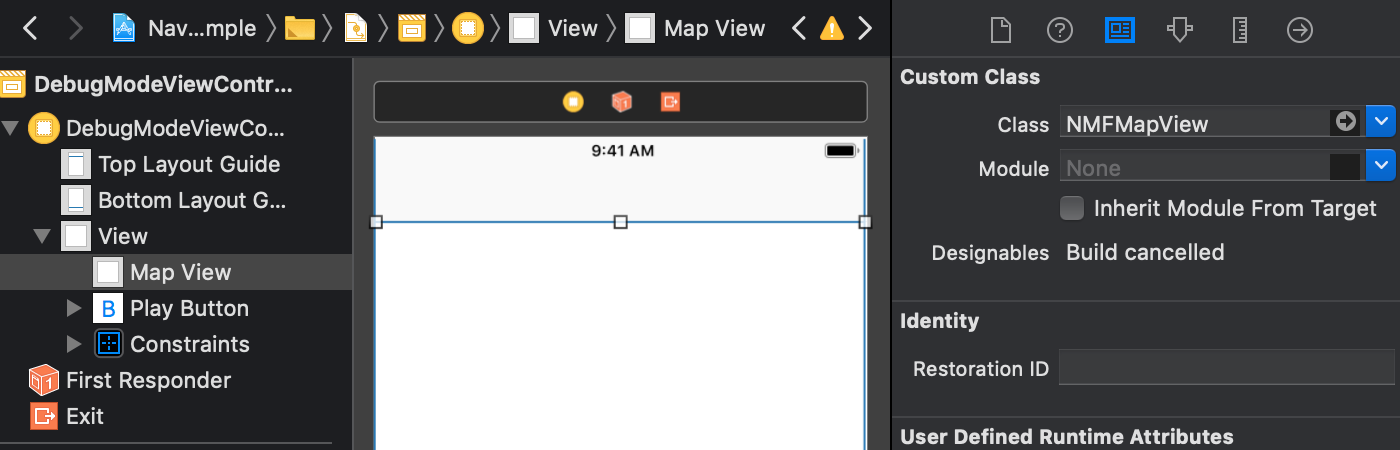
- viewDidLoad()에 아래 코드 추가
import UIKit
import NMapsMap

class MapViewController: UIViewController {
    override func viewDidLoad() {
        super.viewDidLoad()

        let mapView = NMFMapView(frame: view.frame)
        view.addSubview(mapView)
    }

}