회사 서비스에 채팅 기능이 생기면서 PWA로 웹 푸시 알림을 구현해야 하는 과제가 있었습니다.
제가 세웠던 목표는 아래 두 가지 였습니다.
- 서드파티 라이브러리 없이 Progressive Web App을 구현한다.
- PWA 앱을 통해 데스크톱 뿐만 아니라 모바일 환경에서도 푸시 알림을 받을 수 있도록 한다.
1. pwa 설치 가능하도록 하기
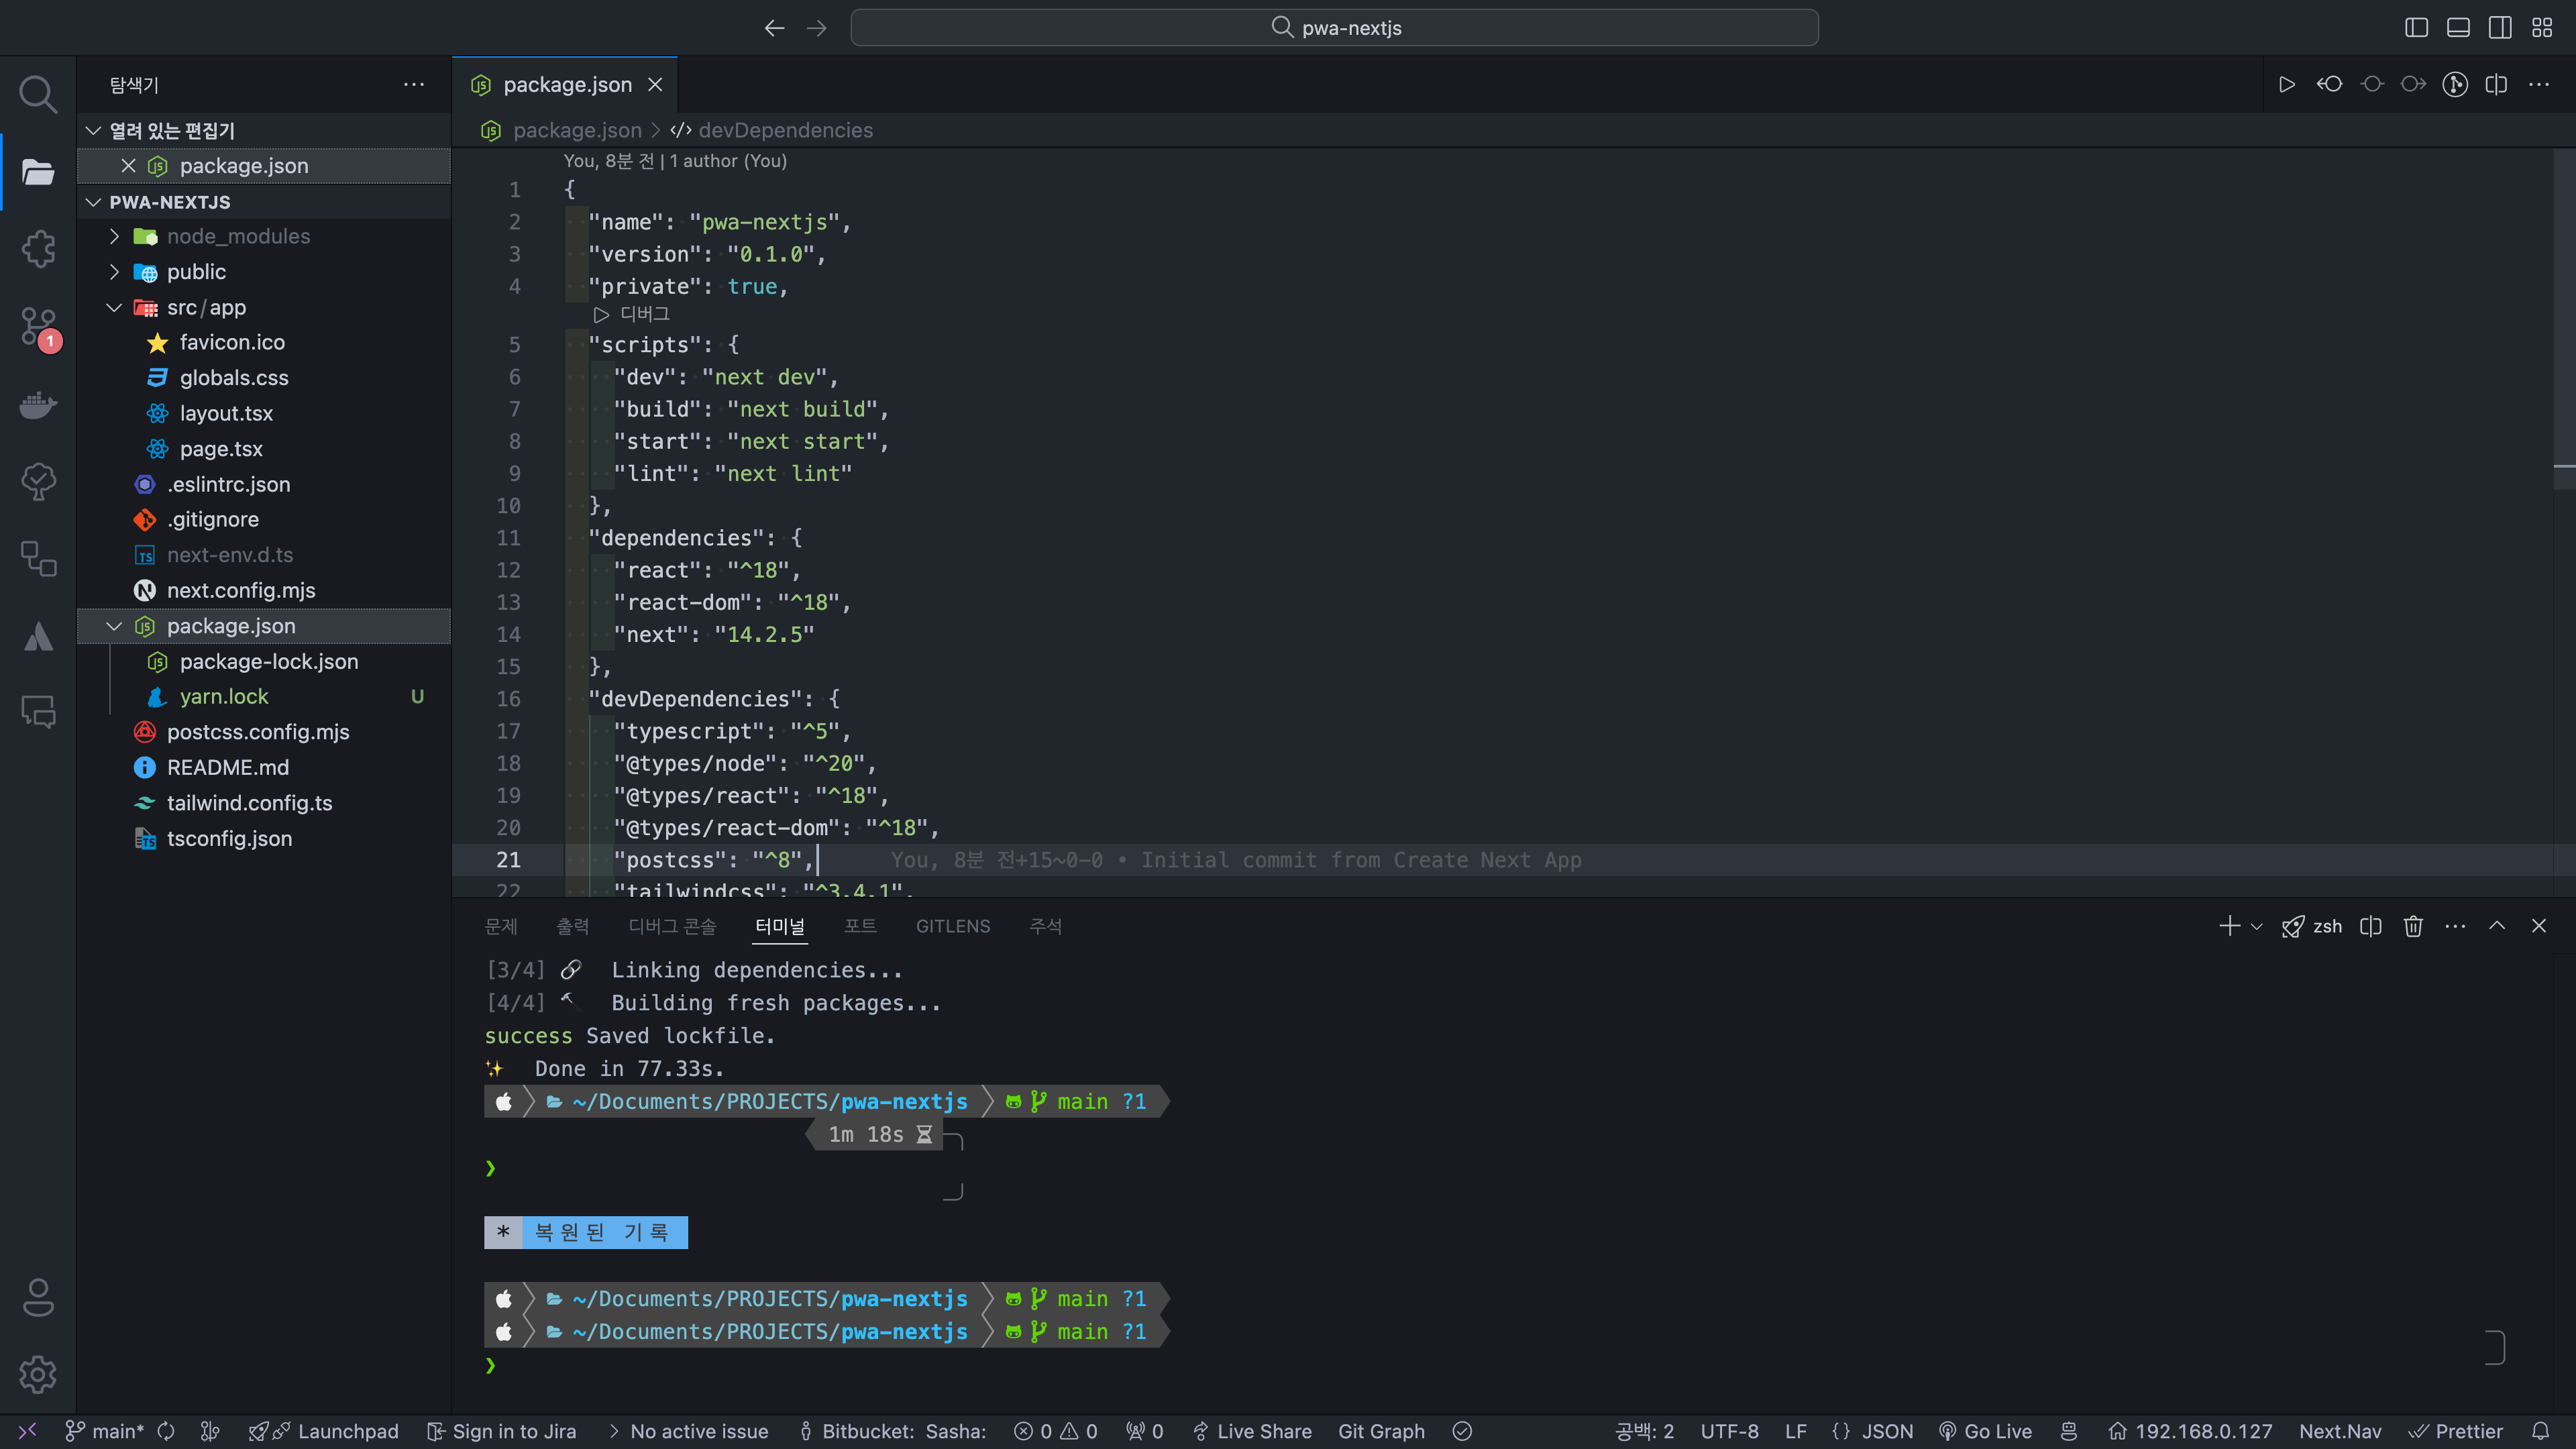
CNA로 빈 프로젝트를 하나 생성했습니다.
1-1. manifest.json
PWA가 사용자의 데스크톱 또는 휴대기기에 설치되었을 때 어떻게 동작해야 하는지 브라우저에 알려주는 JSON 파일인 manifest.json 파일이 필요합니다.
public 폴더 하위에 manifest.json 파일을 생성해도 되지만, Next.js의 파일 컨벤션에 따라 app 디렉토리 하위에 manifest.ts를 생성했습니다.
// app/manifest.ts
import { MetadataRoute } from "next";
export default function manifest(): MetadataRoute.Manifest {
return {
name: "Push",
description: "Push web app with Next.js",
display: "standalone",
start_url: "/",
theme_color: "#FFFFFF",
background_color: "#FFFFFF",
icons: [
{
src: "icons/icon-96.png",
type: "image/png",
sizes: "96x96",
},
{
src: "icons/icon.svg",
type: "image/svg+xml",
sizes: "any",
},
{
src: "icons/icon-maskable-640.png",
type: "image/png",
sizes: "640x640",
purpose: "maskable",
},
],
screenshots: [
{
src: "
bg.png",
sizes: "1280x720",
type: "image/png",
},
],
};
}short_name- 사용자의 홈화면, 런처 또는 공간이 제한될 수 있는 다른 위치에서 사용
name- 앱이 설치될 때 사용
description
- 앱의 목적을 설명icons
- 사용자가 PWA를 설치할 때 홈 화면, 앱 런처, 작업 전환기, 스플래시 화면 등에서 사용할 브라우저의 아이콘 집합start_url
- 필수 항목
- 애플리케이션이 시작될 때 애플리케이션을 시작할 위치를 브라우저에 알려줌
- 사용자가 앱을 홈화면에 추가할 때 어느 페이지에서나 앱이 시작되지 않도록 함theme_color
- 데스크톱의 창 제목표시줄 색상과 휴대기기의 상태표시줄 색상을 정의background_color
- 앱과 해당 CSS가 로드되기 전 창의 색상을 정의
- 브라우저에서 첫 번째 페인트가 끝날 때까지 스플래시 화면을 표시display
- 원하는 창 환경의 종류를 정의
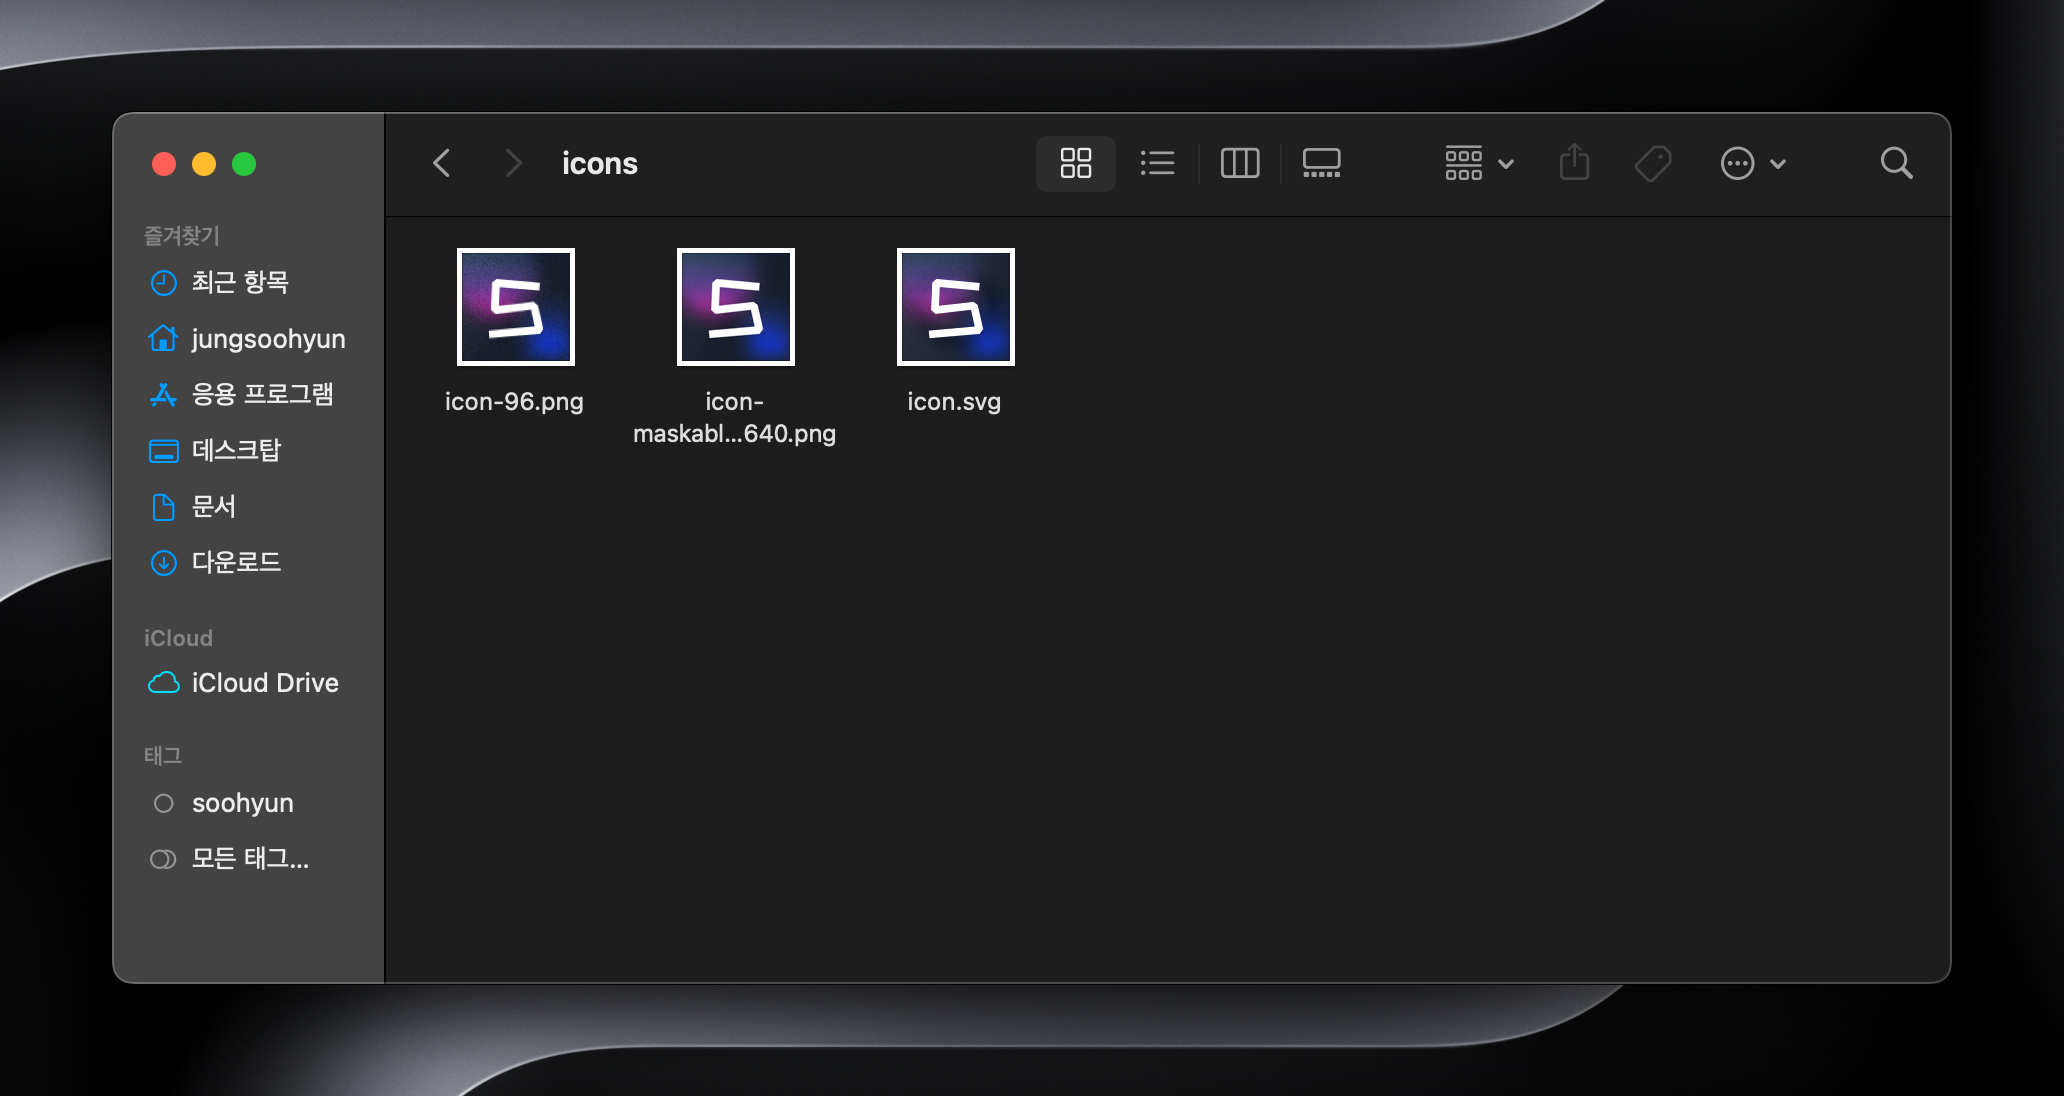
아이콘 파일들은 다음과 같이 public/icons/ 폴더에 넣어주었습니다.
1-2. service-worker 등록
서비스 워커를 사용하면 네트워크로 이동하지 않고도
- 에셋을 제공하고,
- 사용자에게 알림을 보내고,
- PWA 아이콘에 배지를 추가하고,
- 백그라운드에서 콘텐츠를 업데이트하고,
- 전체 PWA가 오프라인으로 작동하도록 할 수 있습니다.
// pubic/service-worker.js
function registerServiceWorker() {
  if (typeof window !== "undefined") {
    if ("serviceWorker" in navigator) {
      navigator.serviceWorker
        .register("/firebase-messaging-sw.js")
        .then((registration) => {
          console.log("Service Worker Registered");
          console.dir(registration);
        });
    }
  }
}
registerServiceWorker();firebase-messaging-sw.js를 serviceWorker에 register 해줍니다.
1.3 firebase-messaging-sw.js 작성
1.3.1 firebase 프로젝트 생성하기
firebase console로 가서 프로젝트를 생성해봅시다
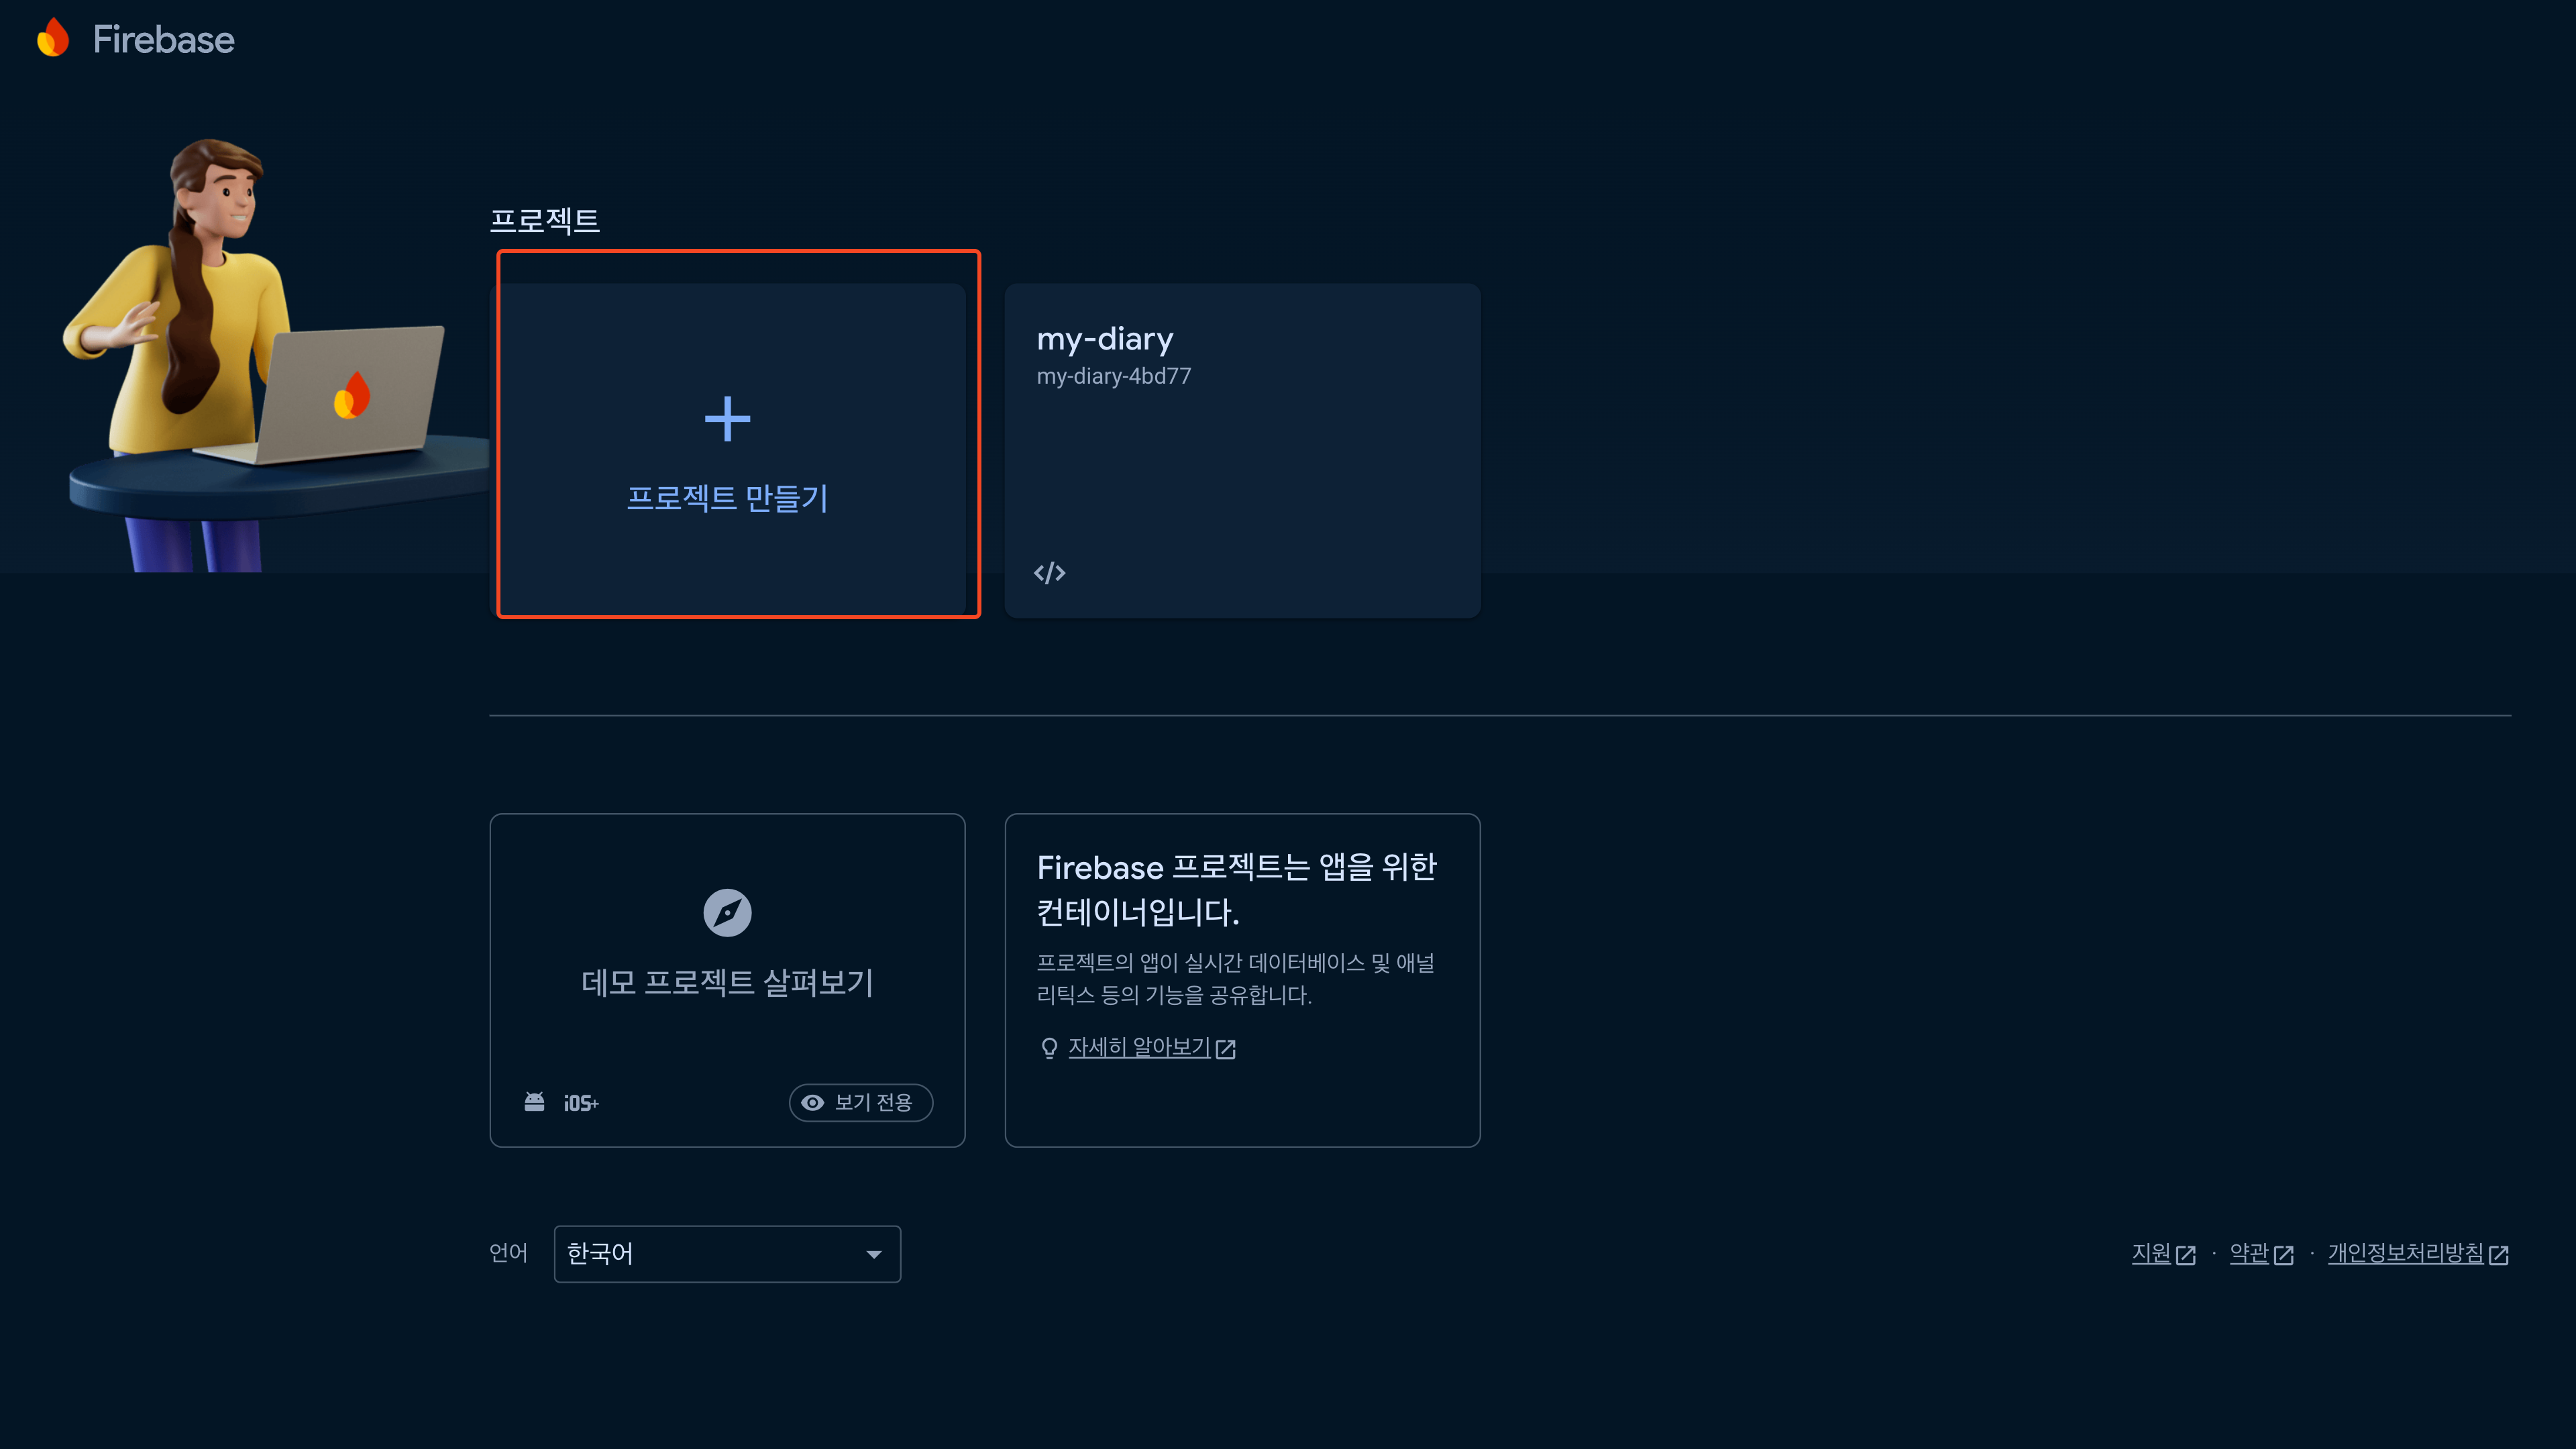
- 프로젝트 만들기 선택

- 이름 입력
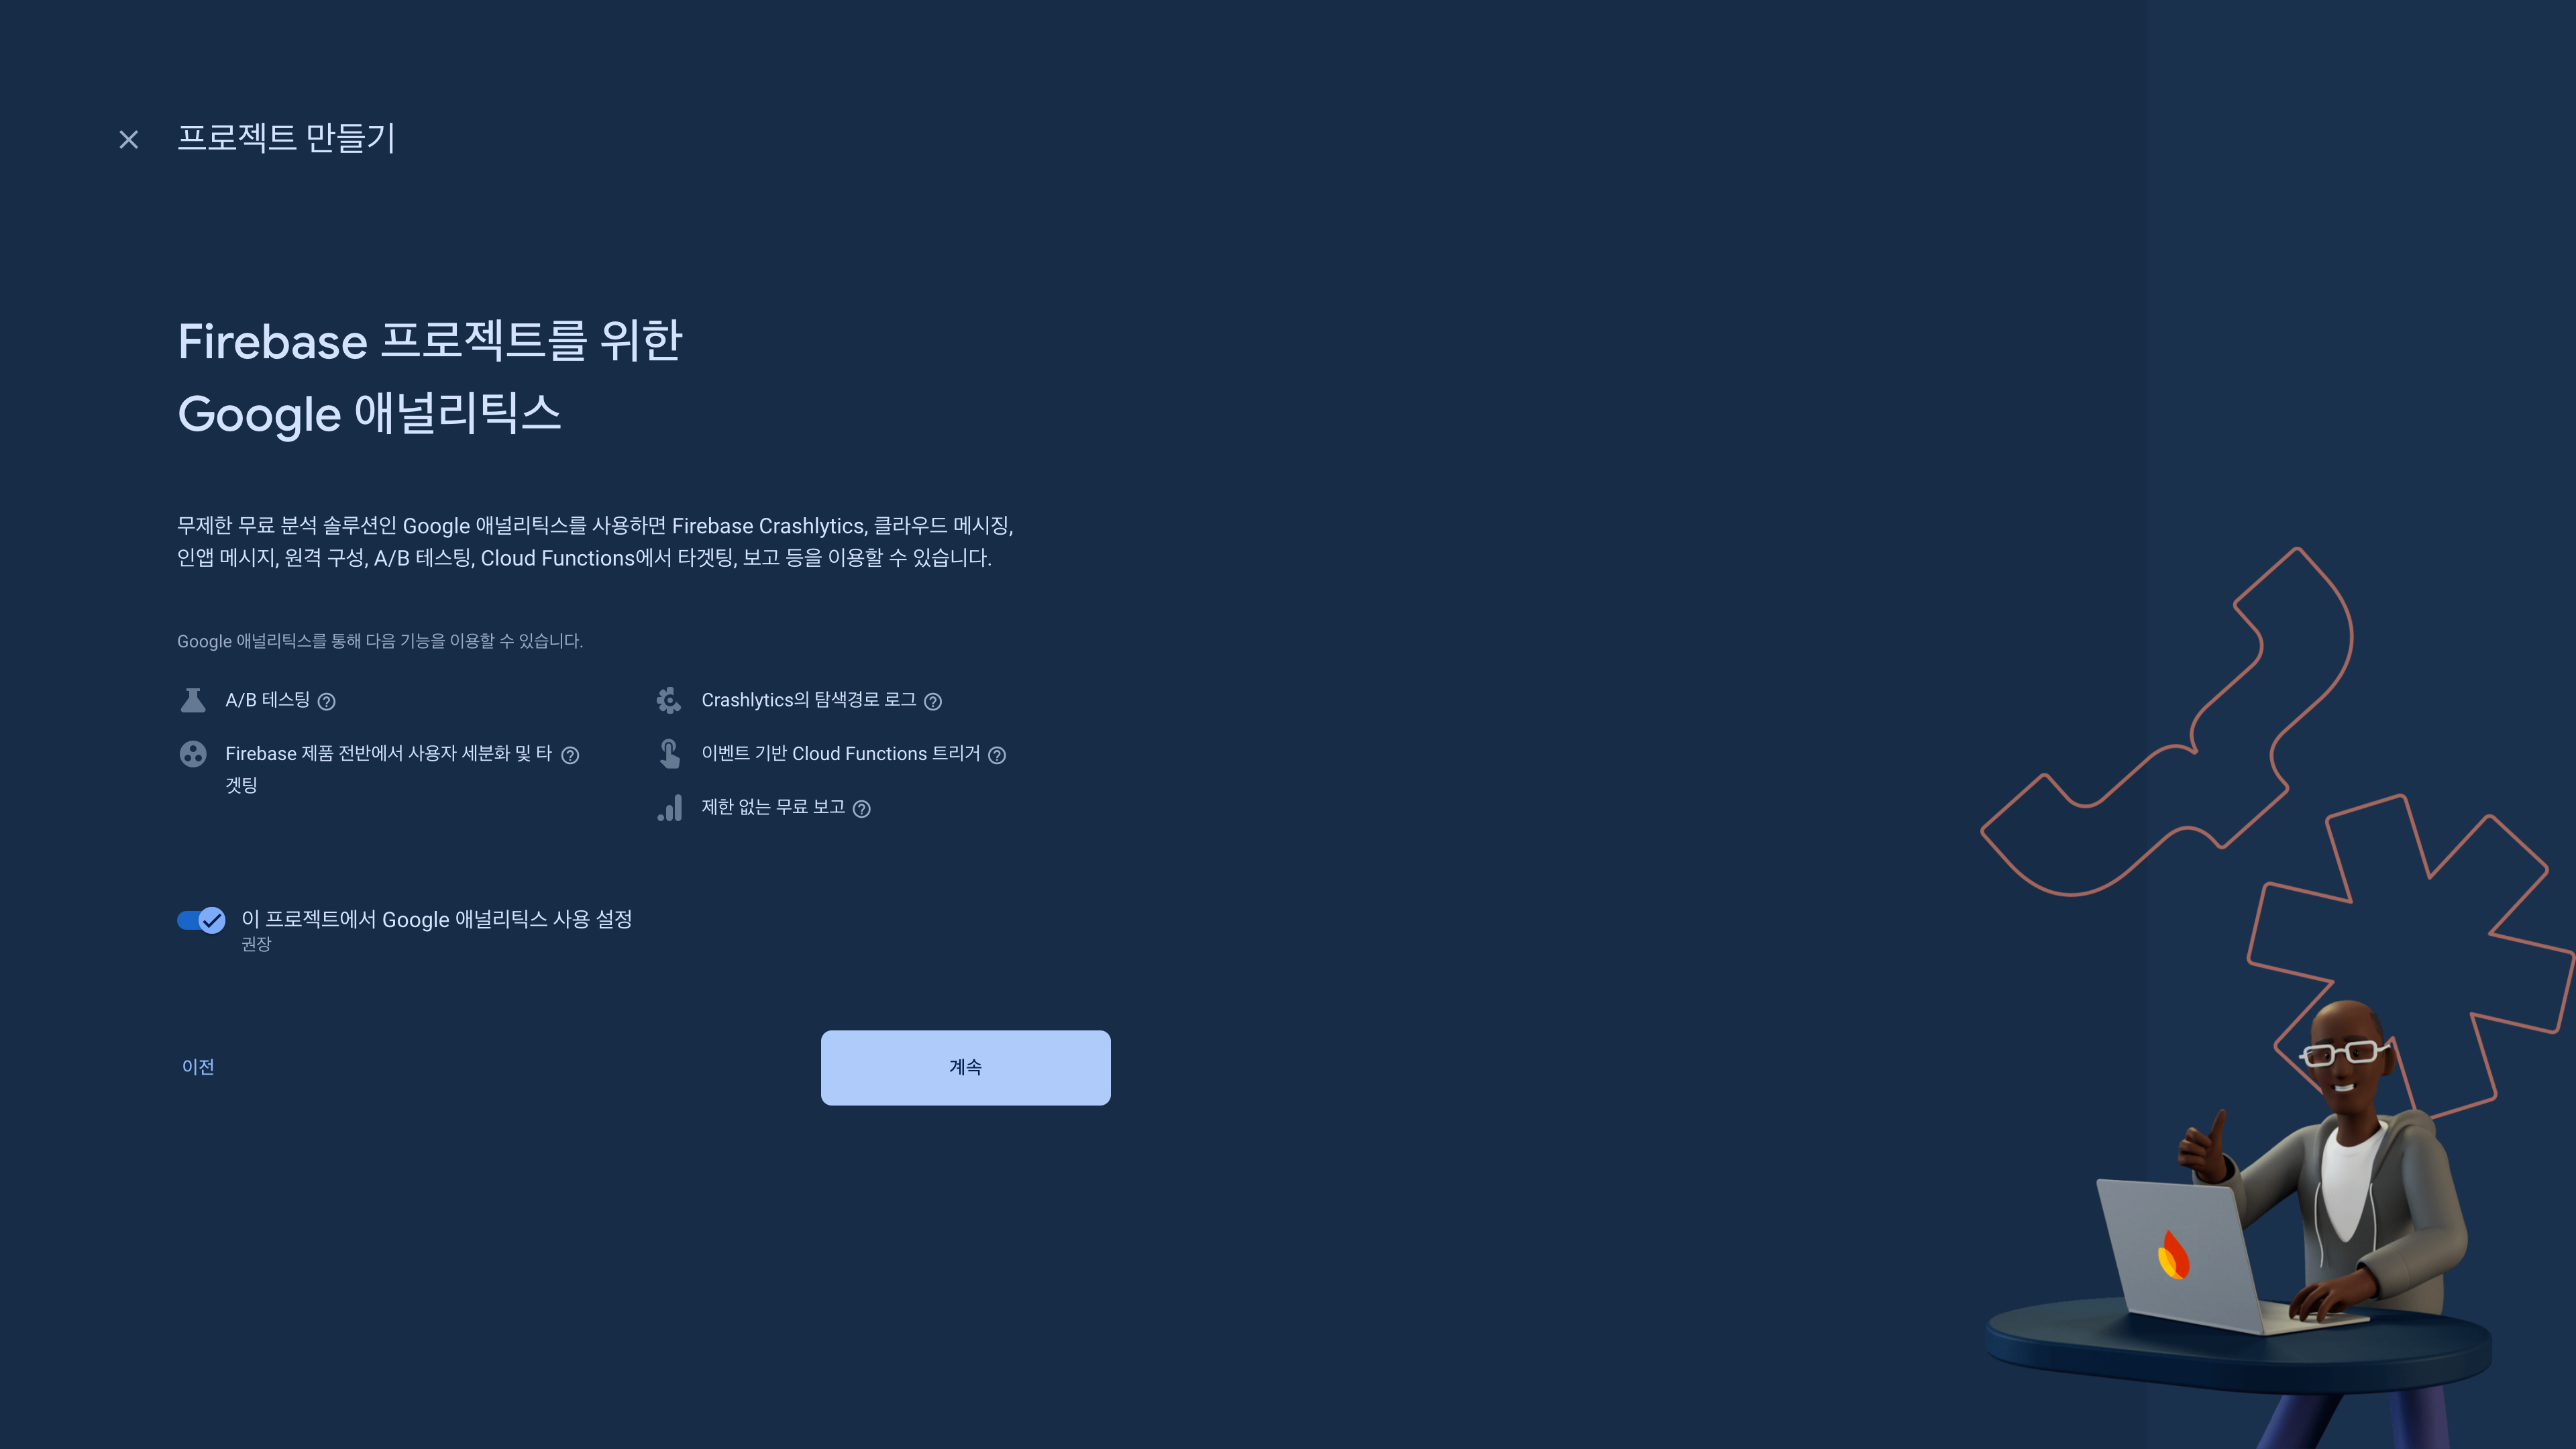
- 애널리틱스 사용 여부 설정(선택)
- 프로젝트 생성 완료!!
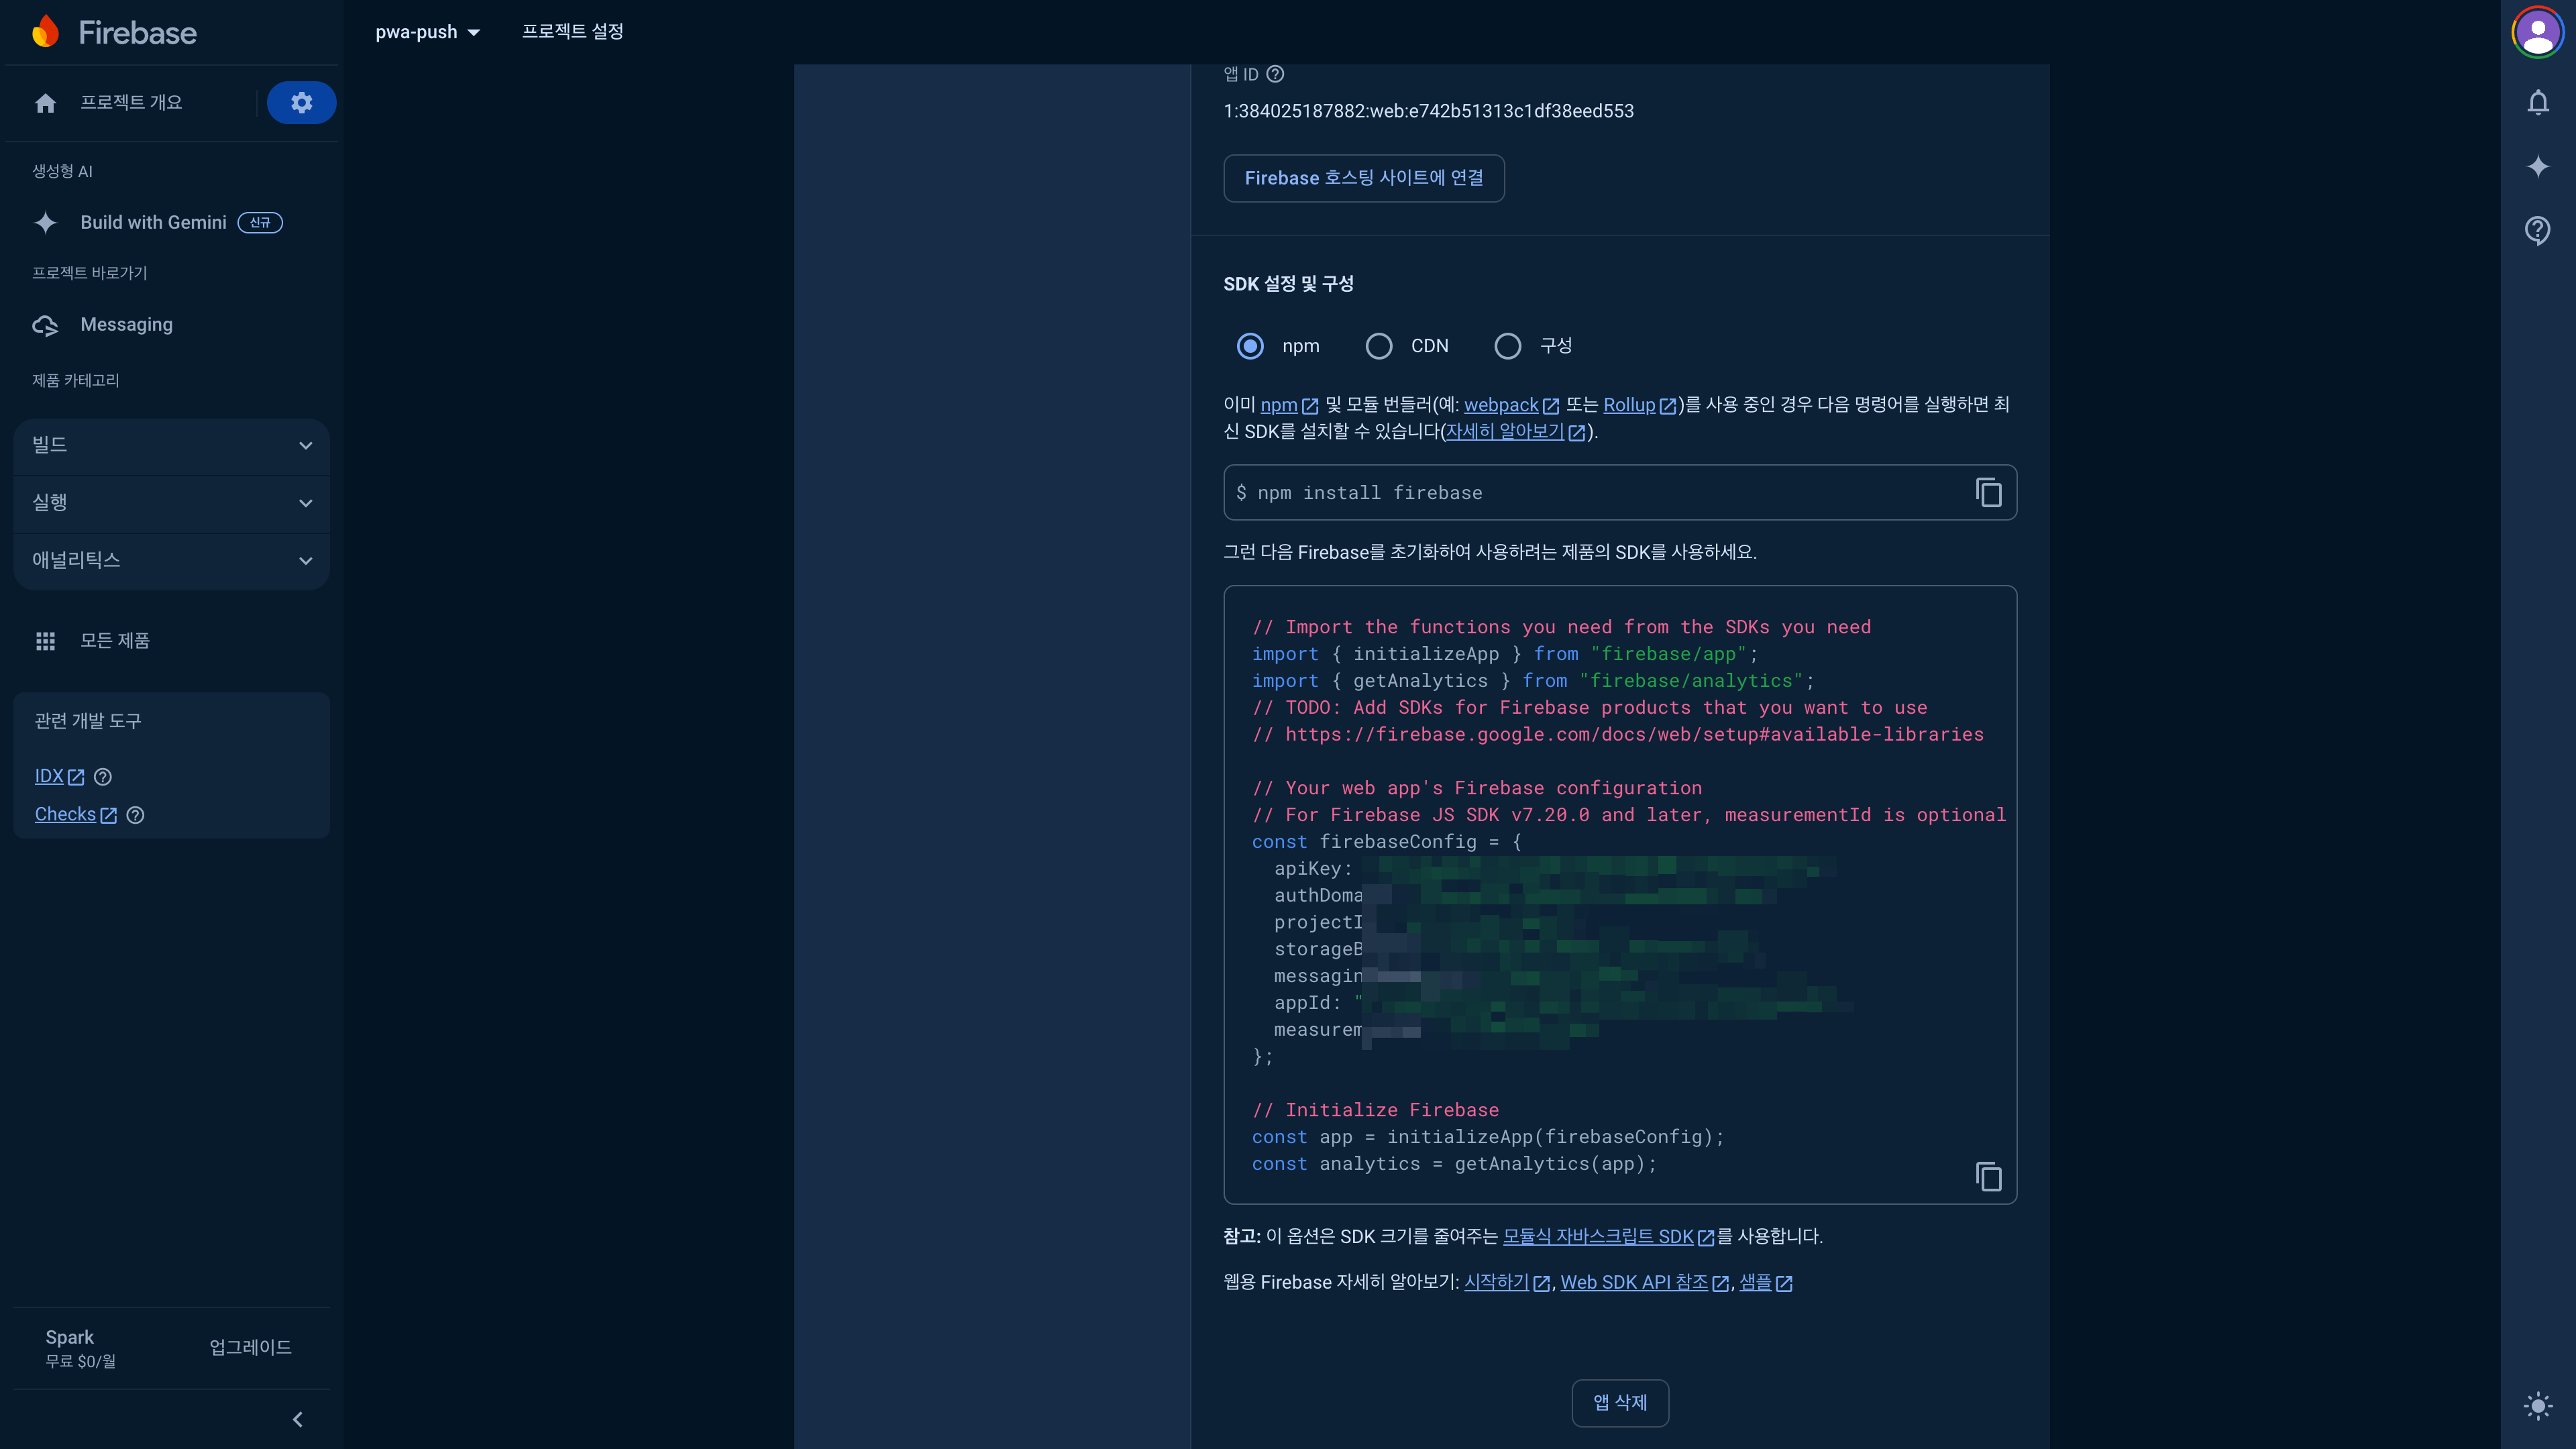
1.3.2 firebase-messaging-sw.js에 firebaseConfig 내용 넣기
//pubic/firebase-messaging-sw.js
importScripts("https://www.gstatic.com/firebasejs/8.10.1/firebase-app.js");
importScripts(
  "https://www.gstatic.com/firebasejs/8.10.1/firebase-messaging.js"
);

const firebaseConfig = {
  apiKey: "xxxxxxxxxx",
  authDomain: "xxxxxxxxxx.firebaseapp.com",
  databaseURL: "https://xxxxxxxxxx.firebaseio.com",
  projectId: "xxxxxxxxxx",
  storageBucket: "xxxxxxxxxx.appspot.com",
  messagingSenderId: "xxxxxxxxxx",
  appId: "xxxxxxxxxx"
};

firebase.initializeApp(firebaseConfig);
const messaging = firebase.messaging();

messaging.onBackgroundMessage((payload) => {
  const title = payload.notification.title + " (onBackgroundMessage)";
  const notificationOptions = {
    body: payload.notification.body,
    icon: "https://avatars.githubusercontent.com/sasha1107",
  };

  self.registration.showNotification(title, notificationOptions);
});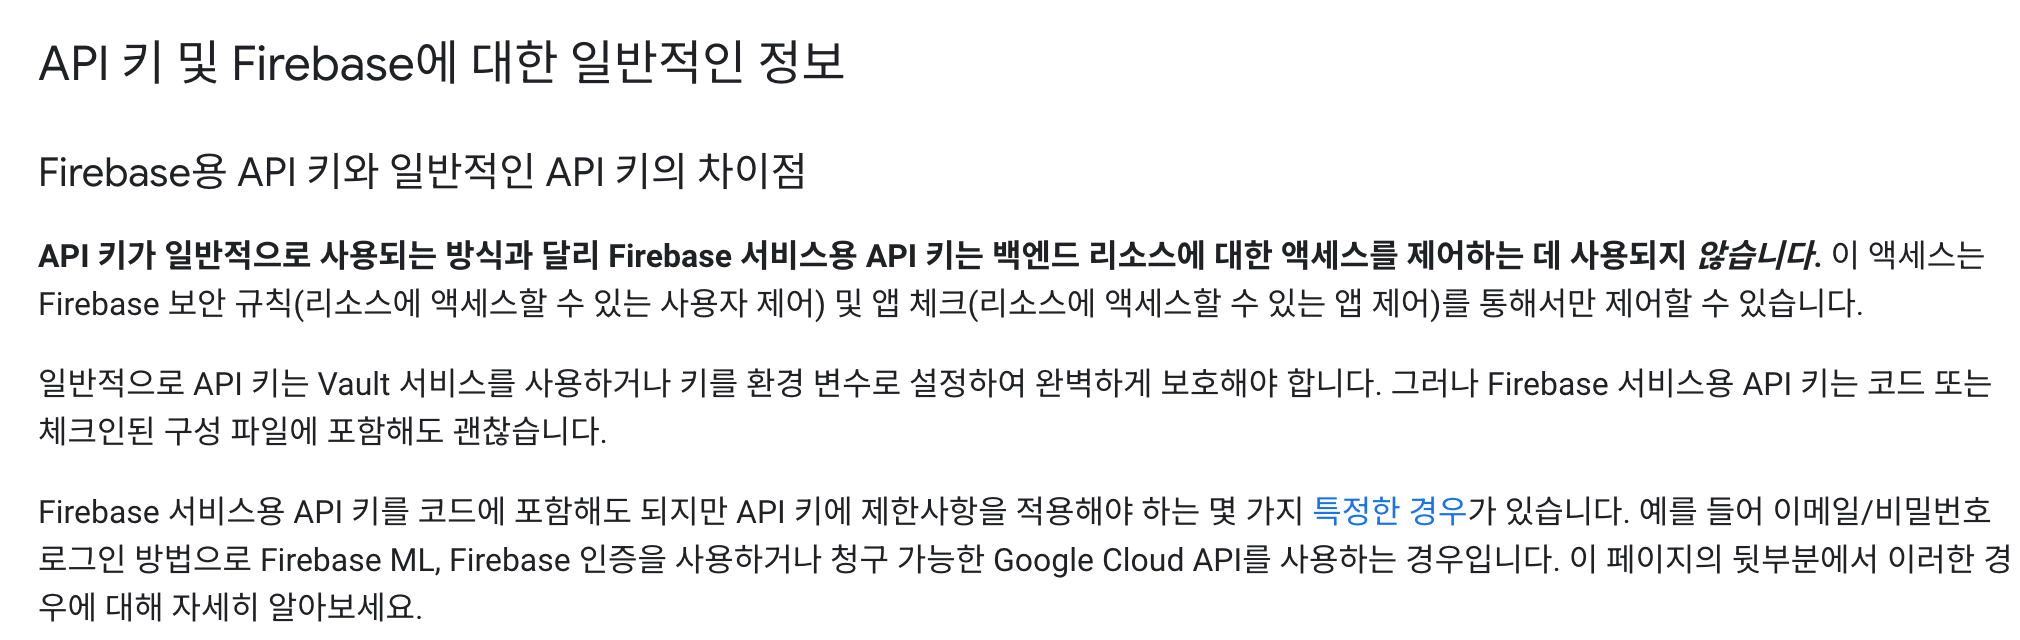
firebase api key는 일반적인 api key와 다르게 env에 넣지 않고 관리해도 안전하기 때문에 그냥 파일에 넣어도 무방합니다. 다만, 배포 환경에 따라 다른 config를 사용하고자 할 때는 register하는 url에 queryString으로 전달하여 config를 환경별로 설정 할 수 있습니다. 이 프로젝트에서는 env를 사용하지 않고 했지만, 회사에서 환경 별로 설정하면서 엄청난 삽질을 했습니다. 😅
// app/layout.tsx
import type { Metadata } from "next";
import Script from "next/script";
import { Inter } from "next/font/google";
import "./globals.css";

const inter = Inter({ subsets: ["latin"] });

export const metadata: Metadata = {
  title: "Create Next App",
  description: "Generated by create next app",
};

export default function RootLayout({
  children,
}: Readonly<{
  children: React.ReactNode;
}>) {
  return (
    <html lang="en">
      <body className={inter.className}>
        {children}
        <Script src="/service-worker.js" />
      </body>
    </html>
  );
}
layout.tsx 파일에서 <Script>태그를 사용하여 public/service-worker.js 파일을 포함시켜줍니다.
PWA installale 상태가 되었습니다. 개발자 도구에서 확인해봅시당.

- 개발자 도구 > Application 탭에서 설정한 manifest.json의 내용이 잘 반영되었는지 확인할 수 있습니다.
- icon section에서는 maskable icon이 safe aria에 잘 반영되는지 미리보기를 해볼 수도 있습니다.
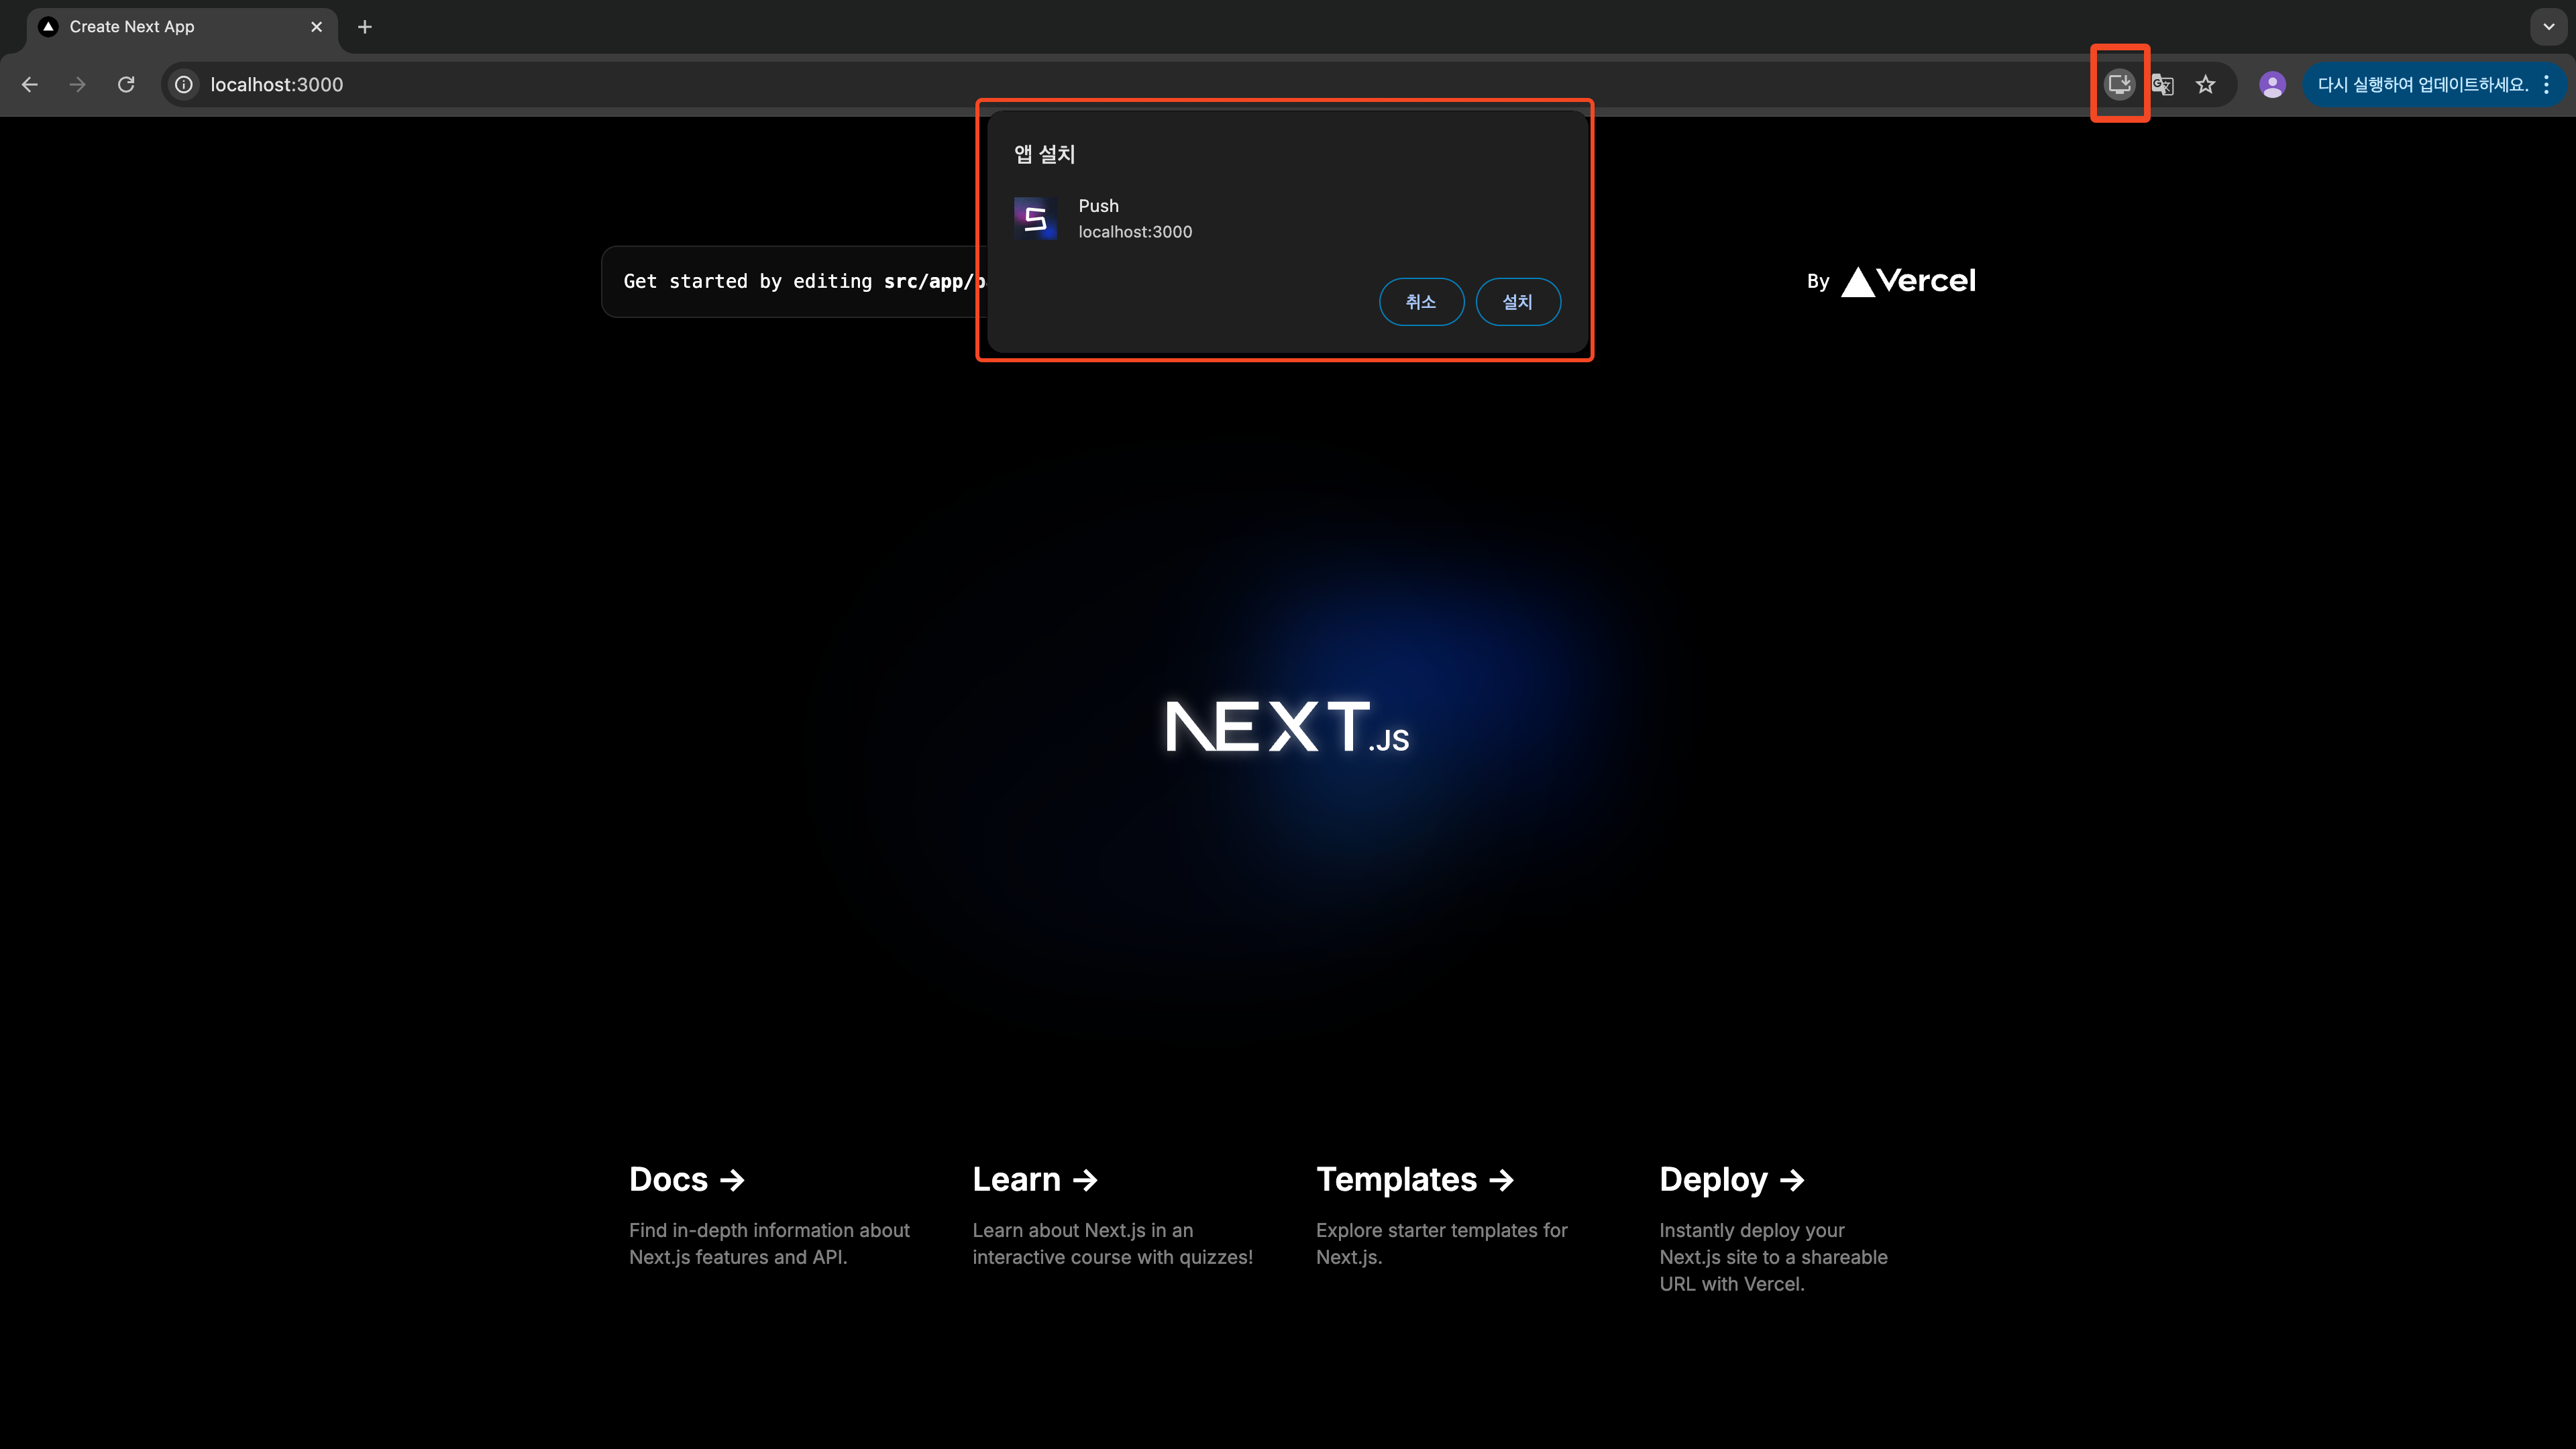
- pwa installable 환경이 되었다면 브라우저에서 설치 아이콘이 ✨뿅🌟 나타납니다.
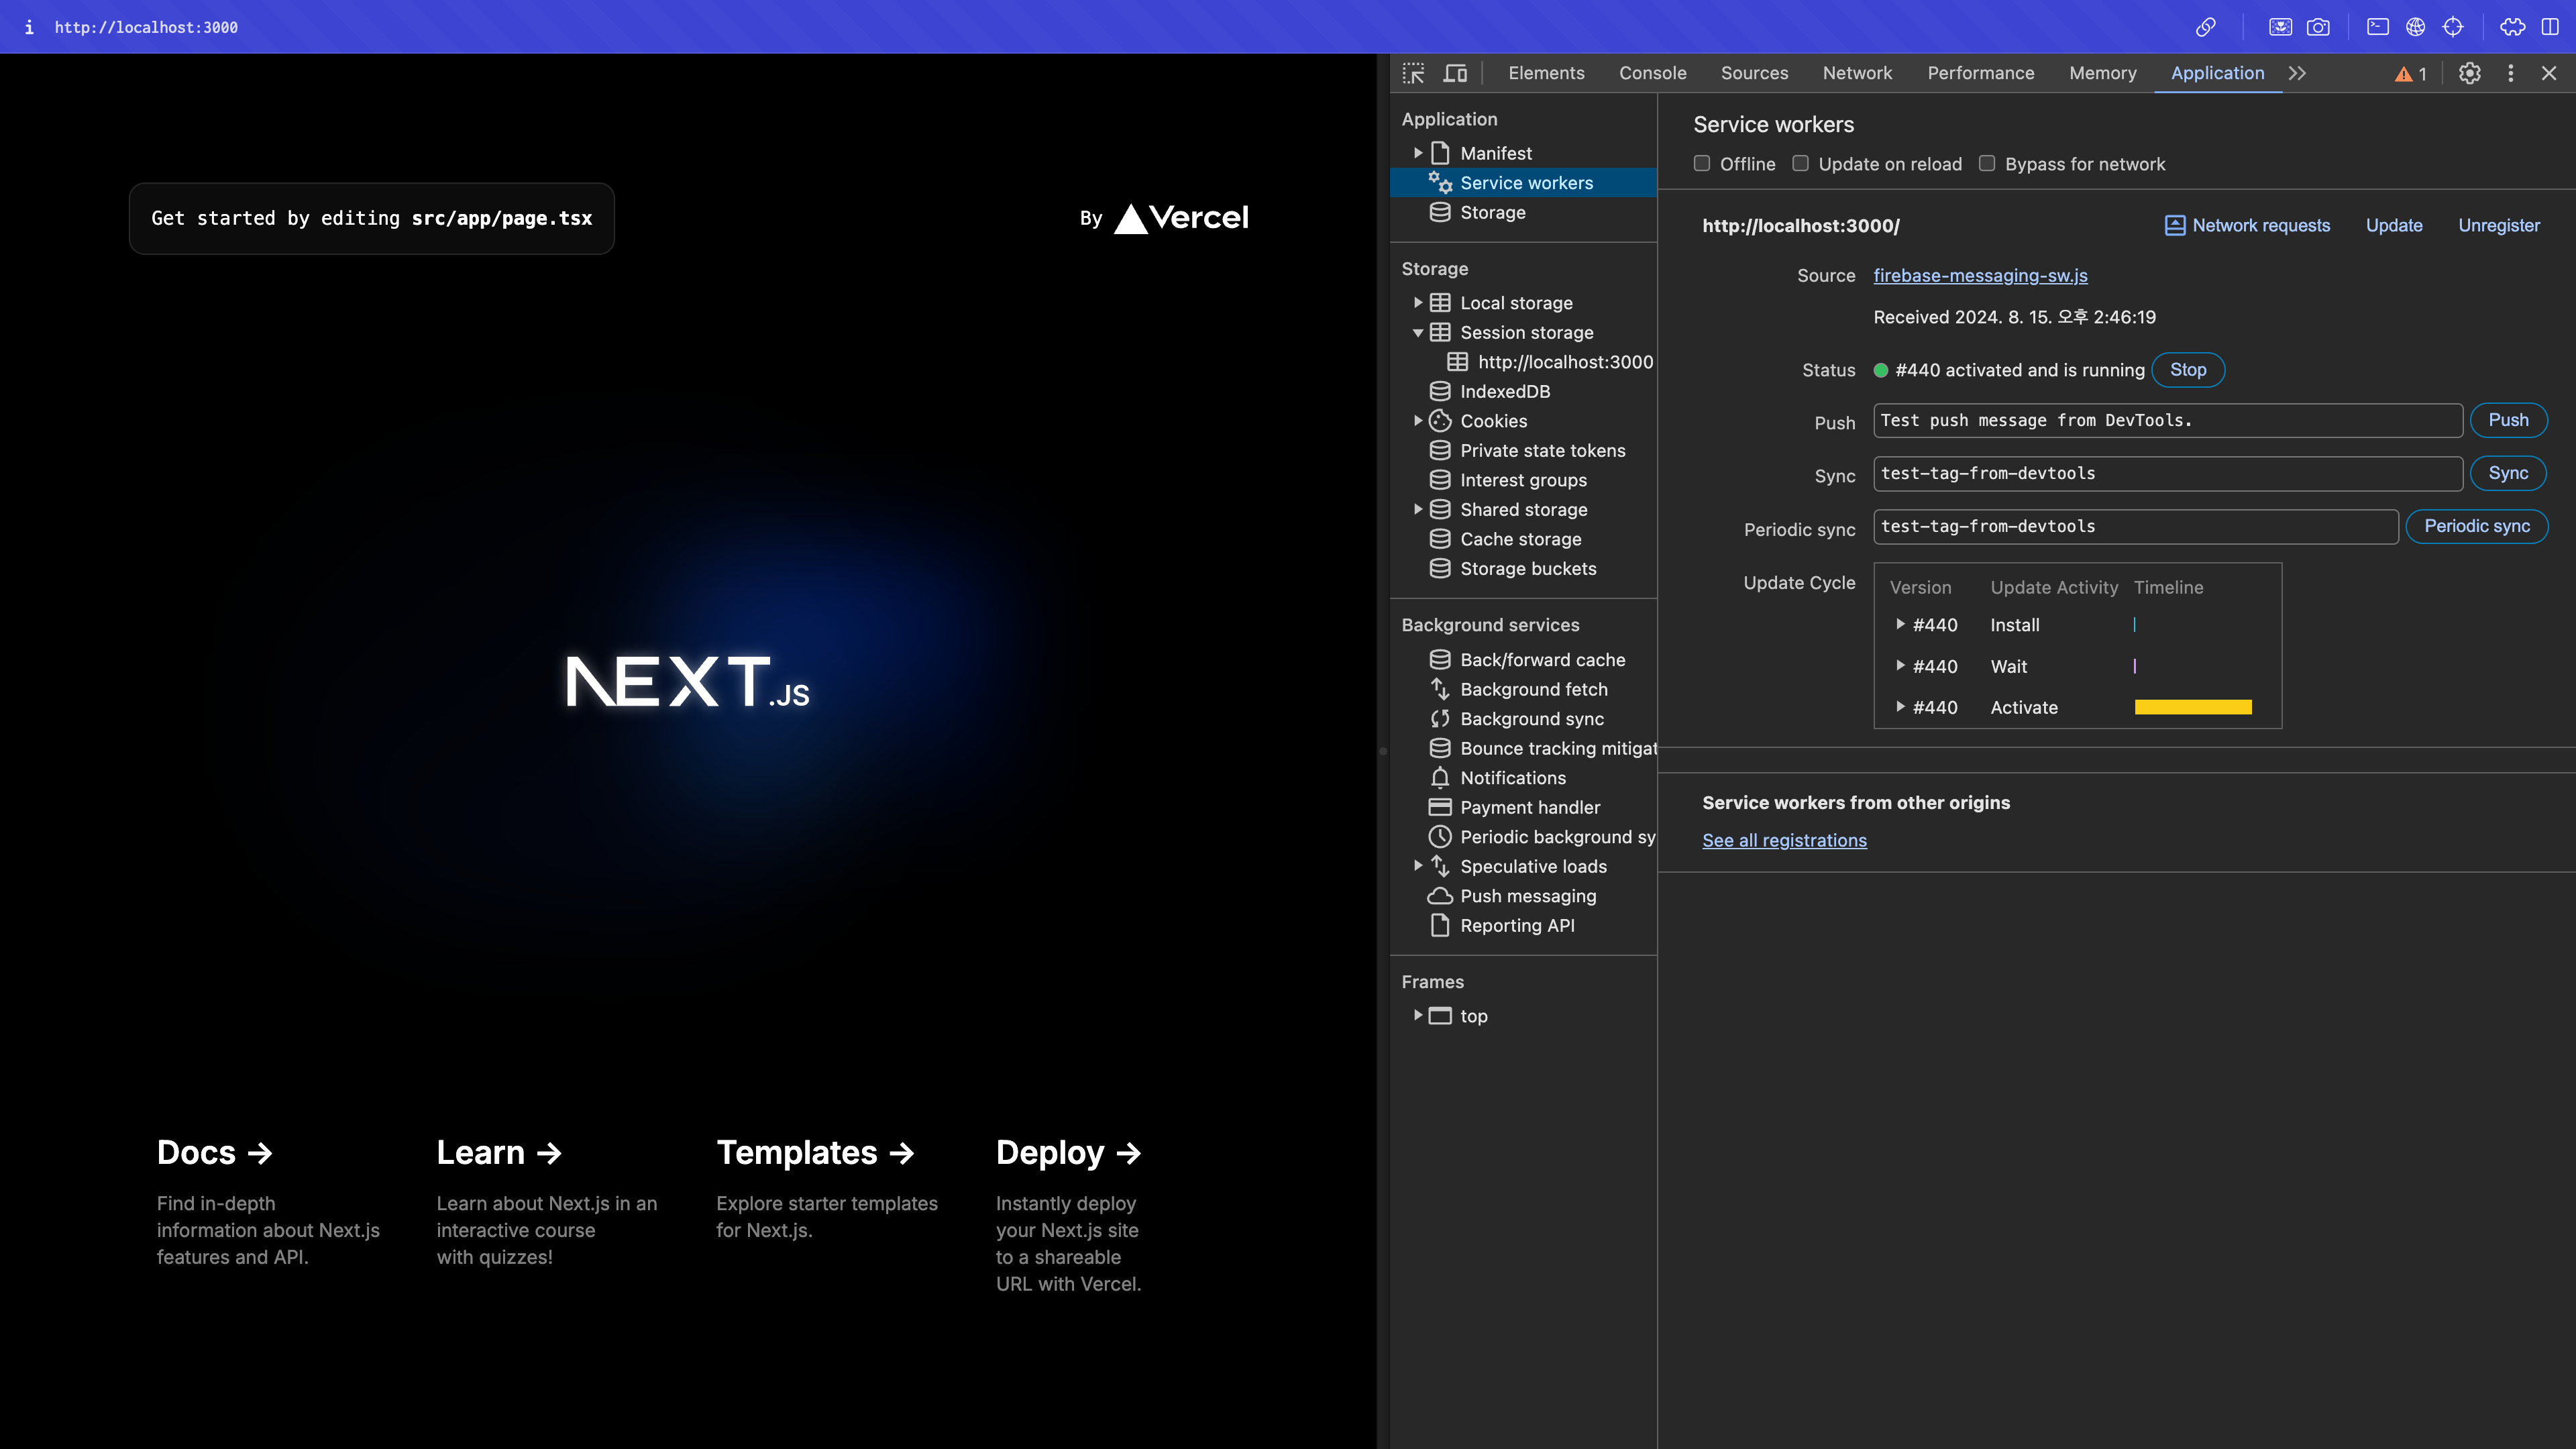
- sevice worker 섹션에서는 service worker가 잘 등록되었는지 확인할 수 있습니다.
1.4 모바일에서 pwa 설치하기
| 모바일에서 브라우저로 해당 페이지에 접속하여 아래 공유 버튼을 선택 | 홈 화면에 추가 선택 |
|---|---|
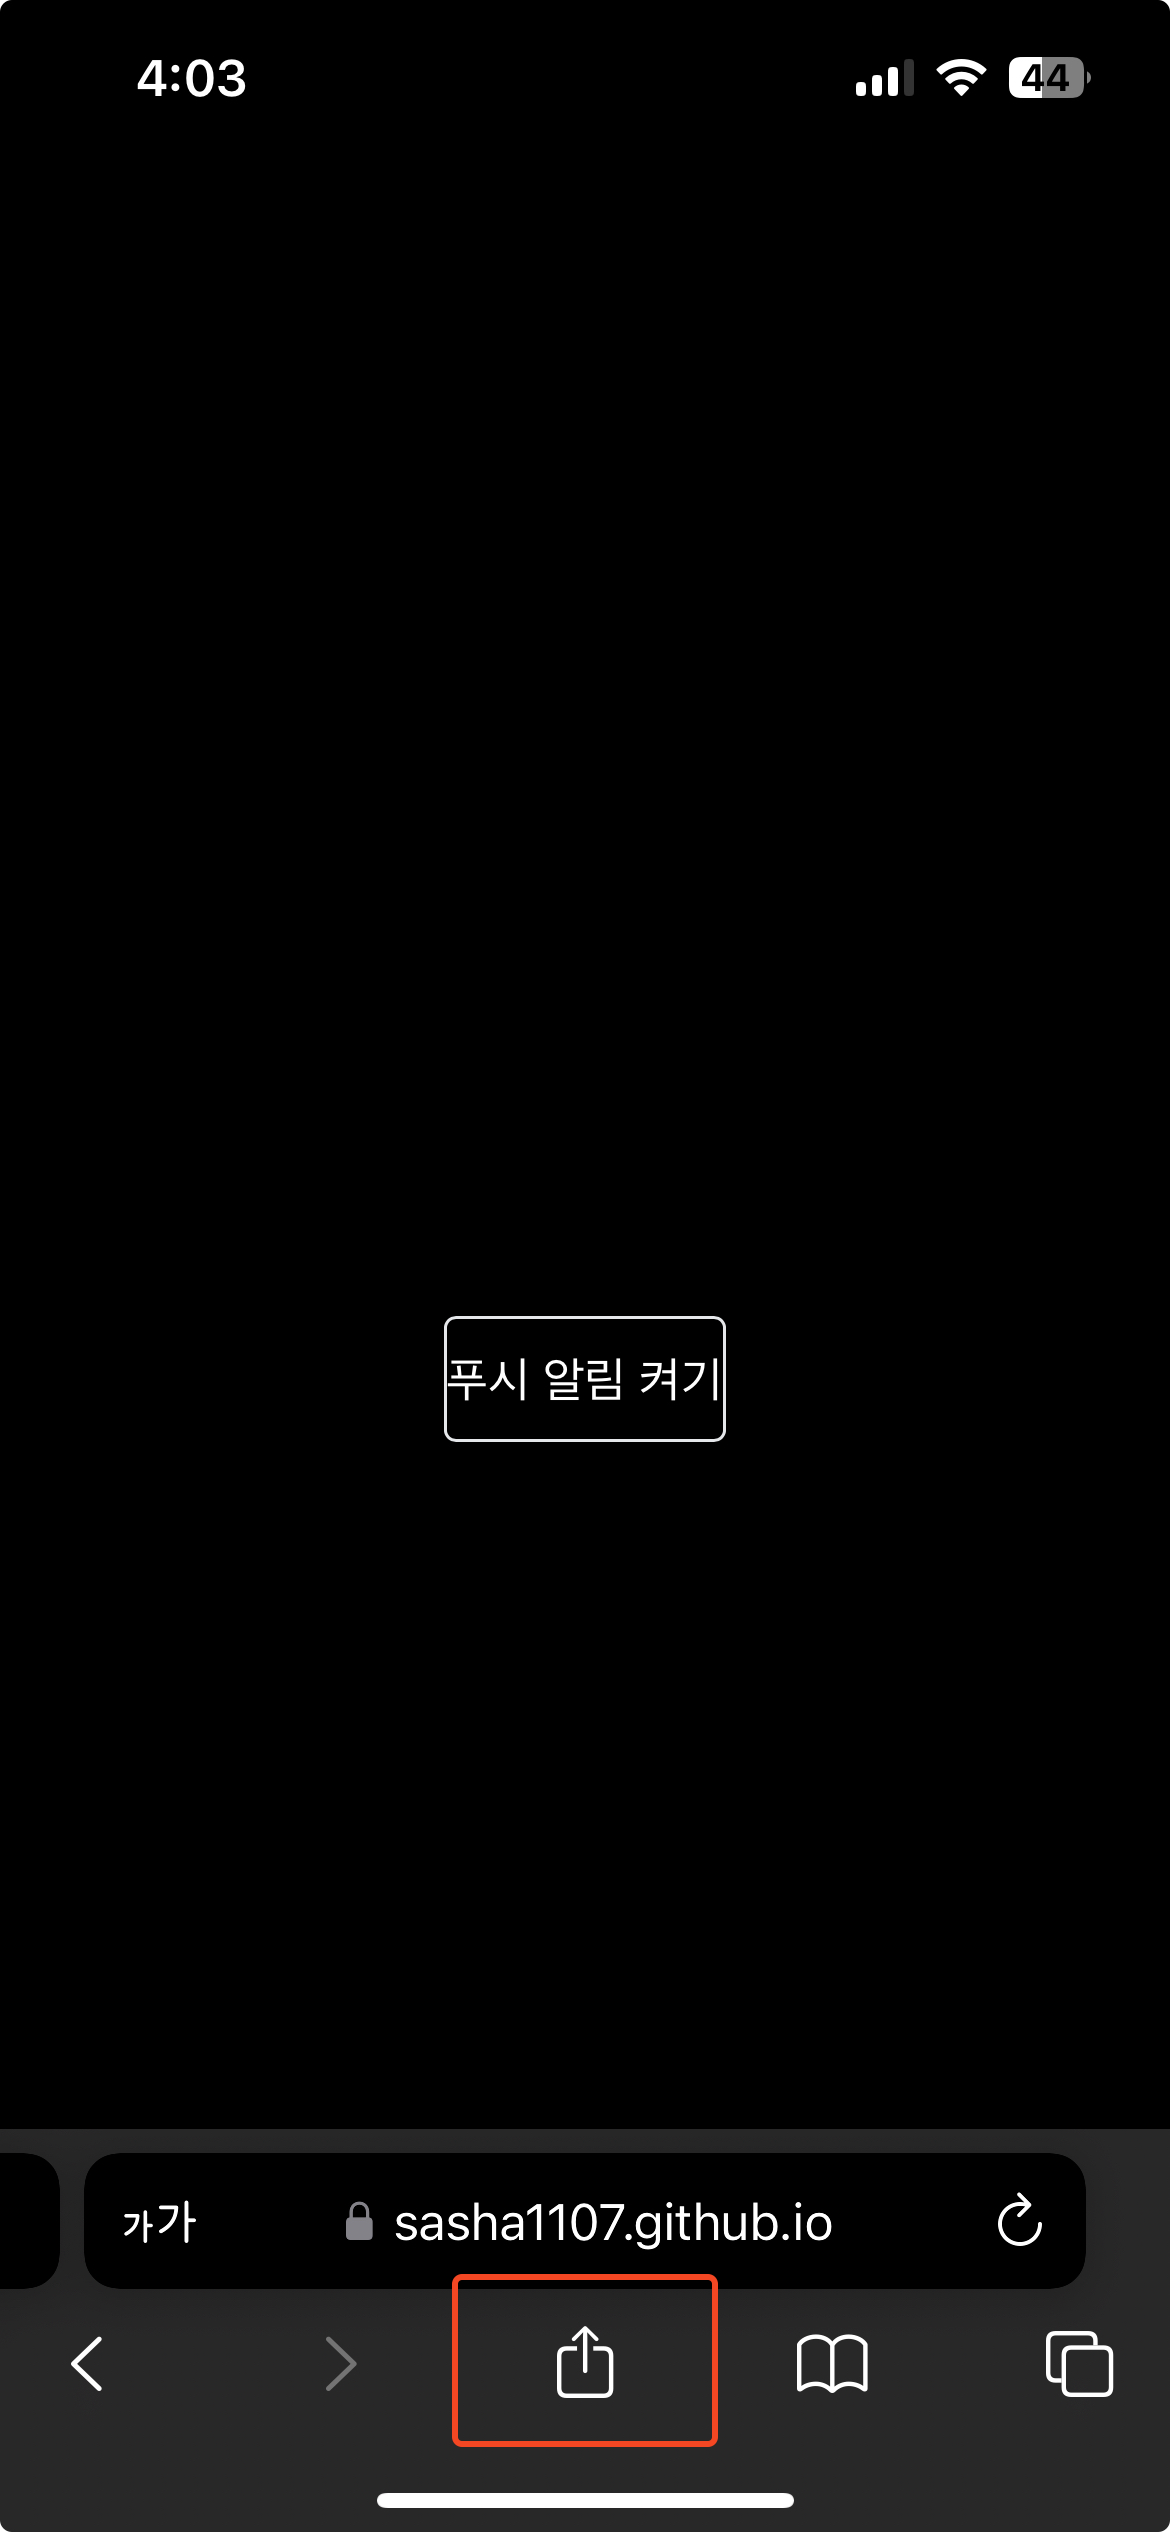 | 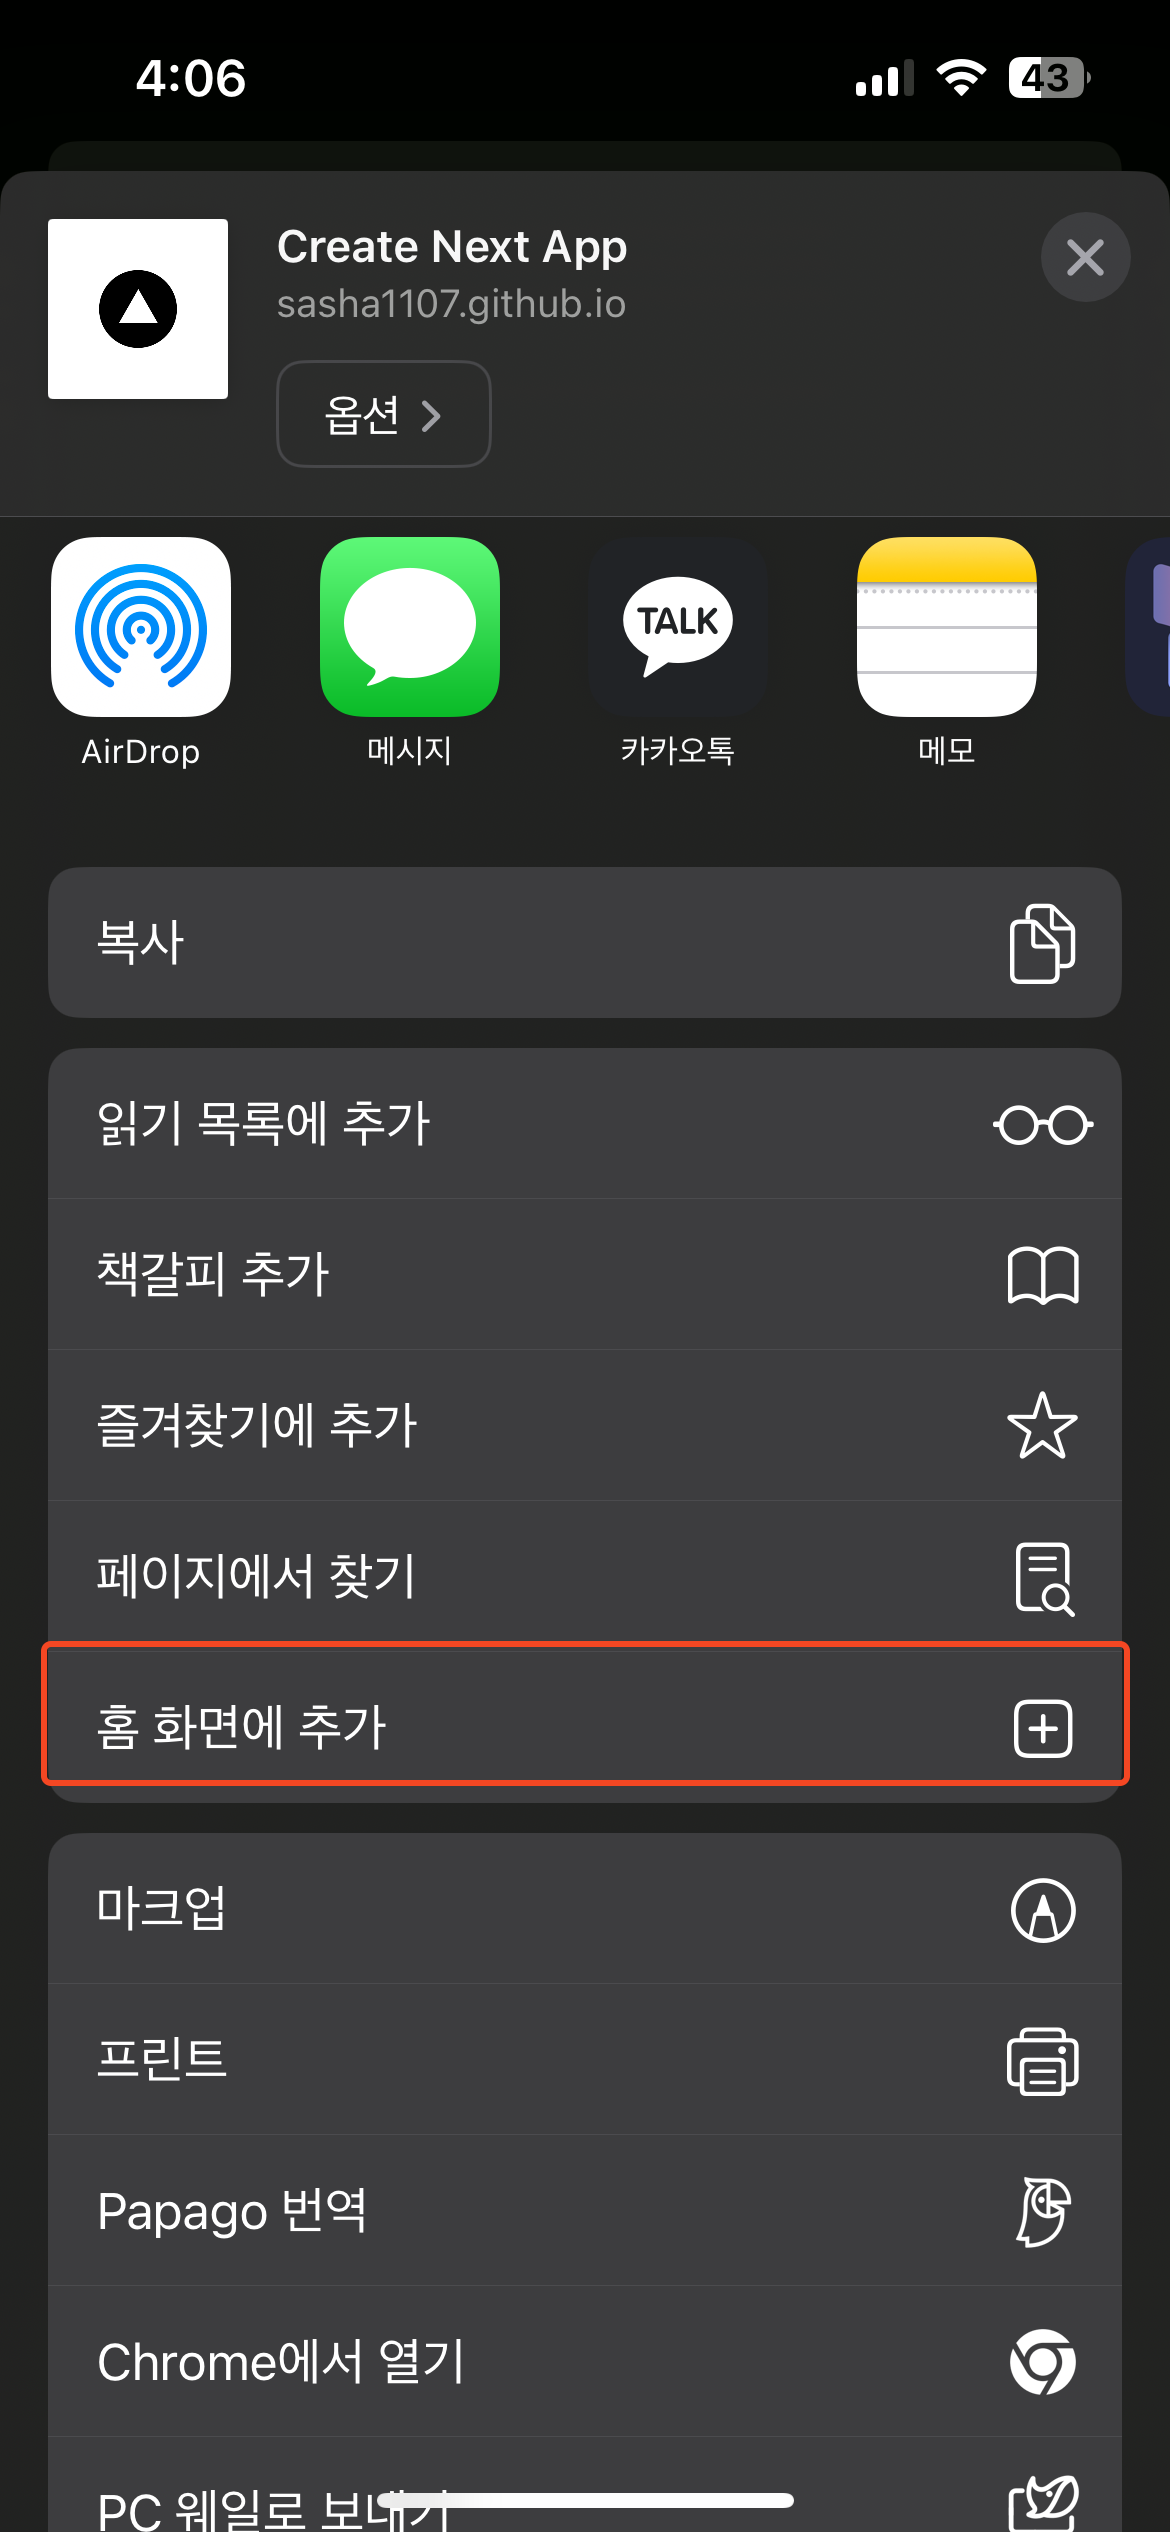 |
 | 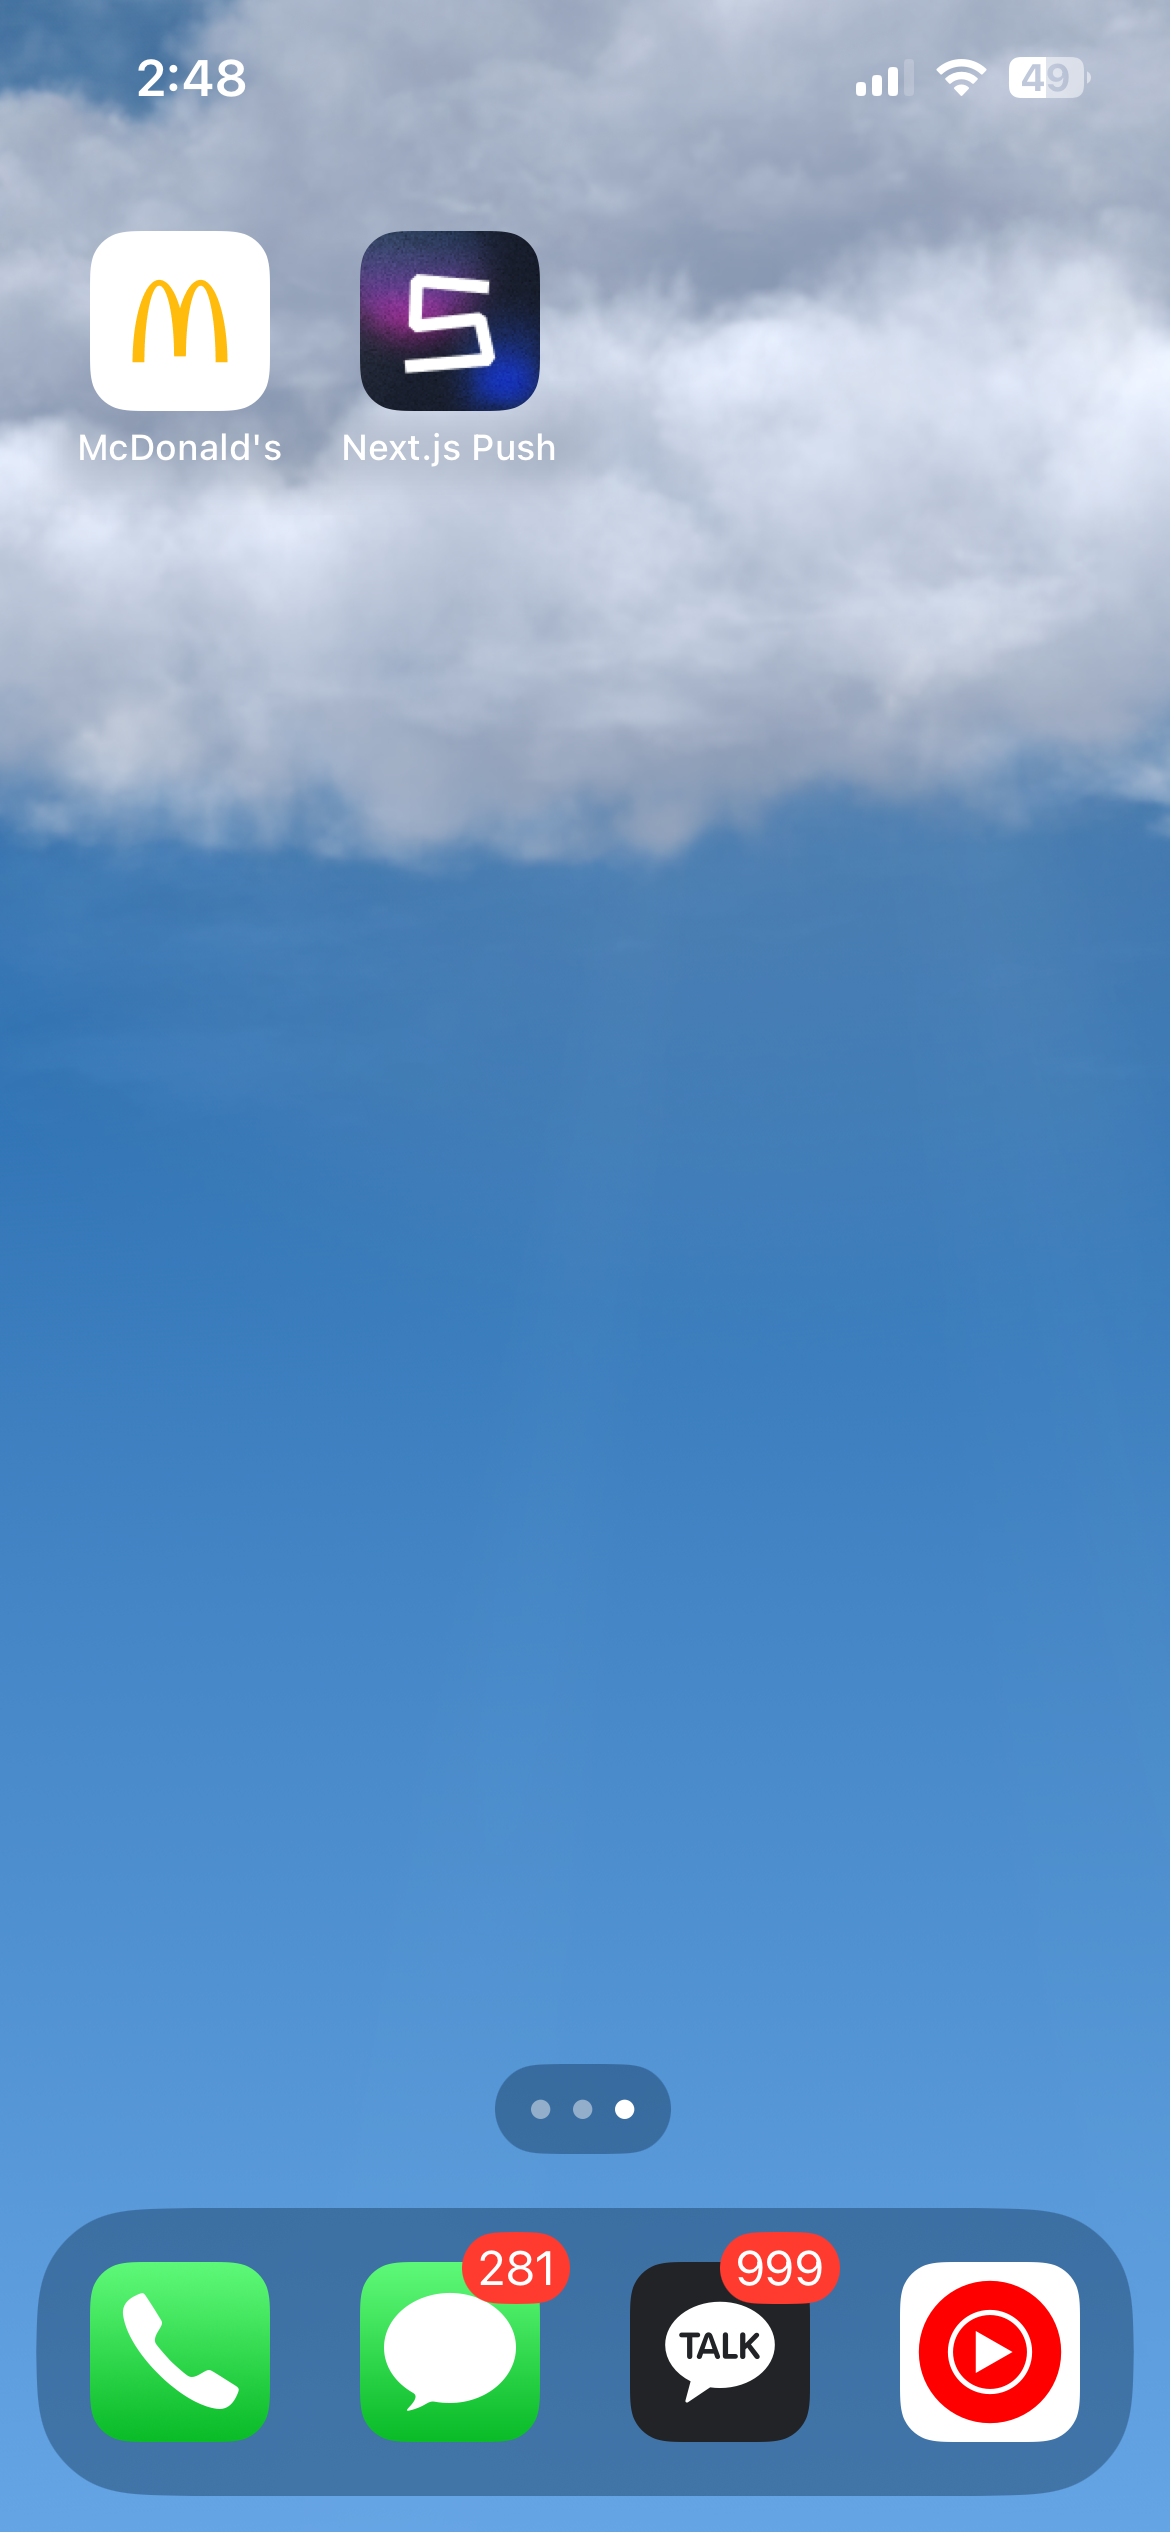 |
홈화면에 아름답게 추가 되었습니다.
2. firebase message 푸시받기
2.1 Firebase Configuration
firebase console에서 그대로 가져왔습니다.
// src/firebase/index.ts
// Import the functions you need from the SDKs you need
import { initializeApp } from "firebase/app";

// TODO: Add SDKs for Firebase products that you want to use
// https://firebase.google.com/docs/web/setup#available-libraries

// Your web app's Firebase configuration
// For Firebase JS SDK v7.20.0 and later, measurementId is optional
const firebaseConfig = {
  apiKey: "xxxxxxxxxx",
  authDomain: "xxxxxxxxxx.firebaseapp.com",
  databaseURL: "https://xxxxxxxxxx.firebaseio.com",
  projectId: "xxxxxxxxxx",
  storageBucket: "xxxxxxxxxx.appspot.com",
  messagingSenderId: "xxxxxxxxxx",
  appId: "xxxxxxxxxx"
};

// Initialize Firebase
export const firebaseApp = initializeApp(firebaseConfig);
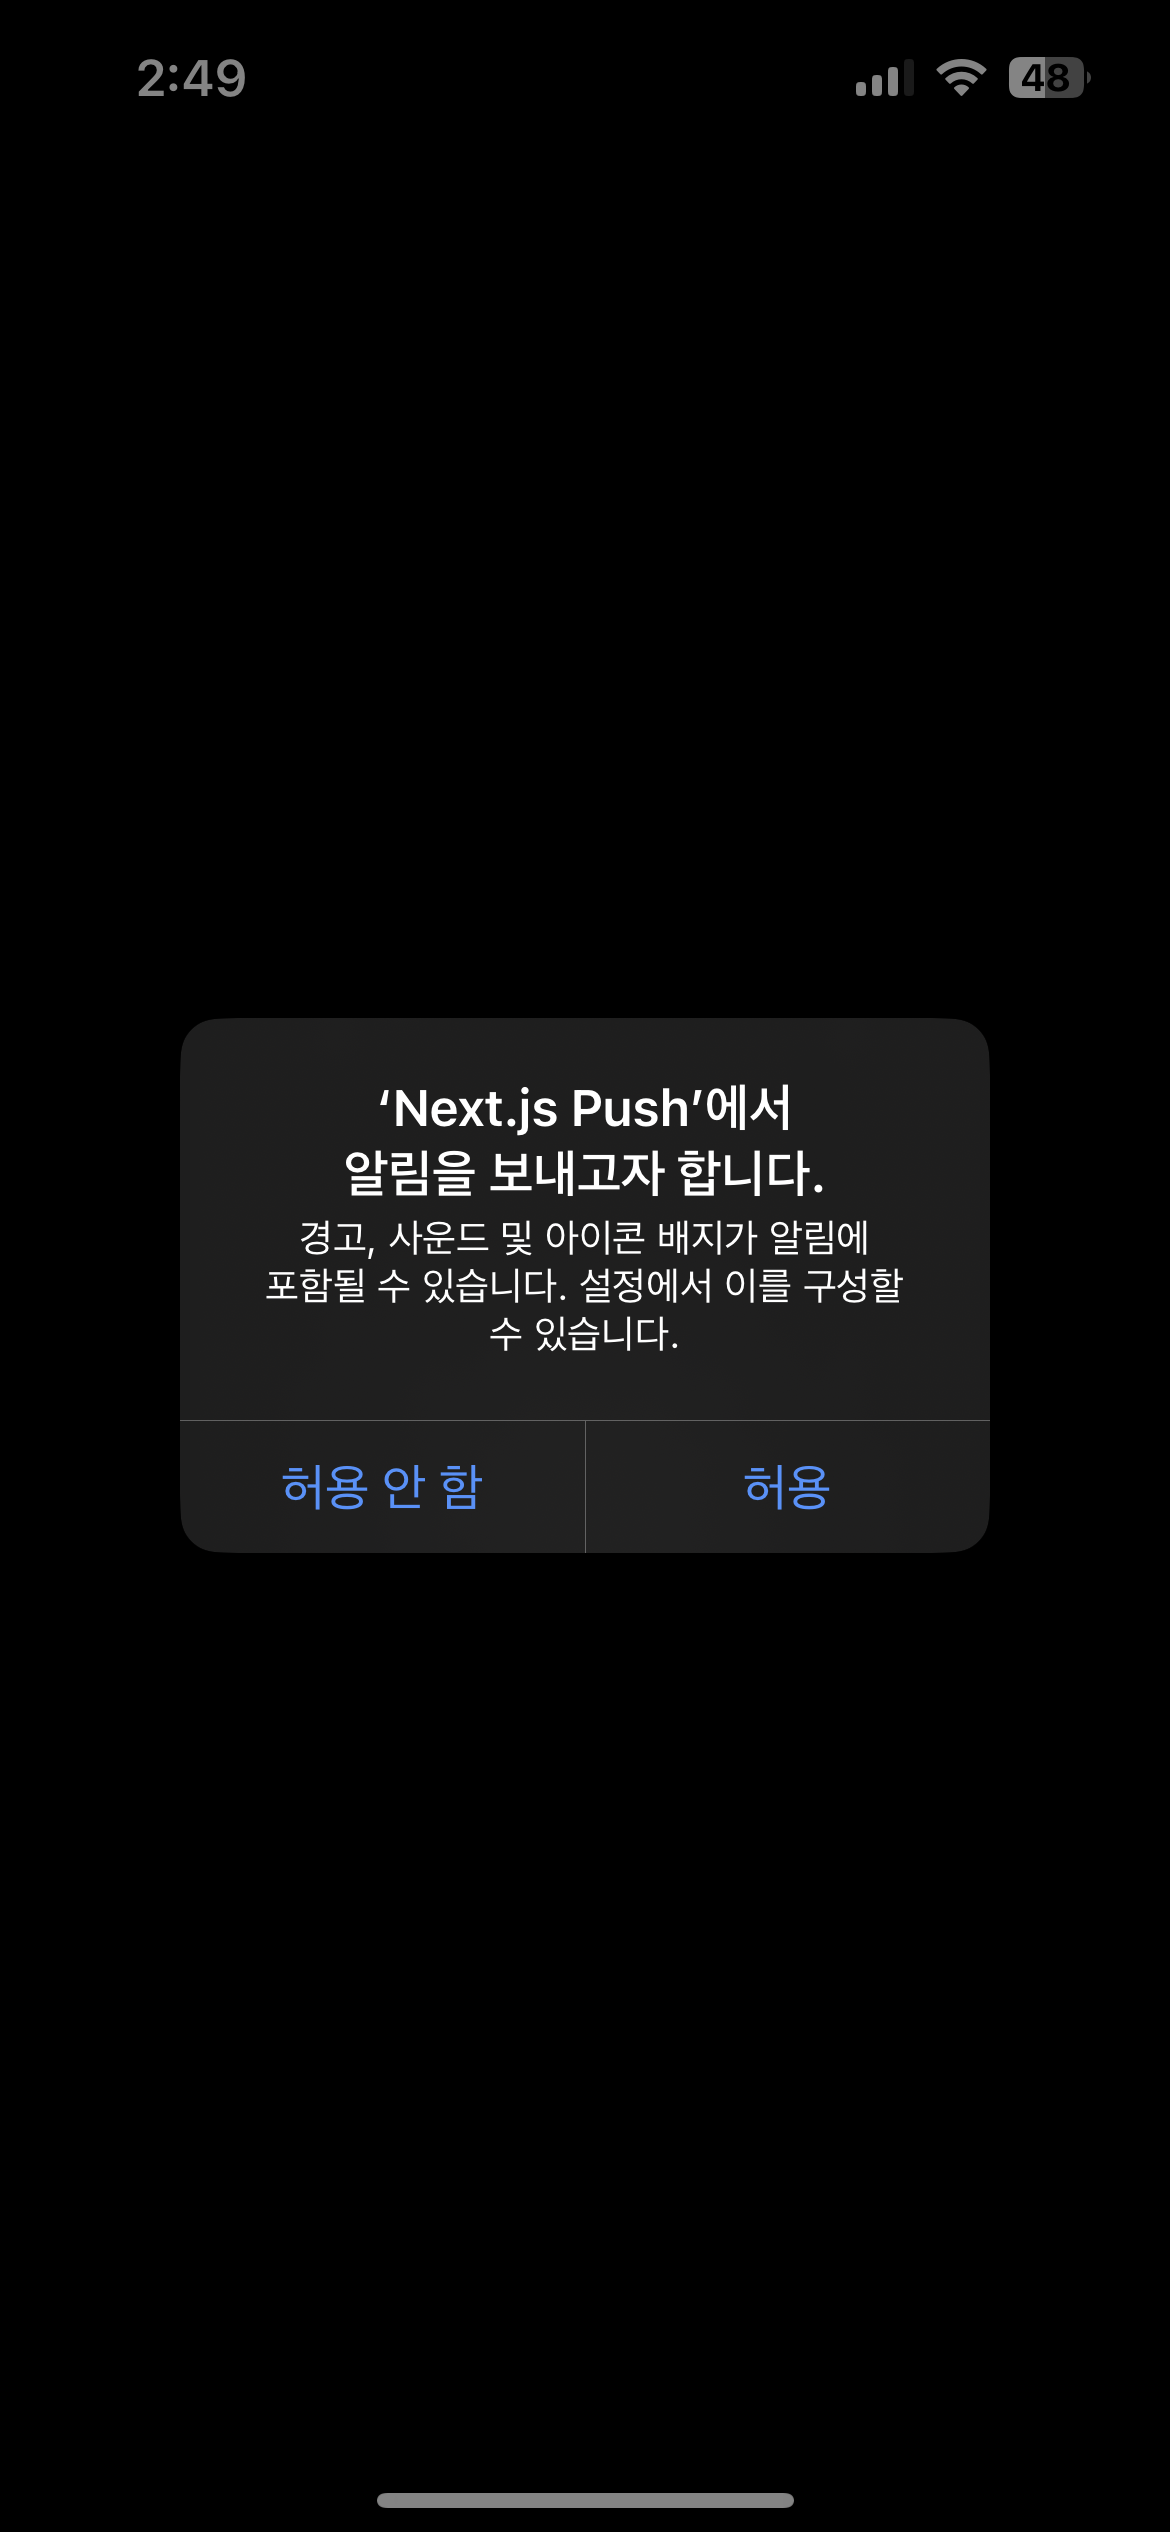
2.2 푸시 알림 권한 받기
Notification API를 사용하여 브라우저의 알림 권한을 받아야 합니다.
granted 상태가 되어야 푸시 알림을 받을 수 있습니다.
const requestPermission = async () => {
    if (!("Notification" in window)) {
      console.warn("This browser does not support notifications.");
      return;
    }
    const permission = Notification.permission;
    if (permission === "granted") {
      return;
    } else {
      Notification.requestPermission().then((permission) => {
        console.log("permission", permission);
      });
      return;
    }
  };
알림 권한 요청을 하면 브라우저의 알림 허용 팝업이 뜹니다.
- PC

- 모바일
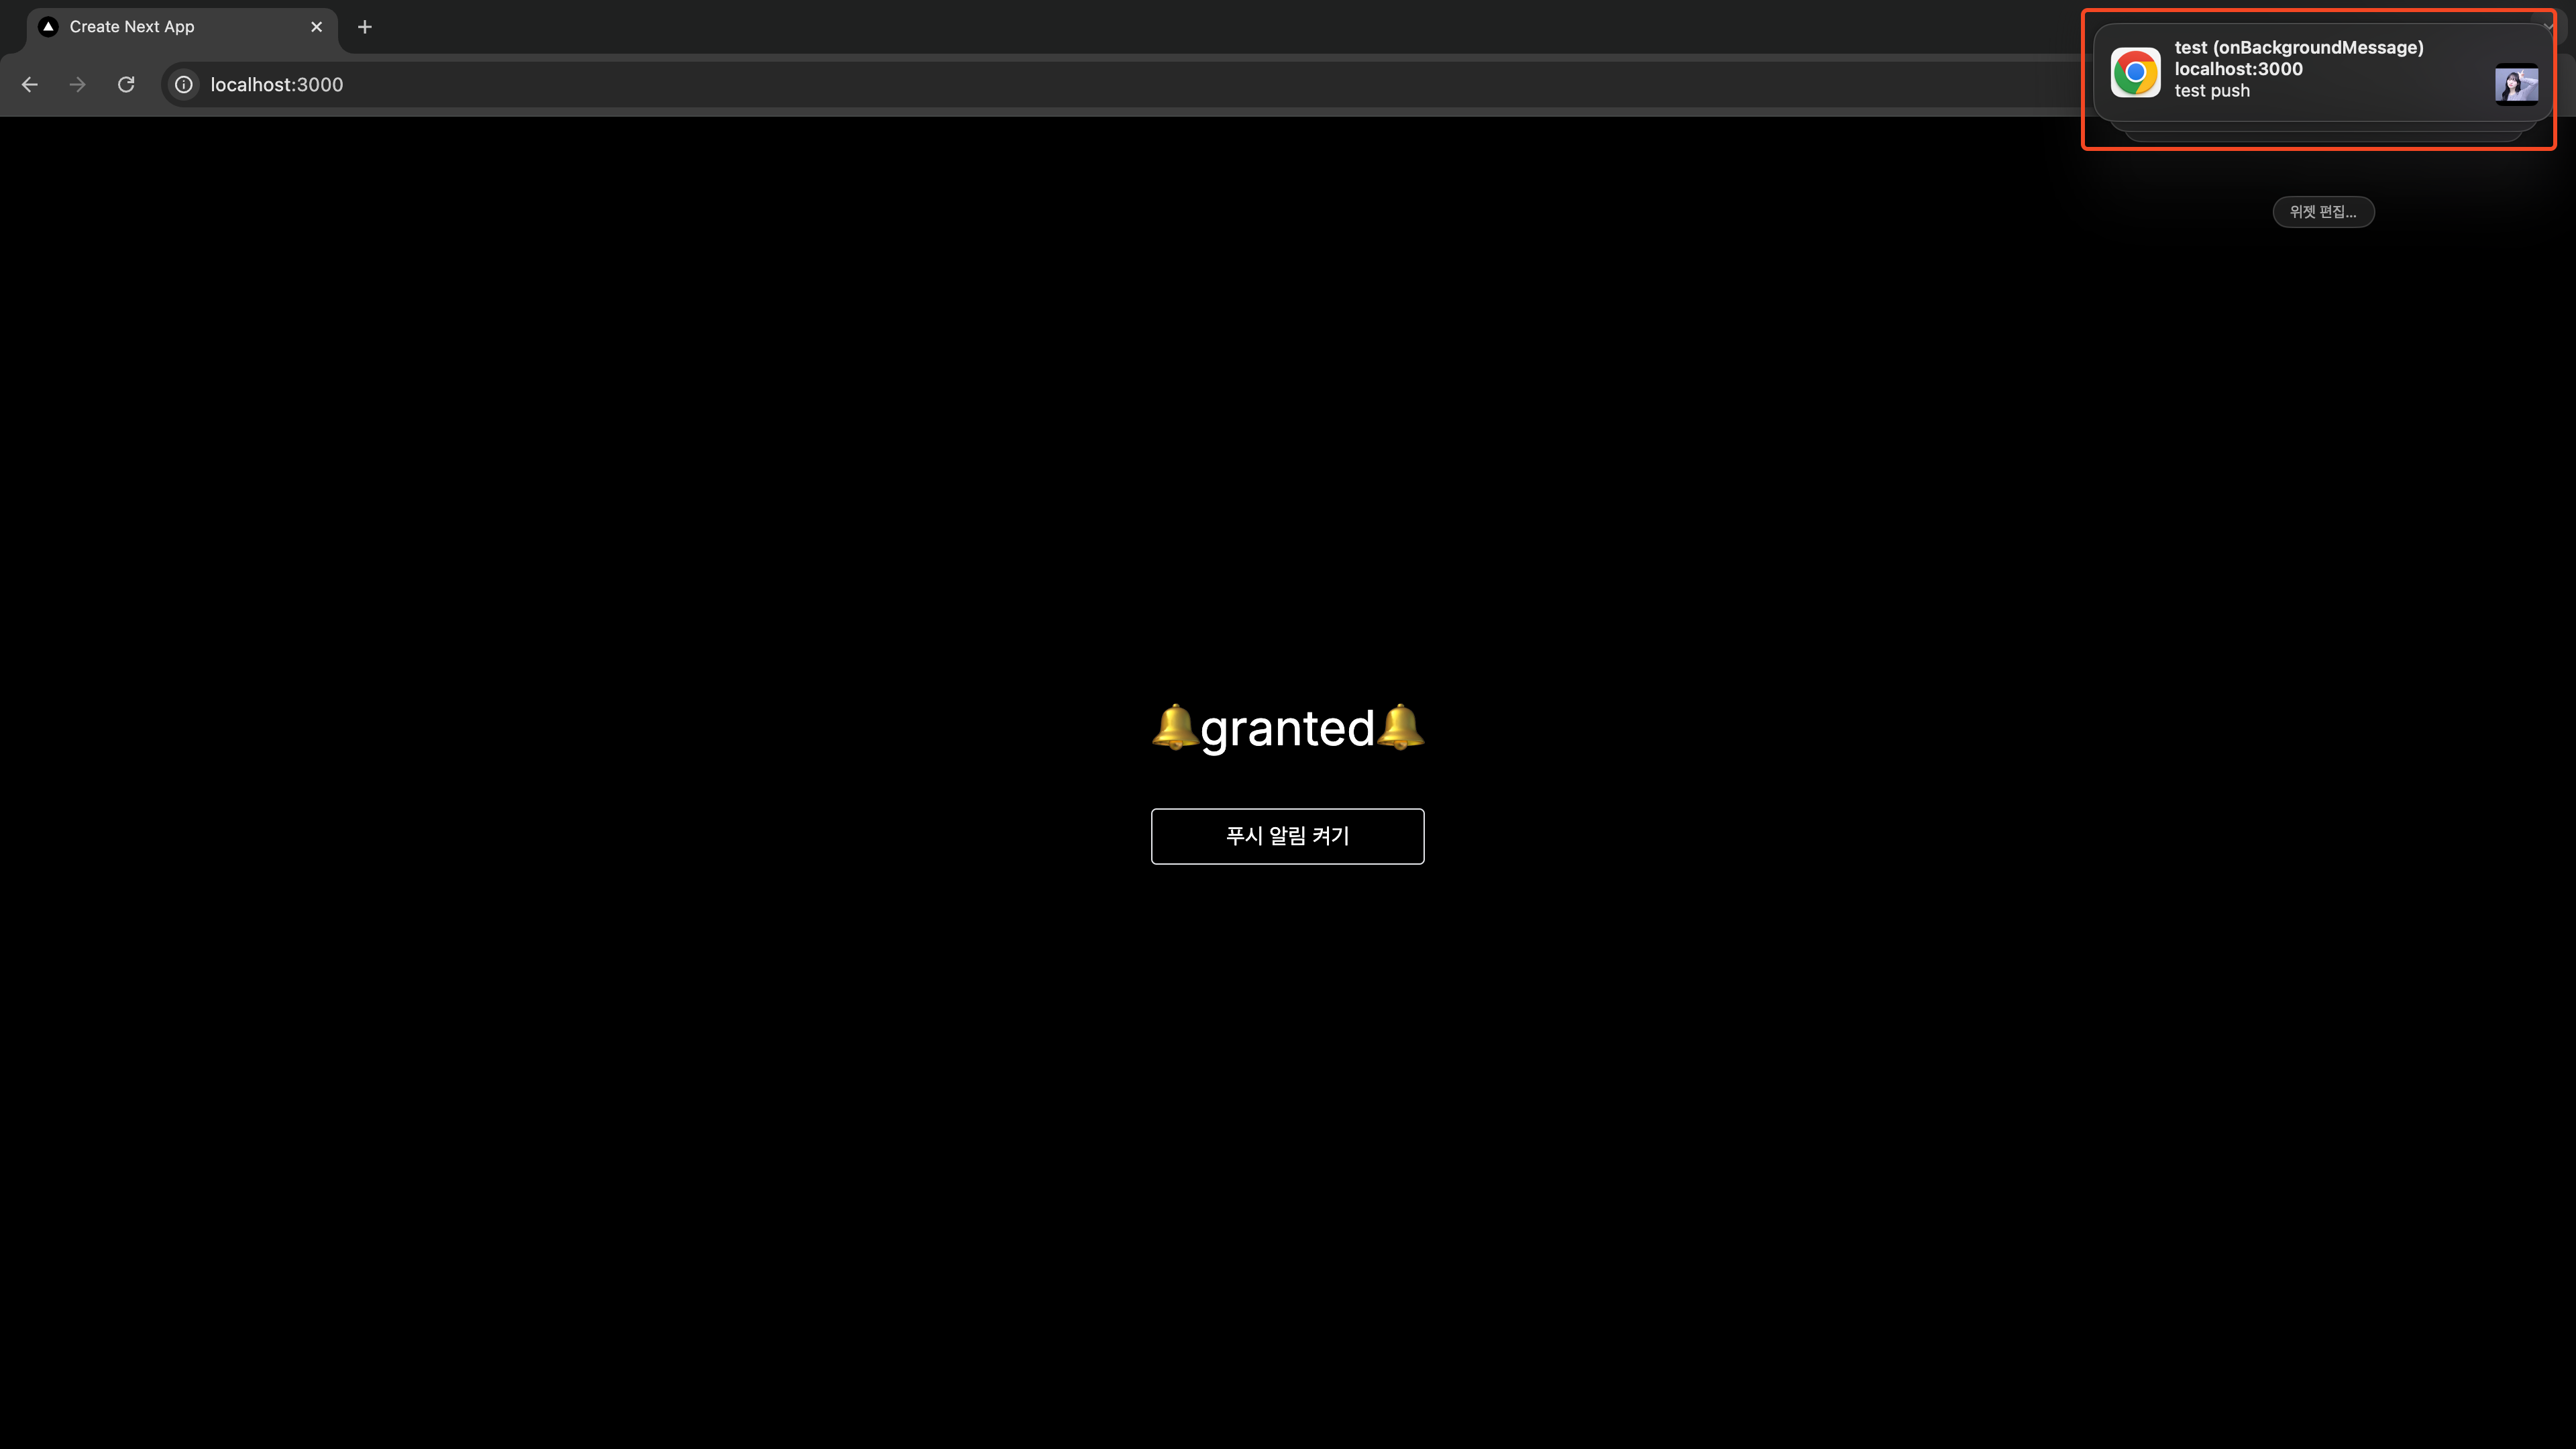
2.3 백그라운드 푸시 알림
// firebase-messaging-sw.js
messaging.onBackgroundMessage((payload) => {
  const title = payload.notification.title + " (onBackgroundMessage)";
  const notificationOptions = {
    body: payload.notification.body,
    icon: "https://avatars.githubusercontent.com/sasha1107",
  };

  self.registration.showNotification(title, notificationOptions);
});
아까 1.3.2에서 작성했던 firebase-messaging-sw.js 파일의 일부인데, messaging.onBackgroundMessage 메서드를 사용하여 웹 앱이 백그라운드 상태일 때 알림을 수신할 수 있도록 했습니다.
2.3 포그라운드 푸시 알림
// app/page.tsx
"use client";

import { useEffect } from "react";
import {
  getMessaging,
  onMessage,
  getToken,
  isSupported,
} from "firebase/messaging";
import { firebaseApp } from "@/firebase";

const messaging = async () => {
  try {
    const isSupportedBrowser = await isSupported();
    if (isSupportedBrowser) {
      return getMessaging(firebaseApp);
    }
    return null;
  } catch (err) {
    console.error(err);
    return null;
  }
};

export default function Home() {
  const permission = Notification.permission;

  useEffect(() => {
    const onMessageListener = async () => {
      const messagingResolve = await messaging();
      if (messagingResolve) {
        onMessage(messagingResolve, (payload) => {
          if (!("Notification" in window)) {
            return;
          }
          const permission = Notification.permission;
          const title = payload.notification?.title + " foreground";
          const redirectUrl = "/";
          const body = payload.notification?.body;
          if (permission === "granted") {
            console.log("payload", payload);
            if (payload.data) {
              const notification = new Notification(title, {
                body,
                icon: "/icons/icon-96.png",
              });
              notification.onclick = () => {
                window.open(redirectUrl, "_blank")?.focus();
              };
            }
          }
        });
      }
    };
    onMessageListener();
  }, []);
  return (
    <main className="flex min-h-screen flex-col items-center justify-center p-24">
      <div className="flex flex-col gap-10">
        <div className="text-4xl">🔔{permission}🔔</div>
        <button className="border rounded py-2" onClick={requestPermission}>
          푸시 알림 켜기
        </button>
      </div>
    </main>
  );
}
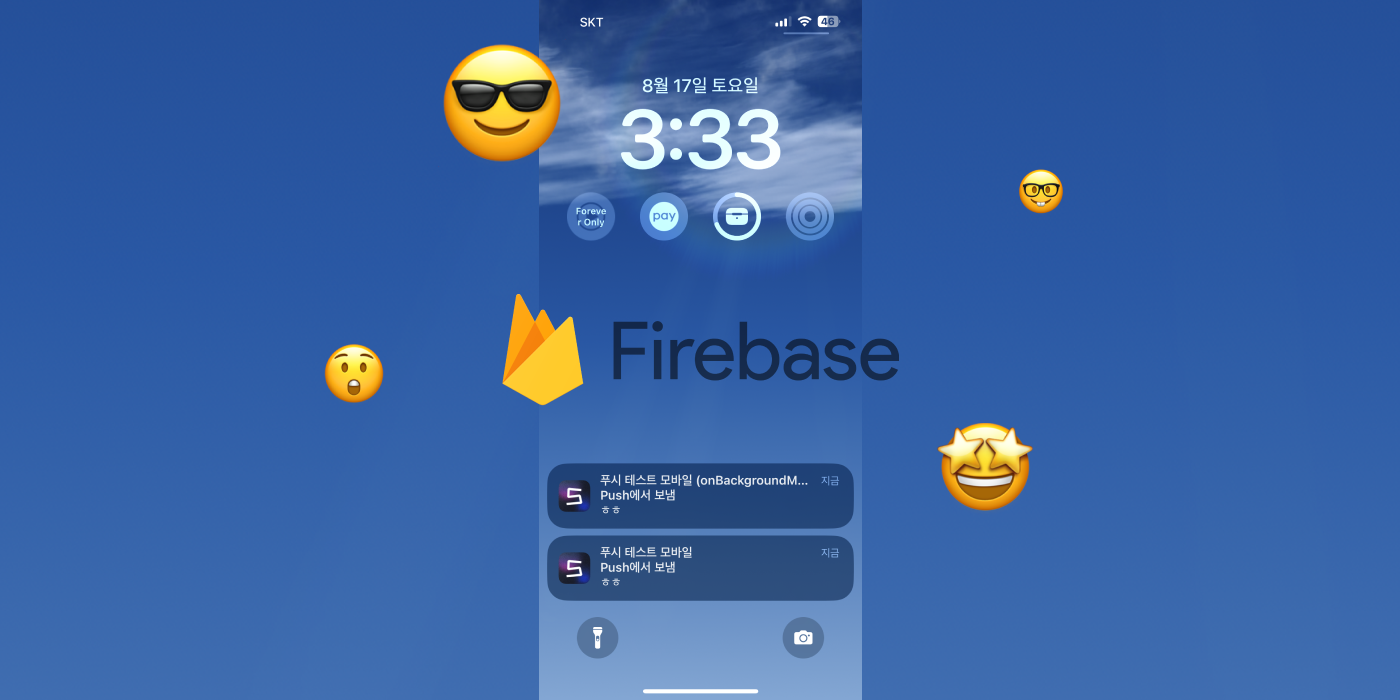
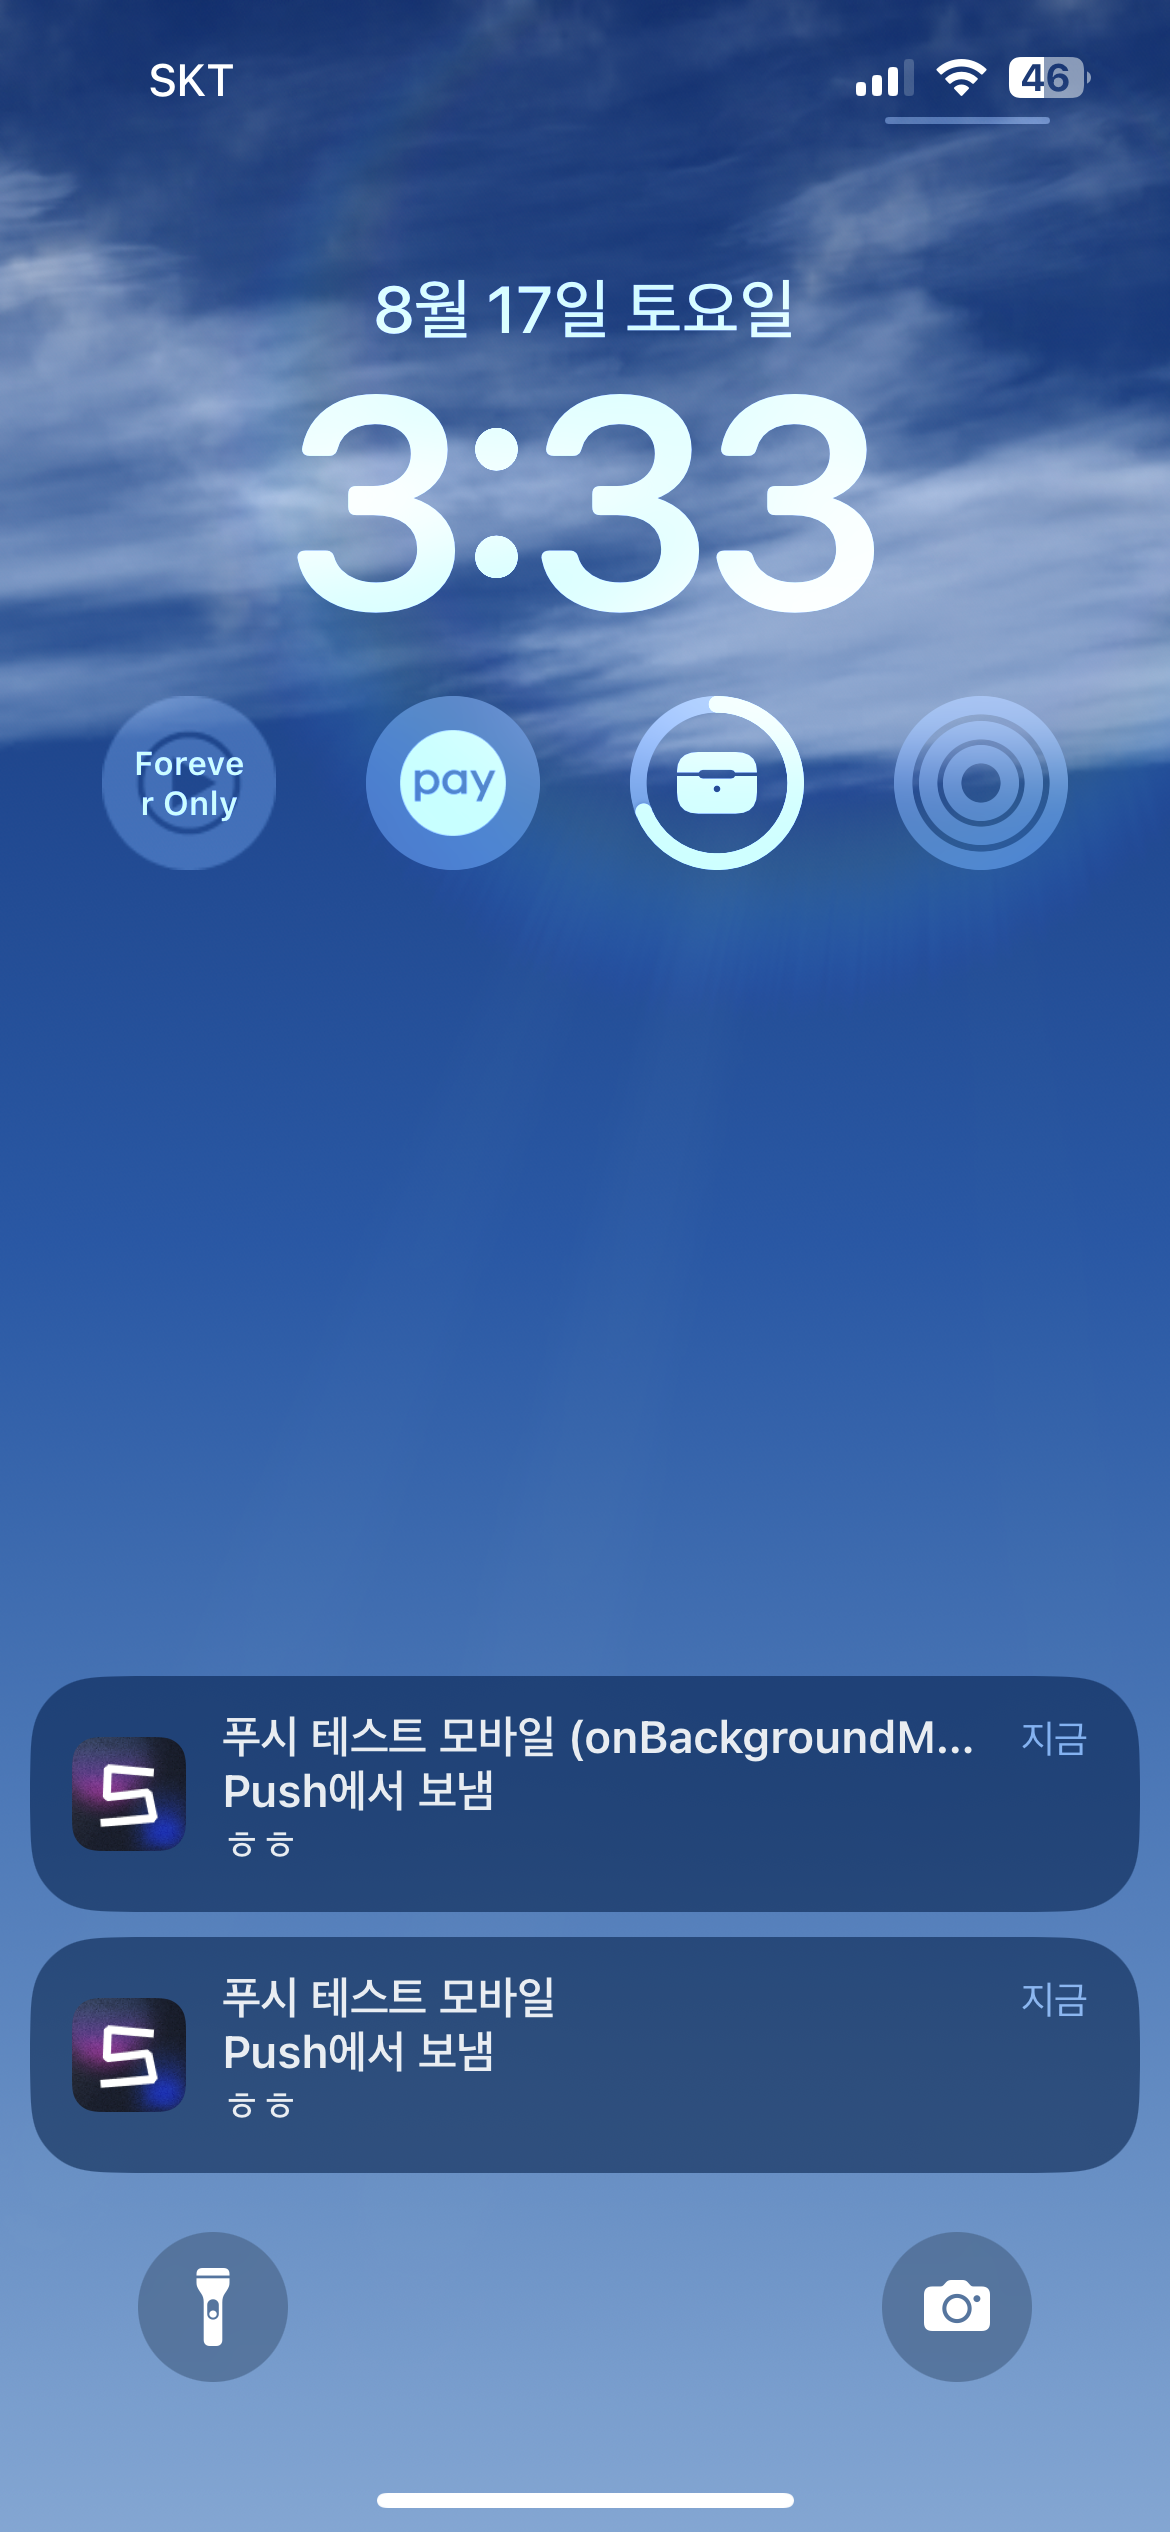
3. 성공!
회사에서는 Sendbird(채팅 서비스)에 User Device Token을 등록하여 채팅이 올 때 fcm을 통해 알림이 오도록 했지만, 여기에서는 Sendbird와 같은 외부 라이브러리를 거치지 않기에 firebase console에서 테스트 push를 보내보았습니다..
-
PC
-
모바일
샘플 코드를 공유합니다.


오 잘보고갑니다.