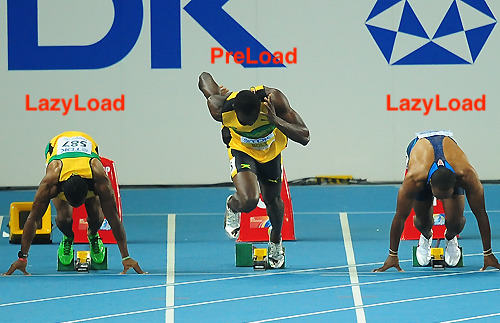
LazyLoad
LazyLoad는 웹페이지를 불러올 때, 바로 필요하지 않은,
즉 눈에 보여지지 않는 이미지들의 로딩 시점을 뒤로 미루는 것이다.
사용자가 스크롤 등을 통해 이미지가 보여지는 시점이 되면 그때 로딩을 한다.
LazyLoad를 사용해야 하는 이유는 당장 불필요한 이미지들가지 웹페이지를 불러올 때,
한번에 가지고 오면 로딩 시간과 성능 면에서 떨어지기 때문이다.
또한 이미지를 모두 받아오면 데이터를 모두 서버에 저장해야 하기 때문에
비용적인 측면에서도 문제가 된다.
react-lazy-load 라이브러리
npm에서 react-lazy-load를 설치할 수 있다.
import React from "react";
import LazyLoad from "react-lazy-load";

export default function MyComponent() {
  return (
    <div>
      <div className="filler" />
      <LazyLoad height={600} offsetVertical={300}>
        <img
          src="https://cdn.pixabay.com/photo/2017/09/25/13/12/cocker-spaniel-2785074_1280.jpg"
          width={500}
          height={500}
        />
      </LazyLoad>
      <div className="filler" />
      <LazyLoad height={600} offsetVertical={300}>
        <img
          src="https://cdn.pixabay.com/photo/2019/08/19/07/45/dog-4415649_1280.jpg"
          width={500}
          height={500}
        />
      </LazyLoad>
      <div className="filler" />
      <LazyLoad height={600} offsetVertical={300}>
        <img
          src="https://cdn.pixabay.com/photo/2016/10/31/14/55/rottweiler-1785760_1280.jpg"
          width={500}
          height={500}
        />
      </LazyLoad>
      <div className="filler" />
      <LazyLoad height={600} offsetVertical={300}>
        <img
          src="https://cdn.pixabay.com/photo/2016/01/05/17/51/maltese-1123016_1280.jpg"
          width={500}
          height={500}
        />
      </LazyLoad>
      <div className="filler" />
      <LazyLoad height={600} offsetVertical={300}>
        <img
          src="https://cdn.pixabay.com/photo/2016/12/13/05/15/puppy-1903313_1280.jpg"
          width={500}
          height={500}
        />
      </LazyLoad>
      <div className="filler" />
      <LazyLoad height={600} offsetVertical={300}>
        <img
          src="https://cdn.pixabay.com/photo/2014/12/10/05/50/english-bulldog-562723__480.jpg"
          width={500}
          height={500}
        />
      </LazyLoad>
      <div className="filler" />
      <LazyLoad height={600} offsetVertical={300}>
        <img
          src="https://cdn.pixabay.com/photo/2016/11/21/00/47/view-1844110__480.jpg"
          width={500}
          height={500}
        />
      </LazyLoad>
      <div className="filler" />
      <LazyLoad height={600} offsetVertical={300}>
        <img
          src="https://cdn.pixabay.com/photo/2018/05/17/06/22/dog-3407906__480.jpg"
          width={500}
          height={500}
        />
      </LazyLoad>
      <div className="filler" />
      <LazyLoad height={600} offsetVertical={300}>
        <img
          src="https://cdn.pixabay.com/photo/2016/11/22/20/10/dog-1850465__480.jpg"
          width={500}
          height={500}
        />
      </LazyLoad>
      <div className="filler" />
      <LazyLoad height={600} offsetVertical={300}>
        <img
          src="https://cdn.pixabay.com/photo/2019/11/07/08/40/dog-4608266__480.jpg"
          width={500}
          height={500}
        />
      </LazyLoad>
    </div>
10개의 이미지의 src를 직접 넣어주었고, 이 코드를 실행하면 드래그를 할 때마다
네트워크 탭에서 각 화면에 필요한 이미지를 불러오는 것을 확인할 수 있다.
PreLoad
PreLoad는 브라우저에게 현제 페이지에서 필요한 리소스를 빠르게 가져오게 한다.
이미지를 미리 로드하는 경우에 편리하게 사용할 수 있다.
PreLoad의 문법
<link rel="preload" as="..."\>사용 예시
let images = [];

function preload() {
  for(let i = 0; i < preload.arguments.lenght; i++) {
    images[i] = new Image();
    images[i].src = preload.arguments.src;
  }
}

preload(
  "./images1.jpg",
  "./images2.jpg",
  "./images3.jpg",
  "./images4.jpg"
)