리액트는 페이지(URL) 이동할 때마다 서버에서 받는 것이 아니라 자바스크립트가 출력을 해준다. 페이지 경로를 나눠주는 것이 라우터이다.
📗 Link 컴포넌트를 이용한 페이지 이동
<Link>는 <a> 태그처럼 링크를 연결해주지만 URL 개념 하고는 다른 path 개념이다.
리액트 라우터에서 페이지 이동할 때는 Link 컴포넌트를 사용하면 내가 이동하고자 하는 경로(URL)로 이동할 수 있다.
아래와 같이 사용할 수 있다.
<Link to="/about">About</Link>
⭐⭐⭐ Link 컴포넌트를 사용하면 브라우저의 주소만 바꿀뿐, 페이지를 새로 불러오지는 않는다.
✏️ 예제로 Link 컴포넌트 사용해보기
// App 컴포넌트
import {
  Switch,
  Route,
  Link,
} from 'react-router-dom';

import Home from './Home';
import About from './About';


export default function App() {
  return (
    <div>
      <header>
        <h1>
          <Link to="/">홈</Link>
        </h1>
      </header>
      <Switch>
        <Route exact path="/" component={Home} />
        <Route path="/about" component={About} />
      </Switch>
    </div>
  );
}
// Home 컴포넌트
import { Link } from 'react-router-dom';

export default function Home() {
  return (
    <div>
      <h2>Home</h2>
      <ul>
        <li><Link to="/about">About</Link></li>
        <li><Link to="/xxx">찾을 수 없는 페이지</Link></li>
      </ul>
    </div>
  );
}
npm start를 해보면 아래와 같이 나온다.
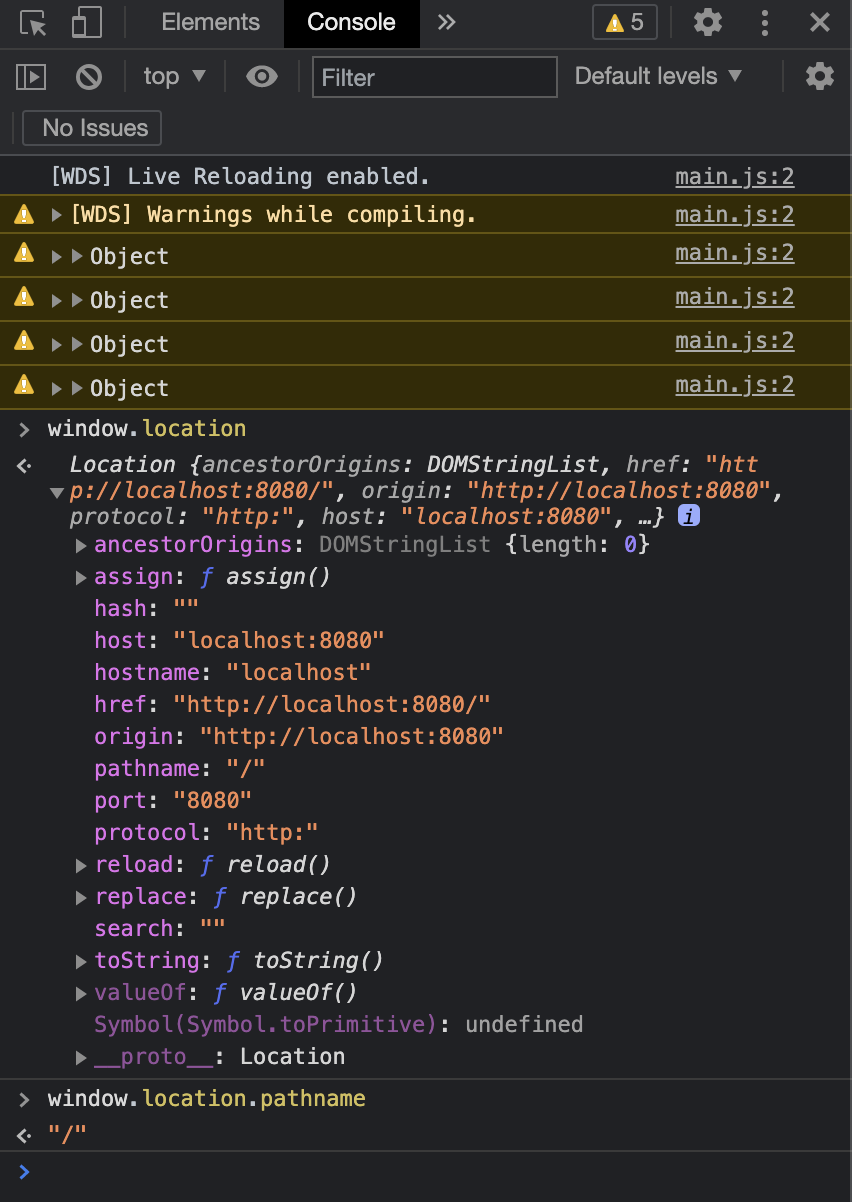
1️⃣ App 화면을 확인하면 기본 경로인 Home 컴포넌트를 확인할 수 있다.

✔️ window 객체를 통해서 현재 경로를 확인 할 수 있다.
- 경로 : "/"

아래와 같은 화면을 그려낸다.

2️⃣ About을 클릭하면 아래 to="/about" 경로로 이동하였고, About 컴포넌트 내용을 확인 할 수 있다.

✔️ 마찬가지로 window 객체를 통해서 현재 경로를 확인 할 수 있다.
- 경로 : "/about"

아래와 같은 화면을 그려낸다.

📗 특정 링크에 스타일을 넣어주는 NavLink
공식문서에 아래와 같이 NavLink 컴포넌트는 Link의 special version 이라고 명시 되어 있다.

특정 링크에 스타일을 넣어 줄 수 있다.
⭐⭐⭐ 이것이 바로 Link와 NavLink의 가장 큰 차이점이다.
💅 조금 더 특별한 기능이란?
바로 activeStyle과 activeClassName 속성이다.
리액트 웹의 현재 URL과 to가 가리키는 링크가 일치할 때, activeStyle과 activeClassName이 활성화 되고 일치하지 않으면 비활성화가 된다.
// NavLink
<NavLink to="/about">About</NavLink>

// activeClassName 속성
<NavLink to="/faq" activeClassName="selected">
  FAQs
</NavLink>

// activeStyle 속성
<NavLink
  to="/faq"
  activeStyle={{
    fontWeight: "bold",
    color: "red"
  }}
>
  FAQs
</NavLink>
✏️ 예제를 통해 activeStyle 속성 사용해보기
import {
  Switch,
  Route,
  NavLink,
} from 'react-router-dom';

import Home from './Home';
import About from './About';

const style = {
  fontWeight:'900',
  color:'red',
 }

export default function App() {
  return (
    <div>
      <header>
        <h1>
          <p>
            <NavLink to="/" activeStyle={style}>홈</NavLink>
          </p>
          <p>
            <NavLink to="/about">About</NavLink>
          </p>
        </h1>
      </header>
      <Switch>
        <Route exact path="/" component={Home} />
        <Route path="/about" component={About} />
      </Switch>
    </div>
  );
}
npm start를 해보면 아래와 같이 나온다.
Link를 NavLink로 바꾸고 activeStyle 속성에 특정 스타일을 넣어 주었더니 아래와 같이 보여진다.

✏️ 예제를 통해 activeClassName 속성 사용해보기
import {
  Switch,
  Route,
  NavLink,
} from 'react-router-dom';

import styled from '@emotion/styled';

import Home from './Home';
import About from './About';

const Li = styled.li({
  width: '30%',
  margin: '0 auto',
  '& a': {
    '&.active': {
      borderRadius: '2em',
      backgroundColor: 'pink',
    },
  },
});

export default function App() {
  return (
    <div>
      <header>
        <h1>
          <ul>
            <Li>
              <NavLink to="/about" activeClassName="active">
                About
              </NavLink>
            </Li>
            <Li>
              <NavLink to="/xxx">
                찾을 수 없는 페이지
              </NavLink>
            </Li>
            <Li>
              <NavLink exact to="/">
                홈
              </NavLink>
            </Li>
          </ul>
        </h1>
      </header>
      <Switch>
        <Route exact path="/" component={Home} />
        <Route path="/about" component={About} />
      </Switch>
    </div>
  );
}
1️⃣ 찾을 수 없는 페이지가 현재 경로로 일치하면 아래와 같이 핑크색 배경색을 가지게 해주었다.


2️⃣ About페이지가 현재 경로로 일치하게 되면 아래와 같이 변경된다.


이렇게 링크에 좀 더 특별한 스타일을 주고 싶다면 NavLink를 사용하면 된다.


라우터 6으로 넘어가면서 NavLink에 스타일 줄려면 style 로 줘야됨, 특히 style 콜백으로 리턴하게 해서 isPending 이랑 isActive 파라미터가 생김
<NavLink
to="/messages"
className={({ isActive, isPending }) =>
isPending ? "pending" : isActive ? "active" : ""
}