개요
Cypress는 JavaScript 애플리케이션을 테스트하기 위한 End-to-End(E2E) 테스트 도구이다.
브라우저 환경에서 실제 사용자 동작을 시뮬레이션하며, UI 테스트, API 테스트, 통합 테스트를 수행할 수 있다.
테스트를 실행하는 동안 브라우저를 직접 보며 결과를 확인할 수 있으며, SSR, CSR, SSG 환경에서도 테스트가 가능하기에 Next와 호환이 된다.
세팅
설치를 완료했다면 Cypress를 초기화하는 과정이 필요하다.
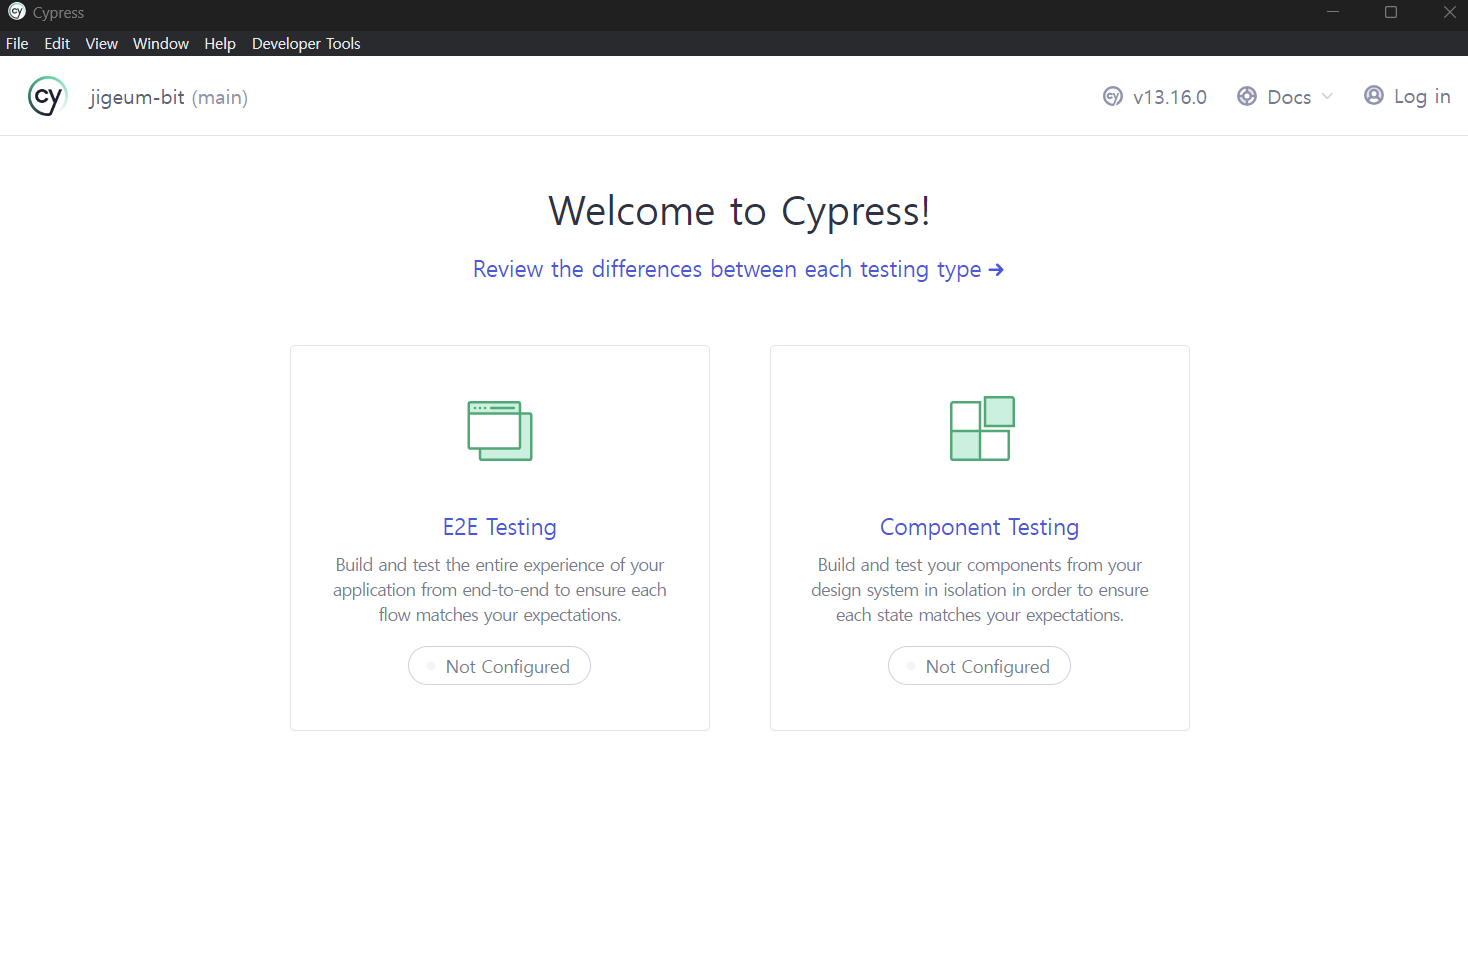
npx cypress open커맨드 입력 시 다음과 같은 GUI이 나타나는데, E2E 테스트를 진행할 것이므로 E2E Testing 세팅을 해주자.
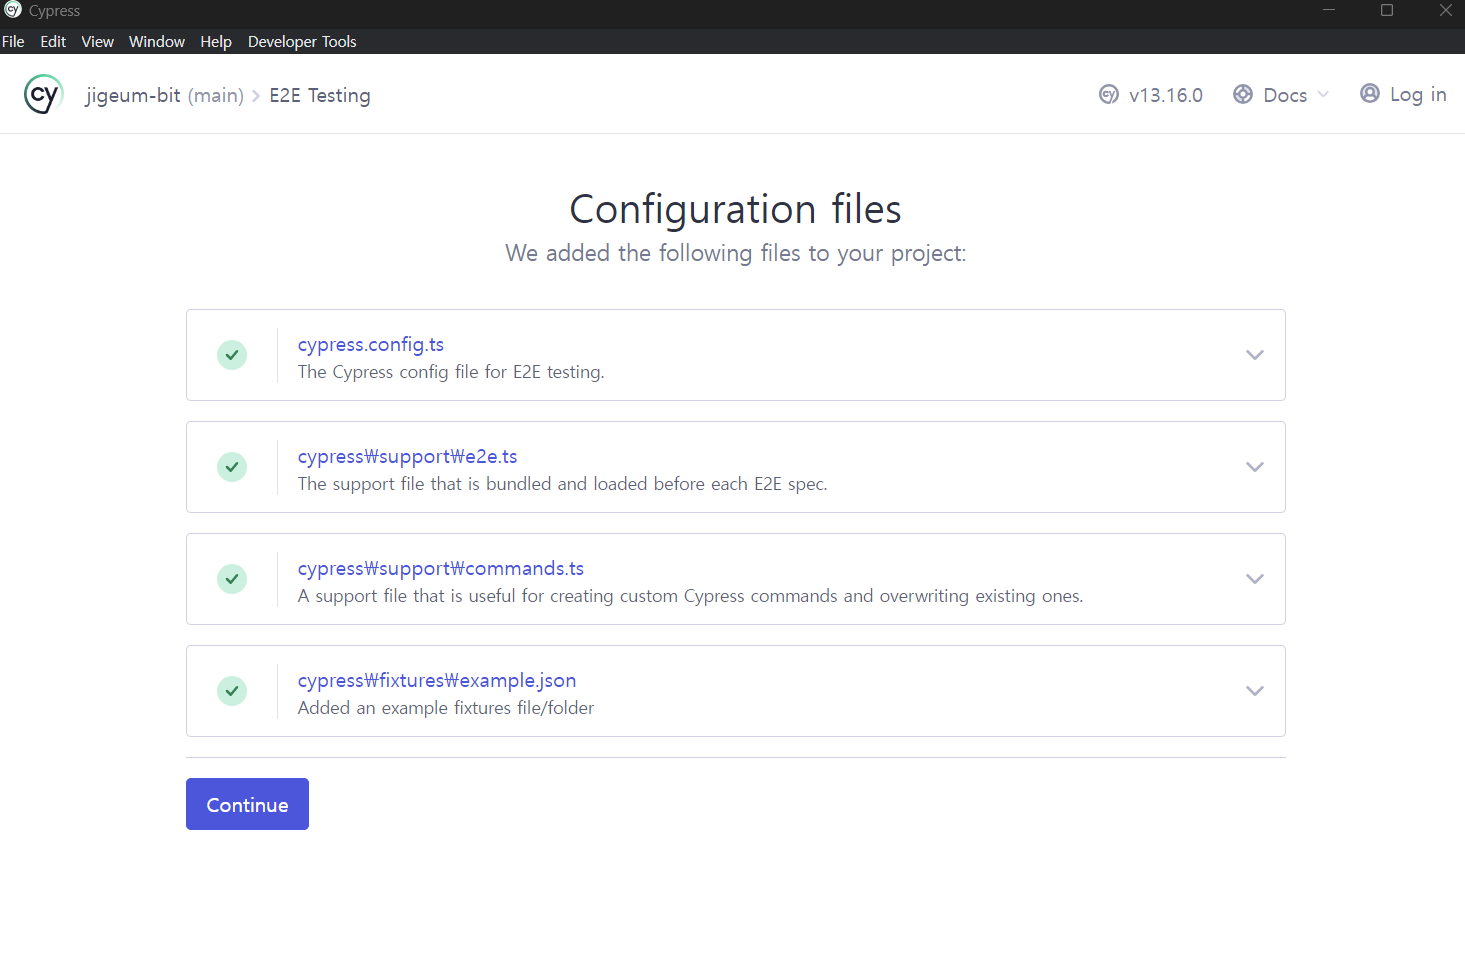
설치 완료 시 루트 경로에 cypress라는 디렉토리가 만들어지는데, 구성은 다음과 같다.
/cypress
  ├── /e2e            # E2E 테스트 파일을 저장하는 디렉토리
  ├── /fixtures       # API 모의 데이터 (테스트용 JSON 등)
  ├── /support        # 공통 설정, 헬퍼 함수
  ├── cypress.config.js # Cypress 구성 파일
Next.js 환경 추가 세팅
Next.js는 SSR(서버 사이드 렌더링)을 포함하므로, 개발 서버를 실행한 후 Cypress를 실행해야 한다.
start-server-and-test 패키지로 이 과정을 자동화 할 수 있다.
npm install -D start-server-and-test다음 커맨드를 실행하면 dev 로컬 서버에서 테스트를 전부 수행한 후 서버를 종료한다.
"scripts": {
  "test:e2e": "start-server-and-test dev http://localhost:3000 cypress open"
}
사용 예시
cypress/e2e 디렉토리에 테스트 파일을 작성해주자. 테스트 파일 구조는 다음과 같다.
describe('테스트 그룹 이름', () => {
  it('테스트 케이스 설명', () => {
    // 테스트 코드 작성
  });
});
기본 E2E 테스트
describe('Homepage', () => {
  it('should load the homepage', () => {
    cy.visit('/');
    cy.contains('Welcome to Next.js').should('exist');
  });
});
사용자 입력 테스트
describe('Form Submission', () => {
  it('should submit the form', () => {
    cy.visit('/form');
    cy.get('input[name="username"]').type('testuser');
    cy.get('input[name="password"]').type('password123');
    cy.get('button[type="submit"]').click();
    cy.contains('Form submitted successfully').should('exist');
  });
});
API 테스트
describe('Bitcoin Price API', () => {
  it('should return Bitcoin price data', () => {
    cy.request('/api/bitcoin').then((response) => {
      expect(response.status).to.eq(200);
      expect(response.body).to.have.property('price');
    });
  });
});
레퍼런스

씨앗 개발자