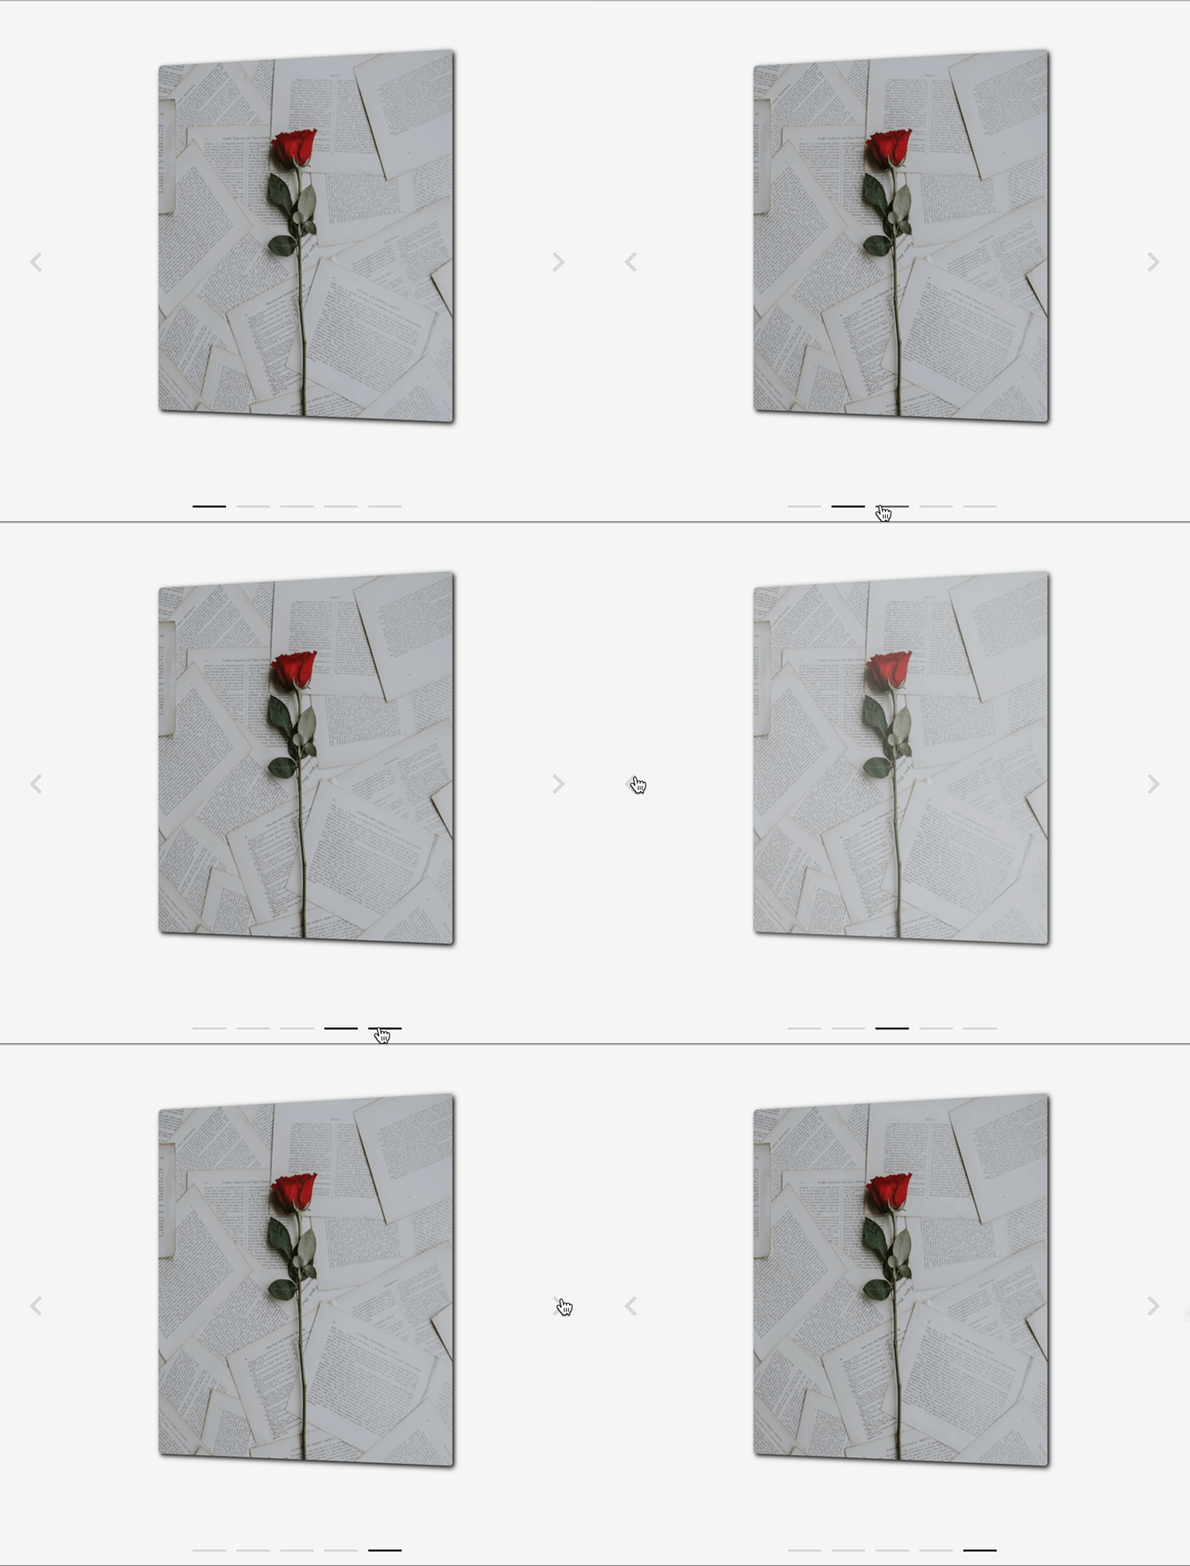
🏅 Carousel에서 이뤄야 할 목표
- label을 클릭 시 해당 이미지로 이동
- 다음 버튼을 클릭 시 다음 이미지로 이동
- 이전 버튼을 클릭 시 이전 이미지로 이동
- 이동 시 fade 효과 부여
label 클릭 시 해당 이미지로 이동 & 이동 시 fade 효과 부여
Q. label과 Radio를 어떻게 연결시키지?
label의 속성인 for=<id값>을 이용하면 된다. React에서는 for가 아닌 htmlfor이라는 명칭을 사용한다는 것을 기억하자!
<Controls>
        {RADIOS.map(id => {
          return (
            <Label key="id" htmlFor={id}>
              <Radio
                type="radio"
                name="radio"
                id={id}
              />
            </Label>
          );
        })}
      </Controls>
Q. 여러 개의 label 중 클릭한 label에 해당하는 이미지만 어떻게 나오도록 하지?
- buttonId라는 state를 작성
- 라벨을 클릭하면 라벨에 해당하는 상수 데이터 안에 있는 id를 state에 저장(이미지도 라벨과 똑같은 id를 가지고 있음)
- map의 매개변수인 id와 state에 저장되어 있는 id가 일치하는 이미지만 opacity: 1이 되도록 코드 작성
const Carousel = () => {
  const [buttonId, setButtontId] = useState('r1');

  ...

  const handleRadioChange = e => {
    setButtontId(e.target.value);
  };

  ...

return (
    ...

<Controls>
  {RADIOS.map(id => {
     return (
      <Label key="id" htmlFor={id} checked={id == buttonId}>
        <Radio
          type="radio"
          name="radio"
          id={id}
          value={id}
          onChange={handleRadioChange}
         />
       </Label>
      );
   })}
</Controls>
    ...

)};
...

const Image = styled.img.attrs(props => ({
  src: 'http://source.unsplash.com/1000x1000/?flower',
}))`
  position: absolute;
  height: 70%;
  width: 70%;
  transition: all 0.5s linear;
  box-shadow: 2px 2px 5px #000;
  border-radius: 1%;
  opacity: ${({ checked }) => (checked ? 1 : 0)};
`;
다음 버튼을 클릭 시 다음 이미지로 이동
Q. state buttonId를 이용하면 될 것 같은데 어떻게 이용해야하지?
위에서 매개변수 id === buttonId와 비교하는 checked 속성이 참이면 이미지가 나타나도록 코드를 작성하였기 때문에 buttonId만 다음 id로 가도록 설정해주면 된다.
buttonId에 저장되어 있는 id가 r1이런 형식으로 되어있기 때문에 숫자만 이용하기 위해서 변수를 따로 선언하여 slice로 인덱스 1에 해당하는 부분만 저장하였다.
다음 버튼을 눌렀을 때 id의 숫자 부분만 저장된 변수에다 1을 더하도록 로직을 구성하였고 만약 제일 끝 부분에서 버튼을 누른다면 처음 id를 설정하도록 하였다.
const moveRight = () => {
 const changedNum = Number(buttonId.slice(1));
 setButtontId(`r${changedNum + 1}`);
 changedNum === RADIOS.length && setButtontId(`r1`);
};

return (
  ...

  <LeftButton onClick={moveLeft}>
    <i class="fas fa-chevron-left" />
  </LeftButton>

  ...

);
이전 버튼을 클릭 시 이전 이미지로 이동
이전 버튼도 다음 버튼과 로직은 비슷하다. 다음 버튼을 눌렀을 때는 1을 더해줬다면 이전 버튼은 1을 빼면 되고 맨 처음 이미지라면 다시 끝의 이미지의 id로 buttonId를 설정해주면 된다.
  const moveLeft = () => {
    const changedNum = Number(buttonId.slice(1));
    setButtontId(`r${changedNum - 1}`);
    changedNum === 1 && setButtontId(`r${RADIOS.length}`);
  };
완성!!

.png)
