<input accept="image/*" type="file" />
- 이미지타입도 설정가능. ->
*는 모든타입가능. - 용량도 설정할수있고..등등 있음
import ActivityCU from "../../components/activity/activityCU";
import DashboardLayout from "../../components/common/layout";

const ActivityWritePage = () => {
    return (
        <DashboardLayout target="활동게시판">
          <ActivityCU/>
        </DashboardLayout>
    );
}

export default ActivityWritePage;
import DashboardLayout from "../../components/common/layout";
import { ActivityForm, ActivityInputWrap, ImgInputWrap } from "../../styles/dashboard/activityWrite.styles";
const ActivityWritePage = () => {
return (
<DashboardLayout target="활동게시판">
<section>
<h1>새 게시글 작성하기</h1>
<ActivityForm>
<ActivityInputWrap>
<label htmlFor="title">게시글 제목</label>
<input id="title" />
<p>오류메세지</p>
</ActivityInputWrap>
<ActivityInputWrap>
<label htmlFor="writerEmail">작성자</label>
<textarea id="writerEmail" />
<p>오류메세지</p>
</ActivityInputWrap>
<ActivityInputWrap>
<label htmlFor="content">게시글 내용</label>
<textarea id="content"></textarea>
<p>오류메세지</p>
</ActivityInputWrap>
<ActivityInputWrap>
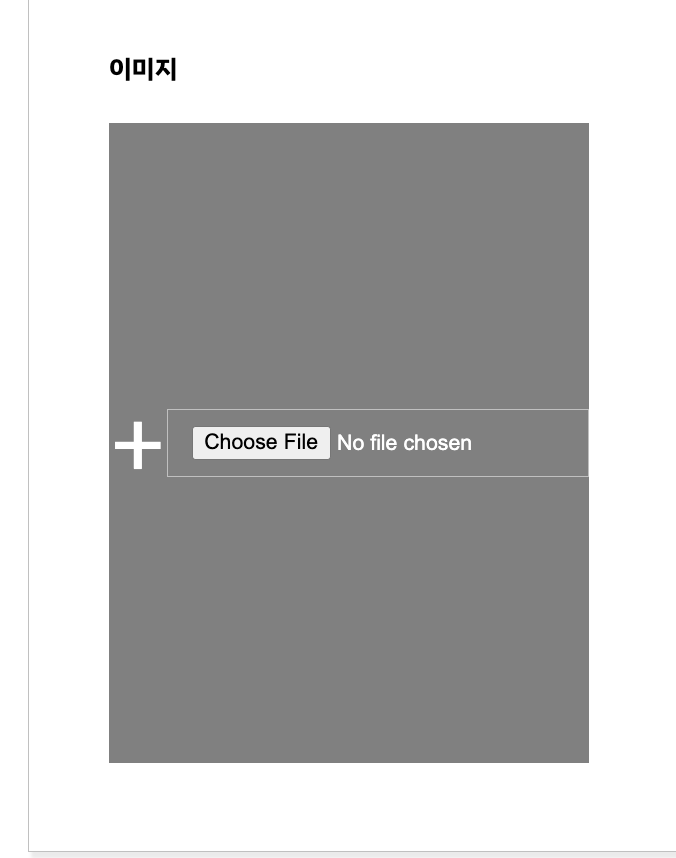
<h4>이미지</h4>
<ImgInputWrap>
<label>
+
<input accept="image/*" type="file" />
</label>
</ImgInputWrap>
</ActivityInputWrap>
</ActivityForm>
</section>
</DashboardLayout>
);
}
export default ActivityWritePage;
import { ActivityForm, ActivityInputWrap, ImgInputWrap } from '../../styles/dashboard/activityWrite.styles';
const ActivityCU = () => {
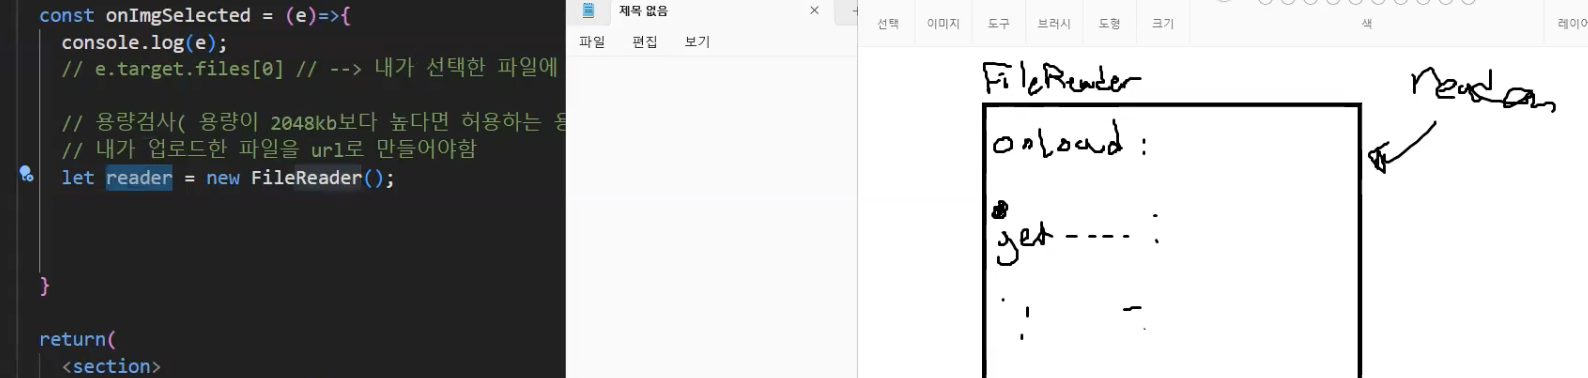
const onImgSelected = (e) => {
console.log(e);
//🌟e.target.files[0] // --> 내가 선택한 파일에 대한 여러가지 정보가 들어있는 객체
//🌟e.target.files[0].name //이미지 파일 이름
//용량검사 (용량이 2048kb보다 높다면 허용하는 용량을 초과했습니다...!~)
}
return (
<section>
<ActivityForm>
<ActivityInputWrap>
<h4>이미지</h4>
<ImgInputWrap>
<label>
+
<input onChange={onImgSelected} accept="image/*" type="file" />
</label>
</ImgInputWrap>
</ActivityInputWrap>
</ActivityForm>
</section>
);
}
export default ActivityCU; import styled from "@emotion/styled";
export const ActivityForm = styled.form`
border: 1px solid silver;
box-shadow: 2px 4px 2px rgba(0,0,0,0.08);
padding: 50px;
display: flex;
flex-direction: column;
row-gap: 30px;
`;
export const ActivityInputWrap = styled.div`
display: flex;
flex-direction: column;
& label{
margin-bottom: 5px;
}
& input{
padding: 10px 15px;
border: 1px solid silver;
}
& p{
color: red;
margin: 0;
font-size: 12px;
padding-left: 10px;
}
& textarea{
height: 500px;
padding: 10px;
resize: none;
border-color: silver;
}
`;
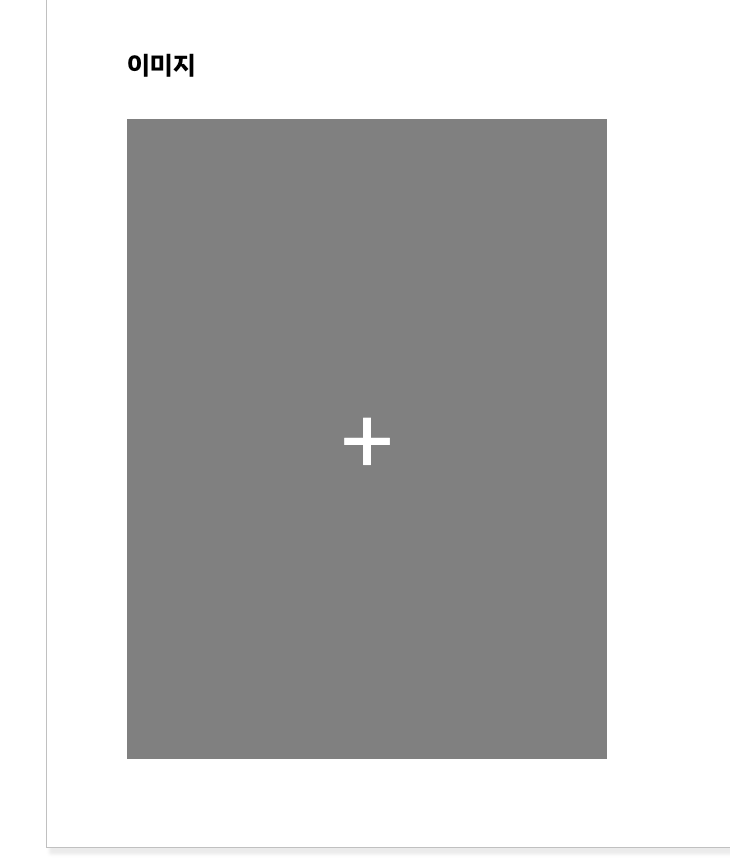
export const ImgInputWrap = styled.div`
display: flex;
flex-direction: row;
flex-wrap: wrap;
column-gap: 10px;
& label{
width: 300px;
height: 400px;
background-color: gray;
display: flex;
justify-content: center;
align-items: center;
color: white;
font-size: 60px;
cursor: pointer;
border: 1px solid silver;
}
  & label input{
    display: none;
  }
`;& label input{ display: none; }해서 choose file 안보이게 스타일줌
🔎 파일을 읽을때 사용하는 객체
새롭게 만들떄는 new 써줌
얘(url)를 reader에 메모리로 저장해줘.

이미지를 객체로 바꿔서 보내줌.
FileReader();👉 내가 선택한 파일을 읽어주는 객체.let reader = new FileReader();👉 객체생성함reader.readAsDataURL(e.target.files[0]);👉 내가 선택한 파일을 읽어주는 함수
readAsDataURL👉 비동기함수임
그래서,
const ActivityCU = () => {
    const [imgUrl, setImgUrl] = useState(''); //이미지 url을 저장할 상태변수

    const onImgSelected = (e) => {
        console.log(e);
        //e.target.files[0] // --> 🌟 내가 선택한 파일에 대한 여러가지 정보가 들어있는 객체
        //e.target.files[0].name //🌟 이미지 파일 이름
        //용량검사 (용량이 2048kb보다 높다면 허용하는 용량을 초과했습니다...!~)
        //내가 업로드한 파일을 url로 만들어야함
        // FileReader(); // 🌟 내가 선택한 파일을 읽어주는 객체
        let reader = new FileReader(); //🌟 객체생성함
        reader.readAsDataURL(e.target.files[0]); //🌟 내가 선택한 파일을 읽어주는 함수
        // readAsDataURL -> 🌟 비동기함수임
        //readAsDataURL()함수는 내가 선택한 파일을 읽어서 url로 만들어준다.
        //이미지가 url로 만들어진 후에 실행되는 함수

        reader.onload = () => { 🌟//이미지가 url로 만들어진 후에 실행되는 함수
            console.log(reader.result); //이미지가 url로 만들어진다.
            setImgUrl(reader.result);
        }

    }

   return (
      <ImgInputWrap>
                  <label>
                       {imgUrl === '' ? '+' : <img src={imgUrl} />}
                        <input onChange={onImgSelected} accept="image/*" type="file" />
                  </label>
      </ImgInputWrap>
    );
img가 없으면 '+'보여지고 , 아니면 이미지를 업로드 했으면 업로드한 이미지가 보인다.
<ImgInputWrap>
          <label>
             {imgUrl === '' ? '+' : <img
                style={{
                   width: '100%',
                   height: '100%',
                   objectFit: 'cover',
                   objectPosition: 'center'
                       }}
                src={imgUrl} />}
                    <input onChange={onImgSelected} accept="image/*" type="file" />
          </label>
 </ImgInputWrap>
업로드한 사진 미리보기 :) 귀여운인절미 😇
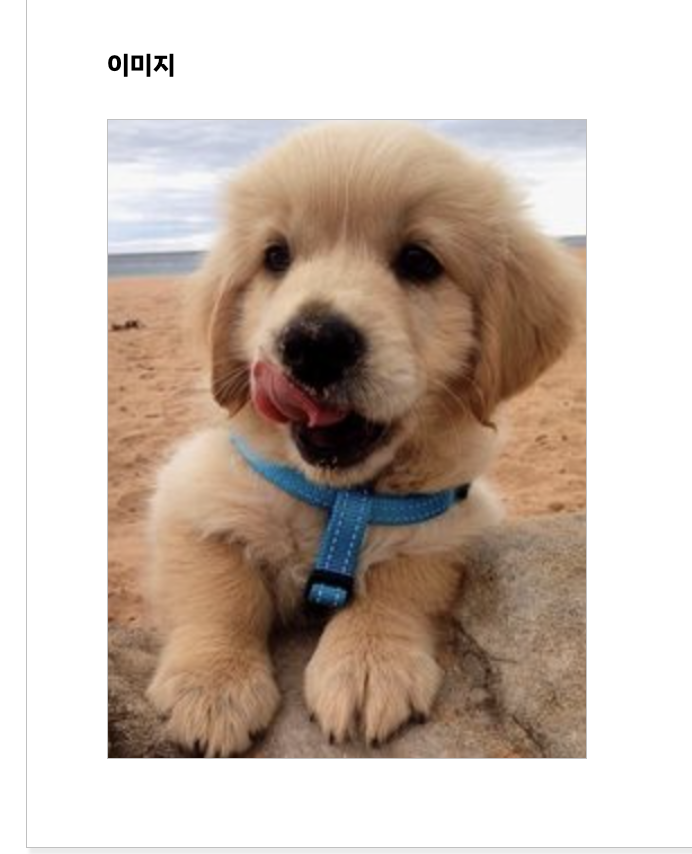
아직 db에 저장되진않았어, 업로드한 사진만 미리 볼수있어.
to be continued..🌟

나를위한 노트필기 📒🔎📝