Second codelab/module I subscribed to is "Create your first Android app". Since I already had a short experience of uisng it, I breezed over some parts I already knew and tried to focus on the technnical aspect of "why" things worked in a certain way.
Project Template
A project template provides the blueprint for a cetian type of app. For each template consists of files needed for Android Studio(AS) build the project. (In order to use Jetpack Compose pick the template with a cube box logo)!
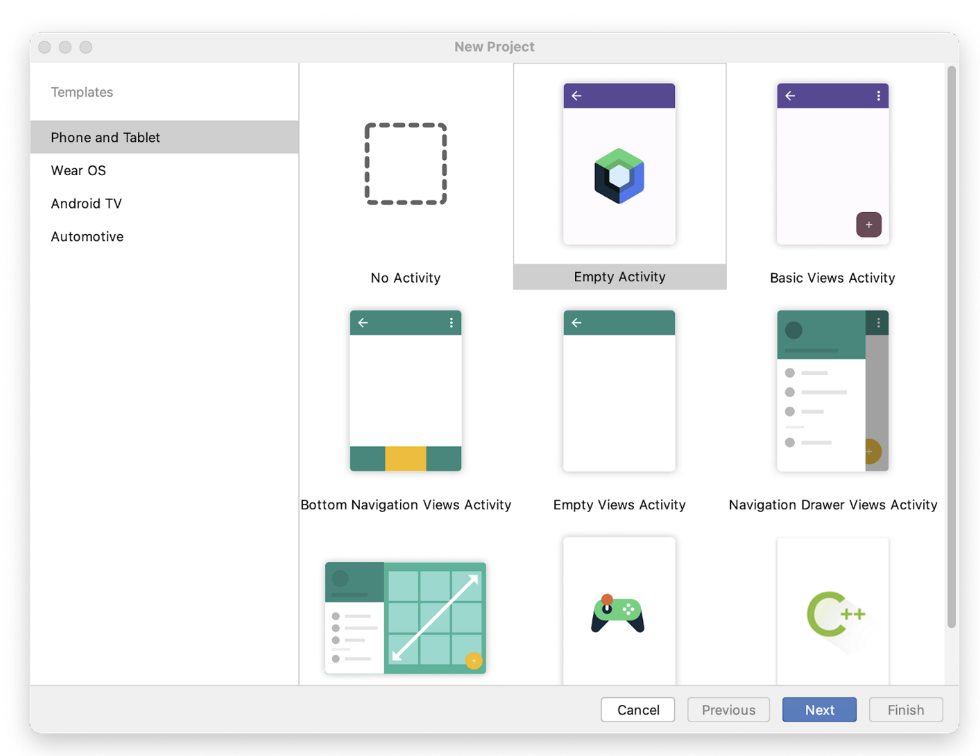
Creating your project
For the package name, leave it as it is because that's just the name for organizing your file structure.
Minimum SDK indicates the minimum version of Android that your app can run on.
When you click finish, you will have a page called MainActivity.kt and another one called activity_main.xml. The codelab did have the xml page because they are using Jetpack Compose which is an Android UI toolkit introduced by Google.
Syntax
- onCreate() function in AS is like main() in Kotlin.
- The setContent() function within the onCreate() function is used to define your layout through composable functions. All functions marked with the @Composable annotation can be called from the setContent() function or from other Composable functions. The annotation tells the Kotlin compiler that this function is used by Jetpack Compose to generate the UI.
class MainActivity : ComponentActivity() {
    override fun onCreate(savedInstanceState: Bundle?) {
        super.onCreate(savedInstanceState)
        setContent {
            GreetingsTheme {
                // A surface container using the 'background' color from the theme
                Surface(
                    modifier = Modifier.fillMaxSize(),
                    color = MaterialTheme.colorScheme.background
                ) {
                    Greeting("Android")
                }
            }
        }
    }
}

@Composable
fun Greeting(name: String, modifier: Modifier = Modifier) {
    Surface(color = Color.Yellow) {
        Text(
            text = "Hello! My name is $name!",
            modifier = modifier.padding(64.dp)
        )
    }
}

@Preview(showBackground = true)
@Composable
fun GreetingPreview() {
    GreetingsTheme {
        Greeting("Sungju")
    }
}
Note that in the Greeting function in the second code block:
- functions names are capitalized (even the first letter)
- '@Composable' annotation is at the beginning
- function does not return anything.
A Modifier is used to augment or decorate a composable. One modifier you can use is the padding modifier, which adds space around the element (in this case, adding space around the text). This is accomplished by using the Modifier.padding() function.
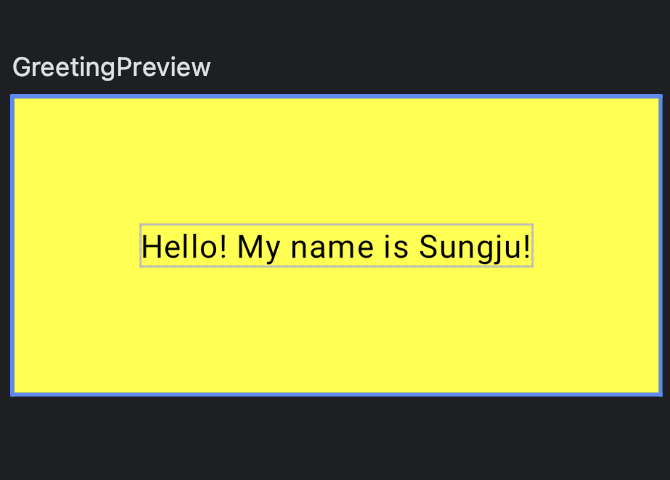
My output
To run the code you will need to import the following:
import androidx.activity.compose.setContent
import androidx.compose.foundation.layout.fillMaxSize
import androidx.compose.foundation.layout.padding
import androidx.compose.material3.MaterialTheme
import androidx.compose.material3.Surface
import androidx.compose.material3.Text
import androidx.compose.runtime.Composable
import androidx.compose.ui.Modifier
import androidx.compose.ui.graphics.Color
import androidx.compose.ui.tooling.preview.Preview
import androidx.compose.ui.unit.dp
import com.sungju.greetings.ui.theme.GreetingsTheme
Also, the tutorial suggested that you should keep these in alphabetical order. You can easily do this buy clicking on 'Code' from the top tabs and then selecting 'Optimize Imports'.