
contextMenu, SharLink 설정하기
 |  |
|---|
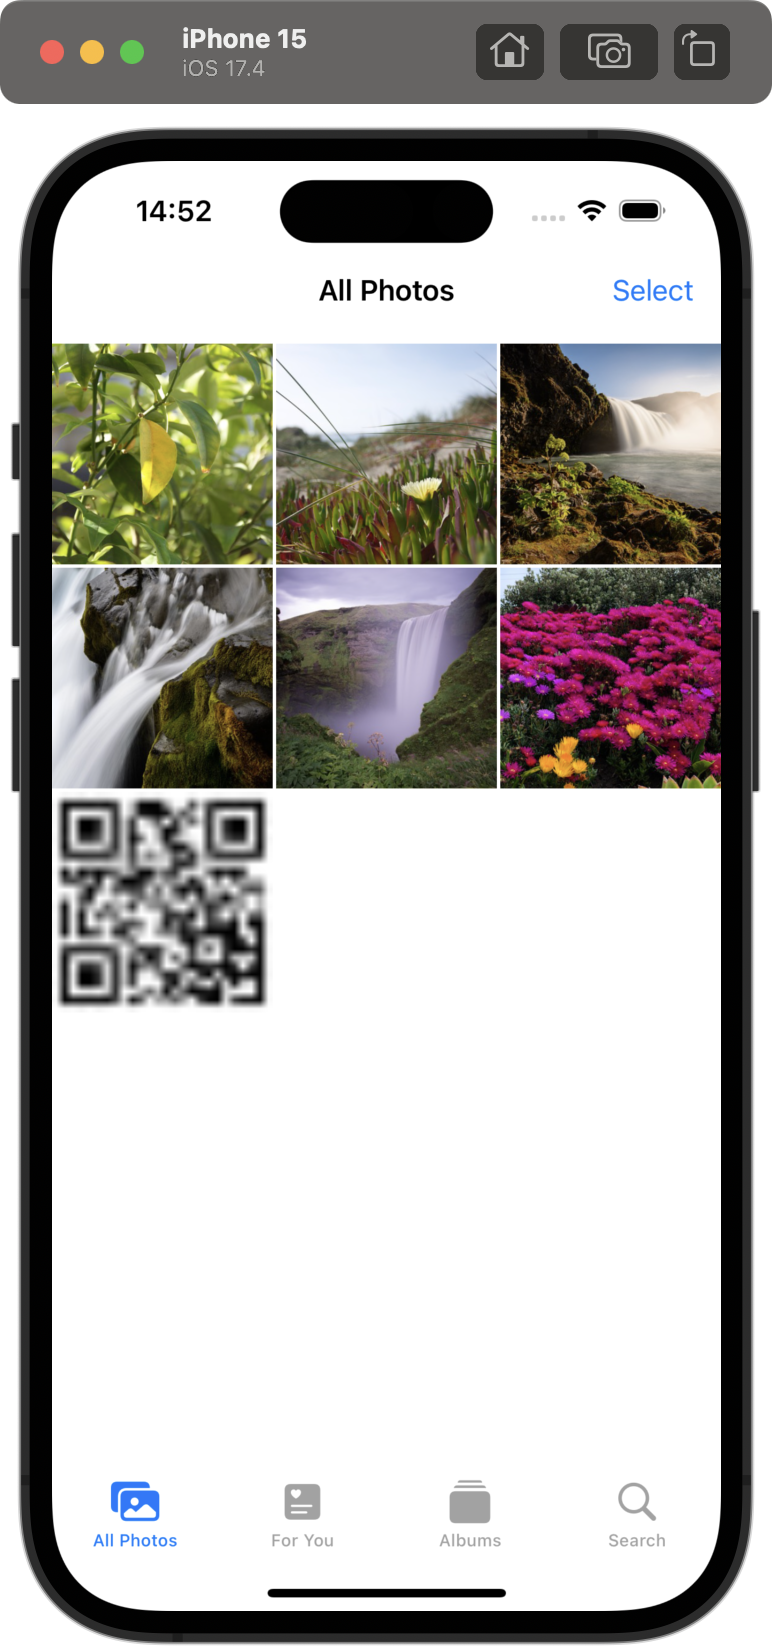
먼저 qr code 사진을 클릭하면 사진을 저장할 수 있도록 Privacy - Photo Library Additions Usage Description의 허가 요청을 설정해야 한다.
깃헙 링크
그리고 ShareLink를 설정해서 이미지를 클릭했을 때 공유할 수 있도록 설정할 수 있다.
                Image(uiImage: qrCode)
                    .interpolation(.none)
                    .resizable()
                    .scaledToFit()
                    .contextMenu {
                        ShareLink(item: Image(uiImage: qrCode), preview: SharePreview("My QR Code", image: Image(uiImage: qrCode)))
                    }
위 과정에서 쉽게 이미지로 변환할 수 있도록 qrCode라는 UIImage 타입을 설정했다. 이런 상황에서 MeView에 접근했을 때나 qr code에 담겨야 하는 내용이 바뀔 때나 새로운 qr code 이미지를 만들고 업데이트할 수 있도록 설정했다.
			// ...
            }
            .navigationTitle("Your code")
            .onAppear(perform: updateCode)
            .onChange(of: name, updateCode)
            .onChange(of: emailAddress, updateCode)
			// ...

    func updateCode() {
        qrCode = generateQRCode(from: "\(name)\n\(emailAddress)")
}❗️ qrCode가 @State라서 값이 변하면 View를 다시 호출해서 View를 생성하기 위해 qrCode를 생성하면 무한루프가 반복될 수 있다. 그래서 루프가 생성되지 않도록 설정해야 한다.
리마인드를 위한 notification 설정하기
마지막으로 swipe action에 알람을 추가했다. 설정된 시간에 알림을 오게 할 수도 있고, 이번엔 테스트로 5초 후에 알림이 오도록 설정했다.
func addNotification(for prospect: Prospect) {
        let notificationCenter = UNUserNotificationCenter.current()

        let addRequest = {
            let content = UNMutableNotificationContent()
            content.title = "Reminder"
            content.body = "It's time for contact to \(prospect.name)"
            content.sound = .default
            let trigger = UNTimeIntervalNotificationTrigger(timeInterval: 5, repeats: false)
//            var dateComponents = DateComponents()
//            dateComponents.hour = 9
//            let trigger = UNCalendarNotificationTrigger(dateMatching: dateComponents, repeats: false)
            let request = UNNotificationRequest(identifier: UUID().uuidString, content: content, trigger: trigger)
            notificationCenter.add(request)
        }

        notificationCenter.getNotificationSettings { settings in
            if settings.authorizationStatus == .authorized {
                addRequest()
            } else {
                notificationCenter.requestAuthorization(options: [.alert, .badge, .sound]) { success, error in
                    if success {
                        addRequest()
                    } else if let error {
                        print(error.localizedDescription)
                    }
                }
            }
        }
    }
계속 해보자