개선하기
제일 위의 카드만 swipe할 수 있도록 설정하기
제일 위의 카드를 제외하고 다른 카드는 swipe할 수 없도록 설정했다.
                    ForEach(0..<cards.count, id: \.self) { index in
                        CardView(card: cards[index]) {
                            withAnimation {
                                removeCard(at: index)
                            }
                        }
                        .stacked(at: index, in: cards.count)
                        .allowsHitTesting(index == cards.count - 1)
}accessibiliy를 위한 이미지 숨기기
voice over에서 배경 이미지나 제일 위에 있지 않는 카드도 읽을 수 있는데, 이를 방지하고자 불필요한 요소는 accessibility를 위해 voice over에서 감췄다.
Image(decorative: "background")

// 카드 스택
.accessibilityHidden(index < cards.count - 1)카드의 voice over 설정하기
카드가 button처럼 터치가 가능하다고 알리고, 문제나 답을 적절하게 읽을 수 있도록 설정했다.
.accessibilityAddTraits(.isButton)@Environment(\.accessibilityVoiceOverEnabled) var accessibilityVoiceOverEnabled
// ...
VStack {
if accessibilityVoiceOverEnabled {
Text(isHidingAnswer ? card.prompt : card.answer)
.font(.largeTitle)
.foregroundStyle(.black)
} else {
Text(card.prompt)
.font(.largeTitle)
.foregroundStyle(.black)
if !isHidingAnswer {
Text(card.answer)
.font(.title)
.foregroundStyle(.secondary)
}
}
}
.multilineTextAlignment(.center)VoiceOver, DifferentiateWithoutColor일 때 swipe 대신 버튼으로 카드 처리하기
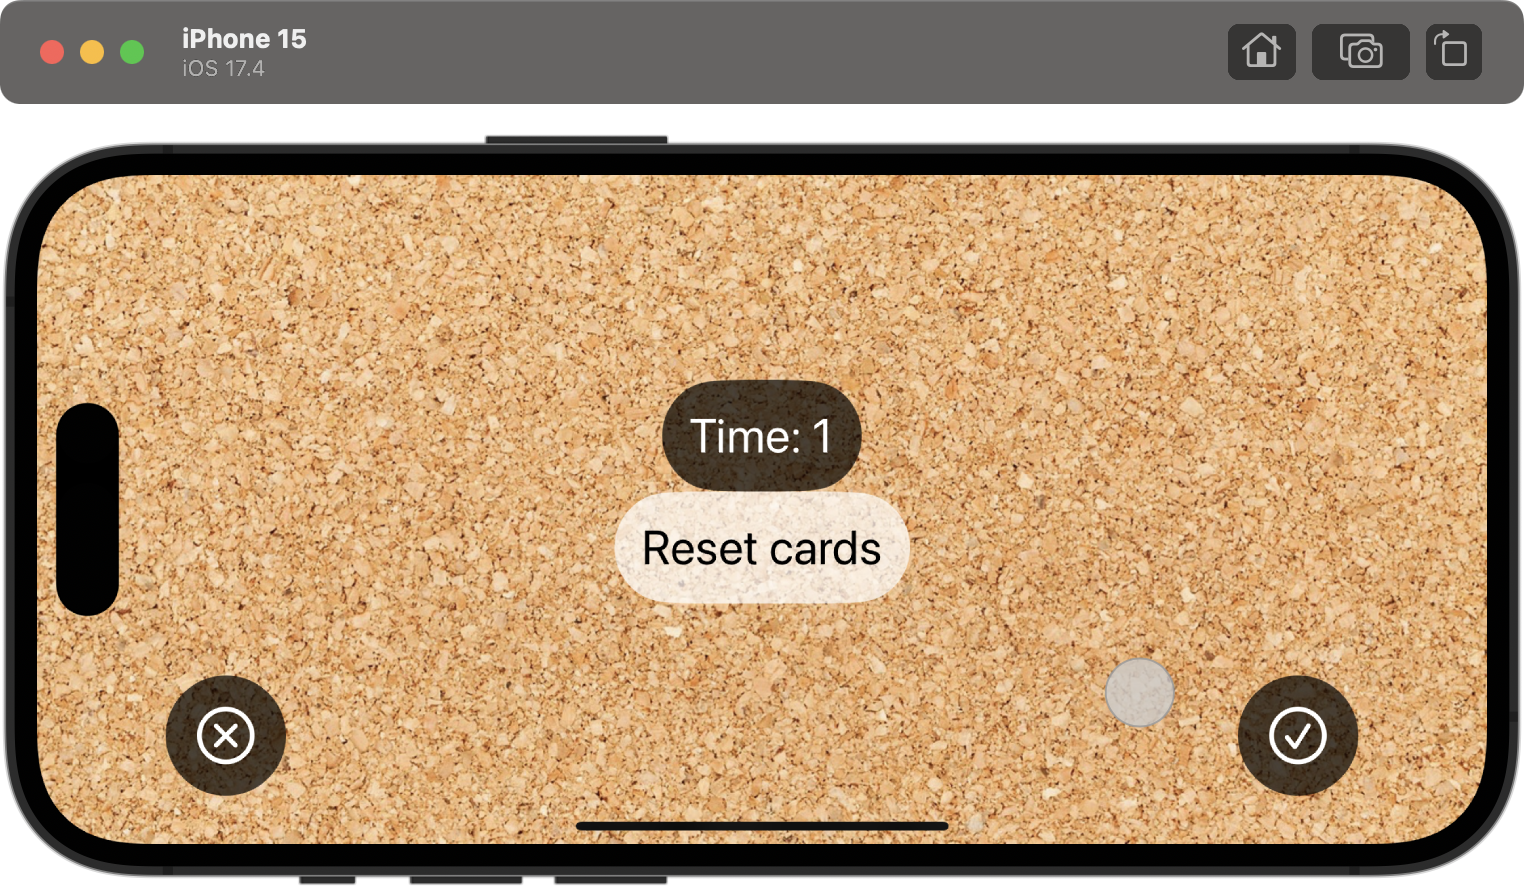
두 가지 모드에서 카드 swipe 형태가 아니라 버튼으로 카드를 삭제할 수 있게 label과 버튼을 설정했다.
                        Button {
                            removeCard(at: cards.count - 1)
                        } label: {
                            Image(systemName: "xmark.circle")
                                .padding()
                                .background(.black.opacity(0.7))
                                .clipShape(.circle)
                        }
                        .accessibilityLabel("Wrong")
                        .accessibilityHint("Mark your answer as being incorrect.")
                        Spacer()
                        Button {
                            removeCard(at: cards.count - 1)
                        } label: {
                            Image(systemName: "checkmark.circle")
                                .padding()
                                .background(.black.opacity(0.7))
                                .clipShape(.circle)
                        }
                        .accessibilityLabel("Correct")
                        .accessibilityHint("Mark your answer as being correct.")
❗️ 버튼으로 삭제할 때 카드가 다 사라지면 -1의 인덱스의 카드를 삭제하는 오류가 생겨서 이를 방지할 필요가 있다.
    func removeCard(at index: Int) {
        guard index >= 0 else { return }
        cards.remove(at: index)
        if cards.isEmpty {
            isActive = false
        }
}card를 swipe하지 않고 다시 돌려놓을 때 애니메이션 설정하기
card를 넘기지 않고 제스쳐를 그만두면 제일 위의 카드가 다시 원위치로 복귀된다. 이때 애니메이션을 추가해서 카드가 제자리로 돌아오는 것처럼 보여줄 수 있다.

.animation(.snappy, value: offset)❗️ 참고로 위 코드를 어디에 작성하느냐에 따라 효과가 달라진다. onTapGesture 다음에 작성해야 사진처럼 실행된다.
카드 수정하기
이젠 카드를 예시가 아니라 직접 추가하고 삭제할 수 있도록 설정해야 한다.
이는 크게 3단계로 나뉜다.
1. ContentView에서 EditCardsView로 접근할 수 있는 버튼 만들기
VStack {
                HStack {
                    Spacer()
                    Button {
                        isShowingEditView = true
                    } label: {
                        Image(systemName: "checkmark.circle")
                            .font(.title)
                            .padding()
                            .foregroundColor(.white)
                            .background(.black.opacity(0.7))
                            .clipShape(.circle)
                    }
                    .offset(y: 90)
                }
                Spacer()
}❗️ 앞으로 카드를 UserDefaults에 저장하고 불러올 거라서, Card를 Codable로 설정해야 한다.
2. EditCardsView 설정하기
해당 뷰에서 새로 카드를 추가할 수 있고, 이미 있는 카드 목록을 확인하고, 삭제할 수 있도록 설정했다. 그리고 모든 카드는 UserDefaults에 저장하고 불러오도록 했다.
    func loadData() {
        if let data = UserDefaults.standard.data(forKey: "Cards") {
            if let decoded = try? JSONDecoder().decode([Card].self, from: data) {
                cards = decoded
            }
        }
    }
    func saveData() {
        if let encoded = try? JSONEncoder().encode(cards) {
            UserDefaults.standard.set(encoded, forKey: "Cards")
        }
    }
    func addCard() {
        let trimmedPrompt = newPrompt.trimmingCharacters(in: .whitespacesAndNewlines)
        let trimmedAnswer = newAnswer.trimmingCharacters(in: .whitespacesAndNewlines)
        guard !trimmedPrompt.isEmpty && !trimmedAnswer.isEmpty else { return }
        cards.insert(Card(prompt: trimmedPrompt, answer: trimmedAnswer), at: 0)
        saveData()
    }
    func removeCards(at offsets: IndexSet) {
        cards.remove(atOffsets: offsets)
        saveData()
    }
    func done() {
        dismiss()
}3. EditCardsView 적용하기
이제 ContentView에서 EditCardsView를 보여주고 수정한 카드를 적용해서 보여줘야 한다. 이는 sheet로 연결하고, cards는 UserDefaults에서 불러오면 된다.
        .sheet(isPresented: $isShowingEditView, onDismiss: resetCards, content: EditCardsView.init)
.onAppear(perform: loadData).sheet(isPresented: $isShowingEditView, onDismiss: resetCards) {
EditCardsView()
}💡 참고로 위 코드는 구조체를 함수처럼 사용하고 있는 예시이다. EditCards.init()의 짧은 방식이다. 그래서 EditCardsView의 initializer를 호출하는 closure를 만드는 대신 sheet에 EditCardsView의 initializer를 직접 전달하는 방법이 커밋의 방식이다.
결과물