주의!! 따라하지 마시오! 이것은 실패기고 의식의 흐름을 기록하기 위함입니다!
실제로 Argocd를 사용하기 위해서는 Kubernetes 환경에서 kubectl을 사용한 설치를 해주어야 하나.
어떠한 지식도 없이 용감하게 뛰어들고 장렬히 전사했다가 모든것을 깨우친 그런 내용이니 찬찬히 따라와 주시길 바랍니다.
1. Proxmox에서 Argo CD를 설치할 container를 생성하자!
대충 ubuntu 컨테이너를 하나 생성해주고 진행했다.
2. kubectl 설치!
ArgoCD 홈페이지에서 퀵스타트를 보고 명령어를 복붙했다.
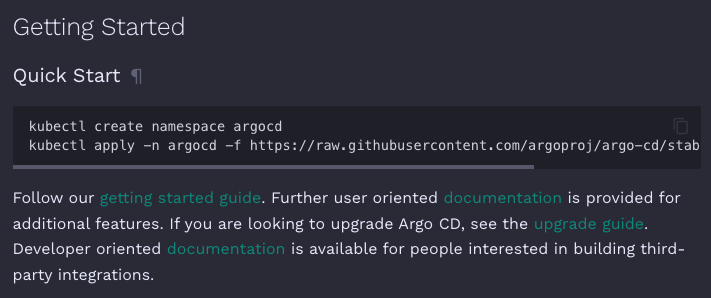
kubectl이 설치되어있지 않아서 kubectl부터 설치를 해주어야 했다.

Ubuntu를 사용하여 컨테이너를 만들었으므로 리눅스에 설치하는 방법을 참고하여 설치했다.
root@test:~#curl -LO "https://dl.k8s.io/release/$(curl -L -s https://dl.k8s.io/release/stable.txt)/bin/linux/amd64/kubectl"
  % Total    % Received % Xferd  Average Speed   Time    Time     Time  Current
                                 Dload  Upload   Total   Spent    Left  Speed
100   138  100   138    0     0    541      0 --:--:-- --:--:-- --:--:--   543
100 47.4M  100 47.4M    0     0  31.3M      0  0:00:01  0:00:01 --:--:-- 46.4M

root@test:~# sudo install -o root -g root -m 0755 kubectl /usr/local/bin/kubectl
root@test:~# kubectl version --client
Client Version: v1.29.0
Kustomize Version: v5.0.4-0.20230601165947-6ce0bf390ce3
root@test:~#
kubectl 설치가 잘 되었다.
3. 다시 복붙!(오잉?)
root@test:~# kubectl create namespace argocd
The connection to the server localhost:8080 was refused - did you specify the right host or port?
error message와 함께 잘 되지 않는다. 저게 무슨소릴까?
일단 구글에 복붙해본다.
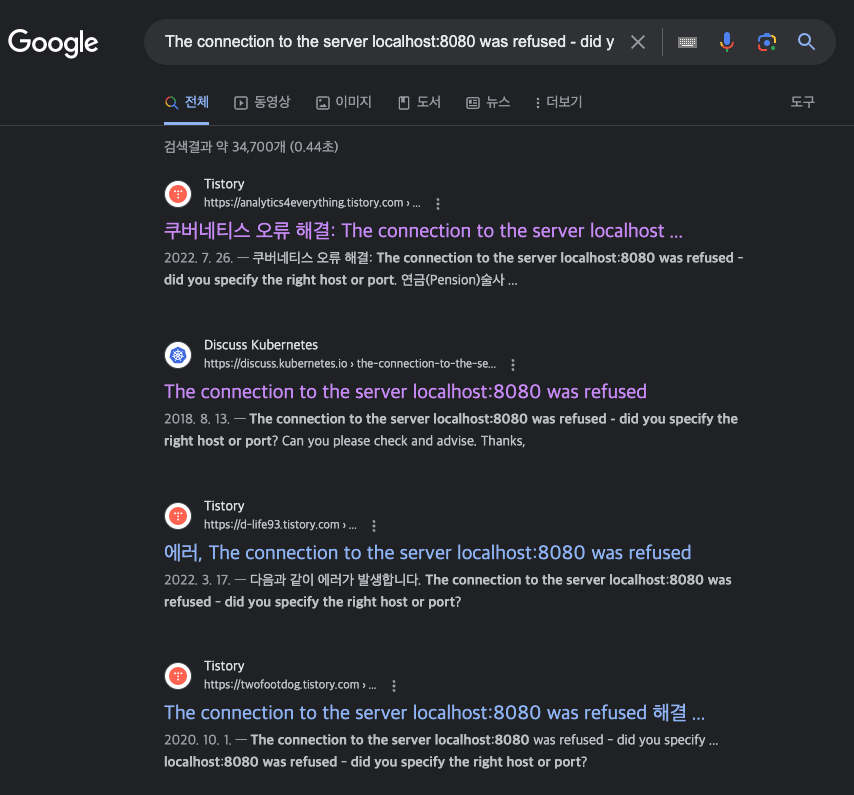
오호 한글블로그도 있고 쿠버네티스 공홈의discuss도 있다.
일단 맨위의 한글 블로그를 보자.
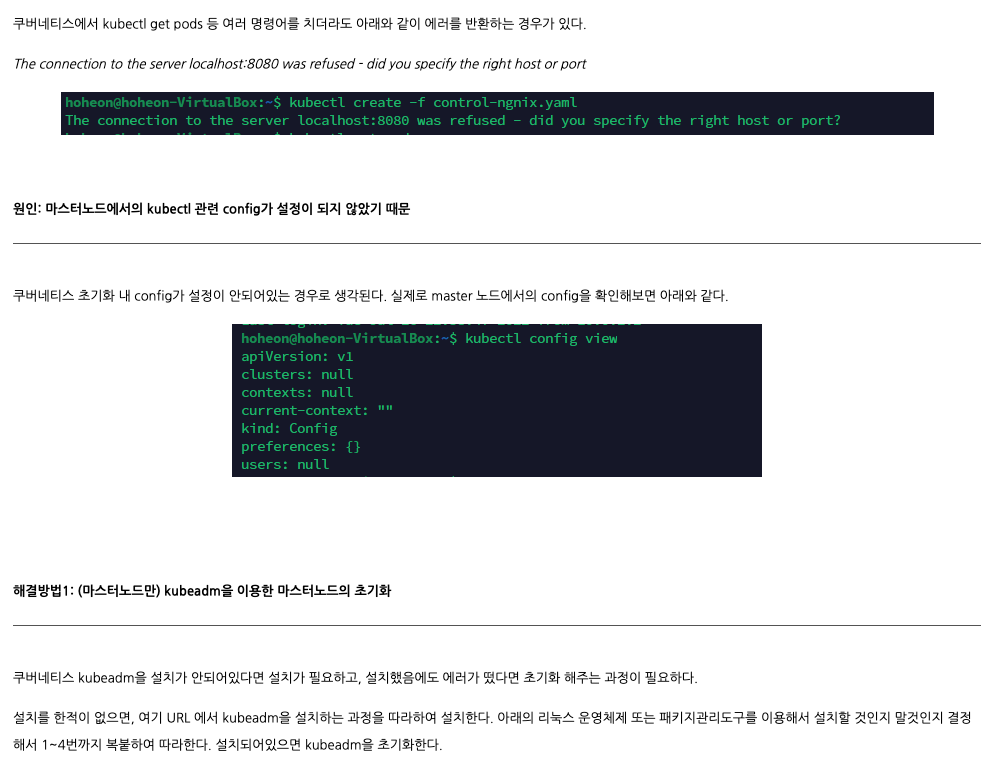
대충 보아하니 내가 뭔갈 또 설치하지 않은것이다. 그것이 무엇인고 하니 kubeadm이다! 그럼 이것도 설치해보자.
이번에는 공홈의 Installing kubeadm, kubelet and kubectl 을 따라 해본다!
4. kubeadm설치
1. 필요한 패키지 설치!
root@test:~# sudo apt-get install -y apt-transport-https ca-certificates curl gpg
Reading package lists... Done
Building dependency tree... Done
Reading state information... Done
ca-certificates is already the newest version (20230311ubuntu0.22.04.1).
curl is already the newest version (7.81.0-1ubuntu1.13).
gpg is already the newest version (2.2.27-3ubuntu2.1).
gpg set to manually installed.
apt-transport-https is already the newest version (2.4.9).
0 upgraded, 0 newly installed, 0 to remove and 0 not upgraded.
2. 쿠버네티스 레포지토리 서명키 다운로드!
root@test:~# curl -fsSL https://pkgs.k8s.io/core:/stable:/v1.29/deb/Release.key | sudo gpg --dearmor -o /etc/apt/keyrings/kubernetes-apt-keyring.gpg3. 쿠버네티스 레포지토리 추가
root@test:~# echo 'deb [signed-by=/etc/apt/keyrings/kubernetes-apt-keyring.gpg] https://pkgs.k8s.io/core:/stable:/v1.29/deb/ /' | sudo tee /etc/apt/sources.list.d/kubernetes.list
deb [signed-by=/etc/apt/keyrings/kubernetes-apt-keyring.gpg] https://pkgs.k8s.io/core:/stable:/v1.29/deb/ /
4. kubelet kubeadm kubectl 설치
root@test:~# sudo apt-get update && sudo apt-get install -y kubelet kubeadm kubectl && sudo apt-mark hold kubelet kubeadm kubectl


Get:1 https://download.docker.com/linux/ubuntu jammy InRelease [48.8 kB]
Get:2 https://download.docker.com/linux/ubuntu jammy/stable amd64 Packages [23.0 kB]
Get:3 https://prod-cdn.packages.k8s.io/repositories/isv:/kubernetes:/core:/stable:/v1.29/deb  InRelease [1186 B]
Get:4 https://prod-cdn.packages.k8s.io/repositories/isv:/kubernetes:/core:/stable:/v1.29/deb  Packages [2759 B]
Hit:5 http://archive.ubuntu.com/ubuntu jammy InRelease
Get:6 http://archive.ubuntu.com/ubuntu jammy-updates InRelease [119 kB]
Get:7 http://archive.ubuntu.com/ubuntu jammy-security InRelease [110 kB]
Get:8 http://archive.ubuntu.com/ubuntu jammy-updates/main amd64 Packages [1263 kB]
Get:9 http://archive.ubuntu.com/ubuntu jammy-updates/main Translation-en [260 kB]
Get:10 http://archive.ubuntu.com/ubuntu jammy-updates/main amd64 c-n-f Metadata [16.1 kB]
Get:11 http://archive.ubuntu.com/ubuntu jammy-updates/restricted amd64 Packages [1250 kB]
Get:12 http://archive.ubuntu.com/ubuntu jammy-updates/restricted Translation-en [203 kB]
Get:13 http://archive.ubuntu.com/ubuntu jammy-updates/restricted amd64 c-n-f Metadata [520 B]
Get:14 http://archive.ubuntu.com/ubuntu jammy-updates/universe amd64 Packages [1020 kB]
Get:15 http://archive.ubuntu.com/ubuntu jammy-updates/universe Translation-en [226 kB]
Get:16 http://archive.ubuntu.com/ubuntu jammy-updates/universe amd64 c-n-f Metadata [22.1 kB]
Get:17 http://archive.ubuntu.com/ubuntu jammy-updates/multiverse amd64 Packages [41.6 kB]
Get:18 http://archive.ubuntu.com/ubuntu jammy-updates/multiverse amd64 c-n-f Metadata [472 B]
Get:19 http://archive.ubuntu.com/ubuntu jammy-security/main amd64 Packages [1051 kB]
Get:20 http://archive.ubuntu.com/ubuntu jammy-security/main Translation-en [200 kB]
Get:21 http://archive.ubuntu.com/ubuntu jammy-security/main amd64 c-n-f Metadata [11.4 kB]
Get:22 http://archive.ubuntu.com/ubuntu jammy-security/restricted amd64 Packages [1226 kB]
Get:23 http://archive.ubuntu.com/ubuntu jammy-security/restricted Translation-en [200 kB]
Get:24 http://archive.ubuntu.com/ubuntu jammy-security/restricted amd64 c-n-f Metadata [520 B]
Get:25 http://archive.ubuntu.com/ubuntu jammy-security/universe amd64 Packages [823 kB]
Get:26 http://archive.ubuntu.com/ubuntu jammy-security/universe Translation-en [156 kB]
Get:27 http://archive.ubuntu.com/ubuntu jammy-security/universe amd64 c-n-f Metadata [16.8 kB]
Get:28 http://archive.ubuntu.com/ubuntu jammy-security/multiverse amd64 Packages [36.5 kB]
Get:29 http://archive.ubuntu.com/ubuntu jammy-security/multiverse amd64 c-n-f Metadata [260 B]
Fetched 8327 kB in 9s (946 kB/s)
Reading package lists... Done
W: https://download.docker.com/linux/ubuntu/dists/jammy/InRelease: Key is stored in legacy trusted.gpg keyring (/etc/apt/trusted.gpg), see the DEPRECATION section in apt-key(8) for details.
Reading package lists... Done
Building dependency tree... Done
Reading state information... Done
The following additional packages will be installed:
  conntrack cri-tools ebtables ethtool kubernetes-cni socat
The following NEW packages will be installed:
  conntrack cri-tools ebtables ethtool kubeadm kubectl kubelet kubernetes-cni socat
0 upgraded, 9 newly installed, 0 to remove and 74 not upgraded.
Need to get 92.6 MB of archives.
After this operation, 346 MB of additional disk space will be used.
Get:1 https://prod-cdn.packages.k8s.io/repositories/isv:/kubernetes:/core:/stable:/v1.29/deb  cri-tools 1.29.0-1.1 [20.1 MB]
Get:3 http://archive.ubuntu.com/ubuntu jammy/main amd64 conntrack amd64 1:1.4.6-2build2 [33.5 kB]
Get:2 https://prod-cdn.packages.k8s.io/repositories/isv:/kubernetes:/core:/stable:/v1.29/deb  kubernetes-cni 1.3.0-1.1 [31.4 MB]
Get:6 http://archive.ubuntu.com/ubuntu jammy/main amd64 ebtables amd64 2.0.11-4build2 [84.9 kB]
Get:4 https://prod-cdn.packages.k8s.io/repositories/isv:/kubernetes:/core:/stable:/v1.29/deb  kubelet 1.29.0-1.1 [19.8 MB]
Get:8 http://archive.ubuntu.com/ubuntu jammy/main amd64 ethtool amd64 1:5.16-1 [208 kB]
Get:5 https://prod-cdn.packages.k8s.io/repositories/isv:/kubernetes:/core:/stable:/v1.29/deb  kubectl 1.29.0-1.1 [10.5 MB]
Get:7 https://prod-cdn.packages.k8s.io/repositories/isv:/kubernetes:/core:/stable:/v1.29/deb  kubeadm 1.29.0-1.1 [10.1 MB]
Get:9 http://archive.ubuntu.com/ubuntu jammy/main amd64 socat amd64 1.7.4.1-3ubuntu4 [349 kB]
Fetched 92.6 MB in 2s (42.2 MB/s)
Selecting previously unselected package conntrack.
(Reading database ... 21494 files and directories currently installed.)
Preparing to unpack .../0-conntrack_1%3a1.4.6-2build2_amd64.deb ...
Unpacking conntrack (1:1.4.6-2build2) ...
Selecting previously unselected package cri-tools.
Preparing to unpack .../1-cri-tools_1.29.0-1.1_amd64.deb ...
Unpacking cri-tools (1.29.0-1.1) ...
Selecting previously unselected package ebtables.
Preparing to unpack .../2-ebtables_2.0.11-4build2_amd64.deb ...
Unpacking ebtables (2.0.11-4build2) ...
Selecting previously unselected package ethtool.
Preparing to unpack .../3-ethtool_1%3a5.16-1_amd64.deb ...
Unpacking ethtool (1:5.16-1) ...
Selecting previously unselected package kubernetes-cni.
Preparing to unpack .../4-kubernetes-cni_1.3.0-1.1_amd64.deb ...
Unpacking kubernetes-cni (1.3.0-1.1) ...
Selecting previously unselected package socat.
Preparing to unpack .../5-socat_1.7.4.1-3ubuntu4_amd64.deb ...
Unpacking socat (1.7.4.1-3ubuntu4) ...
Selecting previously unselected package kubelet.
Preparing to unpack .../6-kubelet_1.29.0-1.1_amd64.deb ...
Unpacking kubelet (1.29.0-1.1) ...
Selecting previously unselected package kubectl.
Preparing to unpack .../7-kubectl_1.29.0-1.1_amd64.deb ...
Unpacking kubectl (1.29.0-1.1) ...
Selecting previously unselected package kubeadm.
Preparing to unpack .../8-kubeadm_1.29.0-1.1_amd64.deb ...
Unpacking kubeadm (1.29.0-1.1) ...
Setting up conntrack (1:1.4.6-2build2) ...
Setting up kubectl (1.29.0-1.1) ...
Setting up ebtables (2.0.11-4build2) ...
Setting up socat (1.7.4.1-3ubuntu4) ...
Setting up cri-tools (1.29.0-1.1) ...
Setting up kubernetes-cni (1.3.0-1.1) ...
Setting up ethtool (1:5.16-1) ...
Setting up kubelet (1.29.0-1.1) ...
Setting up kubeadm (1.29.0-1.1) ...
Processing triggers for man-db (2.10.2-1) ...
kubelet set on hold.
kubeadm set on hold.
kubectl set on hold.
5. kubeadm 테스트!
root@test:~# kubeadm


    ┌──────────────────────────────────────────────────────────┐
    │ KUBEADM                                                  │
    │ Easily bootstrap a secure Kubernetes cluster             │
    │                                                          │
    │ Please give us feedback at:                              │
    │ https://github.com/kubernetes/kubeadm/issues             │
    └──────────────────────────────────────────────────────────┘

Example usage:

    Create a two-machine cluster with one control-plane node
    (which controls the cluster), and one worker node
    (where your workloads, like Pods and Deployments run).

    ┌──────────────────────────────────────────────────────────┐
    │ On the first machine:                                    │
    ├──────────────────────────────────────────────────────────┤
    │ control-plane# kubeadm init                              │
    └──────────────────────────────────────────────────────────┘

    ┌──────────────────────────────────────────────────────────┐
    │ On the second machine:                                   │
    ├──────────────────────────────────────────────────────────┤
    │ worker# kubeadm join <arguments-returned-from-init>      │
    └──────────────────────────────────────────────────────────┘

    You can then repeat the second step on as many other machines as you like.

Usage:
  kubeadm [command]

Available Commands:
  certs       Commands related to handling kubernetes certificates
  completion  Output shell completion code for the specified shell (bash or zsh)
  config      Manage configuration for a kubeadm cluster persisted in a ConfigMap in the cluster
  help        Help about any command
  init        Run this command in order to set up the Kubernetes control plane
  join        Run this on any machine you wish to join an existing cluster
  kubeconfig  Kubeconfig file utilities
  reset       Performs a best effort revert of changes made to this host by 'kubeadm init' or 'kubeadm join'
  token       Manage bootstrap tokens
  upgrade     Upgrade your cluster smoothly to a newer version with this command
  version     Print the version of kubeadm

Flags:
      --add-dir-header           If true, adds the file directory to the header of the log messages
  -h, --help                     help for kubeadm
      --log-file string          If non-empty, use this log file (no effect when -logtostderr=true)
      --log-file-max-size uint   Defines the maximum size a log file can grow to (no effect when -logtostderr=true). Unit is megabytes. If the value is 0, the maximum file size is unlimited. (default 1800)
      --one-output               If true, only write logs to their native severity level (vs also writing to each lower severity level; no effect when -logtostderr=true)
      --rootfs string            [EXPERIMENTAL] The path to the 'real' host root filesystem.
      --skip-headers             If true, avoid header prefixes in the log messages
      --skip-log-headers         If true, avoid headers when opening log files (no effect when -logtostderr=true)
  -v, --v Level                  number for the log level verbosity

Additional help topics:
  kubeadm alpha      Kubeadm experimental sub-commands

Use "kubeadm [command] --help" for more information about a command.
root@test:~#
오호 이제 잘된다.
5. 다시 복붙!
이제 kubeadm을 사용해서 초기화를 해보자! (그런데 여기서 자꾸 뭔 마스터 노드라고 하는것들이 있다. - 이때 눈치 챘어야 했다..내가 뭔가 다른것이 필요하다는것을..)
root@test:~# sudo kubeadm init
[init] Using Kubernetes version: v1.29.0
[preflight] Running pre-flight checks
        [WARNING Swap]: swap is supported for cgroup v2 only; the NodeSwap feature gate of the kubelet is beta but disabled by default
[preflight] The system verification failed. Printing the output from the verification:
KERNEL_VERSION: 5.15.131-1-pve
OS: Linux
CGROUPS_CPU: enabled
CGROUPS_CPUSET: enabled
CGROUPS_DEVICES: enabled
CGROUPS_FREEZER: enabled
CGROUPS_MEMORY: enabled
CGROUPS_PIDS: enabled
CGROUPS_HUGETLB: enabled
CGROUPS_IO: enabled
error execution phase preflight: [preflight] Some fatal errors occurred:
        [ERROR CRI]: container runtime is not running: output: time="2023-12-18T10:50:00Z" level=fatal msg="validate service connection: validate CRI v1 runtime API for endpoint \"unix:///var/run/containerd/containerd.sock\": rpc error: code = Unimplemented desc = unknown service runtime.v1.RuntimeService"
, error: exit status 1
        [ERROR SystemVerification]: failed to parse kernel config: unable to load kernel module: "configs", output: "modprobe: FATAL: Module configs not found in directory /lib/modules/5.15.131-1-pve\n", err: exit status 1
[preflight] If you know what you are doing, you can make a check non-fatal with `--ignore-preflight-errors=...`
To see the stack trace of this error execute with --v=5 or higher
아.. 또 무엇이 나를 가로 막았는가...
container runtime is not running: output: time="2023-12-18T10:50:00Z" level=fatal msg="validate service connection: validate CRI v1 runtime API for endpoint \"unix:///var/run/containerd/containerd.sock\": rpc error: code = Unimplemented desc = unknown service runtime.v1.RuntimeService"
위 에러를 다시 구글에 복붙해본다.
6. 뭔가 잘못됐다!!(재점검의 시간)
딱히 소득은 없었다. 근데 이때쯤 뭔가 잘못하고 있다는 생각이 들었다. 저 노드는 무슨노드지? 하는 생각이 들어
좀 더 검색을 해보았다. 쿠버네티스에 대해서도 검색해보고 proxmox와 쿠버네티스를 같이 검색해보기도 하고
proxmox 와 argocd를 엮어 검색해보기도 했다.
검색 후 알게된것을 정리 해보자면
- argocd는 kubernetes 환경에서 설치된다.
- kubernetes환경 구축이 먼저다.
- kubernetes는 container가 아닌 vm환경에서
만만들수 있다.(그것은 아닌가보다. 이런 글이 있다.) - 쿠버네티스를 구축 하는 방법에는 여러가지가 있다. (Kubespray, Microk8s, rancher 등등..)
이 내용을 이어서 다음에는 쿠버네티스를 설치 하고 argocd설치를 완료하는 내용을 적을것이다!