기본설치 - expo CLI
- node 설치
- npm install -g expo-cli
- cd expoTest
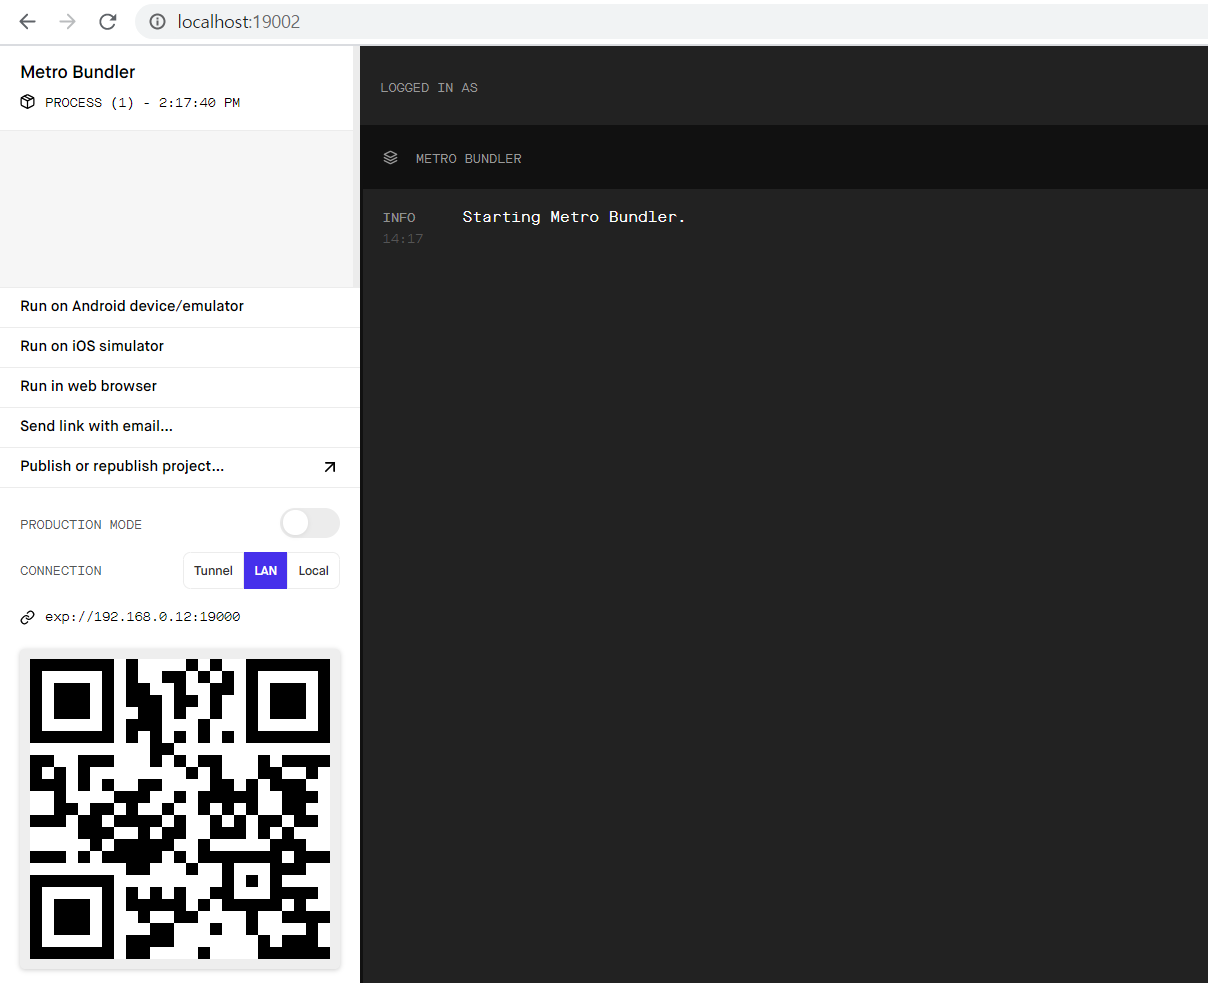
- npm start

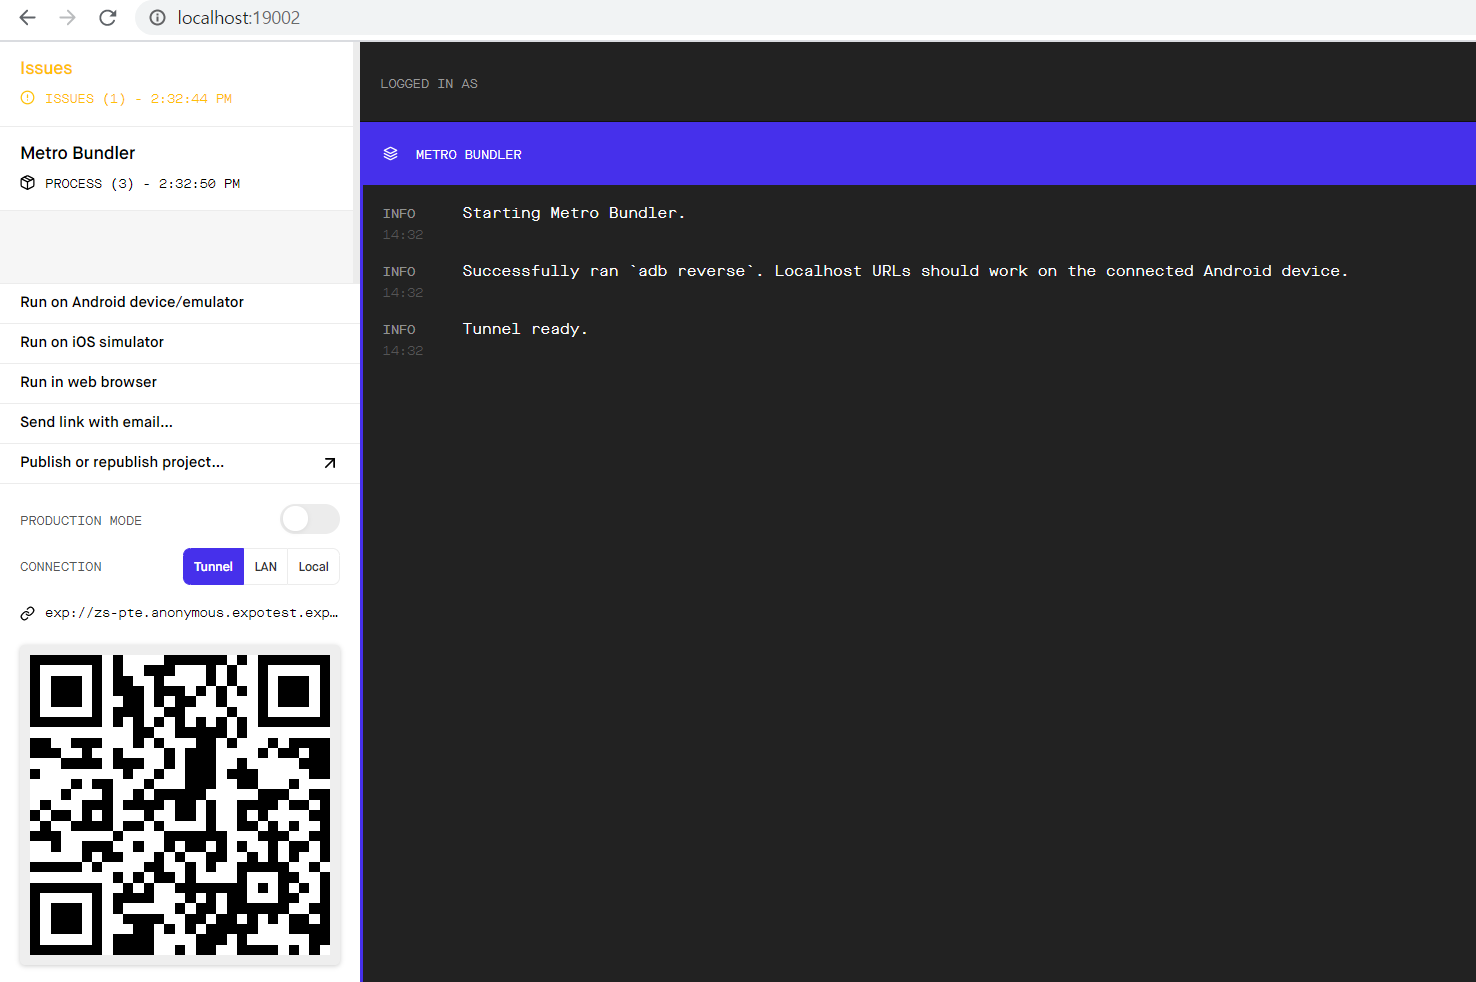
위와 같이 Starting Metro Bundler만 나올 경우 오류 해결법
- 해당 port kill을 한다.
netstat -a -o
taskkill /f /pid PID번호- expo-cli start --tunnel

설치 프로그램
- android studio
- xcode
애뮬레이터를 켜고, expo와 연동시켜준다.
실제 앱에서 expo를 설치
왠만하면 애뮬레이터보다 실제 폰에서 테스트를 하면서 프로젝트를 진행하는 것이 나중에 배포했을 때 오류가 적다.
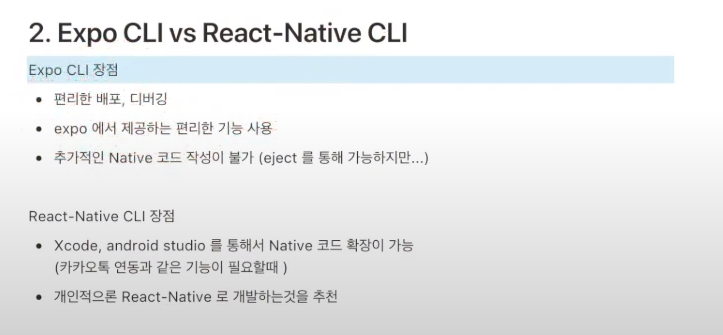
기본설치 - ReactNative CLI
- npm install -g react-native-cli
- react-native init nativeTest
- cd nativeTest
- react-native run-ios
- react-native run-android

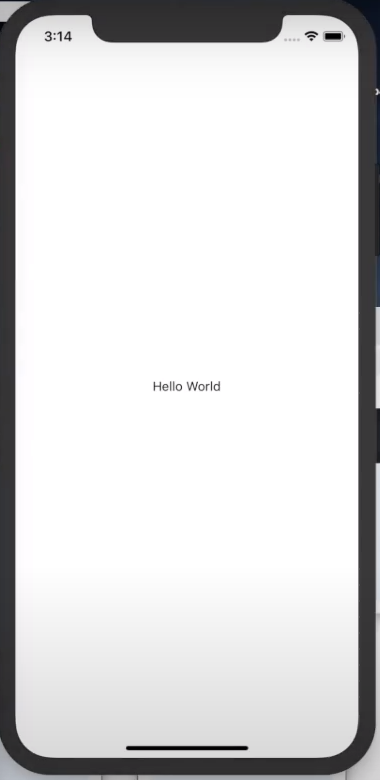
Hello World
const App = () => {
  return (
    <View style={styles.container}>
      <Text>Hello World</Text>
    </View>
  );
};

const styles = StyleSheet.create({
  container: {
    flex: 1,
    alignItems: 'center',
    justifyContent: 'center',
  },
});
이미지 넣기
import React from 'react';
import {
  SafeAreaView,
  StyleSheet,
  ScrollView,
  View,
  Text,
  Image,
  StatusBar,
} from 'react-native';

import {
  Header,
  LearnMoreLinks,
  Colors,
  DebugInstructions,
  ReloadInstructions,
} from 'react-native/Libraries/NewAppScreen';

const App = () => {
  return (
    <View style={styles.container}>
      <Text>Hello World</Text>
      <Image
        source={require('./assets/3_s.png')}
        style={{width: 200, height: 300}}
      />
    </View>
  );
};

const styles = StyleSheet.create({
  container: {
    flex: 1,
    alignItems: 'center',
    justifyContent: 'center',
  },
});

export default App;
type값에 따라서 이미지 변경
class Test extends Component {
  render(){
    let testImage = '';
    if(this.props.type==='one'){
      testImage = require('./assets/3_s.png');
    }else((this.props.type==='two'){
      testImage = require('./assets/2_s.png');
    }
    return (
      <View>
        <Image
          source={testImage}
          style={{width: 200, height: 300}}
        />
      </View>
    );
  }
}

const App = () => {
  return (
    <View style={styles.container}>
      <Text>Hello World</Text>
      <Test type='one'/>
      <Test type='two'/>
    </View>
  );
};
