[React Native] 로딩화면과 아이콘. loading, icon 바꾸기(loading화면 여백 문제 및 android 아이콘 안바뀌는문제)
React Native TIL
로딩화면과 아이콘을 생성해주려고 한다.
Expo 프로젝트의 아이콘과 로딩화면 설정은 app.json파일에서 확일할 수 있다.
//app.json
{
  "expo": {
    "name": "my-first-expo",
    "slug": "my-first-expo",
    "version": "1.0.0",
    "orientation": "portrait",
    "icon": "./assets/icon.png",// => 아이콘 경로 설정
    "userInterfaceStyle": "light",
    "splash": { // => 로딩 화면 경로 설정
      "image": "./assets/splash.png",
      "resizeMode": "contain",
      "backgroundColor": "#ffffff"
    },
    "assetBundlePatterns": [
      "**/*"
    ],
    "ios": {
      "supportsTablet": true
    },
    "android": {
      "adaptiveIcon": {
        "foregroundImage": "./assets/adaptive-icon.png",
        "backgroundColor": "#ffffff"
      }
    },
    "web": {
      "favicon": "./assets/favicon.png"
    }
  }
}
아이콘과 로딩 화면을 변경하는 방법은
1. asset 폴더에 있는 파일과 동일한 크기의 이미지를 생성해서 파일을 교체하는 것이다.
2. app.json파일에 있는icon과splash.image이름을 바꿔주는 것이다.
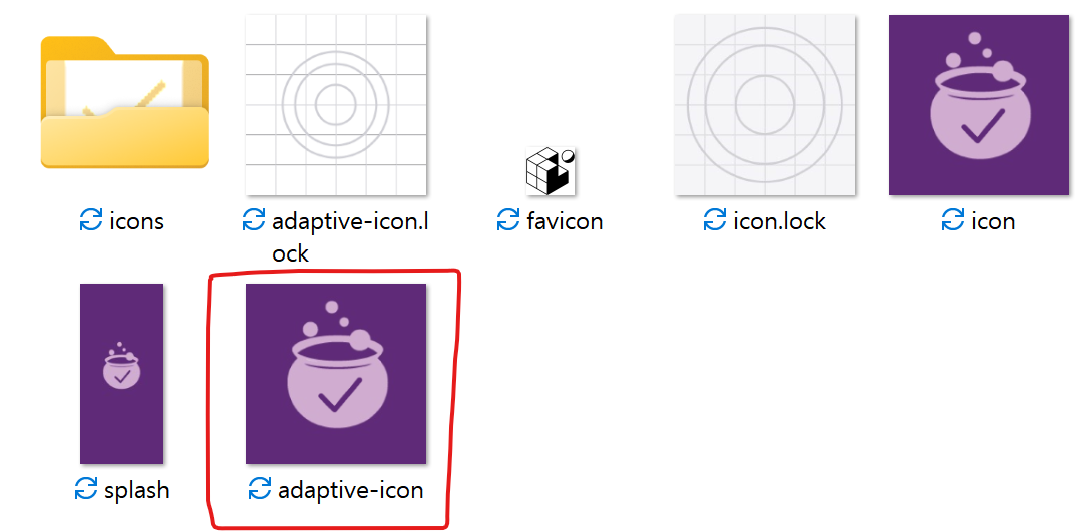
개인적으로 1번을 선택했고 figma를 통해 아이콘과 로딩화면을 제작하였다. asset에 있는 icon과 splash의 원래 파일과 같은 크기로 제작하면 된다.
1. 로딩화면

근데 위 사진을 보면 기기에 따라 여백이 생기는 것을 볼 수 있다. 이 문제는 기기의 크기와 비율 때문에 나타나는 문제이다.
여백 문제 해결법
app.json 파일에서 splash에 있는 resizeMode 혹은 backgroundColor를 변경해서 해결할 수 있다.
resizeMode
resizeMode는 이미지가 화면에 표시되는 방법을 설정한다. 설정 가능한 값으로는
contain과cover가 있는데 cover를 사용하면 이미지의 비율은 유지하면서 화면을 채우도록 이미지를 늘립니다.//app.json "splash": { "image": "./assets/splash.png", "resizeMode": "cover", "backgroundColor": "#ffffff" },
backgroundColor
backgroundColor를 사용하여 이미지의 배경색과 동일하게 변경하면 이미지를 늘리지 않고 여백 부분를 해결할 수 있다.
//app.json
"splash": {
      "image": "./assets/splash.png",
      "resizeMode": "contain",
      "backgroundColor": "#5F2A78"
    },
그래서 개인적으로 backgroundColor 색을 변경해서 해결해주었다.

여백없이 잘 나오는 것을 볼 수 있다.
2. icon
ios

android

위 사진을 보면 아이폰에서는 icon이 잘 되지만 안드로이드에서는 안 보이는 것을 볼 수 있다.
android icon 해결법
- app.json에서 안드로이드 설정을 삭제
//app.json
{
    "expo": {
        "name": "my-first-expo",
        "slug": "my-first-expo",
        "version": "1.0.0",
        "orientation": "portrait",
        "icon": "./assets/icon.png",
        "userInterfaceStyle": "light",
        "splash": {
            "image": "./assets/splash.png",
            "resizeMode": "contain",
            "backgroundColor": "#5F2A78"
        },
        "assetBundlePatterns": ["**/*"],
        "ios": {
            "supportsTablet": true
        },
        "android": { // => 이부분을 삭제
            "adaptiveIcon": {
                "foregroundImage": "./assets/adaptive-icon.png",
                "backgroundColor": "#ffffff"
            }
        },
        "web": {
            "favicon": "./assets/favicon.png"
        }
    }
}
- asset폴더에서 adaptive-icon로 바꾸는 방법이다.
- app.json 폴더에서
android.adapiveIcon.foregroundImage를 icon.png로 바꿔주는 것이다.//app.json "android": { "adaptiveIcon": { "foregroundImage": "./assets/icon.png", "backgroundColor": "#ffffff" } },
개인적으로 두번째 방법을 선택하여 해결하였다. 두번째로 하고도 안바뀌여서 Expo app을 아예 삭제하고 다시 깔았더니 잘 해결된다.