
이 포스팅은 아래 구글 코드랩을 개인 학습용으로 정리한 글입니다.
🏁Android Kotlin Fundamentals: Create a fragment
1. Welcome
2. App overview
3. Task: Explore the starter app project
4. Task: Add a fragment
Step 1: Add a Fragment class
- 새 Fragment 생성하기
- Fragment name: TitleFragment
- Fragment layout name: placeholder_layout
TitleFragment.kt
class TitleFragment : Fragment() {

    override fun onCreateView(
        inflater: LayoutInflater, container: ViewGroup?,
        savedInstanceState: Bundle?
    ): View? {
        val binding = DataBindingUtil.inflate<FragmentTitleBinding>(inflater, R.layout.fragment_title, container, false)
        return binding.root
    }

}- DataBindingUtil.inflate의 매개변수
- inflater: LayoutInflater used to inflate the binding layout
- The XML layout resource of the layout to inflate
- container for the parent ViewGroup (optional)
- false: for the attachToParent value
Step 2: Add the new fragment to the main layout file
activity_main.xml
<layout xmlns:android="http://schemas.android.com/apk/res/android"
    xmlns:app="http://schemas.android.com/apk/res-auto">

        <LinearLayout
            android:layout_width="match_parent"
            android:layout_height="match_parent"
            android:orientation="vertical">

            <fragment
                android:id="@+id/titleFragment"
                android:name="com.example.android.navigation.TitleFragment"
                android:layout_width="match_parent"
                android:layout_height="match_parent"
                />
        </LinearLayout>

</layout>
5. Solution code
6. Summary
-
Use the fragment tag to define the layout for the Fragment in the XML layout file.
-
Inflate the layout for a Fragment in onCreateView().
🏁Android Kotlin Fundamentals:03.2 Define navigation paths
1. Welcome
2. App overview
3. Task: Add navigation components to the project
Step 1: Add navigation dependencies
build.gradle(Project)
buildscript {
    ext {
        ...
        navigationVersion = '2.5.3'
    }
    ...
}
build.gradle(Module:app)
dependencies{
	...
    implementation "androidx.navigation:navigation-fragment-ktx:$navigationVersion"
    implementation "androidx.navigation:navigation-ui-ktx:$navigationVersion"
    ...
}
Step 2: Add a navigation graph to the project
-
res 폴더 우클릭>New>New Resource File
- Resource Type: Navigation
- File name: navigation
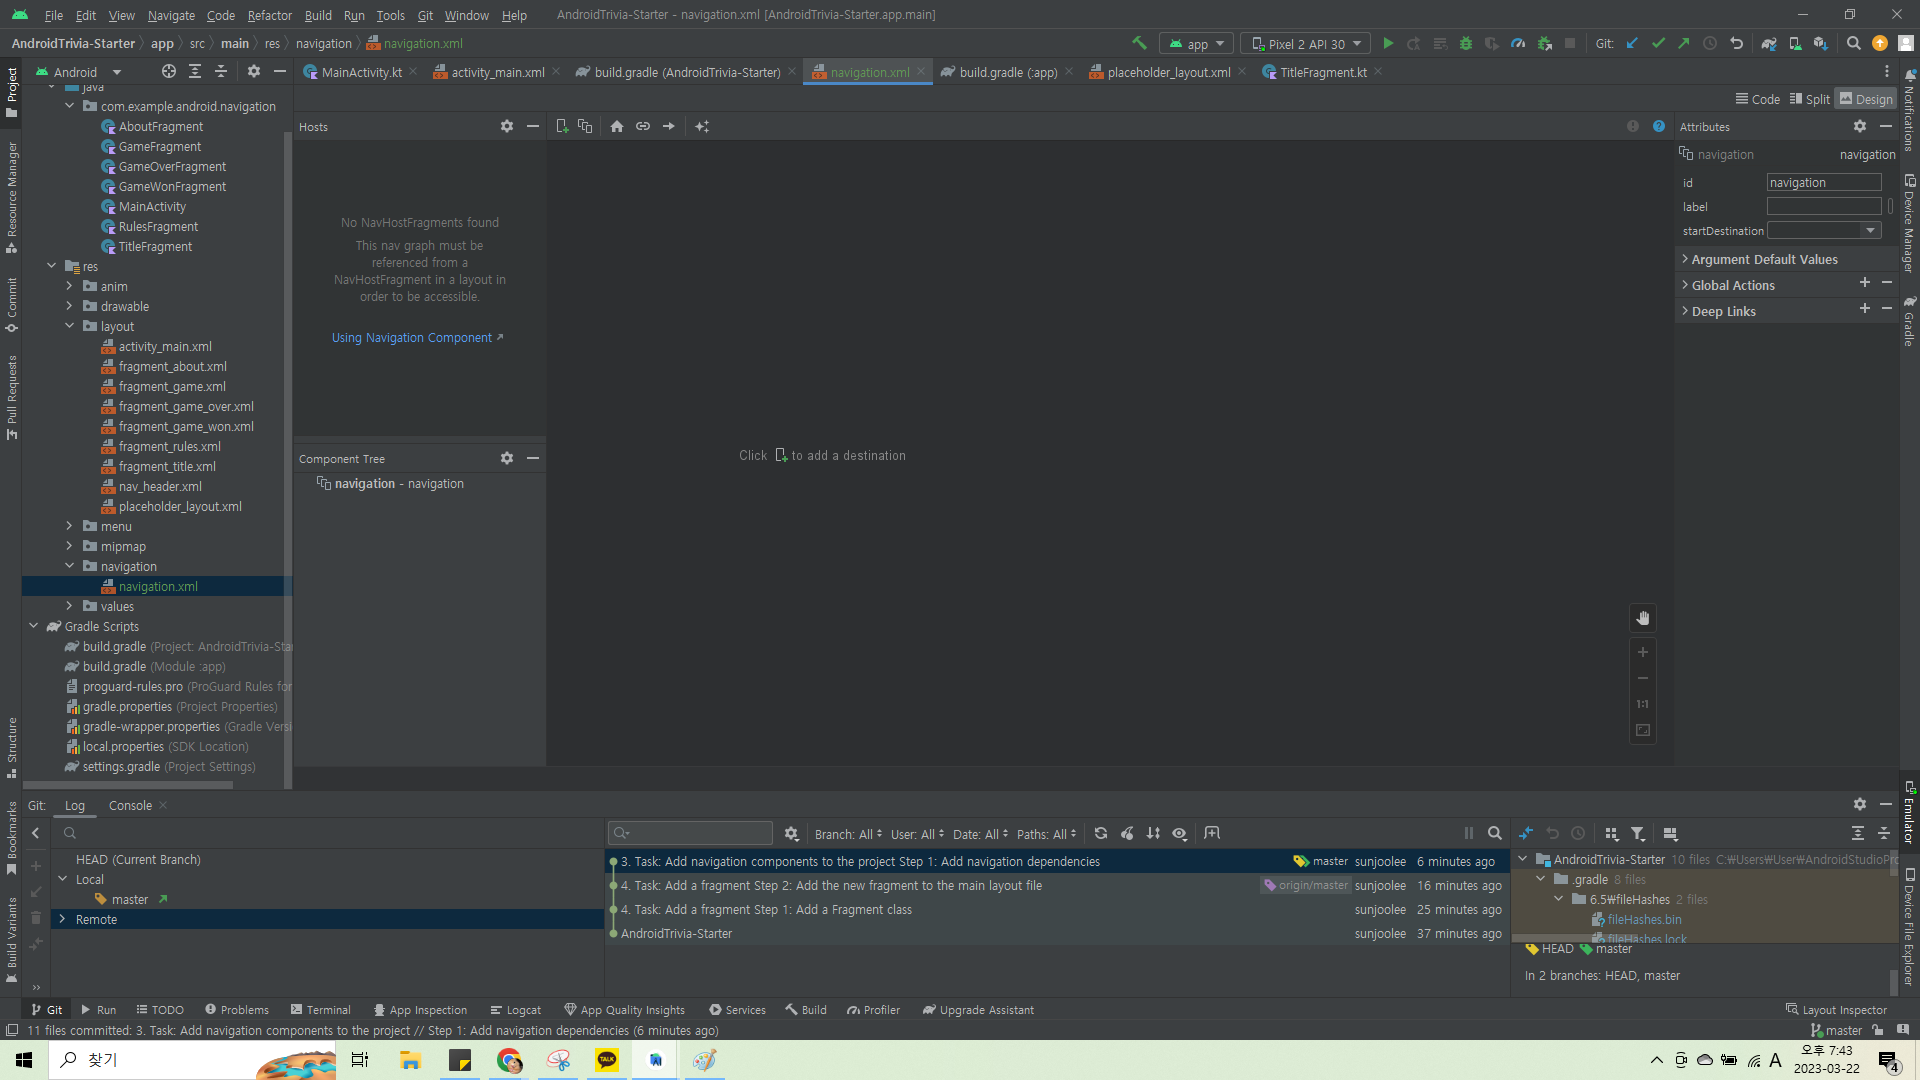
-
navigation.xml>Design>Navigation Editor
- No NavHostFragments found message
4. Task: Create the NavHostFragment
activity_main.xml
- modify activity_main.xml to replace the TitleFragment with the NavHostFragment
<fragment
android:id="@+id/myNavHostFragment"
android:name="androidx.navigation.fragment.NavHostFragment"
android:layout_width="match_parent"
android:layout_height="match_parent"
app:defaultNavHost="true"
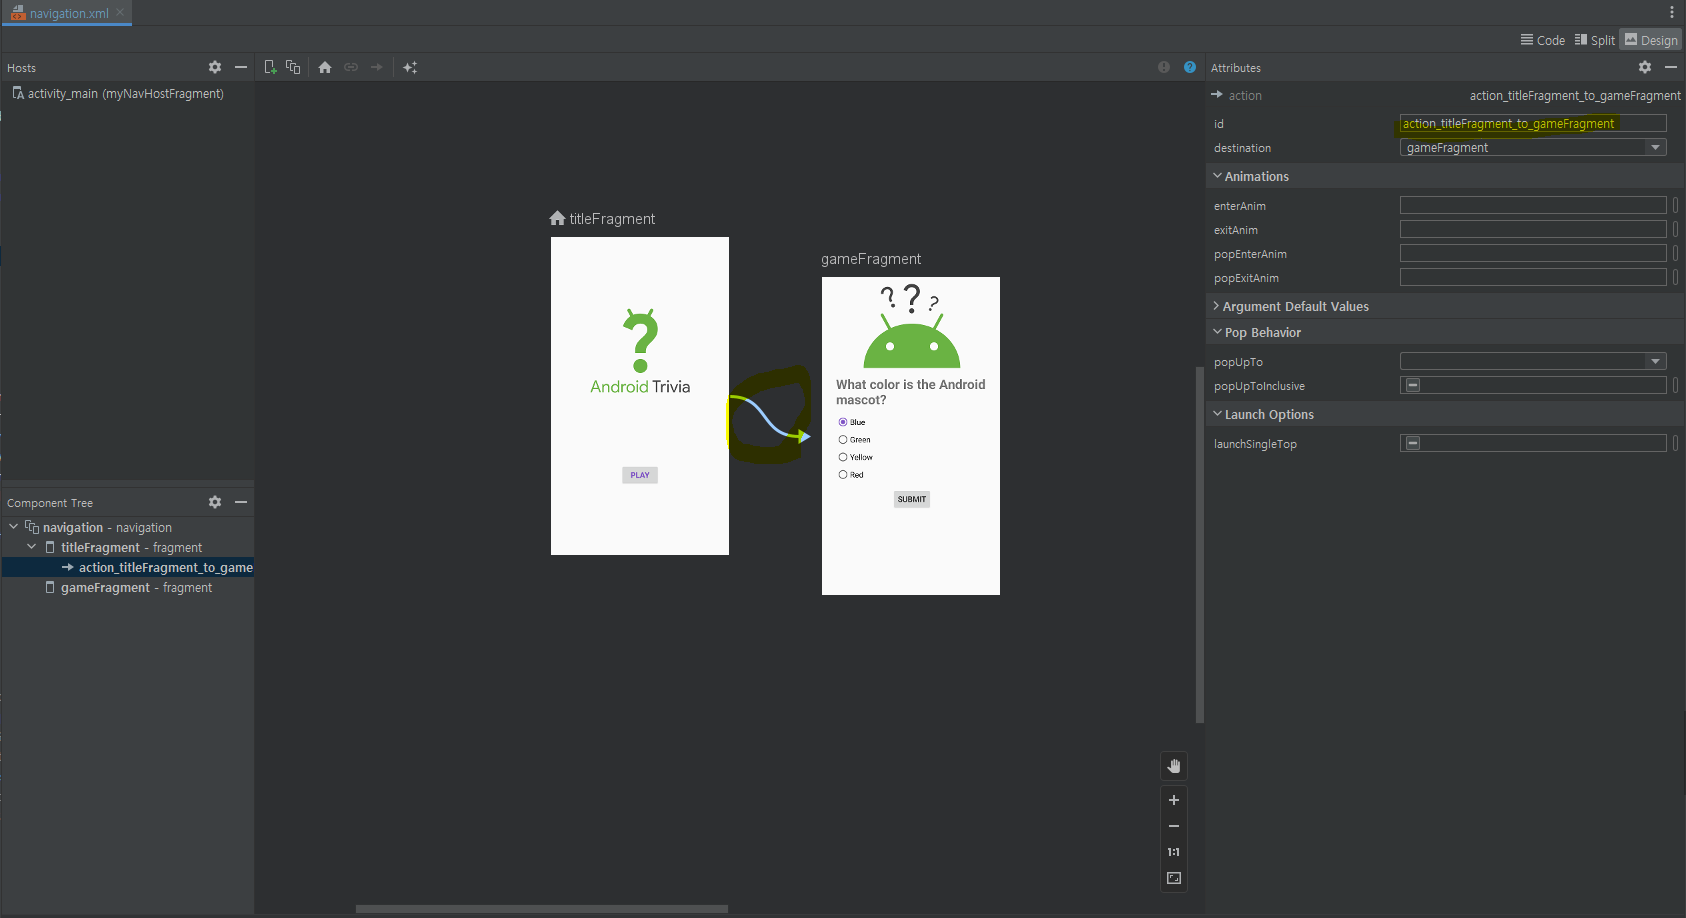
app:navGraph="@navigation/navigation" />5. Task: Add fragments to the navigation graph
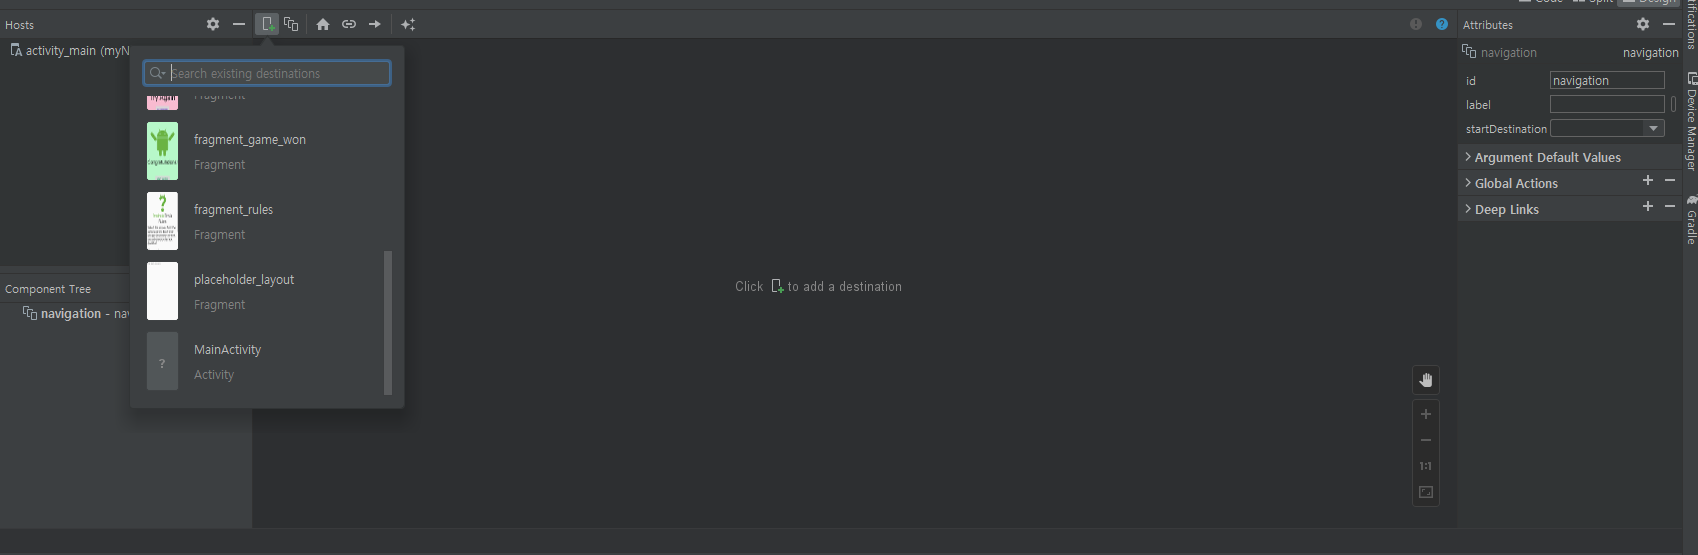
Step 1: Add two fragments to the navigation graph and connect them with an action
➕ navigation.xml>Naviagation Editor>New Destination Button을 눌렀을 때 목록에 fragment_title이 나타나지 않는 현상 발생
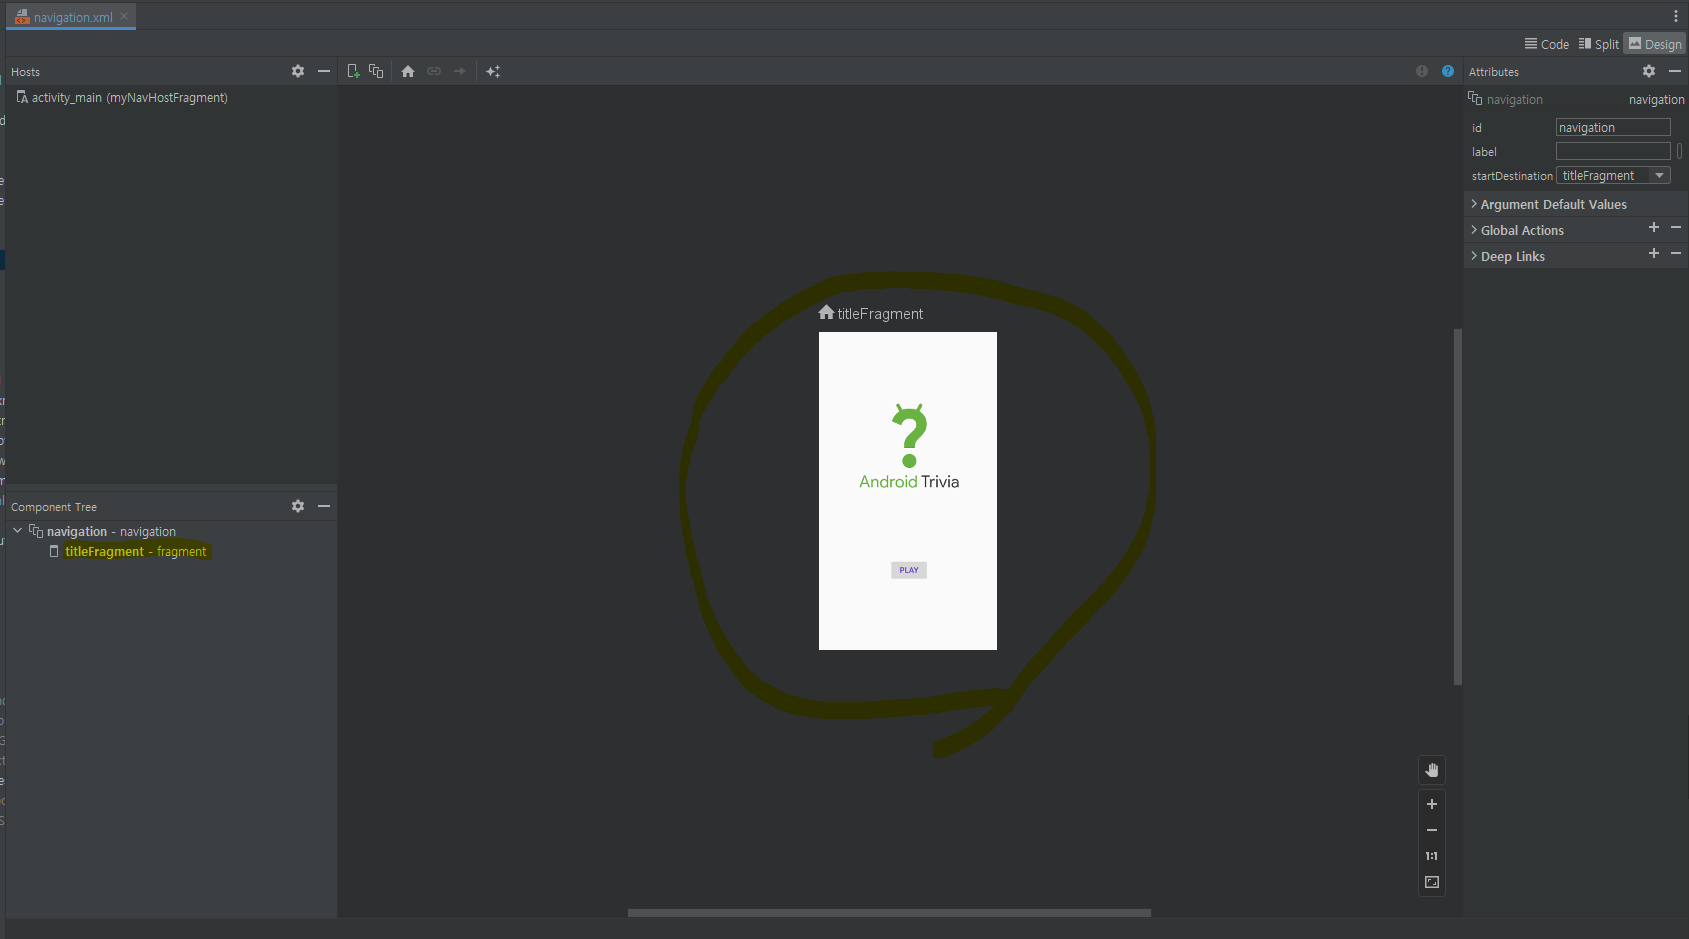
해결 방법: 기존에 있던 TitleFragment.kt과 fragment_title.xml 삭제
-> Create New Destination > TitleFragment.kt과 fragment_title.xml 새로 생성
Step 2: Add a click handler to the Play button
✍...
📌참고자료
minSdkVersion 21 이상인 경우:
build.gradle(app) 파일에서 multiDexEnable을 true로 설정android { defaultConfig { ... multiDexEnabled true } ... }

Be able to be vulnerable, in search of truth