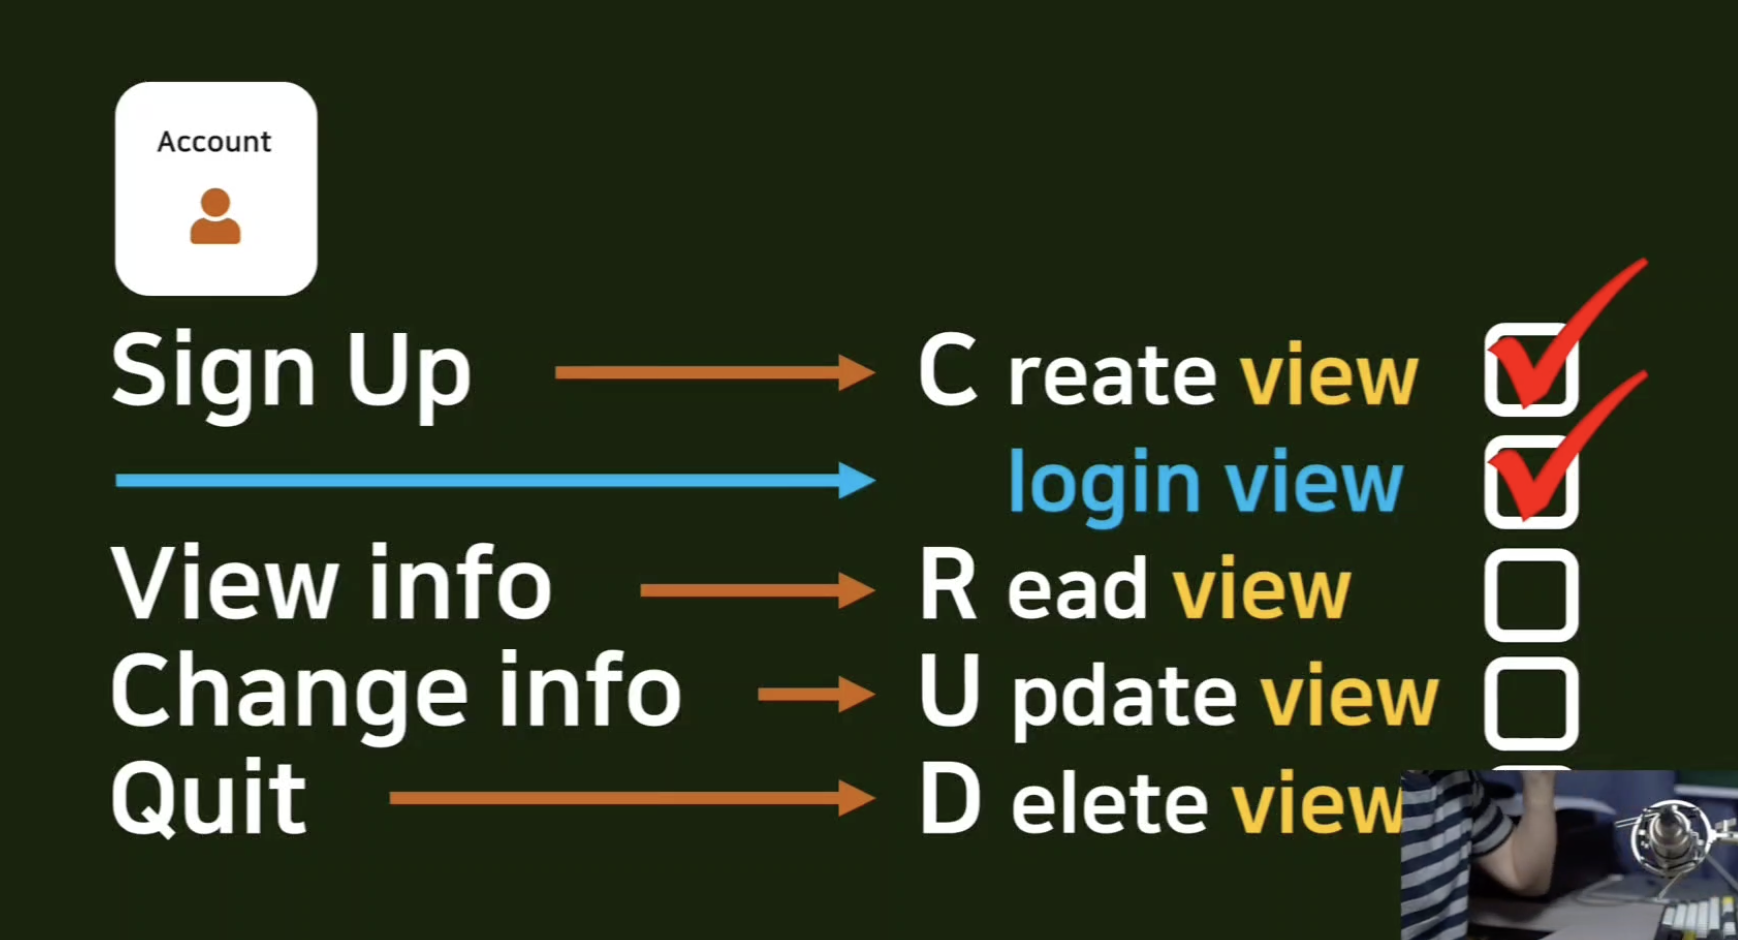
Read view 구현
장고에서는 Detail View 라는 이름의 view 를 사용하여 Read view 를 구현한다.
# pragmatic/accountapp/views.py

from django.views.generic import CreateView, DetailView
...

class AccountDetailView(DetailView):
    model = User
    template_name = 'accountapp/detail.html'
detail.html 작성
<!--pragmatic/accountapp/templates/accountapp/deatil.html-->
{% extends 'base.html'%}

{% block content %}

  <div>
    <div style="text-align: center; max-width: 500px; margin: 4rem auto;">
      <p>
        {{ user.date_joined }} <!--언제 가입을 했는지-->
      </p>
      <h2>
        {{ user.username }}
      </h2>
    </div>
  </div>

{% endblock%}
detail.html로 들어가도록 라우팅
detail은 특정 유저 정보를 Read하는 것이기 때문에 그 계정의 Primary key가 필요
Primary key : 특정 유저 객체가 가지고 있는 고유한 키
detail 슬레시 뒤에 pk라는 이름의 integer 정보를 받을 것
몇 번 유저 객체에 접근할 것인지를 명시해야 detail 뷰가 원하는대로 작동
...
from accountapp.views import hello_world, AccountCreateView, AccountDetailView
...

urlpatterns = [
    ...

    path('create/', AccountCreateView.as_view(), name='create'),
    path('detail/<int:pk>', AccountDetailView.as_view(), name='detail'),
]
detail 페이지로 향하는 링크를 작성
pragmaitc/templates/header.html파일로 들어가서 if 문, login 이 되어있다면 마이페이지로 향하는 링크를 만들어줌
다음 각 유저 객체의 pk에 해당하는 값들을 다음과 같이 넘겨줌
<a href="{% url 'accountapp:detail' pk=user.pk %}" >
pk는 지금 접속해있는 user 객체의 pk라는 정보를 MyPage로 넘겨줌
<div class="pragmatic_header">
	<div>
    	<h1 class="pragmatic_logo">Prgmatic</h1>
    </div>
    <div>
      	...
      	{% if not user.is_authenticated %}
      	<a href="{% url 'accountapp:login' %}?next={{ request.path }}">
       		<span>login</span>
        </a>
        {% else %}
        <a href="{% url 'accountapp:detail' pk=user.pk %}" >
            <span>MyPage</span>
        </a>
        <a href="{% url 'accountapp:logout' %}?next={{ request.path }}">
            <span>logout</span>
        </a>
        {% endif %}
    </div>
</div>
1) MyPage 확인
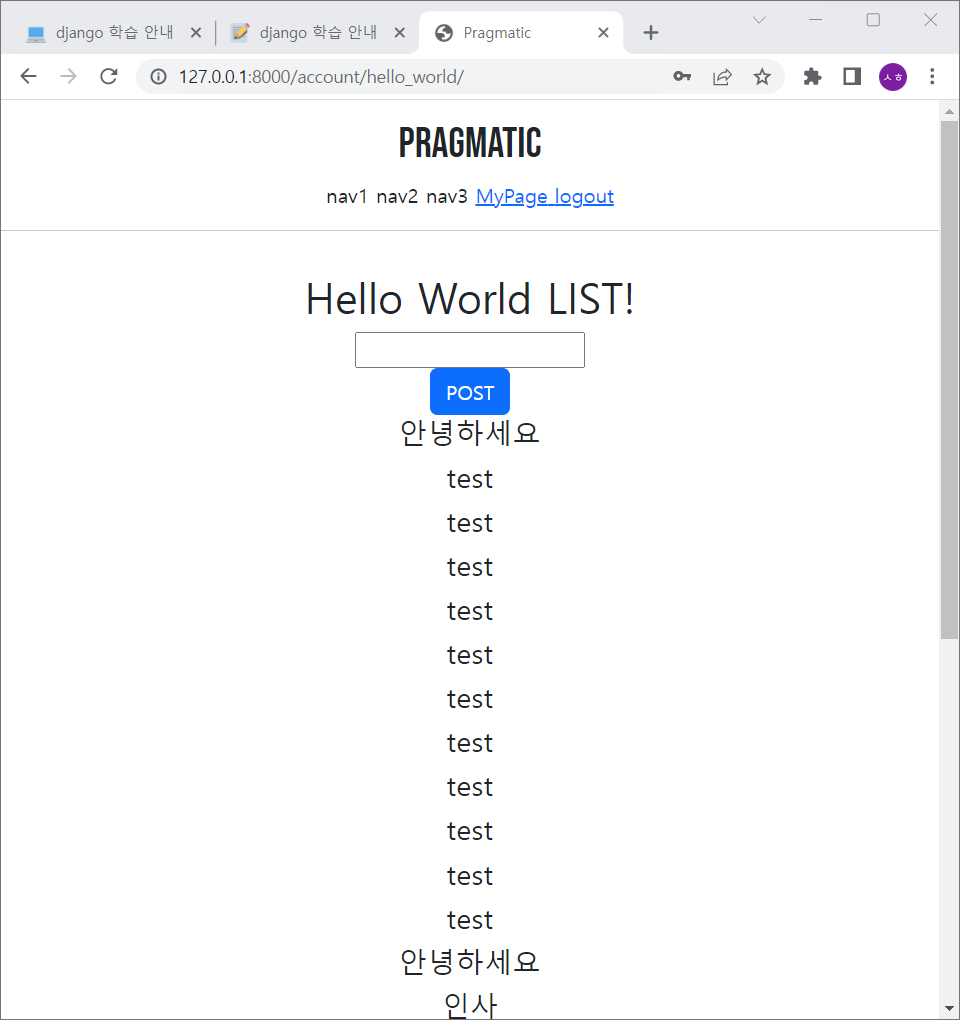
logout 시 MyPage 보이지 않음
context_object_name 추가
{{ user.date_joined }}
Detail의 User를 instagram 느낌으로 생각해보면 로그인이 되어있는지 확인을 하고 본인 user 의 정보를 보여주게 되는데, 특정 pk 를 가진 user 의 정보를 보여주어야 한다.
이런 식으로 하면은 접속한 유저, 예를 들면 내가 다른 연예인 페이지를 들어가더라도 나의 정보를 보여주도록 해줘야 한다.
1) context_object_name
context_object_name 를 통해서 우리가 받는, templates 에서 사용하는 (예를 들어서 이런식으로 사용하는 {{ user.date_joined }}) 이 user 객체의 이름을 다르게 설정해줘야 한다.
다음과 같이 target_user로 설정하면, 다른 사람이 우리의 페이지에 오더라도 우리의 페이지를 볼 수 있게 각 사용자(객체)의 객체 이름을 따로 지정
# pragmatic/accountapp/views.py

class AccountDetailView(DetailView):
    model = User
    context_object_name = 'target_user'  # 추가
    template_name = 'accountapp/detail.html'
<!--pragmatic/accountapp/templates/accountapp/detail.html-->
{% extends 'base.html'%}
{% block content %}
<div>
<div style="text-align: center; max-width: 500px; margin: 4rem auto;">
<p>
{{ target_user.date_joined }} <!-- 수정 -->
</p>
<h2 style="font-family: 'NanumSquareB'"> <!-- 볼드체 폰트로 수정-->
{{ target_user.username }} <!-- 수정 -->
</h2>
</div>
</div>
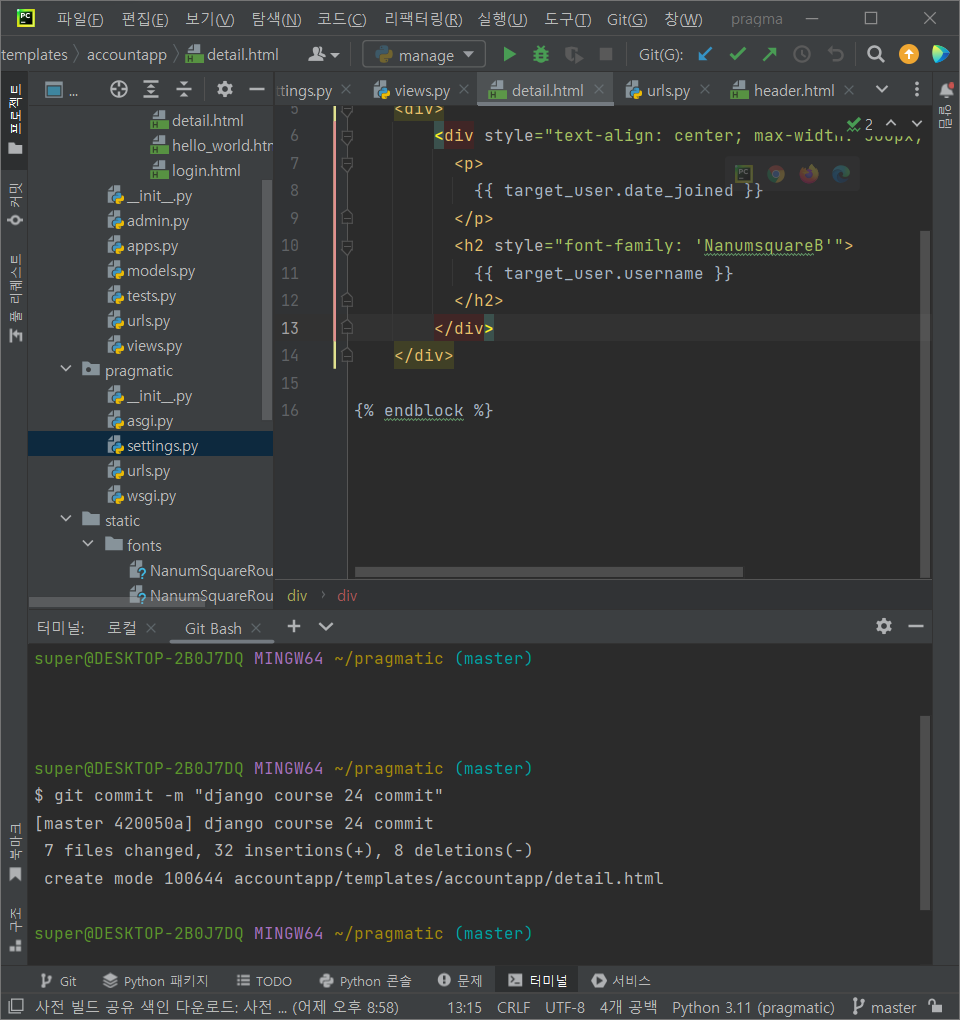
{% endblock %}4. Commit