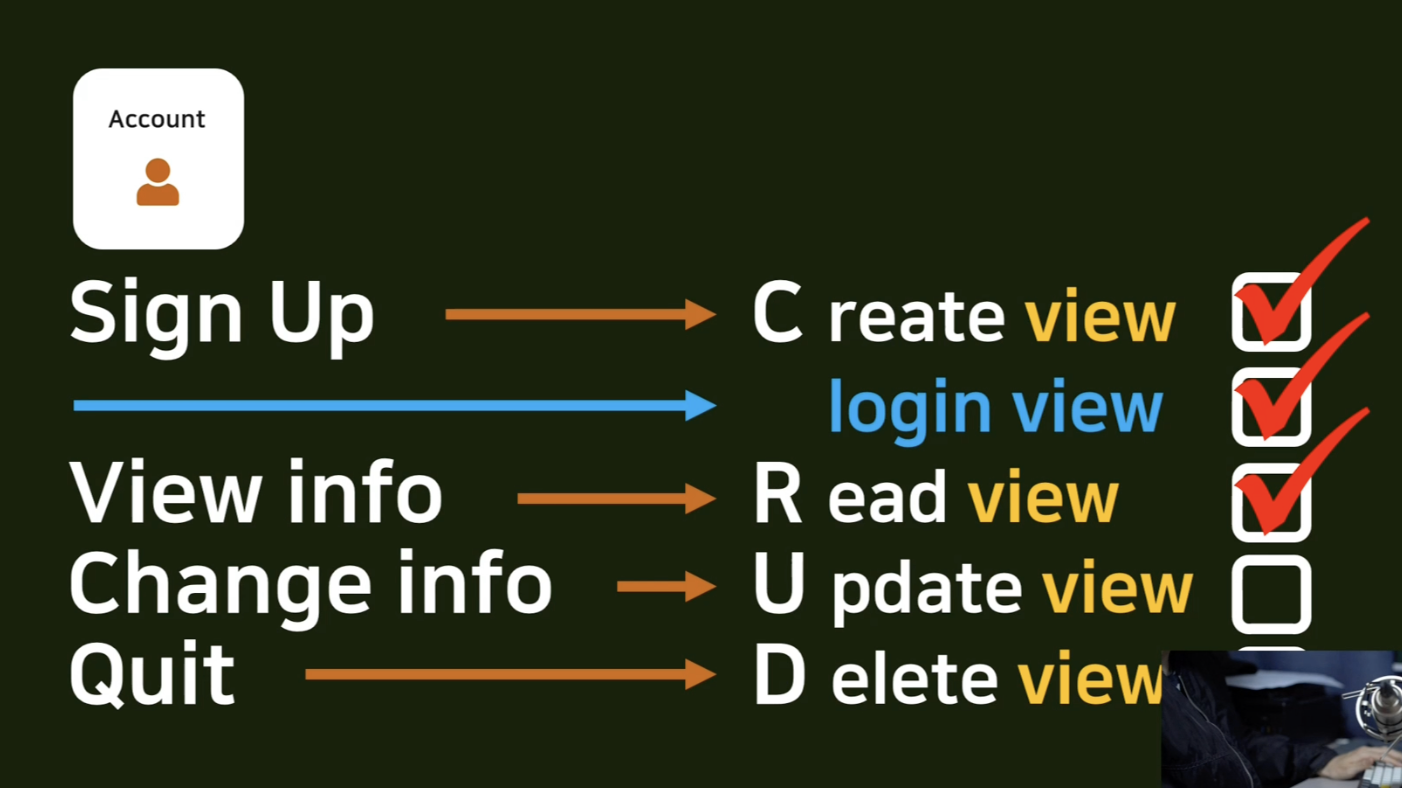
CreateView를 활용해 UpdateView 작성
UpdateView는 CreateView에서 들어가는 중요한 파라미터가 사실상 거의 동일하기 때문에 CreateView를 복사해 UpdateView 를 수정 및 작성
# pragmatic/accountapp/views.py

from django.views.generic import CreateView, DetailView, UpdateView

...

class AccountUpdateView(UpdateView):
    model = User
    context_object_name = 'target_user'
    form_class = UserCreationForm
    success_url = reverse_lazy('accountapp:hello_world')
    template_name = 'accountapp/update.html'
라우팅
from accountapp.views import hello_world, AccountCreateView, AccountDetailView, AccountUpdateView

...

urlpatterns = [
	...

    path('update/<int:pk>', AccountUpdateView.as_view(), name='update'),

]
update.html 작성
pk=user.pk : update에서는 integer값이 pk에 대한 정보를 update.html에 반영해서 보내주게 된다.
본인 페이지에 들어갔을 때 그 페이지 주인이 본인 개인 정보를 수정할 수 있는 링크가 있어야 한다 → detail.html에서 그 링크를 만들어준다.
target_user 로 이 페이지 주인의 user 객체를 얻는다. 따라서 if 문으로 target_user가 지금 접속한 user 와 같은지 비교한다.
같다면 정보 수정 링크를 보여주도록 한다.
<!--pragmatic/accountapp/templates/accountapp/update.html-->
{% extends 'base.html' %}
{% load bootstrap4 %}

{% block content %}

  <div style="text-align : center; max-width: 500px; margin: 4rem auto;">>
    <div class="mb-4"> <!-- margin bottom 해서 4배 -->
      <h4>Chang Info</h4>
    </div>
    <!--url 일원화, pk=user.pk->pk=target_user.pk 으로 수정 post 방식 으로 전송 -->
    <form action="{% url 'accountapp:update' pk=target_user.pk %}" method="post">
      {% csrf_token %}  <!-- csrf_token 은 항상 들어 가야 하는 것 -->
      {% bootstrap_form form %}
      <input type="submit" class="btn btn-dark rounded-pill col-6 mt-3">
    </form>
  </div>

{% endblock %}
<!--pragmatic/accountapp/templates/accountapp/detail.html-->
{% extends 'base.html'%}
{% block content %}
<div>
<div style="text-align: center; max-width: 500px; margin: 4rem auto;">
<p>
{{ user.date_joined }}
</p>
<h2 style="font-family: 'NanumSquareB'">
{{ user.username }}
</h2>
<!-- 추가한 부분 -->
{% if target_user == user %}
<a href="{% url 'accountapp:update' pk=user.pk%}">
<p>
Change Info
</p>
</a>
{% endif %}
</div>
</div>
{% endblock %}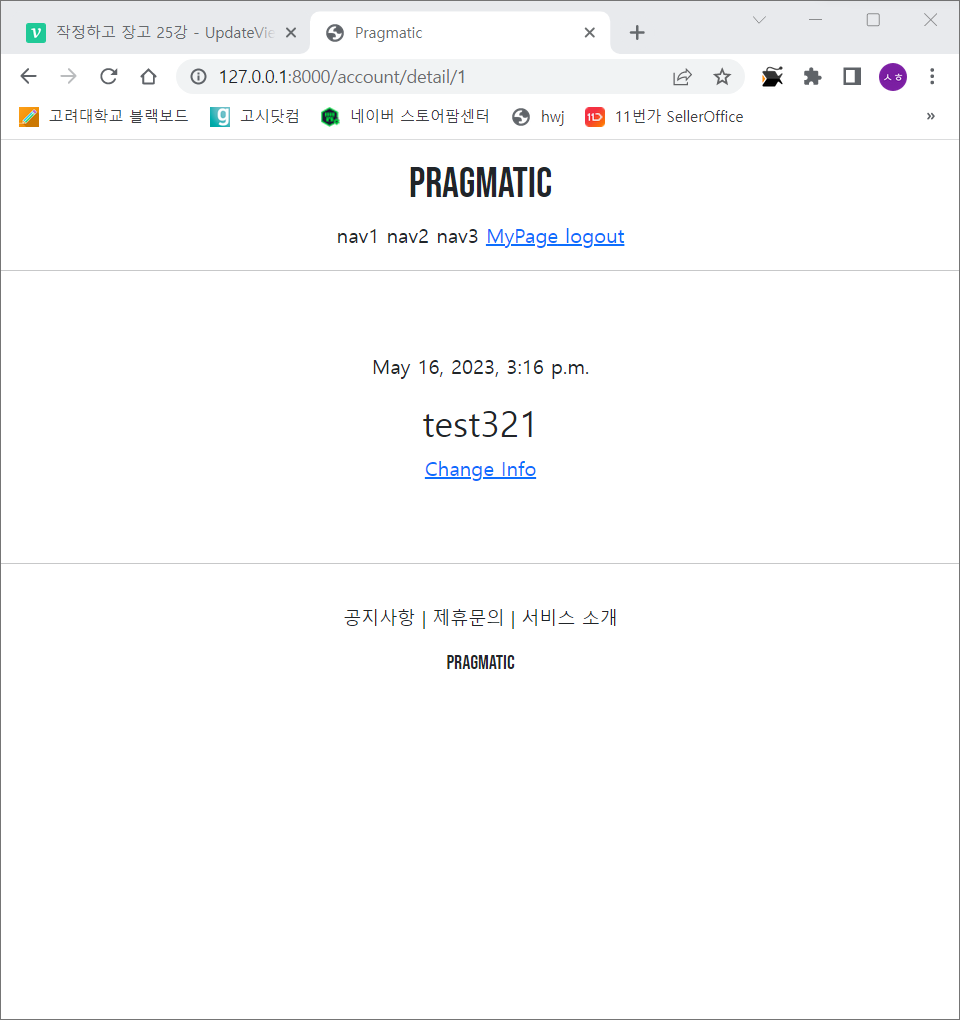
Change Info 링크가 생성됨
링크 클릭 시 계정 생성 페이지가 나온다.
정보를 수정하고 다시 로그인을 하면 정상적으로 정보가 변경됨을 확인할 수 있다.
문제점
정보 수정 페이지로 가게 되면 username이 활성화 되어있다. 즉 ID 와 PW 를 동시에 변경 가능하기 때문에 서버 입장에서는 좋은 시스템은 아님.
정보 수정 페이지로 갔을 때 username 칸을 수정하지 못하게 비활성화하는 기능을 추가하여 해결한다.
accountapp에 forms라는 py파일을 만든다.
이전에 views.py에서 AccountUpdateView를 작성할 때, AccountCreateView와 마찬가지로 form_class = UserCreationForm을 사용했었는데, 이 form을 상속 받아 약간의 customize를 할 것
UserCreationForm를 상속받아 AccountUpdateForm 클래스를 다음과 같이 커스터마이즈한다.
혹시나 이 칸을 나중에 브라우저 쪽에서 원치 않는 조작으로 서버의 변경된 값을 보냈다고 할지라도 disabled가 True로 설정된 이상 서버에 반영되지 않는다.
최종적으로 views.py 단에서 form_class를 우리가 커스터마이즈 한 AccountUpdateForm로 수정
다음과 같이 ID 부분의 수정이 비활성화 되었음을 확인할 수 있다.
from django.contrib.auth.forms import UserCreationForm

class AccountUpdateForm(UserCreationForm):
    def __init__(self, *args, **kwargs):
        super().__init__(*args, **kwargs)

        self.fields['username'].disabled = True
        # 필드로 가지고 있는 값들 중에 username 을 disabled 라는 속성을 활성화
        # 만약 바로 위 self.fields 코드가 없다면
        # 우리가 import 한 UserCreationForm 과 그걸 상속받은 AccountUpdateForm은 똑겉은 form 이 됨
        # 이 한줄이 추가 됨 으로써 초기화 이후에 username 의 칸을 비활성화 시켜줌
from accountapp.forms import AccountUpdateForm
...
class AccountUpdateView(UpdateView):
    model = User
    form_class = AccountUpdateForm #UserCreationForm
    success_url = reverse_lazy('accountapp:hello_world')
    template_name = 'accountapp/update.html'
브라우저 창에서의 조작
브라우저 상에서 ID 부분을 조작한다고 하더라도 PW 를 입력하고 제출을 누르면 ID 부분은 바뀌지 않고 비밀번호만 바뀌는 것을 확인할 수 있다.
commit
git add ., git commit -m "django course 25 commit을 통해 커밋한다.