API를 호출하여 데이터를 가공하기 위해선 fetch 또는 axios라는것을 사용해야 한다.
저번에는 axios를 사용하여 API를 호출해봤지만, 이번에는 fetch연습을 위해 fetch를 사용하여 API를 호출해봤다.
fetch의 기본형식은 다음과 같다.
fetch('http://example.com/movies.json')
  .then(function(response) {
    return response.json();
  })
  .then(function(myJson) {
    console.log(JSON.stringify(myJson));
});fetch안에 적힌 API 주소를 통해 네트워크에서 JSON파일을 가져와서 콘솔을 찍는다. 간단한 fetch의 사용 흐름은 인수 한개(가져올 자원의 경로)를 가져오고 응답을 포함하는 약속(response)을 반환하는 것이다.
이 응답은 그냥 단순한 HTTP Response이며 실제 JSON파일이 아니다. Response 객체로 부터 원하는 데이터를 가져오기 위해서는 json() 메서드를 사용해야 한다.
jsonplaceholder에서 데이터를 받아오는 예제
getDatas = () => {
    fetch("https://jsonplaceholder.typicode.com/users")
      .then((response) => response.json())
      .then((result) =>
        this.setState({
          recommendData: result,
        })
      );
  };

  componentDidMount() {
    this.getDatas();
  }
JSON 데이터를 state에 선언한 배열에 저장 후 map을 이용하여 데이터를 뿌려줌
...
{recommendData.map((item) => {
              return (
                <div key={item.id}>
                  <div className="recommend-profile-container">
                    <div className="recommend-profile-img-box">
                      <img
                        alt="recommend-profile-img"
                        src={`https://robohash.org/${item.id}?set=set2&size=180x180`}
                      />
                    </div>
                    <ul className="recommend-profile">
                      <li className="recommend-profile-id">{item.username}</li>
                      ...
백엔드와 통신하기 위해서는 fetch 사용법이 약간 다르다.
handleSubmit = (e) => {
    e.preventDefault();
    const { userid, userpw } = this.state;
    fetch("http://10.58.4.0:8000/user/in", {
      method: "POST",
      body: JSON.stringify({
        email: userid,
        password: userpw,
      }),
    })
      .then((res) => res.json())
      .then((response) => {
        sessionStorage.setItem("token", response.token);
        if (response.token === sessionStorage.getItem("token")) {
          alert(`${response.email}님 환영합니다.`);
          this.props.history.push("/main");
        } else {
          this.setState({
            submit: true,
            validate: false,
          });
        }
      });
  };
기존의 fetch에서 method와 body가 추가되고 다른 부분은 똑같다. 어떤 방식으로 통신할것인지 method를 정해주고 가져온 JSON을 JSON 문자열의 형태로 변환해주는 작업이 필요하다. 그것이 JSON.stringify()이다. 나는 JSON으로 부터 email과 password를 받아와 state 객체에 있는 userid와 userpw라는 키에 저장해줬다. 그리고 응답이 오면 세션 스토리지에 백엔드로부터 받은 토큰을 저장하고 그것을 응답해온 토큰과 세션에 저장된 토큰과 비교를 하여 맞으면 환영문구 출력 후 main 페이지로 이동하도록 했다.

세션 스토리지에 토큰이 잘 저장된 모습

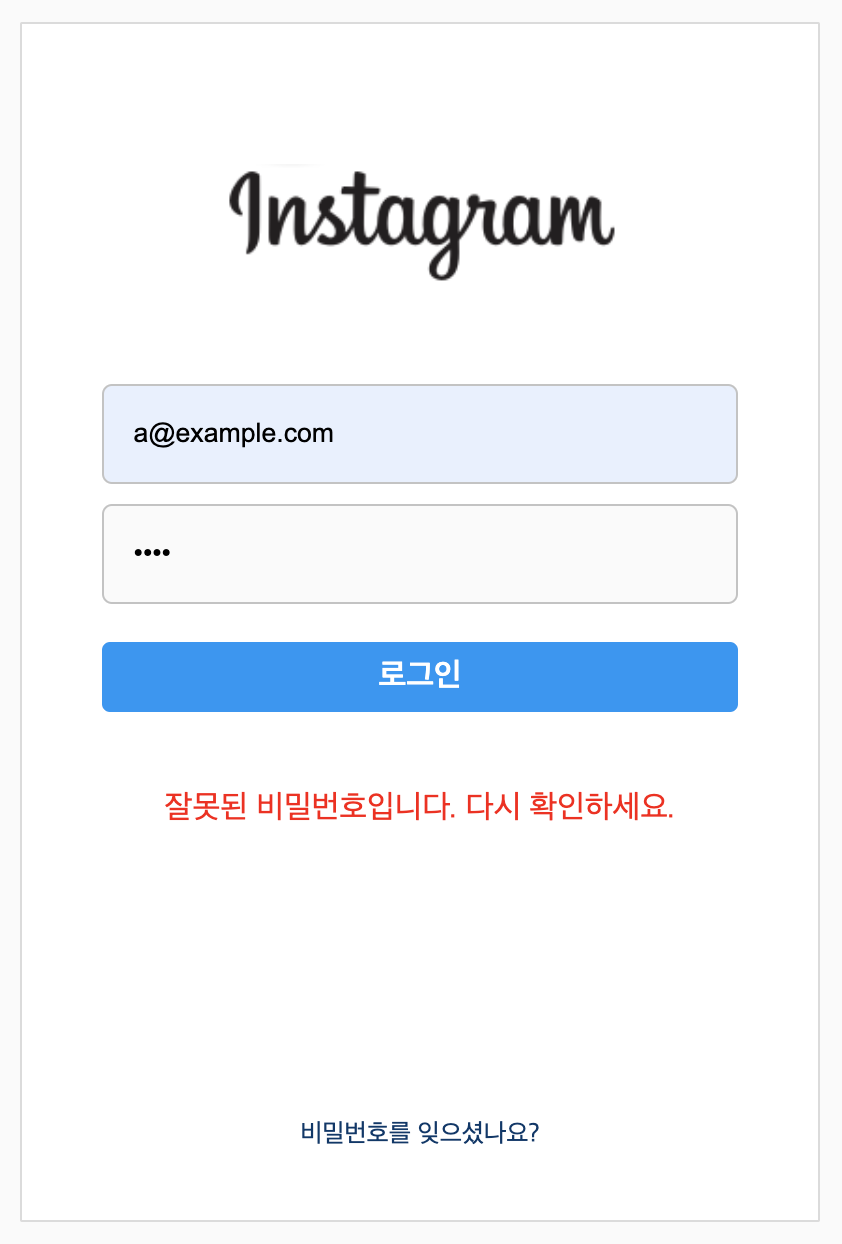
그리고 다를 경우 state의 submit과 validate 값을 변경하여 잘못된 비밀번호라는 문구가 뜨게 했다.

이중 삼항연산자를 이용하여 submit 이벤트가 발생 후 className을 변경시켜 문구가 뜨게 했다. JSX 부분은 다음과 같다.
<p
  className={submit ? (validate ? "correct" : "wrong") :"correct"}>
  잘못된 비밀번호입니다. 다시 확인하세요.
</p>
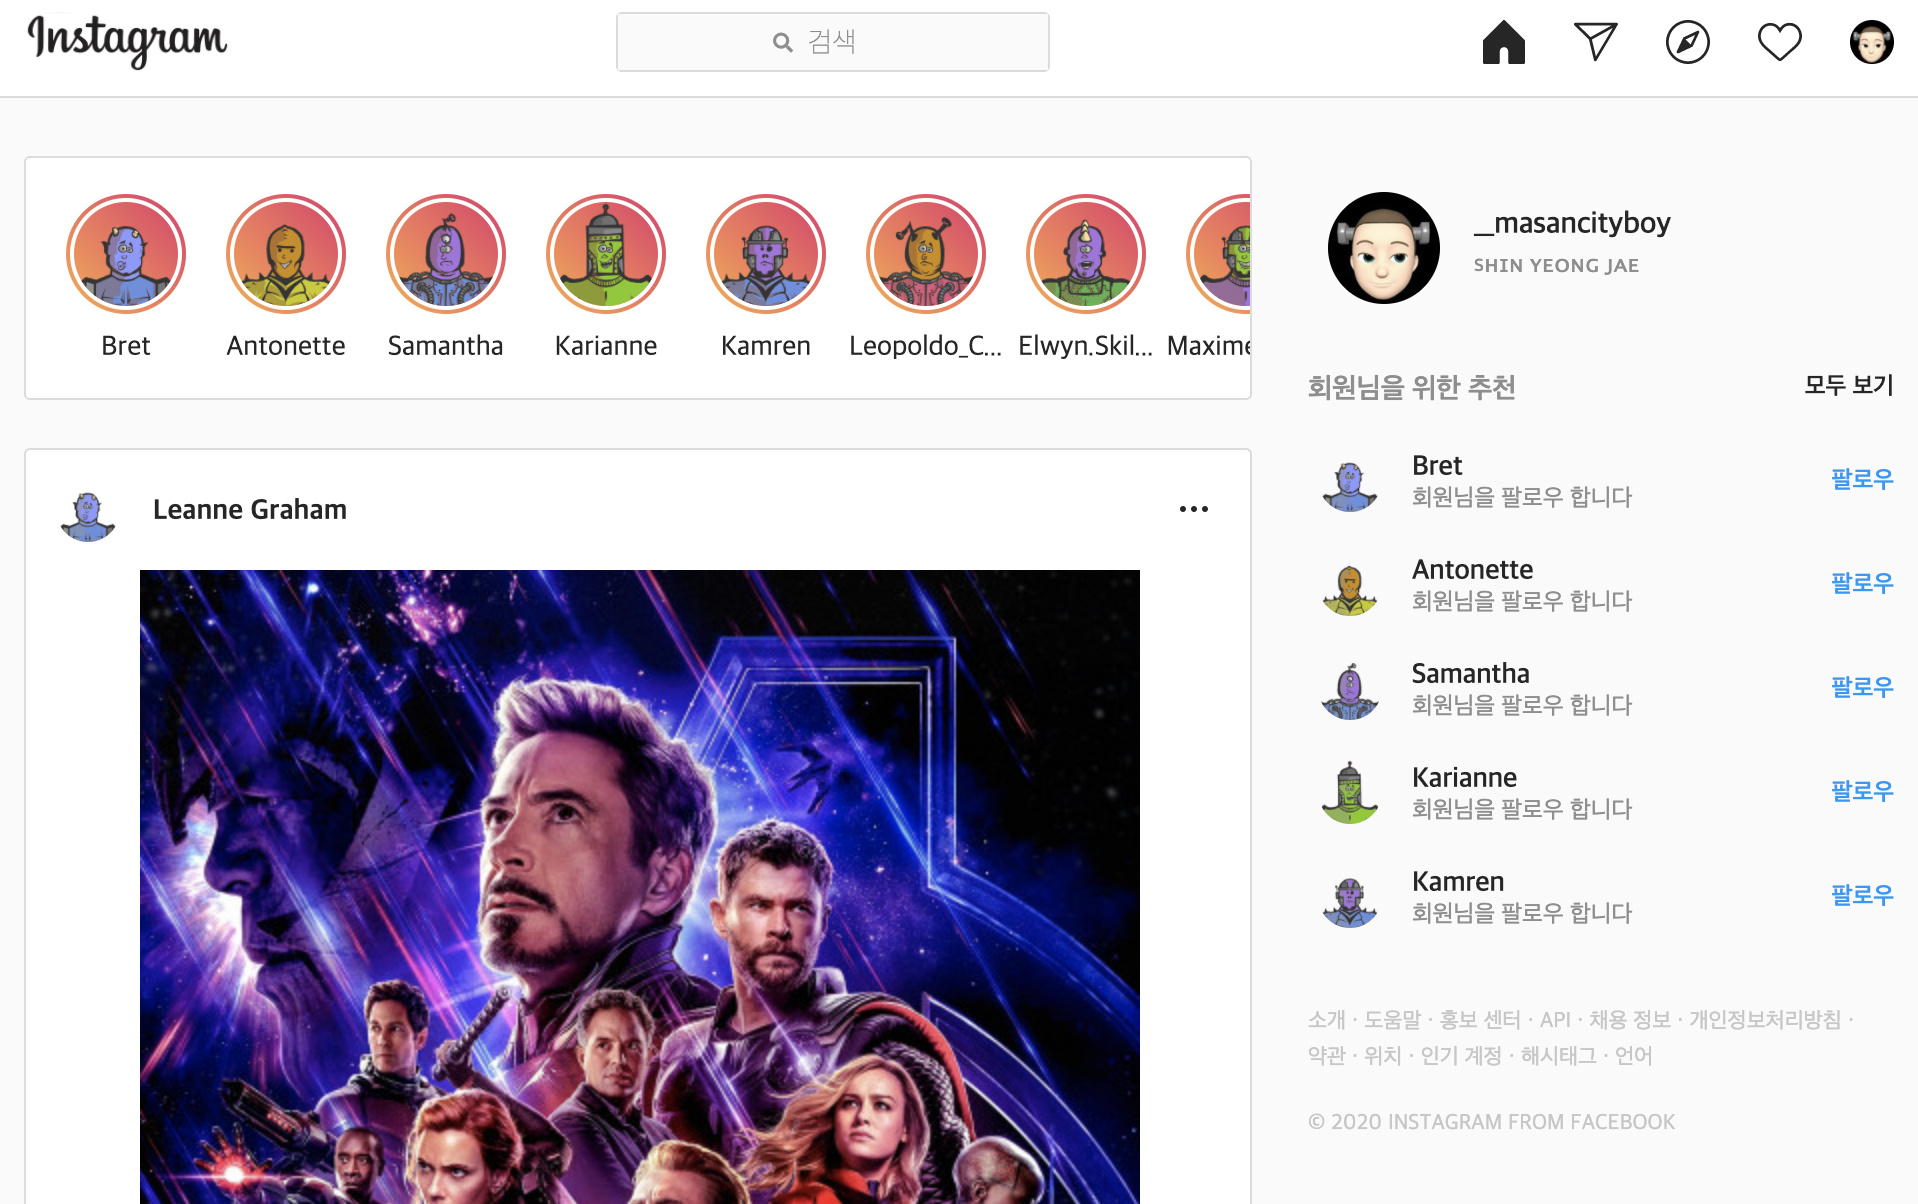
로그인 하면 성공적으로 내가 만든 메인페이지가 나오는 모습을 볼 수 있다!

(뿌듯✌️)
