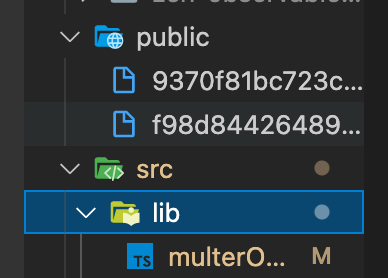
0. 기초 세팅
0-1. Multer 설치
Multer란
파일 업로드를 위해 사용되는 multipart/form-data를 다루기 위한 node.js 의 미들웨어이다.
Multer는 multipart (multipart/form-data)가 아닌 폼에서는 동작하지 않는다.
참고 - nodejs 파일 업로드 - multer 모듈
$ npm i -D @types/multer
1. MulterOptions 로직 구현
multer를 사용하여 파일을 업로드할 때 경로, 파일 형식, 갯수, 파일 이름등을 지정할 수 있도록 Multer Option을 설정해준다.
참고 - multerOptions - expressjs
| Key | Description |
|---|---|
| dest or storage | 파일이 저장될 위치 |
| fileFilter | 어떤 파일을 허용할지 제어하는 함수 |
| limits | 업로드 된 데이터의 한도 |
| preservePath | 파일의 base name 대신 보존할 파일의 전체 경로 |
1-1. 파일 형식 기능 검사하기
//src/lib/muterOptions.ts
export const multerOptions = {
    fileFilter: (request, file, cb) => {
        if (file.mimetype.match(/\.(jpg|jpeg|png|gif)$/)) {
            cb(null, true);
        } else {
            cb(new Error('지원하지 않는 이미지 형식입니다.'));
        }
    }
}
cb: callbackfile은 console로 확인 시 아래와 같은 정보를 전달해준다.{ fieldname: 'file', originalname: 'jpegfile.jpeg', encoding: '7bit', mimetype: 'image/jpeg', buffer: <Buffer ff ... 6013 more bytes>, size: 6063 }
1-2. 저장 위치 지정
현재 프로젝트 폴더를 기준으로 파일이 생성되므로 AWS의 인스턴스나 S3등을 활용해 파일을 브라우저에서 불러올 수 있도록 할 수 있다.
//src/lib/muterOptions.ts
import { existsSync, mkdirSync } from "fs";
import { diskStorage } from "multer";

export const multerOptions = {
    fileFilter: (request, file, cb) => {
        ...
    },

    storage: diskStorage({
        destination: (request, file, cb) => {
            const uploadPath: string = 'public';
            //upload 경로 지정

            if (!existsSync(uploadPath)) {
                mkdirSync(uploadPath);
              //경로가 없을 시 폴더 생성
            }
            cb(null, uploadPath);
        }
    })
}
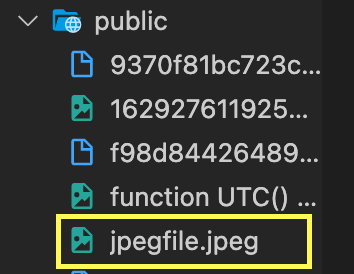
Public폴더가 생성된 후 파일이 업로드 되었다.
1-3. 파일 이름 지정하여 업로드 하기
저장한 파일의 이름이 보안으로인해 변경 되므로 어떤 형태로 저장할지 코드를 구현
//src/lib/muterOptions.ts
...
    storage: diskStorage({
        ...
        },

        filename: (request, file, cb) => {
            cb(null, file.originalname)
          //원본 사진 이름 그대로 저장
        }
    })
}
2. 파일 업로드 로직 구현
여러 파일을 업로드가 가능한 코드를 작성.
Interceptors데코레이터를 사용하여 form-data로 전송된 파일이 MulterOption에 적합한지 검사를 한다.
참고 - Interceptor 사용법 - 하루사리
// app.controller.ts
import { Controller, Post, UploadedFiles, UseGuards, UseInterceptors } from '@nestjs/common';
import { FilesInterceptor } from '@nestjs/platform-express';
import { multerOptions } from 'lib/multerOptions';
import UploadService from './upload.service';
import AuthGuard from 'middleware/auth';

@Controller('uploads')
export default class UploadController {
  constructor(
    private readonly uploadService: UploadService,
  ) {}

  @UseInterceptors(FilesInterceptor('images', null, multerOptions))
  // FilesInterceptor 첫번째 매개변수: formData의 key값,
  // 두번째 매개변수: 파일 최대 갯수
  // 세번째 매개변수: 파일 설정 (위에서 작성했던 multer 옵션들)

  @Post('/')
  @UseGuards(new AuthGuard())
  public uploadFiles(
    @UploadedFiles() files: File[],
  ) {
    const uploadedFiles: string[] = this.uploadService.uploadFiles(files);

    return {
      status: 200,
      message: '파일 업로드를 성공하였습니다.',
      data: {
        files: uploadedFiles,
      },
    };
  }
}
- FileInterceptor('form-data key 값', 파일 최대 갯수, multerOptions)
- multerOptions : multerOptions.ts 파일에서 작성한 옵션을 사용하기위해 적어준다.

