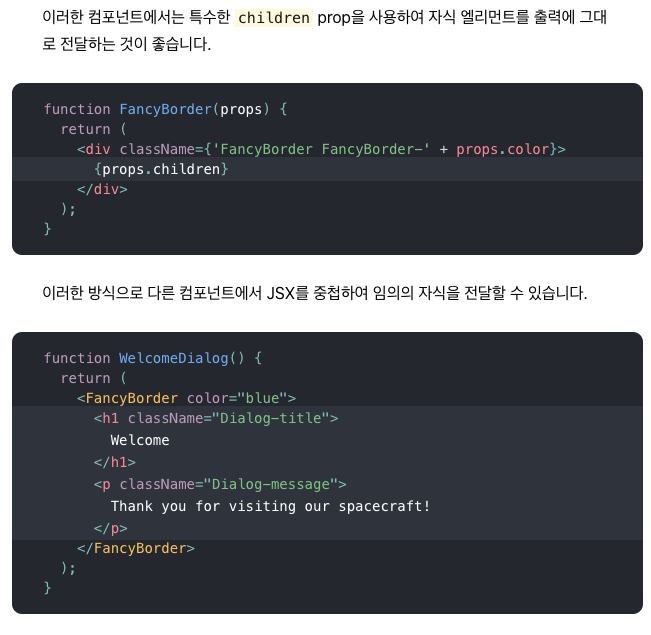
props.children 으로 컴포넌트 밑에 자식 엘리먼트들을 그대로 전달할 수 있다.
리액트 공식문서 10까지 했는데 그 다음부턴 잘 모르겠다
나중에 더 공부
상위 컴포넌트에서 하위 컴포넌트에 데이터를 전달할 때는 props를 통해서 ~
하위 컴포넌트에서 상위 컴포넌트로 데이터를 전달할 때는 이벤트 함수를 통해서 ~
shouldComponentUpdate(newProps, newState) {
  console.log(newProps.data, this.props.data);
  return false;
}
shouldComponentUpdate(이하 슈컴업)는 render 함수 이전에 실행된다.
슈컴업은 return 값이 true면 render 함수를 호출하고, false면 render 함수를 호출하지 않는다.
슈컴업의 newProps로 바뀐 data에 접근을 할 수 있고, this.props로 이전 값도 알 수 있다.
값이 바뀌지 않았는데 불필요한 렌더링을 할 경우 사용한다 ~
생활코딩 update 구현 강의(React - 20.2 update 구현:form) 중에서...
부모에게 props로 받은 data를 state화를 하고 그 값을 이용할 수 있다.
constructor(props) {
  super(props);
  this.state = {
    title:this.propds.data.title
  }
}
그 값을 다시 input 태그에 onChange 이벤트를 걸어서 value의 state를 변경할 수 있다.
<input
  type="text"
  name="title"
  placeholder="title"
  value={this.state.title}
  onChange={function(e) {
    this.setState({
      title: e.target.value;
    }.bind(this))
  }}
/>
input과 textarea 서로 다른 태그에서 inputFormHandler 라는 같은 함수를 사용할 때 [] 문법을 사용하면 태그의 name에 따라서 e.target.value가 구분되어 잘 적용된다.
inputFormHandler(e) {
  this.setState({
    [e.target.name] = e.target.value
  })
}
update를 할때 어디를 update를 할지 식별자가 필요한데 이때 input 태그를 만들고 속성으로 hidden으로 준다

