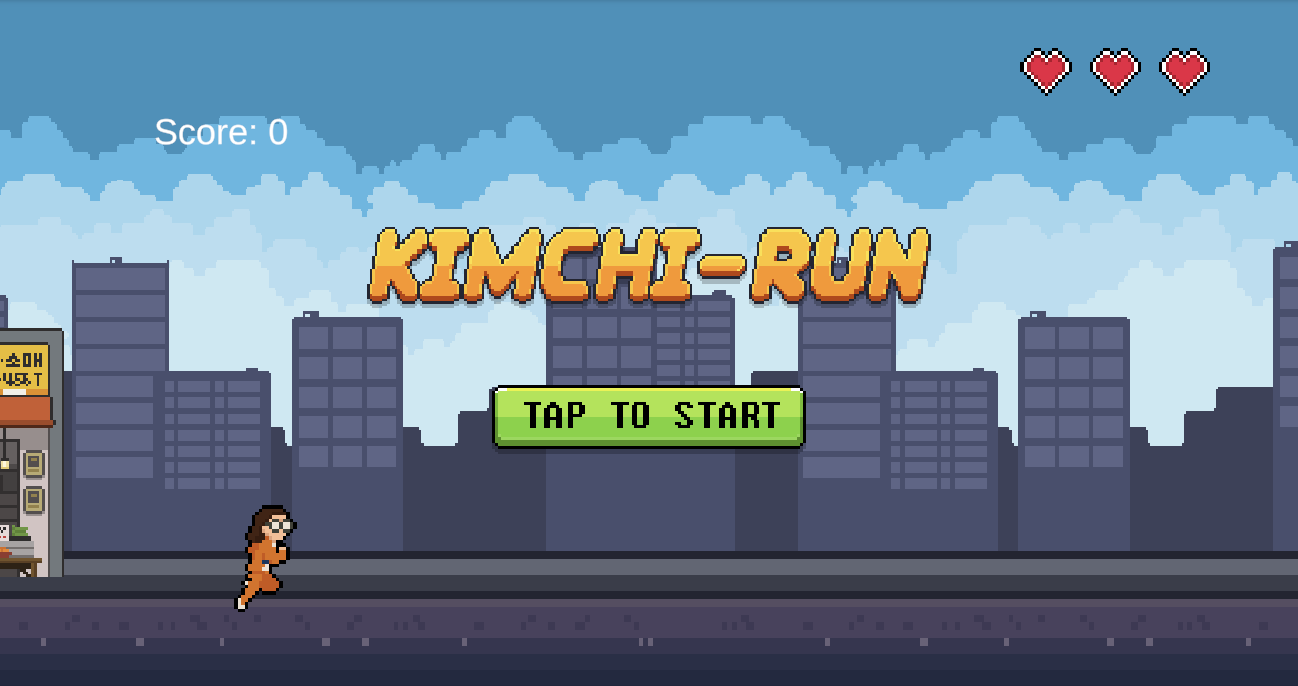
완성 게임
https://play.unity.com/en/games/a0cc6ab8-240e-4d44-bb8d-65761fa37966/by-techn0!
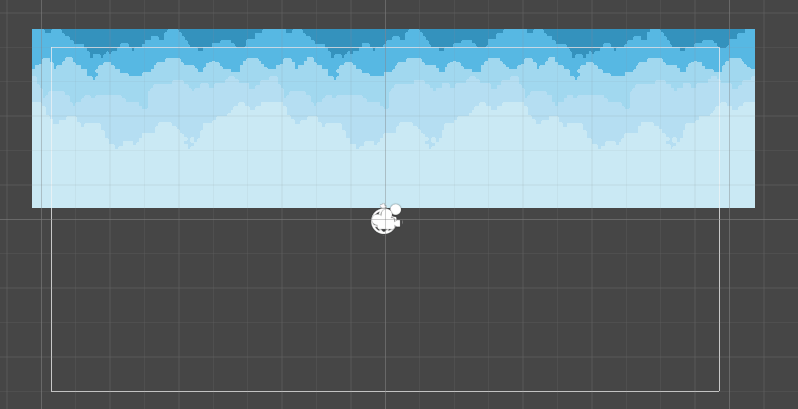
이미지가 늘어나거나 지 않고 반복되서 채워지게 하고싶을 때
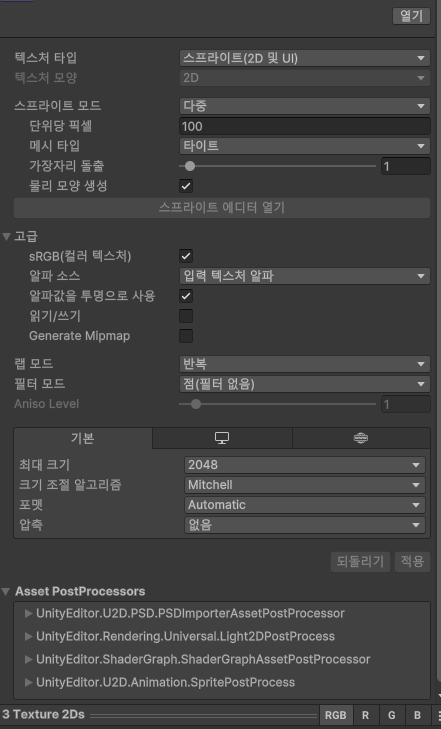
랩 모드를 반복으로 변경 후 적용하면 Materials폴더에 파일이 하나 생김
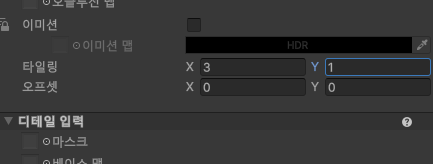
타일링을 원하는 만큼 설정하면 끝
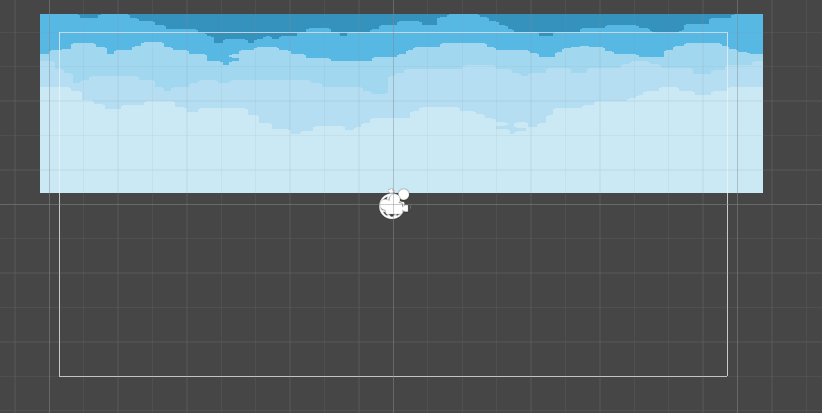
비포 에프터
Tip. 타일링 밑의 오프셋을 응용하면 구름이 지나가는 것 같은 연출을 표현할 수 있을 것 같은데?
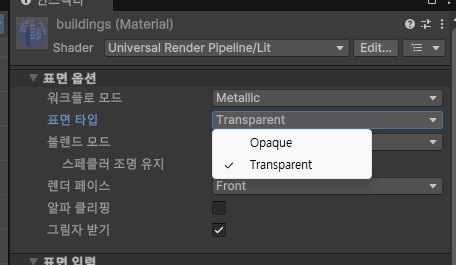
이미지는 투명인데 유니티에서 흰색으로 나올 때
Material의 서페이스 타입을 Transparent로 바꿔준다.
유니티는 C#을 쓴다네
using UnityEngine;

public class BackgroundScroll : MonoBehaviour
{
    // Start is called once before the first execution of Update after the MonoBehaviour is created
    void Start()
    {

    }

    // Update is called once per frame
    void Update()
    {

    }
}
public class BackgroundScroll : MonoBehaviour 이런식으로 클래스를 상속받는 형태
-
MonoBehaviour 는 Unity에서 스크립트를 작성할 때 기본적으로 상속받는 클래스
-
Unity 엔진과 스크립트를 연결해 주며, Unity의 다양한 라이프사이클 메서드(
Start,Update,OnTriggerEnter, 등)를 사용할 수 있도록 함 -
Start는 Update 최초 호출 전 한번 실행됨
-
Update는 프레임마다 실행
using UnityEngine;

public class BackgroundScroll : MonoBehaviour
{
    public float scrollSpeed;
    // Start is called once before the first execution of Update after the MonoBehaviour is created
    void Start()
    {

    }

    // Update is called once per frame
    void Update()
    {

    }
}
코드에 public float scrollSpeed; 이것을 추가하면

이렇듯 인스펙터에서 해당 값을 조절할수 있다.
업데이트는 프레임 단위로만 작동하는데 이러면 장치의 사양에 따라 다르게 작동할 수 있다
    void Update()
    {
        meshRenderer.material.mainTextureOffset += new Vector2(scrollSpeed * Time.deltaTime, 0);
    }
Time.deltaTime 을 원하는 변수에 곱해주면 1초를 단위로 작동하게 할 수 있다