How to Complete Tenda Router Setup in Minutes?
It doesn't have to be difficult or time-consuming to set up your new Tenda router. By following these easy steps, you can complete your Tenda router setup in a matter of minutes, whether you're updating your home network or setting up a new connection.
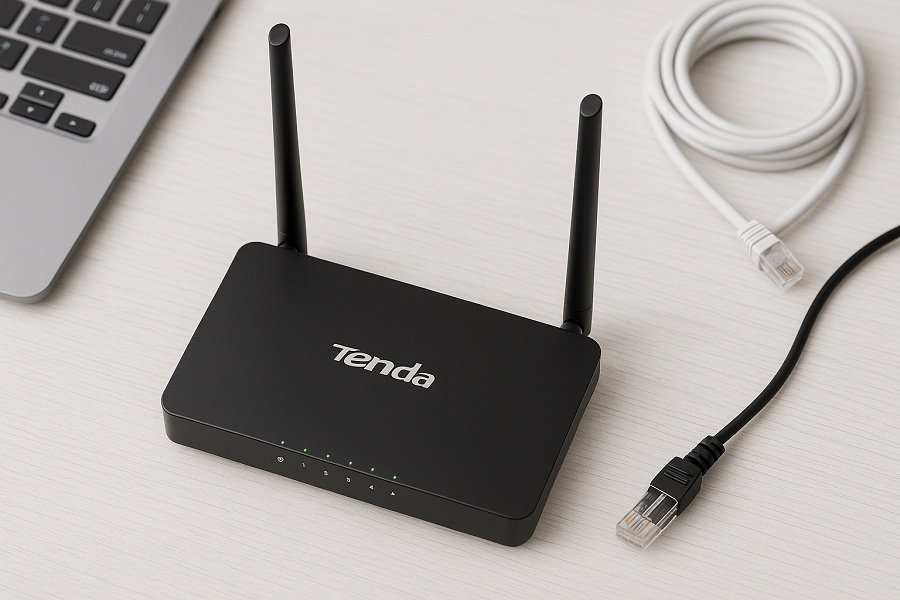
1. Attach your router.
Unpack your Tenda router and plug it into a power source to get started. Connect your modem to the router's WAN port using an Ethernet cable. Your hardware is prepared for configuration after all of the lights are on.
2. Go to the Configuration Page
On any connected device, launch your browser. Enter tendawifi.com or 192.168.0.1 in the address bar. This will direct you to the login screen of the router. The default username and password are often "admin" when requested for credentials.
3. Set Up Your Network
Proceed with the on-screen setup process after logging in. You will be prompted to select the kind of connection. Choose "Auto Detect" if you are unsure. Next, to protect your network, come up with a strong password and a Wi-Fi name.
4. Reboot after saving the settings
To apply your settings, click "Save" or "Finish." Your new network will show up in the list of accessible Wi-Fi when your Tenda router automatically reboots. Use the password you just created to connect your devices.
5. Control Your Network at Any Time
You may check connected devices, modify your password, and update your settings at any moment by returning to tendawifi.com. The website provides an easy-to-use interface that makes controlling home Wi-Fi simple.
For rapid access and remote network control, download the Tenda WiFi app.
You may quickly, easily, and securely complete your Tenda router setup with these simple steps. You'll have a reliable internet connection in a matter of minutes, ready for work, gaming, and streaming. For further details visit our webpage.