Fly ai 4기 4주차 day 22 : Azure 배포 슬롯, Docker, Cosmos DB

배포 슬롯 실습
과정
-
웹 앱 만들기
-
로컬 Git 리포지토리를 이용한 Git 베포 구성
-
Git 클라이언트 구성 및 웹 앱 소스 코드 복제
-
production 슬롯에 앱을 배포하도록 git remote 구성
-
새 Staging 슬롯 만들기
-
새 Staging 슬롯에 Git 베포 구성
-
Staging 슬롯에 앱을 베포하도록 git remote 구성
-
앱 소스 코드 수정 및 Staging 슬롯에 변경사항 저장
-
웹 코드 수정 및 staging 슬롯에 배포
-
슬롯 교환
1. 웹 앱 만들기
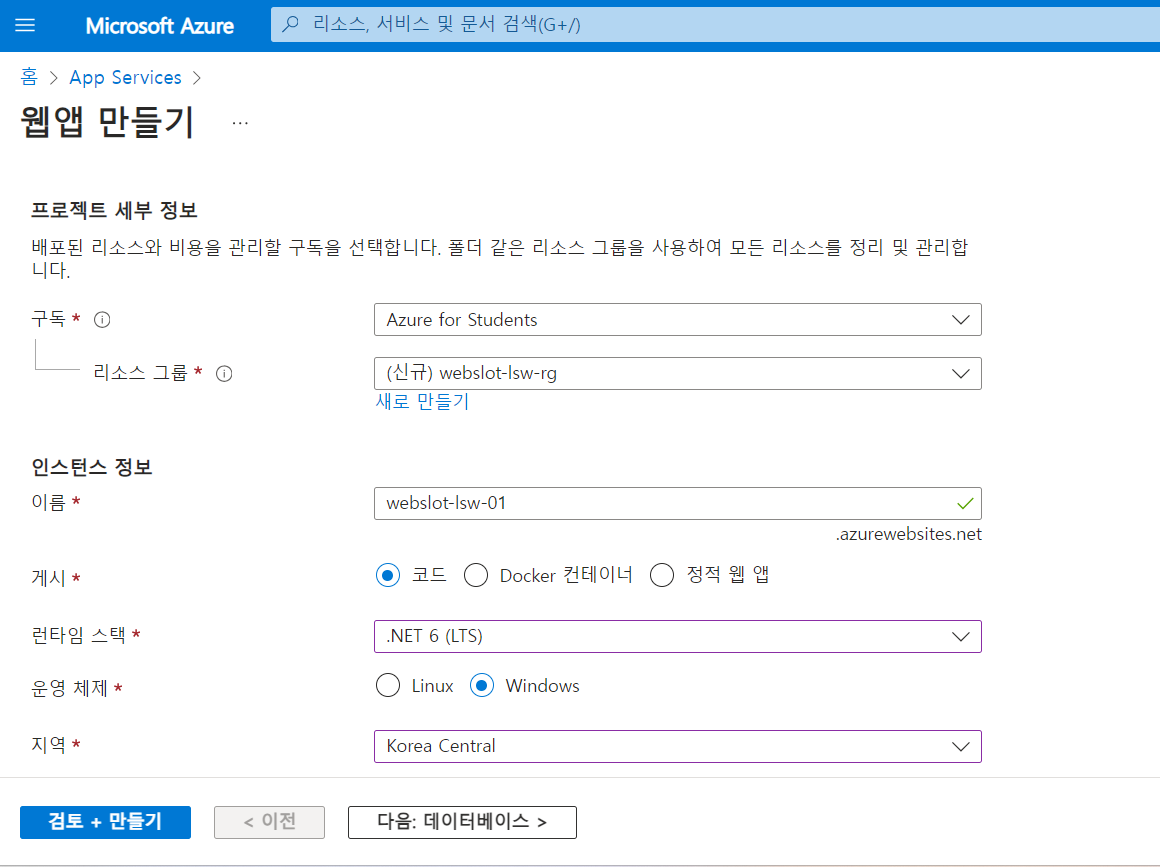
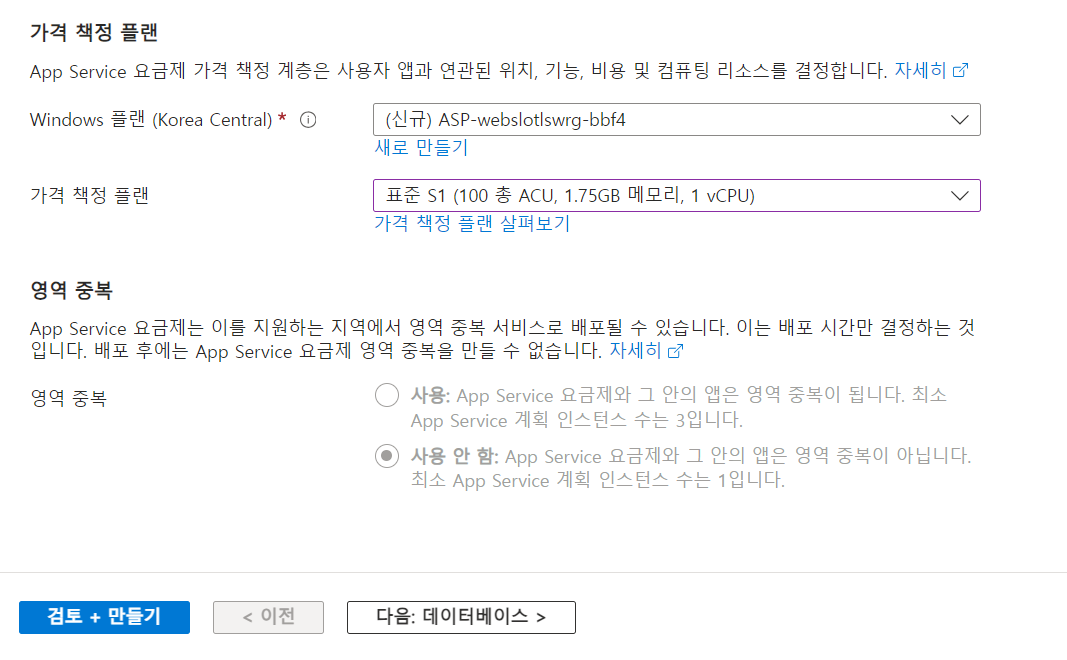
이렇게 설정 한 후에 검토+만들기를 한다.
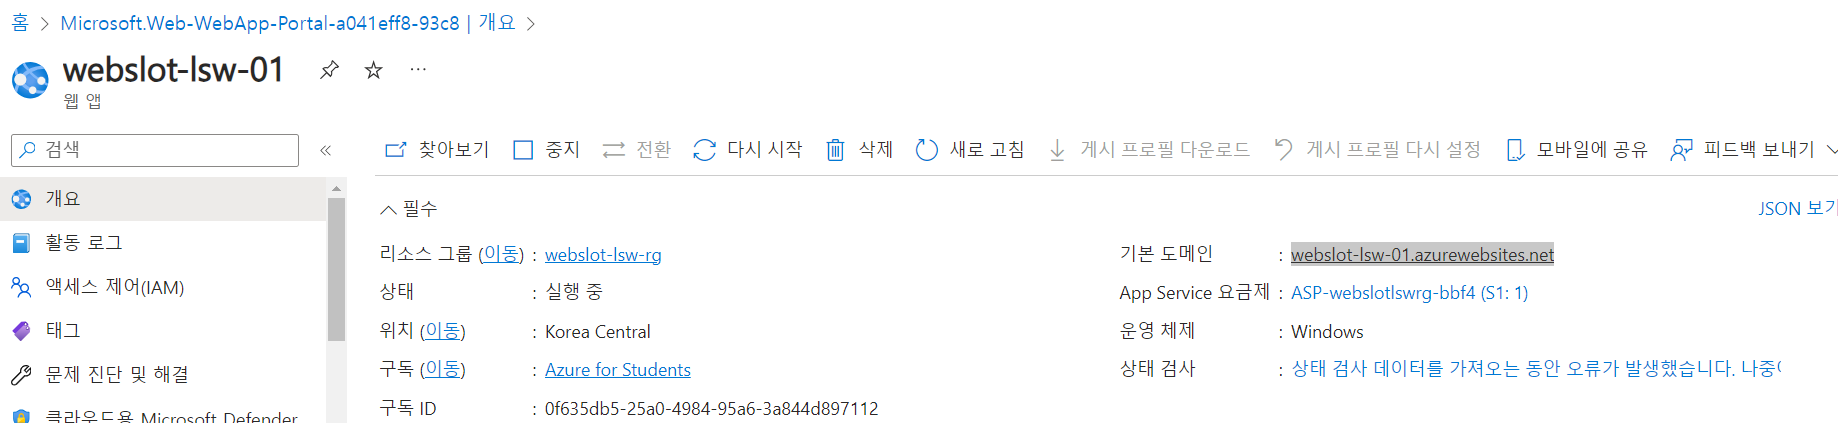
생성이 되면 url로 이동한다.
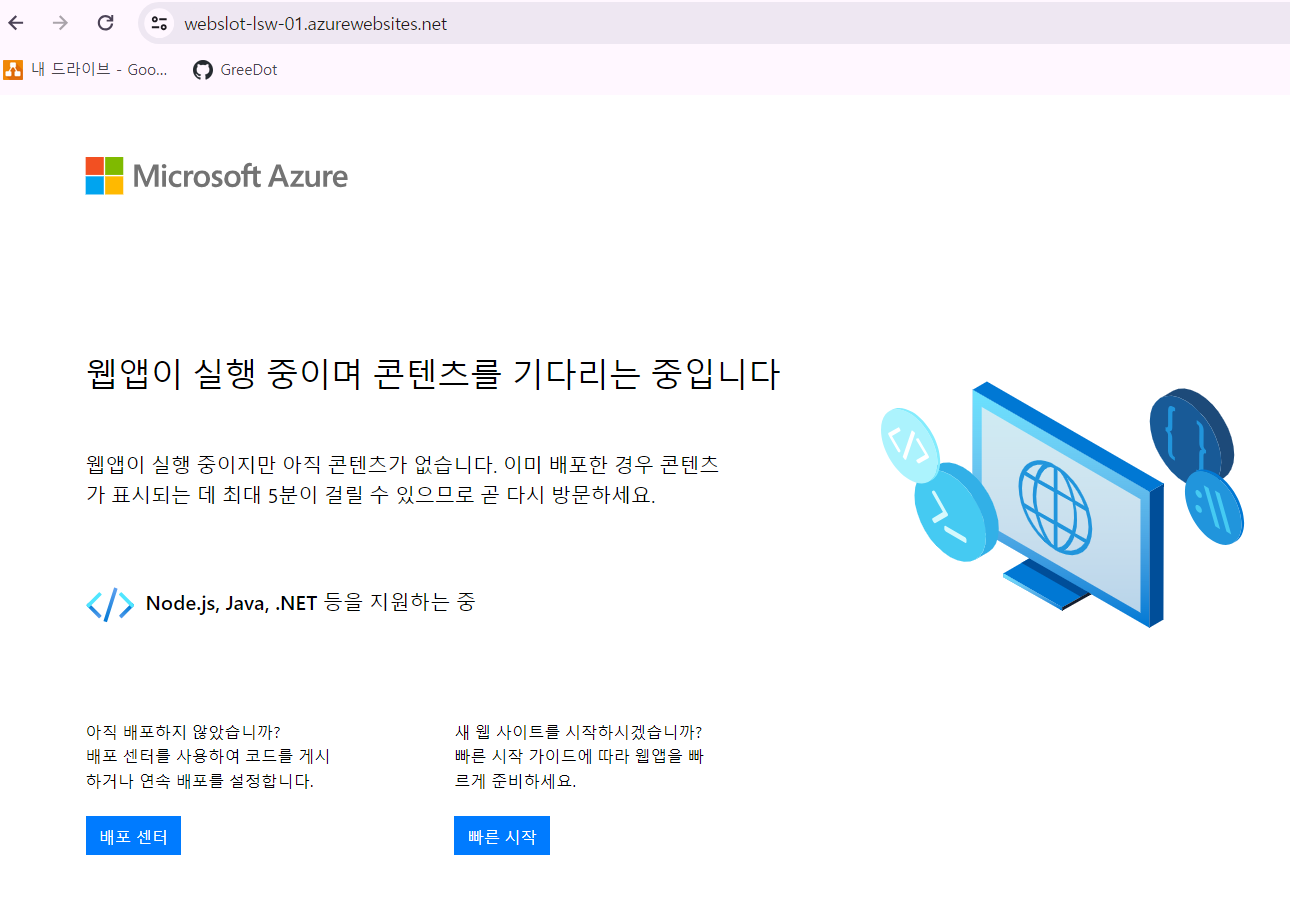
위 사진처럼 나오면 잘 된 것이다.
2. 로컬 Git 리포지토리를 이용한 Git 배포 구성
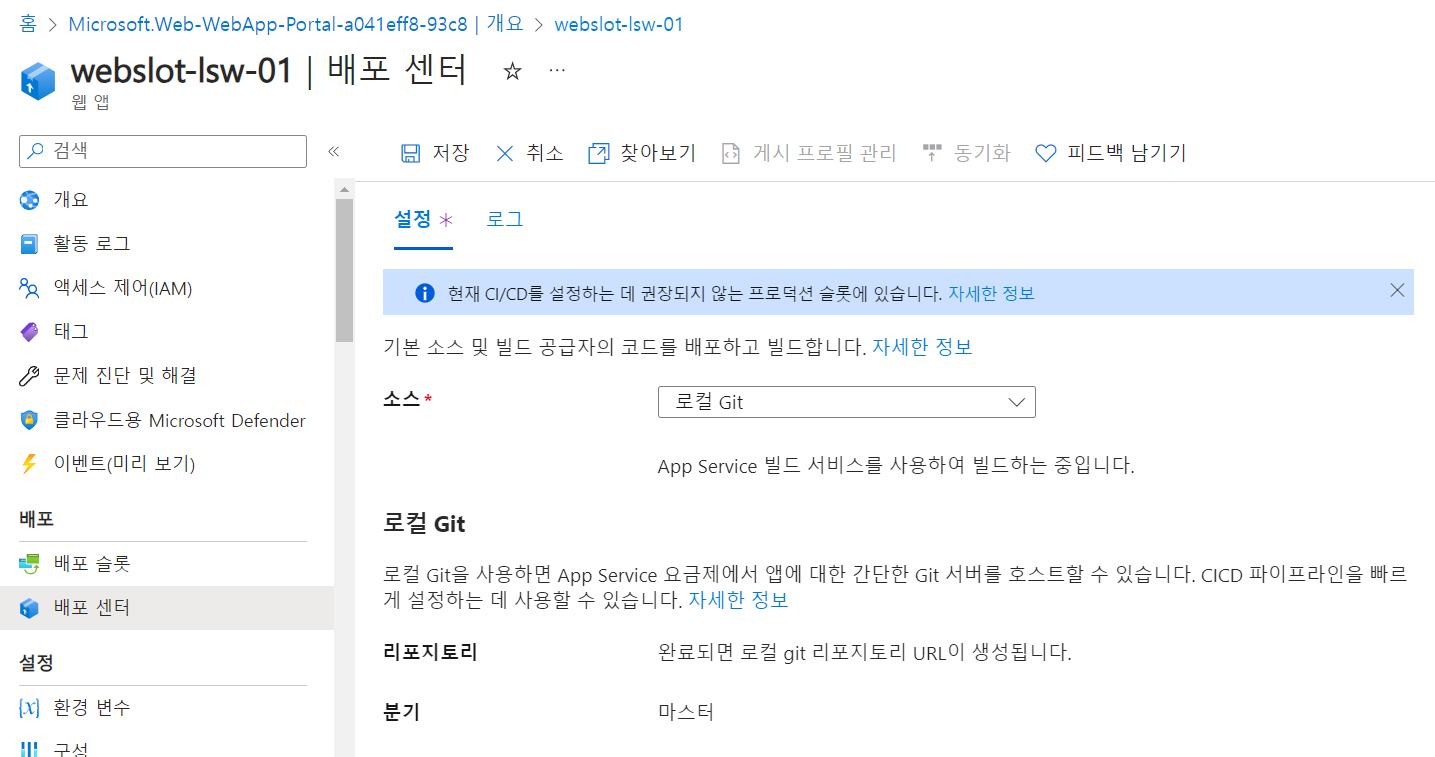
소스를 로컬 Git로 변경하고 저장한다.
로컬 Git 설정
3. Git 클라이언트 구성 및 웹 앱 소스 코드 복제
bash shell 열기
git config --global user.name [git 이름]
git config --global user.email [git 메일]
git clone [본인 git repository]
cd [본인 git repository]
4. production 슬롯에 앱을 배포하도록 git remote 구성
git remote add production [azure 웹앱 git url]
git push production
azure에서 만든 git에 clone한 파일 push
다 끝나고 azure url을 들어가보면 내가 clone한 사이트가 나온다면 성공이다.
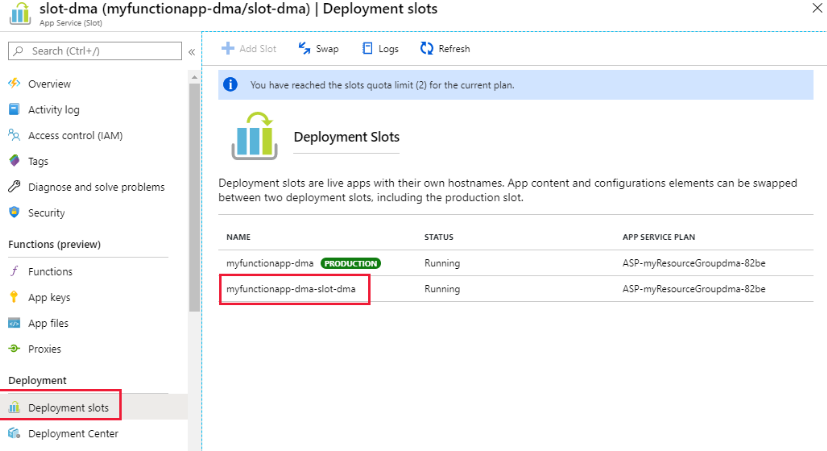
5. 새 Staging 슬롯 만들기
베포 슬롯 추가
6. 새 Staging 슬롯에 Git 베포 구성
git clone [azure slot url]
cd [azure slot
7. Staging 슬롯에 앱을 배포하도록 git remote 구성
git remote add staging [azure staging url]
8. 앱 소스 코드 수정 및 Staging 슬롯에 변경사항 저장
code index.cshtmlvscode로 인덱스파일 열어서 원하는대로 변경 후 저장
9. 웹 코드 수정 및 staging 슬롯에 배포
git add .
git commit -m 'test'
git push staging
push한 후에 azure slot url로 들어가보면 변경이 된 걸 볼 수 있다.
10. 슬롯 교환
이제 웹앱안에 구성설정에 들어가서 추가를 한 후에 저장을 한다.
이제 슬롯 교환을 한 후에 azure staging url을 들어가면 원래의 url이 나오고
원래 url을 들어가면 staging url이 나온다.
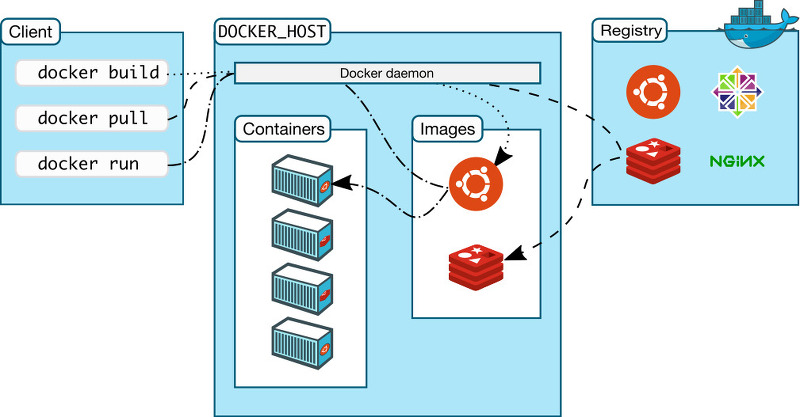
Docker 실습
1. ubuntu 가상머신 설치와 docker 설치
azure에서 가상머신을 ubuntu 20.04로 설치한다.
cmd를 열어 아래 명령어를 입력한다.
ssh -i [pem파일 경로] azureuser@[가상머신 공용ip]
#1. 우분투 시스템 패키지 업데이트
sudo apt-get update
#2. 필요한 패키지 설치
sudo apt-get install apt-transport-https ca-certificates curl gnupg-agent software-properties-common

#3. Docker의 공식 GPG키를 추가
curl -fsSL https://download.docker.com/linux/ubuntu/gpg | sudo apt-key add -

#4. Docker의 공식 apt 저장소를 추가
sudo add-apt-repository "deb [arch=amd64] https://download.docker.com/linux/ubuntu $(lsb_release -cs) stable"

#5. 시스템 패키지 업데이트
sudo apt-get update

#6. Docker 설치
sudo apt-get install docker-ce docker-ce-cli containerd.io

# Docker 설치 확인
sudo systemctl status docker

sudo docker run hello-world
2. 컨테이너 실행
리포지토리 pull
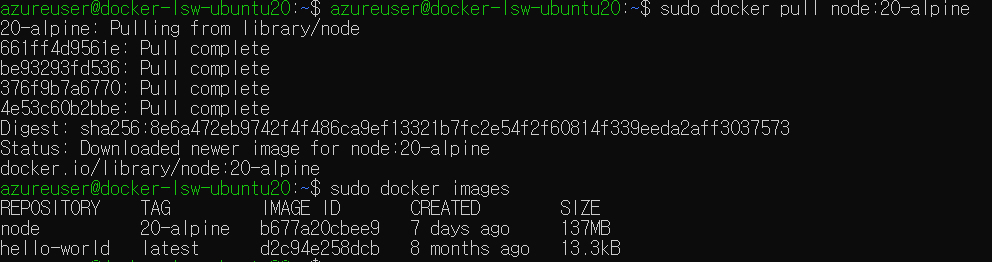
컨테이너 실행

Nginx 웹서버 만들기
-
docker hub web에서 nginx 이미지 검색하더나 docker search 사용하여 검색
-
docker pull 명령으로 이미지 다운로드
$ sudo docker pull nginx:1.25.3-alpine- 실행
$ sudo docker run --name nginx-srv -p 80:80 -d nginx:1.25.3-alpine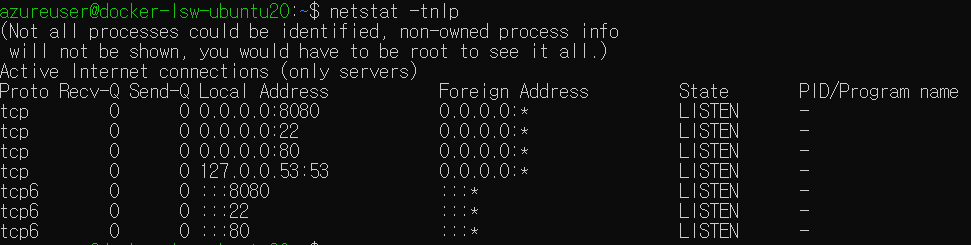
- 결과 확인
이제 가상머신 공용 ip로 이동하면 nginx가 되어야하는데 응답이 없다고 뜰 것이다
그 이유는 인바운드 포트 규칙이 22에서만 허용이 돼서 80번이나 8080번 포트가 열려있지 않기 때문이다.
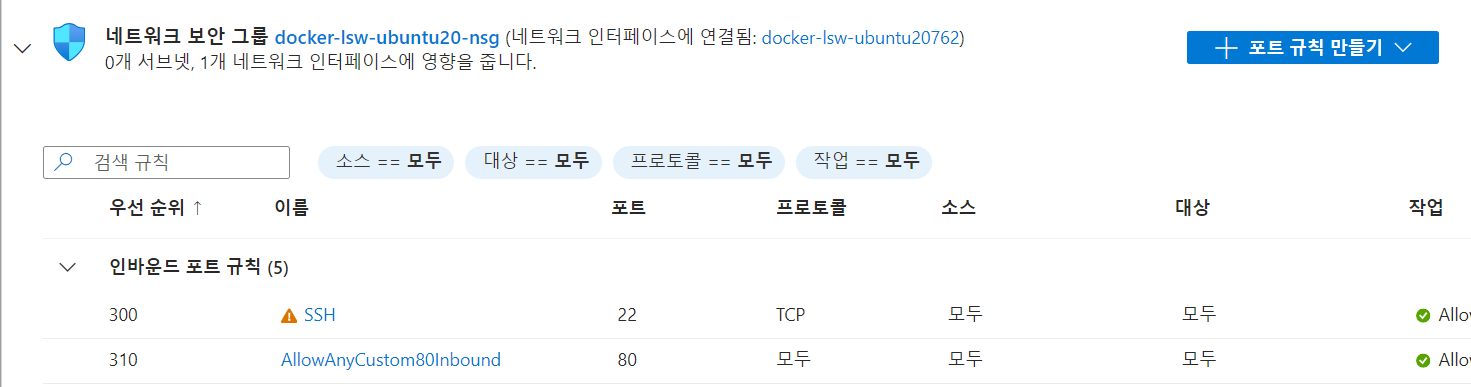
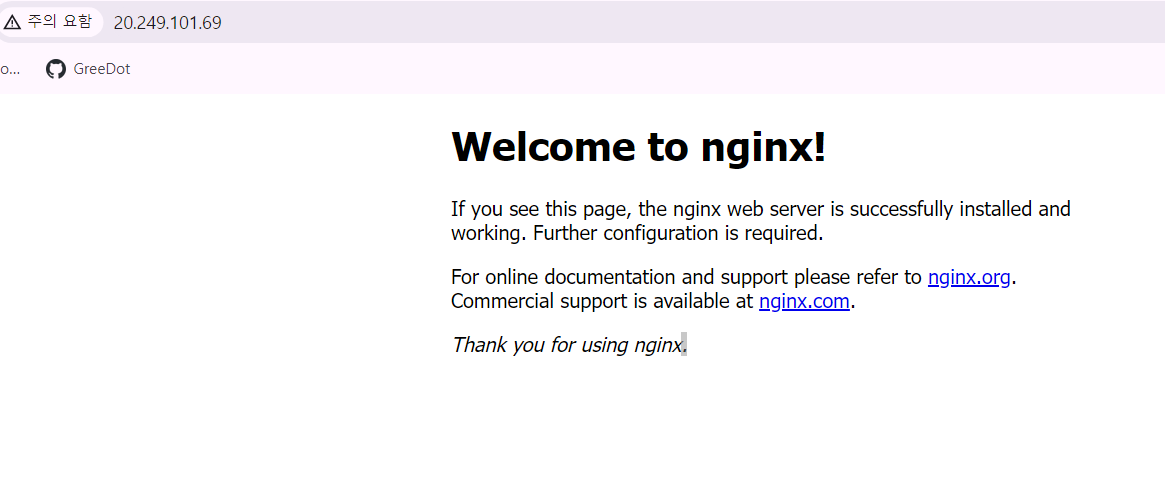
규칙에 80번 포트를 추가해 주면 잘 작동이 된다.
Docker Apache 웹서버 만들기
-
Dockerfile 작성
-
생성한 Dockerfile image로 만들기
-
생성된 image로 컨테이너 생성 실행
-
Apache 웹서버 동작 확인
-
폴더 생성(html 폴더)과 index.html 파일 생성, 실행중인 컨테이너 stop
-
컨테이너 생성시 특정 폴더(ex html) 공유
-
Apache 웹서버 동작 확인
-
index.html 파일 수정 후 확인
1. Dockerfile 작성
vim Dockerfile

cat Dockerfile
FROM ubuntu:20.04

ARG DEBIAN_FRONTEND=noninteractive

RUN apt update
RUN apt install -y apache2
RUN apt install -y apache2-utils
RUN apt clean

EXPOSE 80

CMD /usr/bin/sbin/apache2ctl -D FOREGROUND
2. 생성한 Dockerfile image로 만들기
sudo docker build .

sudo docker build -t apache2:1.0 .

sudo docker images
이름을 apache2이고 tag가 1.0인 image가 생긴다.
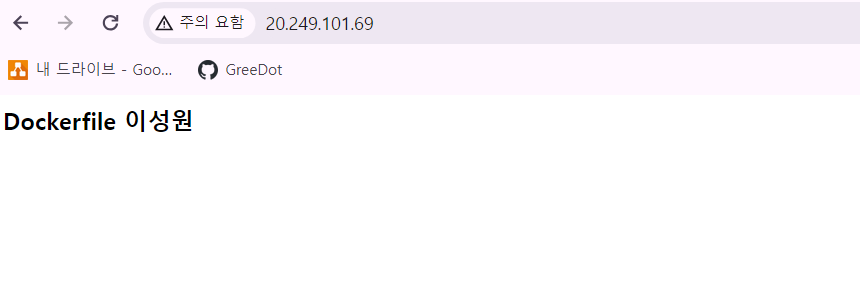
3. Apache 기본 페이지 바꾸기
새로운 index.html파일 만든 후 아래와 같이 설정했다.
azureuser@docker-lsw-ubuntu20:~/html$ cat index.html
<html lang="ko">
<head>
        <meta charset='utf-8'>
        <title>Apache 웹사이트 수정</title>
</head>
<body>
        <h3>Dockerfile 이성원</h3>
<body>
</html>
apache기본 파일을 내가 만든 index파일로 설정후 docker run
sudo docker run --name apache-srv2 -p 80:80 -d -v /home/azureuser/apache-server/html/index.html:/var/www/html/index.html apache2:1.0공용 ip에 접속해 보면 내가 설정한 index.html이 보인다.