📌 Kubectl syntax
kubectl <command> <type> <name> <flags>1. command
🔸 쿠버네티스 리소스에 대해 수행할 작업
🔸 Ex. create, get, describe, execute, delete, ...
2. type
🔸 관리하고자하는 쿠버네티스 리소스의 종류
🔸 Ex. pods, nodes, namespaces, deployments, services, ...
3. name
🔸 해당 타입의 쿠버네티스 리소스의 이름
4. flags
🔸 CLI 명령에 대한 옵션
🔸 Ex. -f, -s, -o
📌 Command
1. List resources
kubectl get <type>
🔸 쿠버네티스에 존재하는 해당 리소스 리스트 출력
🔸 -o wide: 해당 리소스와 관련된 추가적인 정보 출력
🔸 -w: 상태가 어떻게 변화되는지 출력
kubectl get pods2. Create or Change resources
kubectl create <type> <name>
🔸 리소스 생성
kubectl apply <type> <name>
🔸 리소스 생성 및 교체
kubectl create/apply -f 파일명
🔸 yaml 파일 사용해 리소스 생성 및 교체
3. Read file
cat 파일명
🔸 파일 내용을 읽고 터미널 출력
cat nginx-deployment.yaml4. Describe resources
kubectl describe <type> <name>
🔸 해당 쿠버네티스 리소스의 디테일한 정보 출력
kubectl describe pods nginx-deployment-1-6497784f5c5. Delete resources
kubectl delete <type> <name>
🔸 리소스 삭제
kubectl delete -f 파일명
🔸 yaml 파일에 해당하는 리소스 삭제
6. Execute a command
kubectl exec pod명 --command
🔸 pod에서 실행되는 컨테이너로 명령어 전달
7. Display pod logs
🔸 pod에 대해서만 수행 가능
kubectl logs pod명
🔸 선택한 pod의 로그 정보 확인
8. Know about namespace
kubectl <cammand> <type> <name> -n namespace명
🔸 해당 네임스페이스에 해당하는 리소스에 대해 명령 수행
kubectl <cammand> <type> <name> --all-namespaces
🔸 모든 네임스페이스에 해당하는 리소스에 대해 명령 수행
9. Display manual page of resource
kubectl explain <type>
kubectl explain pods🔸 해당 리소스에 대한 manual page 출력
🔸 리소스의 각 필드의 타입, kind, apiVersion 확인 가능
💡 시험 때 암기하면 좋음
📌 실습
1. yaml 파일 create 사용해 pod 생성/배포
1) yaml 파일 생성
apiVersion: apps/v1
kind: Deployment
metadata:
        name: nginx-deployment-1
spec:
        selector:
                matchLabels:
                        app: nginx-1
        replicas: 1
        template:
                metadata:
                        labels:
                                app: nginx-1
                spec:
                        containers:
                                - name: nginx-1
                                  image: nginx:1.14.2
                                  ports:
                                        - containerPort: 80
💡 - name:...은 '-'와 'name' 사이에 띄어쓰기가 한 번이고, 같은 라인에 있는 문자들은 '-'와 맞추는 것이 아니라 'name'과 맞춰야 함. 실제 '-'은 포함되는 'containers:'와 줄 맞춘 후 들여쓰기 한 번 한 것
💡 복붙하려면 드래그한 후 마우스 오른쪽 커서 클릭
2) kubectl create -f 파일명
kubectl create -f nginx-deployment.yaml3) get 명령어로 확인
kubectl get pods nginx-deployment-1-7ff5447db4-hv75f
4) pod의 디테일한 정보
kubectl describe pods 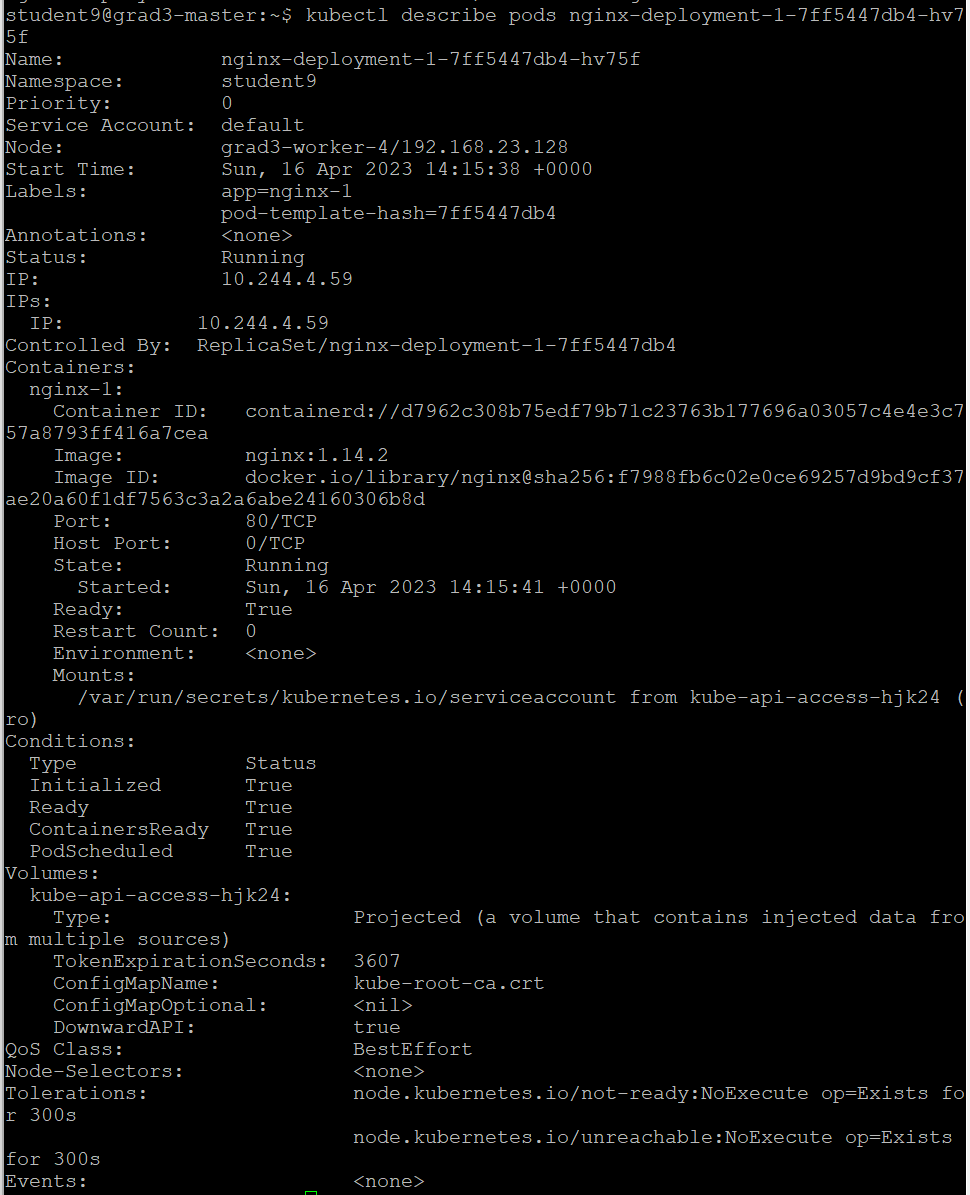
2. yaml 파일 apply 사용해 pod 수정/배포
1) yaml 파일 수정: replicas: 1 -> 3
apiVersion: apps/v1
kind: Deployment
metadata:
        name: nginx-deployment-1
spec:
        selector:
                matchLabels:
                        app: nginx-1
        replicas: 3
        template:
                metadata:
                        labels:
                                app: nginx-1
                spec:
                        containers:
                                - name: nginx-1
                                  image: nginx:1.14.2
                                  ports:
                                        - containerPort: 80
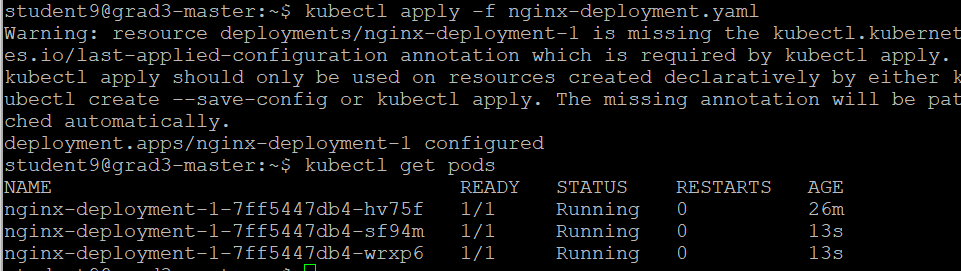
2) kubectl apply -f 파일명
kubectl apply -f nginx-deployment.yaml3) kubectl get pods
3. pod 삭제
kubectl delete pods nginx-deployment-1-7ff5447db4-hv75f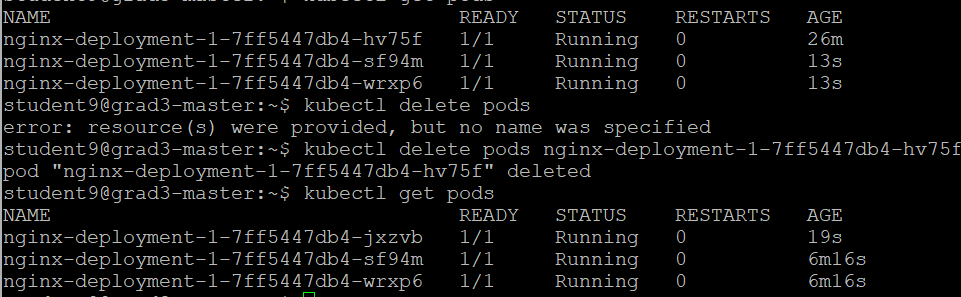
💡 pod 삭제했지만 replicas가 3이기 때문에 바로 다른 pod 생성
💡 아예 삭제하고 싶으면
kubectl delete -f nginx-deployment.yaml
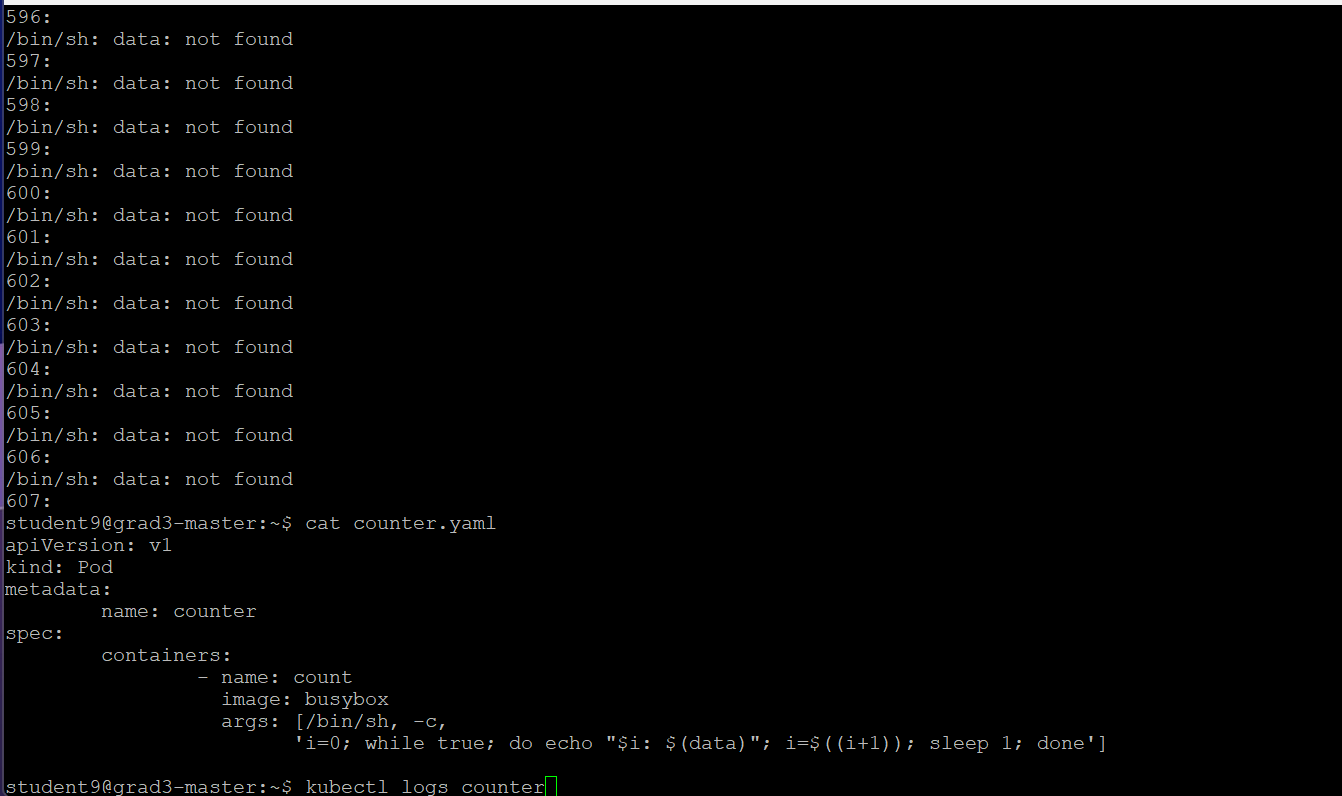
4. counter.yaml 파일 배포
1) counter.yaml 생성
apiVersion: v1
kind: Pod
metadata:
        name: counter
spec:
        containers:
                - name: count
                  image: busybox
                  args: [/bin/sh, -c, 'i=0; while true; do echo "$i: $(data)"; i=$((i+1)); sleep 1; done']
2) kubectl apply -f counter.yaml으로 pod 배포
3) kubectl get pods로 생성된 pod 확인

4) kubectl exec pod명 -- 명령어
🔸 counter라는 pod 안에 돌고 있는 container에 ls 명령어 전달
kubectl exec counter -- ls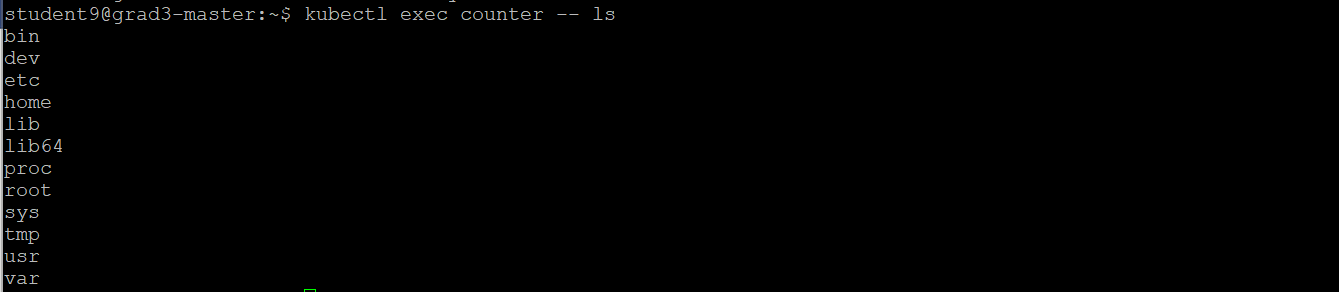
5) cat counter.yaml
🔸 " 0부터 시간순서대로 출력. 1초 당 1씩 증가 " 라는 container 동작
🔸 => log 확인
6) kubectl logs pod명
kubectl logs counter