이전 글 스프링 클라우드 서버 만들기
개발환경
start.spring.io에 들어가서
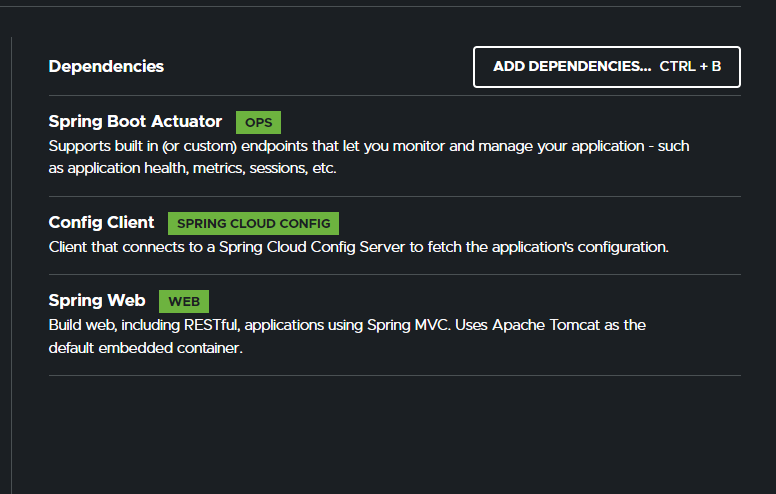
dependencies 들을 이렇게 세개를 추가해줍니다.
spring boot actuator는 우리가 만드는 spring application을 모니터링 하기 위해 사용하는 dependency
우리가 바꾼 내용들을 client에게 반영을 해야하는데, 반영하는 내용들을 actuator를 이용해서 반영함
config client 는 config client를 위해 추가함!
spring web은 위의 두개와는 관련이없는 스프링 mvc패턴을 위해 사용되는 dependency인데 우리가 보기 위해 테스트용으로 넣었음
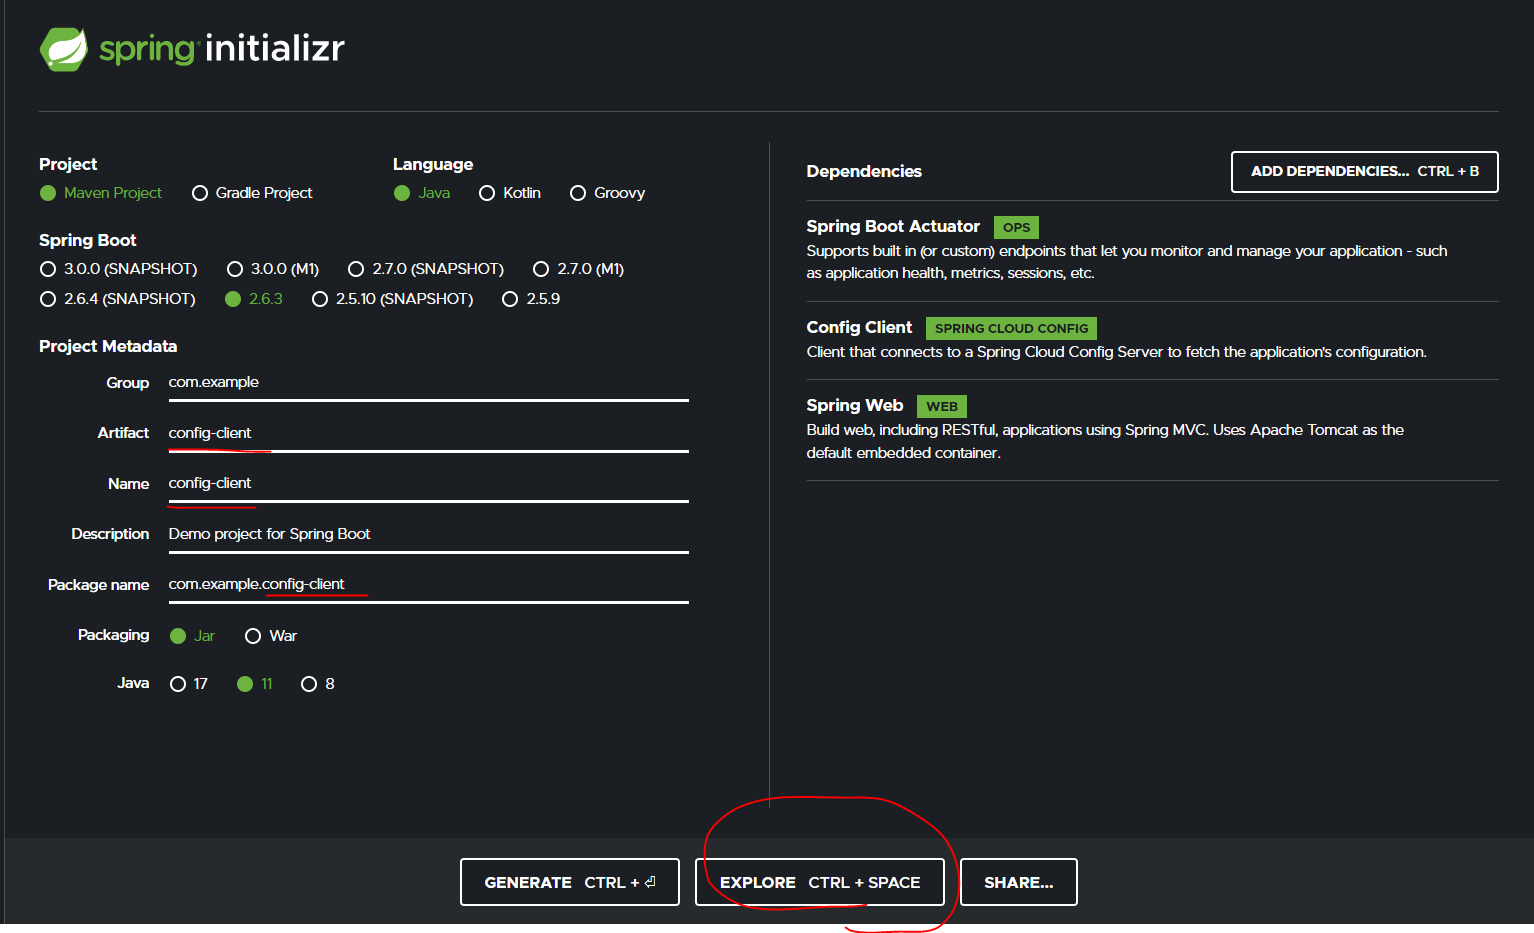
explore, download 해서 인텔리제이에서 열어준다
구조
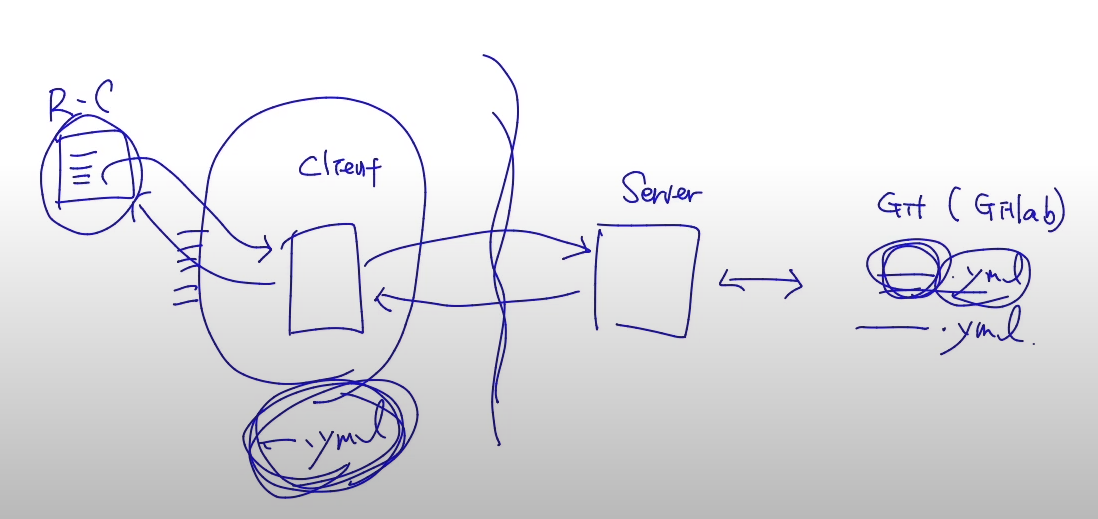
우리는 config-client를 만들건데, server에서 받아올 수 있는지를 먼저 확인하면 헷갈리니까
먼저 server는 제외하고
client에서 git에 있는 쌤이 올려놓은 파일을 제대로 읽어오는지 확인하려고 한다.
ConfigClientApp.java
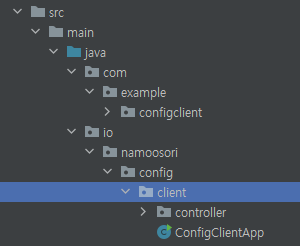
먼저 io.namoosori.config.client 패키지 생성후
ConfigClientApp 클래스 생성
package io.namoosori.config.client;

import org.springframework.boot.SpringApplication;
import org.springframework.boot.autoconfigure.SpringBootApplication;

@SpringBootApplication
public class ConfigClientApp {
    public static void main(String[] args){
        SpringApplication.run(ConfigClientApp.class, args);
    }
}
ConfigClientController.java
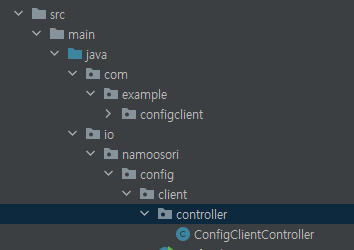
먼저 io.namoosori.config.client.controller 패키지 생성후
ConfigClientController 클래스 생성
package io.namoosori.config.client.controller;

import org.springframework.beans.factory.annotation.Value;
import org.springframework.web.bind.annotation.RestController;

@RestController
public class ConfigClientController {

    private String configStr;

    public String test(){
        return configStr;
    }
}
이렇게 적어주고
application.yml
resources에다가 application.yml을 만든다
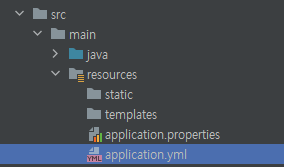
server:
  port: 8088

---
test:
  str: test-str
서버의 포트는 8088을 쓸것이고, test용으로는 test의 str을 test-str로 지정해준다
ConfigClientController.java 추가
그 후
ConfigClientController.java에
@Value("${test.str}")추가하고
controller의 역할을 하기위해
@GetMapping("/test")추가
그러면
package io.namoosori.config.client.controller;

import org.springframework.beans.factory.annotation.Value;
import org.springframework.web.bind.annotation.RestController;

@RestController
public class ConfigClientController {

    @Value("${test.str}")
    private String configStr;

    @GetMapping("/test")
    public String test(){
        return configStr;
    }
}
이렇게됨
실습
pom.xml
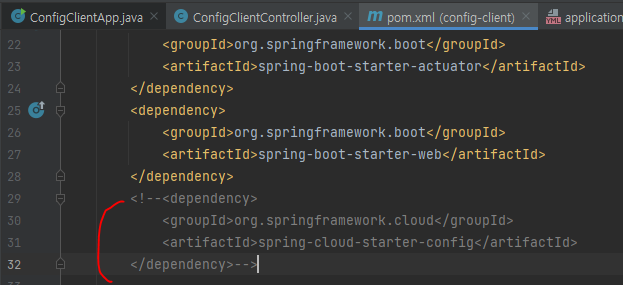
잠시 spring-cloud-starter-config는 주석처리 해둔다.
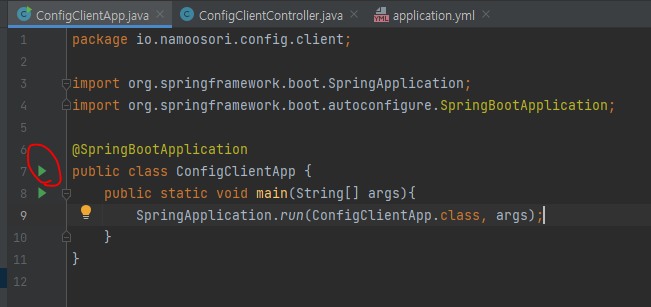
ConfigClientApp 실행
띠용 에러발생...
에러 고치기
No spring.config.import property has been defined

Action:

Add a spring.config.import=configserver: property to your configuration.
If configuration is not required add spring.config.import=optional:configserver: instead.
To disable this check, set spring.cloud.config.enabled=false or
spring.cloud.config.import-check.enabled=false.
구글링 해본 결과 application.yml에 코드를 추가해야한다고 한다.
application.yml
spring:
  config:
    import: "optional:configserver:"
추가하니까 된다
실행이 되면, post맨으로 테스트 해본다
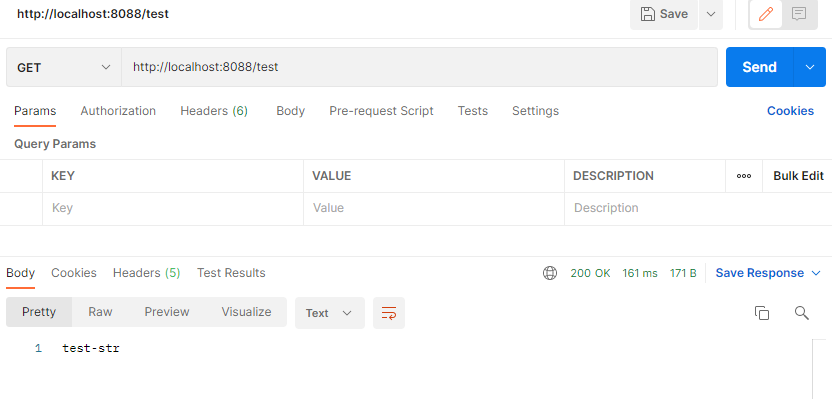
결과가 test-str로 잘 나온다
ConfigClientController.java에서 작성한
@Value("${test.str}") 에 의해 가져오는 것임
다시 이제 pom.xml에서 주석처리 했던것 풀기!
application.yml 수정
server:
  port: 8088

spring:
  application:
    name: configtest-dev
  config:
    import: "optional:configserver:http://localhost:9900"
test용으로 적어놨던 것을 지우고,
이제 서버에 있는 값을 가져오기 위해 위와 같이 수정한다.
ConfigClientController.java 수정
package io.namoosori.config.client.controller;

import org.springframework.beans.factory.annotation.Value;
import org.springframework.web.bind.annotation.GetMapping;
import org.springframework.web.bind.annotation.RestController;

@RestController
public class ConfigClientController {

    @Value("${namoosori.value}")
    private String configStr;

    @GetMapping("/test")
    public String test(){
        return configStr;
    }
}
@Value("${namoosori.value}") 부분만 수정하는 것임~
를 수정하는 것임.
그 다음 server를 가동한다! 실행되는게 확인 이 된 후, client를 가동한다.
이렇게 하려면 인텔리제이 창을 여러개 띄워야 하는데 설정방법을 알려드리겠다
인텔리제이 창 여러개 띄우기
파일-설정 연 다음
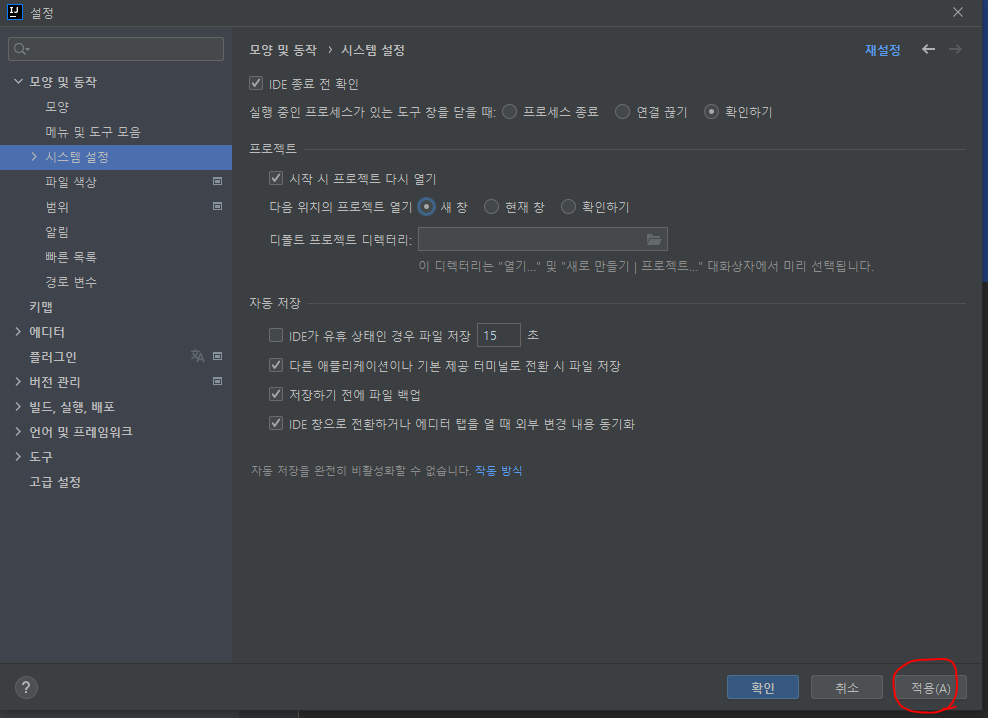
적용 클릭
configServer.java 실행 시켜주고~
클라이언트 키면

서버로부터 fetch를 받는것을 볼 수 있다
postman 실행
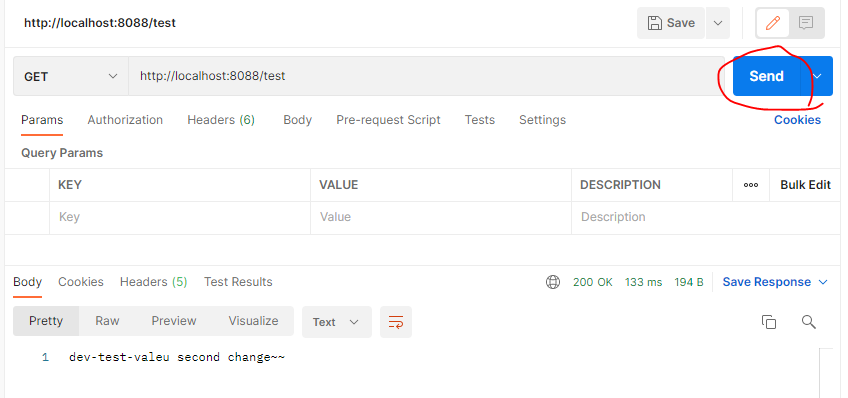
이미 유튜브에서 쌤이 yml파일을 바꾸셔서 값이 나타나는 것을 볼 수 있다.
강의에서는 쌤이 yml파일을 깃에 직접들어가서 수정을 한 후,
다시 postman으로 send를 보내면 바뀐 값이 안바뀐다!
이래서 spring boot actuator 디펜던시를 사용하는 것을 알았음
클라이언트 application.yml 추가
---
management:
  endpoints:
    web:
      exposure:
        include: refresh
리프레시 스코프를 적용하기위해
ConfigClientController.java
@RefreshScope추가
그러면 @RestController 밑에 어노테이션이 오게됨
그 후 다시 클라이언트를 재실행!
하면 아직 안바뀌었다..........
server를 껐다키면 다시 바뀐게 보일 수도 있지만, 우리는 actuator를 쓰는 이유가
서버를 껐다키지않고, client도 껐다키지 않고 자동으로 refresh된 데이터를 보기 위함임
postman 실행
그래서
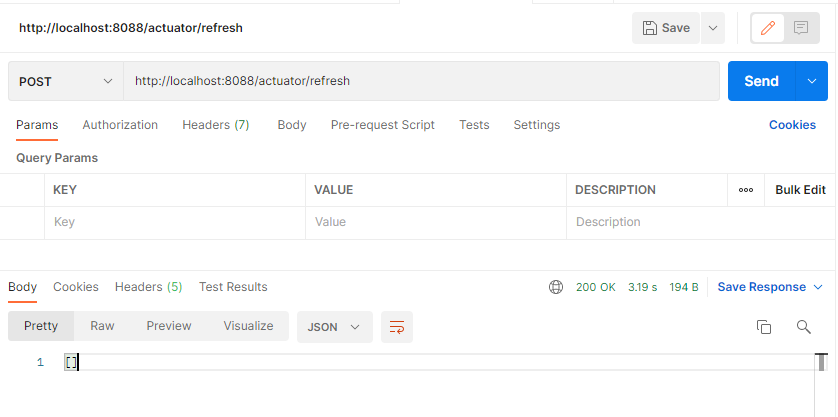
위와 같은 url
http://localhost:8088/actuator/refresh로 post 보내보지만
아무것도 안오는데 그 이유는 쌤은 바꾸면서 하고잇는데 우리는 바꾸면서 하고있지 않아서
바꾼 데이터가 없어서 인거같음..%^^ 실습은 자기 깃에서 하는걸로...^^
하튼 근데 refresh는 된것임
그다음 다시
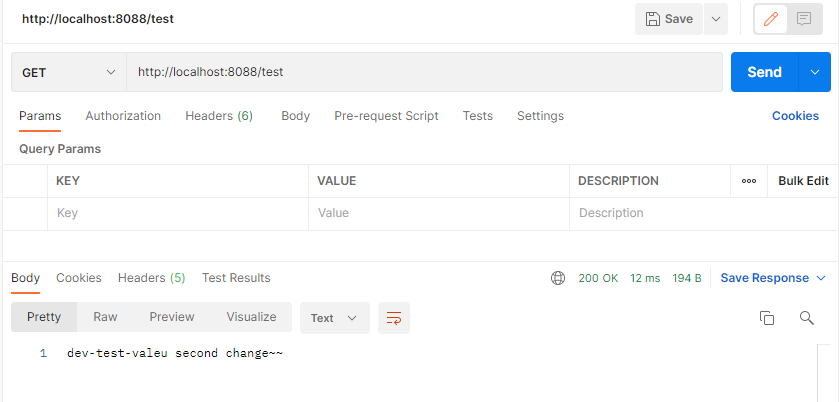
http://localhost:8088/test겟 방식으로 보낸 것을 보면
유튜브에서는 바뀐 데이터가 잘 오는것을 볼 수 있다.
우리는 못봤지만.....
출처 및 팁
git 주소 선생님껄로 하지말고 내껄로하기.....(근데 유튜브엔 설명부족 ㅠ)
나무소리 스프링부트 강의 3-5강
